
1. Introduction
This instruction manual provides comprehensive guidance for the safe installation, proper operation, and routine maintenance of your Schonbek Sarella RS8336N-22H 8-Light 37-inch Vanity and Wall Sconce. Please read all instructions carefully before beginning installation and retain this manual for future reference. This fixture is designed for indoor use only.
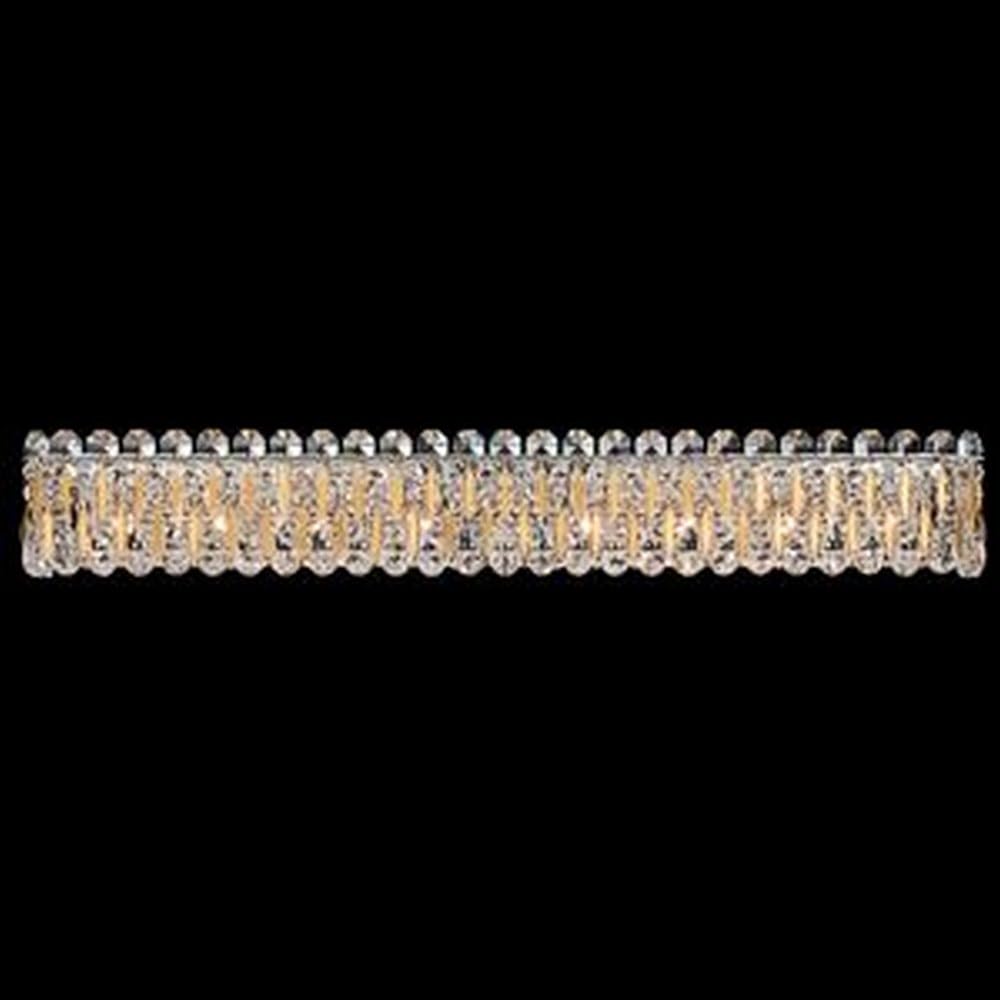
Image 1.1: The Schonbek Sarella RS8336N-22H 8-Light 37-inch Vanity and Wall Sconce, featuring Heirloom Gold finish and Clear Heritage Handcut Crystals.
2. Safety Information
WARNING: Risk of electric shock. Disconnect power at the fuse box or circuit breaker before installation or servicing.
- All electrical connections must be in accordance with local codes, ordinances, or the National Electric Code (NEC). Consult a qualified electrician if you are unfamiliar with proper electrical wiring connections.
- This product must be installed in accordance with the applicable installation code by a person familiar with the construction and operation of the product and the hazards involved.
- Ensure the mounting surface is structurally sound and can support the weight of the fixture.
- Do not exceed the maximum wattage specified for the light bulbs.
- Handle crystals with care to prevent damage or injury.
3. Package Contents
Carefully unpack your fixture and identify all parts. Keep all packaging materials until you are sure all parts are accounted for and in good condition. Refer to the included instruction sheets for detailed diagrams.
- Lighting Fixture (Sarella RS8336N-22H)
- Mounting Hardware
- Instruction Sheets
- Manufacturer Warranty Certificate
- Certificate of Authenticity
4. Setup & Installation
Professional installation is recommended for this fixture. Refer to the detailed instruction sheets provided in the package for specific wiring diagrams and mounting procedures.
- Prepare for Installation: Turn off the main power supply at the circuit breaker or fuse box. Clear the work area.
- Mounting Bracket Installation: Attach the mounting bracket to a standard electrical junction box using the provided hardware. Ensure the bracket is securely fastened.
- Electrical Connections: Connect the fixture's wires to the corresponding household wires. Typically, black to black (live), white to white (neutral), and bare copper or green to bare copper or green (ground). Secure connections with wire nuts.
- Fixture Mounting: Carefully align the fixture with the mounting bracket and secure it in place using the provided screws or fasteners. Ensure the fixture is flush against the wall and stable.
- Crystal Dressing: Once the fixture body is securely mounted, carefully attach the Heritage Handcut Crystals as indicated in the specific instruction sheets. The fixture features a waterfall of aluminum leaves and crystal beading.
5. Operating Instructions
This fixture requires 8 x E12 base, G16.5 shape 120V light bulbs (40W maximum incandescent or LED equivalent), which are sold separately.
- Bulb Installation: Ensure power is off. Carefully screw the E12 base bulbs into the sockets. Do not overtighten.
- Power On: Restore power at the circuit breaker.
- Dimming Function: The fixture is compatible with smooth and continuous dimming when used with a compatible dimmer switch (sold separately). The control method is typically via a wall switch or compatible dimmer.
6. Maintenance
Regular cleaning will help maintain the appearance and performance of your fixture.
- Cleaning the Fixture: Disconnect power before cleaning. Use a soft, dry, or slightly damp cloth to wipe the metal frame. Avoid abrasive cleaners or solvents, as they may damage the finish.
- Cleaning Crystals: The Heritage Handcut Crystals can be gently cleaned with a soft, lint-free cloth. For deeper cleaning, a mild glass cleaner can be sparingly applied to the cloth (not directly to the crystals or fixture) and then wiped dry. Ensure no moisture enters electrical components.
- Bulb Replacement: Always turn off power before replacing bulbs. Allow bulbs to cool completely before handling.
7. Troubleshooting
If your fixture is not functioning correctly, consult the following common issues:
- Light does not turn on:
- Check if the power supply is on at the circuit breaker.
- Ensure bulbs are correctly installed and not faulty.
- Verify all electrical connections are secure.
- Lights flicker or dim unexpectedly:
- Ensure bulbs are compatible with the dimmer switch, if one is installed.
- Check for loose wiring connections.
- Confirm the dimmer switch is functioning correctly.
- Crystals appear dull:
- Clean crystals as per the maintenance instructions.
If issues persist, consult a qualified electrician or contact Schonbek customer support.
8. Specifications
| Brand | Schonbek |
| Model Number | RS8336N-22H |
| Item Type | Bath Vanity & Wall Light |
| Color | Heirloom Gold |
| Style | Clear Heritage Handcut Crystals |
| Material | Stainless Steel, Crystal |
| Item Dimensions (L x W x H) | 36.5" x 5" x 5.5" |
| Item Weight | 16 Pounds |
| Number of Light Sources | 8 |
| Light Source Type | LED (compatible) |
| Bulb Base | E12 |
| Max Wattage per Bulb | 40W (incandescent) |
| Total Wattage | 320 watts |
| Voltage | 120 Volts |
| Brightness | 2240 Lumen |
| Power Source | AC |
| Indoor/Outdoor Usage | Indoor |
| Required Assembly | Yes |
| Certifications | UL, cUL, CSA rated for indoor locations |
9. Warranty & Support
This Schonbek Sarella fixture is covered by a 5-year manufacturer's warranty. Please refer to the 'Manufacturer Warranty Certificate' included in your package for full terms and conditions.
For technical assistance, replacement parts, or warranty claims, please contact Schonbek customer support or your authorized dealer. Ensure you have your 'Certificate of Authenticity' and proof of purchase available when contacting support.