
COOPERS CP10 Pro
COOPERS 10 inch Android 15 Tablet CP10 Pro User Manual
Model: CP10 Pro | Brand: COOPERS
1. Introduction
Welcome to the user manual for your COOPERS 10 inch Android 15 Tablet CP10 Pro. This guide provides essential information to help you set up, operate, and maintain your device, ensuring optimal performance and a seamless user experience. Your tablet is designed for versatility, offering powerful performance, a vibrant display, and comprehensive connectivity options.
The CP10 Pro tablet runs on the latest Android 15 OS with AI, providing enhanced app compatibility, faster performance, and improved security features. It features 8GB RAM and 32GB ROM, expandable up to 1TB with a Micro SD Card, and is powered by a 1.8GHz quad-core CPU. Enjoy a 1280x800 high-definition screen, dual cameras (2MP front, 8MP rear), and a 6000mAh battery for extended use.

Image: Overview of Android 15 features, including secure private space, smarter screen recording, faster multitasking with app pairs, and better taskbar customization.
2. What's in the Box
Upon unboxing your COOPERS CP10 Pro tablet, please verify that all the following items are included:
- COOPERS 10 inch Android 15 Tablet (CP10 Pro)
- Bluetooth Keyboard
- Wireless Mouse
- Protective Case
- Stylus Pen
- Type-C Charging Cable
Video: An unboxing video demonstrating the contents of the COOPERS 10 inch Android Tablet package, including the tablet, keyboard, mouse, case, stylus, and charging cable.
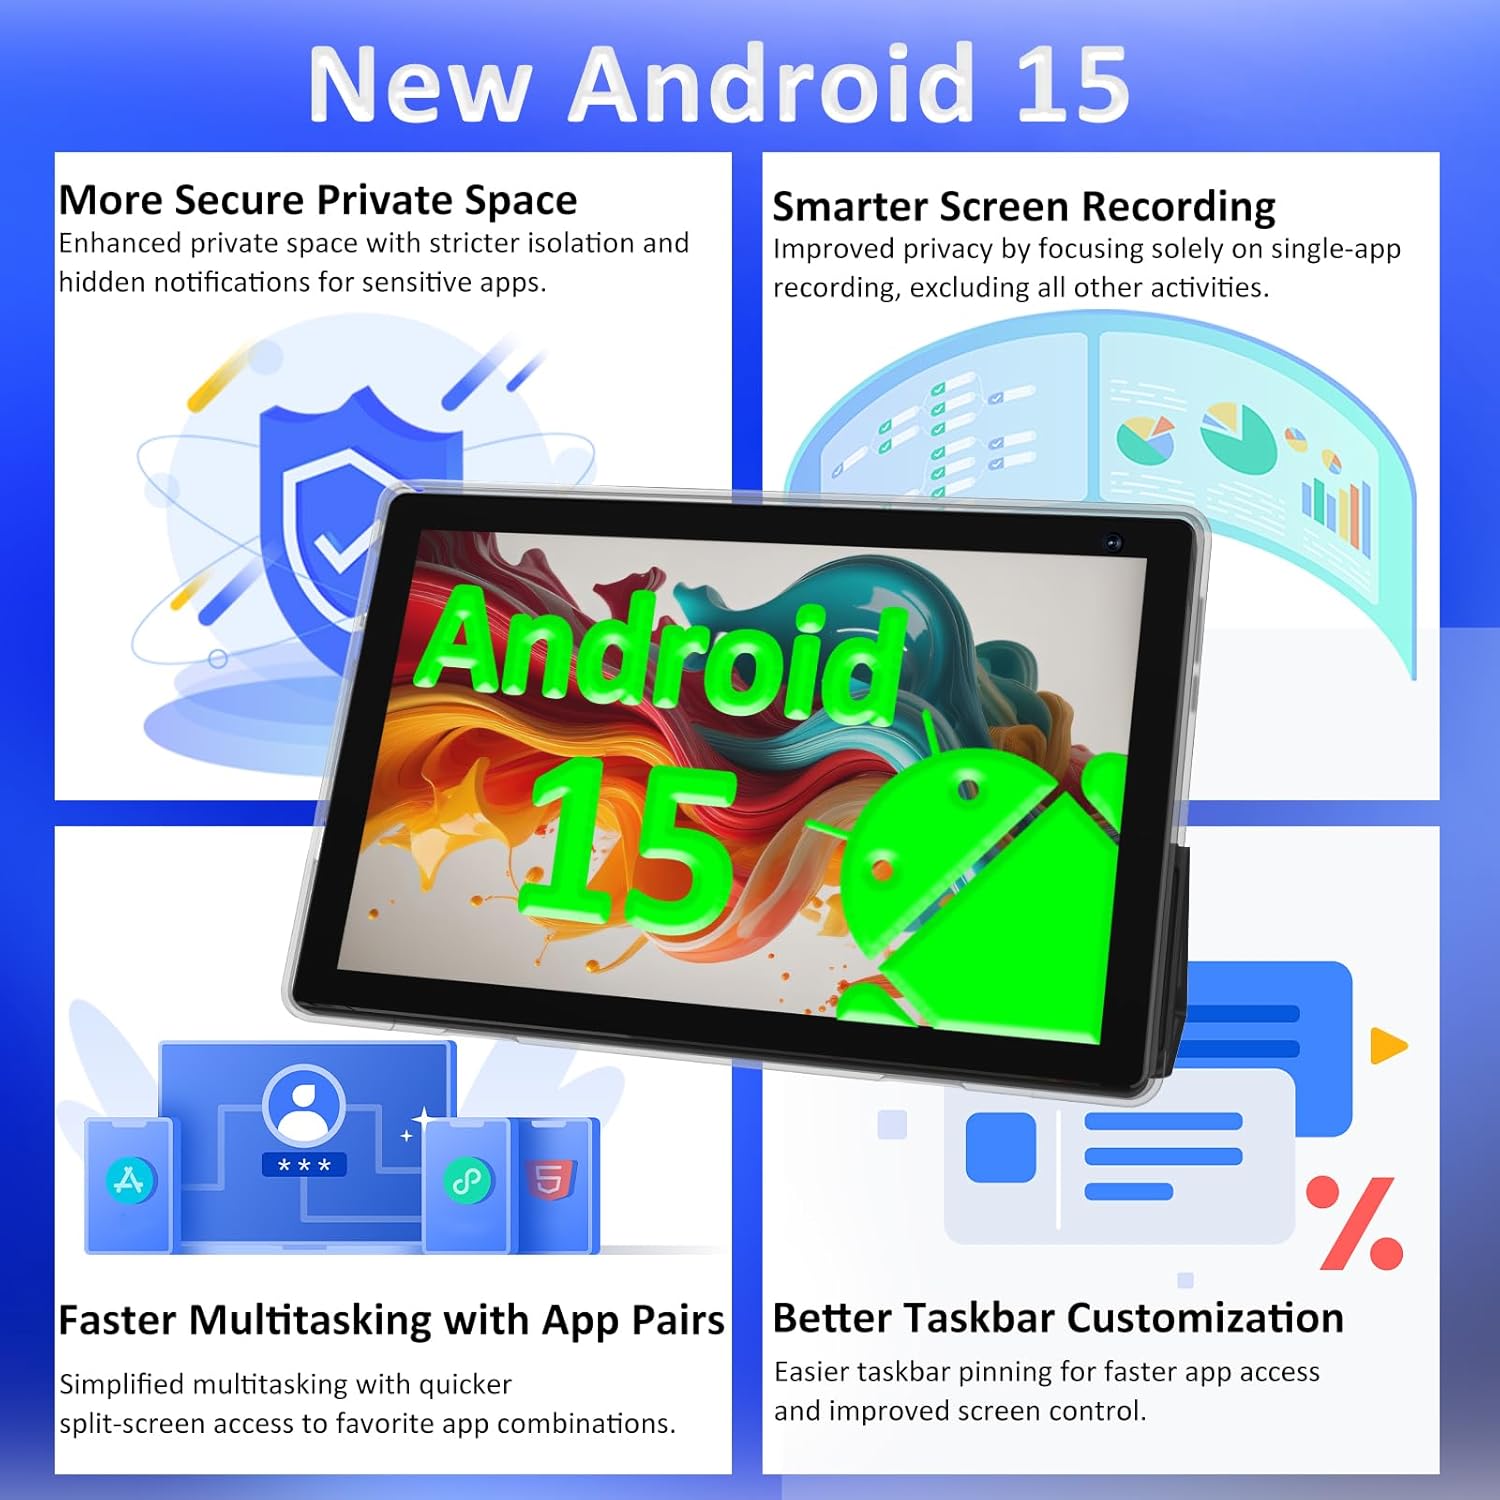
Image: The COOPERS 10 inch Android Tablet displayed with its accompanying accessories: a keyboard, mouse, stylus, and charging cable.
3. Setup Guide
3.1 Initial Charging
Before first use, fully charge your tablet using the provided Type-C charging cable and a 5V 2A charger (not included). The battery indicator on the screen will show charging status.
3.2 Powering On/Off
- To Power On: Press and hold the Power button located on the side of the tablet until the screen lights up.
- To Power Off: Press and hold the Power button, then select 'Power off' from the options that appear on the screen.
- To Restart: Press and hold the Power button, then select 'Restart' from the options.
3.3 Connecting Bluetooth Accessories (Keyboard & Mouse)
Your tablet comes with a Bluetooth keyboard and mouse for enhanced productivity. Follow these steps to connect them:
- Enable Bluetooth on Tablet: Go to Settings > Connected devices > Bluetooth and toggle it ON.
- Pair Keyboard:
- Turn on the keyboard using its power switch.
- Press the 'Connect' button on the keyboard. The Bluetooth indicator light will start blinking.
- On your tablet, tap 'Pair new device'. Select 'Bluetooth 3.0 Keyboard' from the list of available devices.
- Follow any on-screen prompts to complete pairing.
- Pair Mouse:
- Insert 2 AAA batteries into the mouse (not included).
- Turn on the mouse using its power switch.
- On your tablet, tap 'Pair new device'. Select 'BT5.2 Mouse' from the list of available devices.
- The mouse should connect automatically.
Video: A demonstration of how to connect Bluetooth accessories, specifically a keyboard and mouse, to the tablet.
3.4 Initial Android Setup
Upon first power-on, the tablet will guide you through the initial Android setup process. This includes selecting your language, connecting to Wi-Fi, setting up your Google account, and configuring basic privacy settings.
4. Operating Your Tablet
4.1 Basic Navigation
- Touchscreen: Use gestures like tap, swipe, pinch-to-zoom for navigation.
- Stylus: The included stylus provides precise control for drawing, writing, and navigating the interface.
- Wireless Mouse: Connect the wireless mouse for a traditional desktop-like navigation experience.

Image: A user utilizing the stylus pen to interact with the tablet screen, demonstrating precise input.

Image: A user typing on the Bluetooth keyboard connected to the tablet, showcasing its use for productivity.
4.2 App Management
The tablet is Google GMS certified, allowing access to millions of apps from the Google Play Store. Simply open the Play Store app, search for your desired application, and tap 'Install'.

Image: The tablet screen displaying various popular applications and highlighting GMS certification for broad app compatibility.
4.3 Camera Usage
Your tablet features a 2MP front camera and an 8MP rear camera. Open the Camera app to capture photos and videos. Use the front camera for video calls and selfies, and the rear camera for higher-resolution photography.

Image: An illustration highlighting the tablet's dual camera system, featuring a 2MP front camera and an 8MP rear camera.
4.4 Connectivity
- Wi-Fi: Supports 2.4GHz and 5GHz Wi-Fi for fast internet access. Navigate to Settings > Network & internet > Wi-Fi to connect to a network.
- Bluetooth 5.0: For connecting wireless accessories like headphones, speakers, keyboard, and mouse.
5. Maintenance
5.1 Cleaning Your Tablet
Use a soft, lint-free cloth to clean the screen and body of your tablet. Avoid using harsh chemicals or abrasive materials, as these can damage the screen or finish. For stubborn smudges, slightly dampen the cloth with water or a screen-specific cleaning solution.
5.2 Software Updates
Regularly check for and install software updates to ensure your tablet has the latest features, security patches, and performance improvements. Go to Settings > System > System update to check for available updates.
5.3 Battery Care
To prolong battery life, avoid exposing the tablet to extreme temperatures. It is recommended to fully charge the tablet before it completely drains. The 6000mAh battery provides 6-8 hours of usage.

Image: An illustration emphasizing the tablet's 6000mAh high-capacity battery, sufficient for daily use including video, music, and browsing.
6. Troubleshooting
| Issue | Possible Solution |
|---|---|
| Tablet does not turn on | Ensure the tablet is charged. Connect it to a power source for at least 30 minutes, then try powering on again. |
| Slow performance | Close unnecessary background apps. Clear cache for frequently used apps. Restart the tablet. Ensure sufficient storage space. |
| Wi-Fi connection issues | Restart your Wi-Fi router. Forget the network on your tablet and reconnect. Ensure you are within range of the Wi-Fi signal. |
| Bluetooth accessory not connecting | Ensure the accessory is powered on and in pairing mode. Check if Bluetooth is enabled on the tablet. Try restarting both the tablet and the accessory. |
| Screen not responding | Restart the tablet by holding the power button for about 10-15 seconds until it reboots. Ensure the screen is clean and free of debris. |
7. Specifications
| Feature | Detail |
|---|---|
| Model Name | CP10 Pro |
| Operating System | Android 15 |
| Screen Size | 10.4 Inches |
| Screen Resolution | 1280 x 800 pixels |
| Processor | 1.8 GHz Quad-core |
| RAM | 8GB (3GB fixed + 5GB virtual) |
| Internal Storage (ROM) | 32GB |
| Expandable Storage | Up to 1TB (Micro SD Card) |
| Rear Camera | 8 MP |
| Front Camera | 2 MP |
| Battery Capacity | 6000mAh (Average 10 Hours) |
| Wireless Type | 802.11n (2.4GHz & 5GHz Wi-Fi) |
| Bluetooth | Bluetooth 5.0 |
| Item Weight | 2.75 pounds |
| Product Dimensions | 9.5 x 0.3 x 6.5 inches |
8. Warranty and Support
8.1 Warranty Information
Your COOPERS CP10 Pro tablet is covered by a standard manufacturer's warranty. Please refer to the warranty card included in your product packaging for specific terms, conditions, and duration. Keep your proof of purchase for warranty claims.
8.2 Customer Support
For technical assistance, troubleshooting beyond this manual, or warranty inquiries, please contact COOPERS customer support. Contact details can typically be found on the product packaging, the official COOPERS website, or through your retailer.
Related documentsCP10 Pro


Ask a question about this manual
Ask about setup, troubleshooting, compatibility, parts, safety, or missing instructions. Manuals+ will review the question and use this page’s manual context to help answer it.