
Litillbuly B0CDNZ8HKQ
Litillbuly Android 12 Wireless CarPlay Receiver for Toyota Tacoma (2005-2015) Instruction Manual
Model: B0CDNZ8HKQ | Brand: Litillbuly
1. Introduction
This manual provides comprehensive instructions for the installation, operation, and maintenance of your Litillbuly Android 12 Wireless CarPlay Receiver. This 9-inch touch screen unit is designed to enhance your driving experience in Toyota Tacoma models from 2005 to 2015, offering features such as GPS, FM radio, WiFi, USB connectivity, and Steering Wheel Control (SWC) compatibility. Please read this manual thoroughly before installation and use to ensure proper function and safety.

Figure 1.1: Litillbuly Android 12 Wireless CarPlay Receiver with its user interface displayed.
2. Safety Information
- Professional Installation Recommended: Due to the complexity of automotive electrical systems, professional installation is highly recommended to prevent damage to the unit or vehicle.
- Disconnect Battery: Always disconnect the vehicle's negative battery terminal before beginning any electrical work to prevent short circuits and electrical shock.
- Use Correct Tools: Use appropriate non-marring tools for panel removal to avoid damaging interior surfaces.
- Wiring: Ensure all wiring connections are secure and properly insulated. Incorrect wiring can lead to malfunction or fire.
- Driving Safety: Do not operate the unit in a way that distracts you from driving. Always prioritize road safety.
- Ventilation: Ensure the unit has adequate ventilation and is not obstructed by other components.
3. Package Contents
Verify that all items are present in the package:
- Litillbuly Android 12 Wireless CarPlay Receiver (Main Unit)
- Power Cable
- RCA Cable
- Microphone
- Can Bus Decoder
- USB Cable 1
- USB Cable 2
- GPS Module
- Screwdriver
- Reversing Line
- Crowbar (Plastic Opening Tool)
- USB Cable 3

Figure 3.1: Overview of the Litillbuly Android 12 Wireless CarPlay Receiver and its included accessories.
4. Setup and Installation
This section guides you through the installation process for your Litillbuly receiver in a Toyota Tacoma (2005-2015). It is recommended to watch the provided installation video for visual guidance.
4.1 Pre-Installation Steps
- Vehicle Compatibility: Confirm your vehicle is a Toyota Tacoma model year 2005-2015.
- Gather Tools: Ensure you have all necessary tools, including the provided crowbar/plastic opening tool and screwdriver.
- Disconnect Battery: Disconnect the negative terminal of your vehicle's battery.
4.2 Removing the Original Radio
- Observe Structure: Carefully observe the structure of your original car's center console to identify fixing methods (clip-on or screw-on).
- Pry Open Panel: Use the provided plastic opening tool (crowbar) to carefully pry open the panel surrounding the original radio from the gaps. Avoid using metal tools to prevent scratching the interior.
- Disconnect Connectors: Once the panel is loose, disconnect any electrical connectors attached to it.
- Remove Old Console: Carefully pull the old radio console out from its mounting position. Disconnect all wiring harnesses from the back of the old unit.
Video 4.1: Installation tutorial for the Litillbuly Android 12 Wireless CarPlay Receiver in a Toyota Tacoma (2005-2015), demonstrating panel removal and wiring.
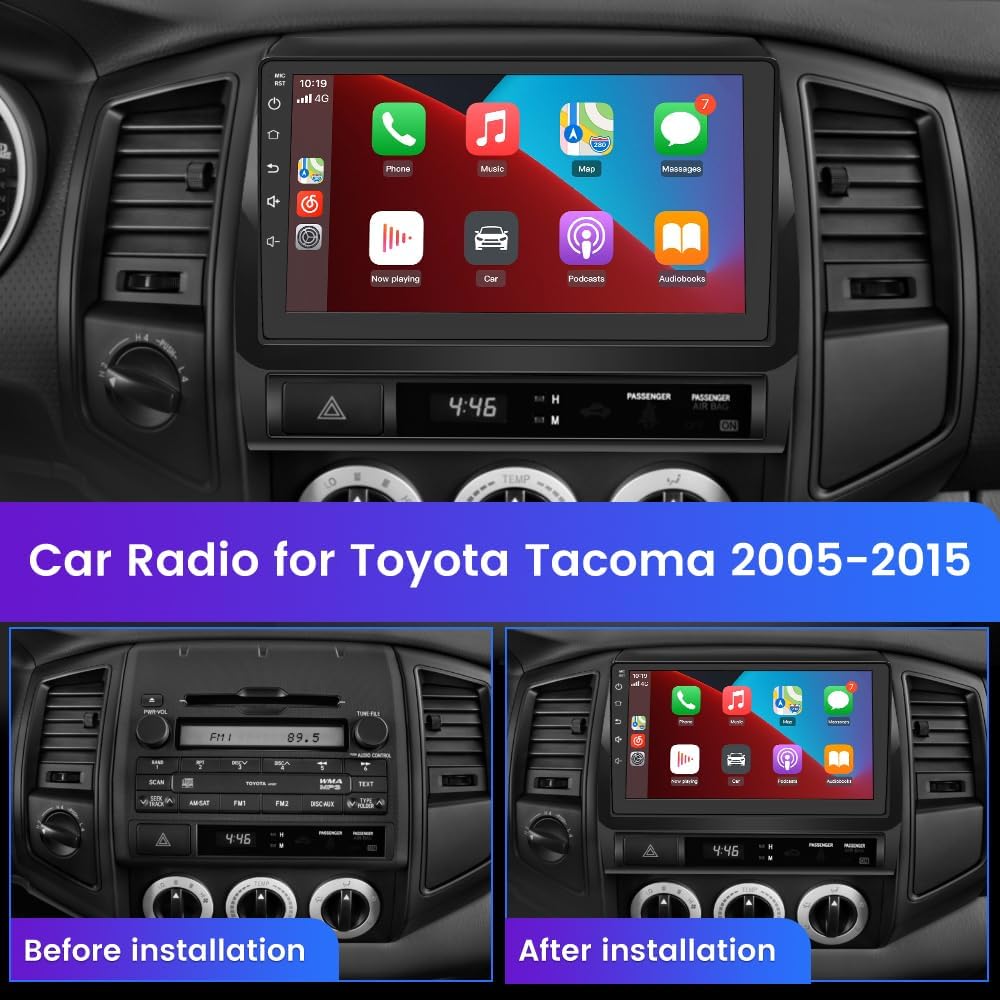
Figure 4.1: Comparison of the Toyota Tacoma dashboard before and after installing the Litillbuly receiver.
4.3 Wiring and Connecting the New Unit
The Litillbuly receiver supports non-destructive installation, meaning no need to cut original car wires. Simply plug in the provided harnesses.
- Connect Harnesses: Connect the provided power cable, RCA cable, USB cables, and GPS module to the corresponding ports on the new Litillbuly receiver.
- Can Bus Connection: Connect the Can Bus decoder if your vehicle requires it for steering wheel controls or other integrated functions.
- External Microphone: Connect the external microphone for improved call quality.
- Reversing Camera: If installing a reversing camera, connect the reversing line and camera signal cable.

Figure 4.2: Wiring diagram illustrating connections for both high-end and low-end Tacoma models.
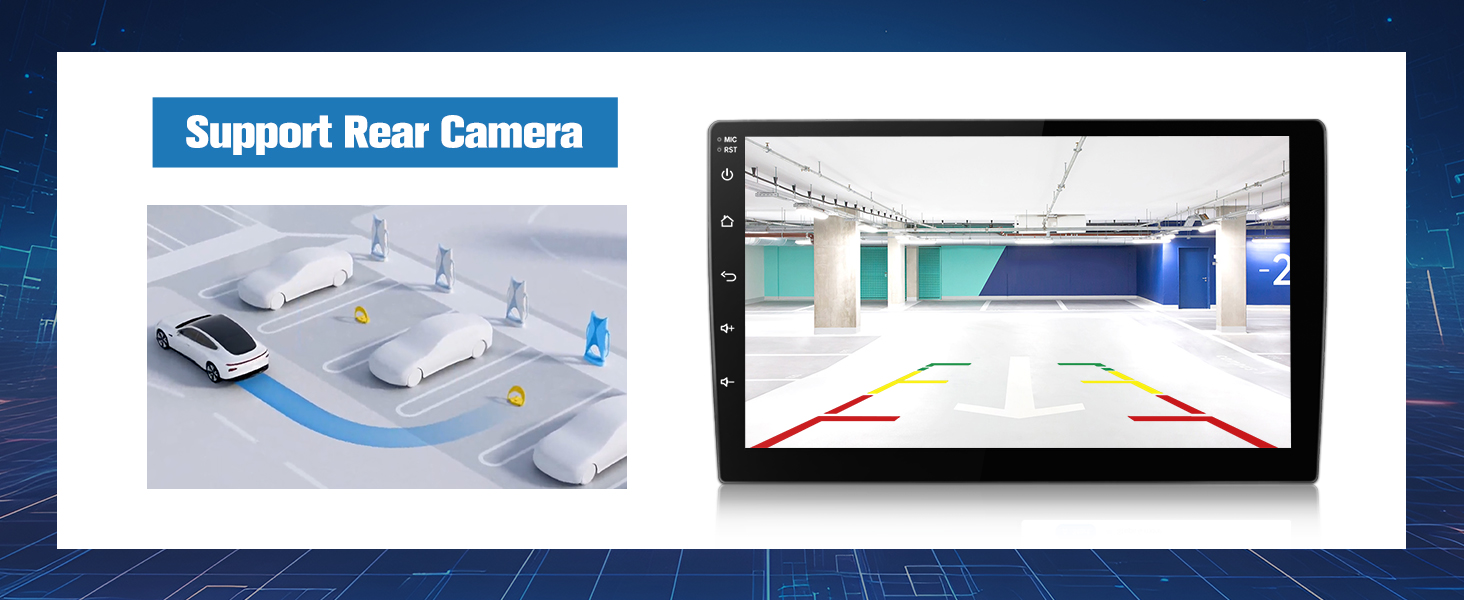
Figure 4.3: Specific wiring for low-end models, highlighting RCA and CANBUS connections.
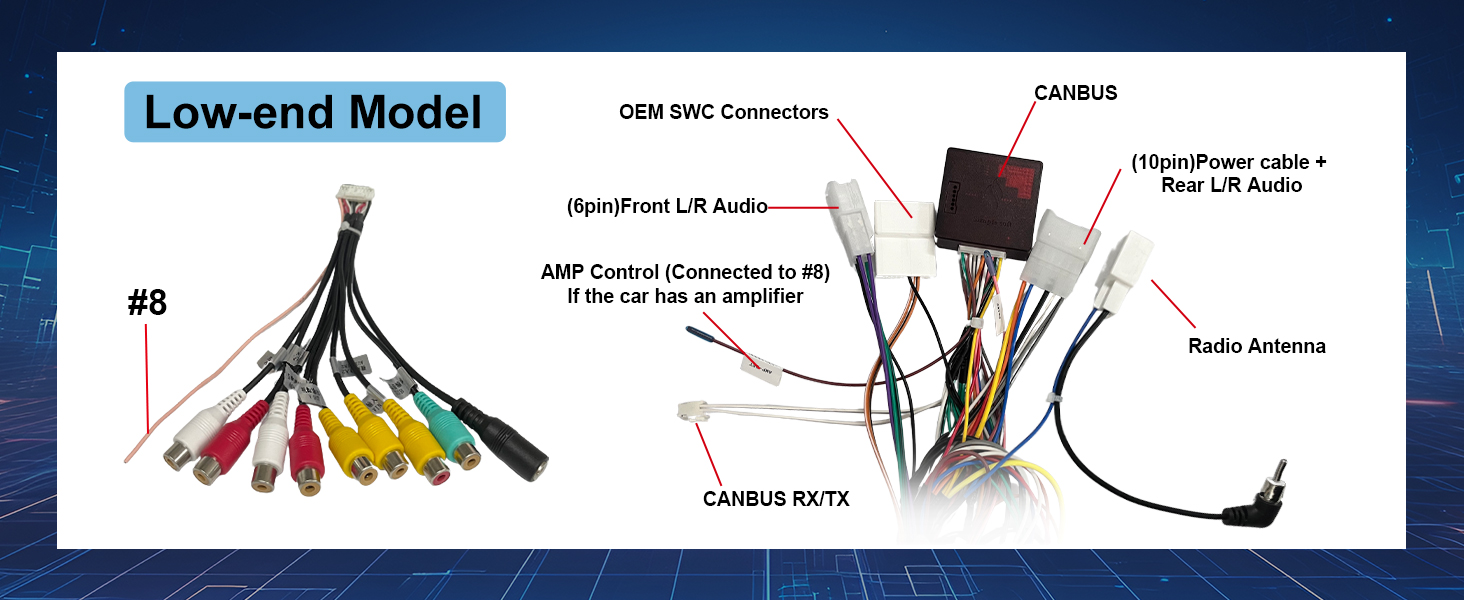
Figure 4.4: Specific wiring for high-end models, including reversing detection.
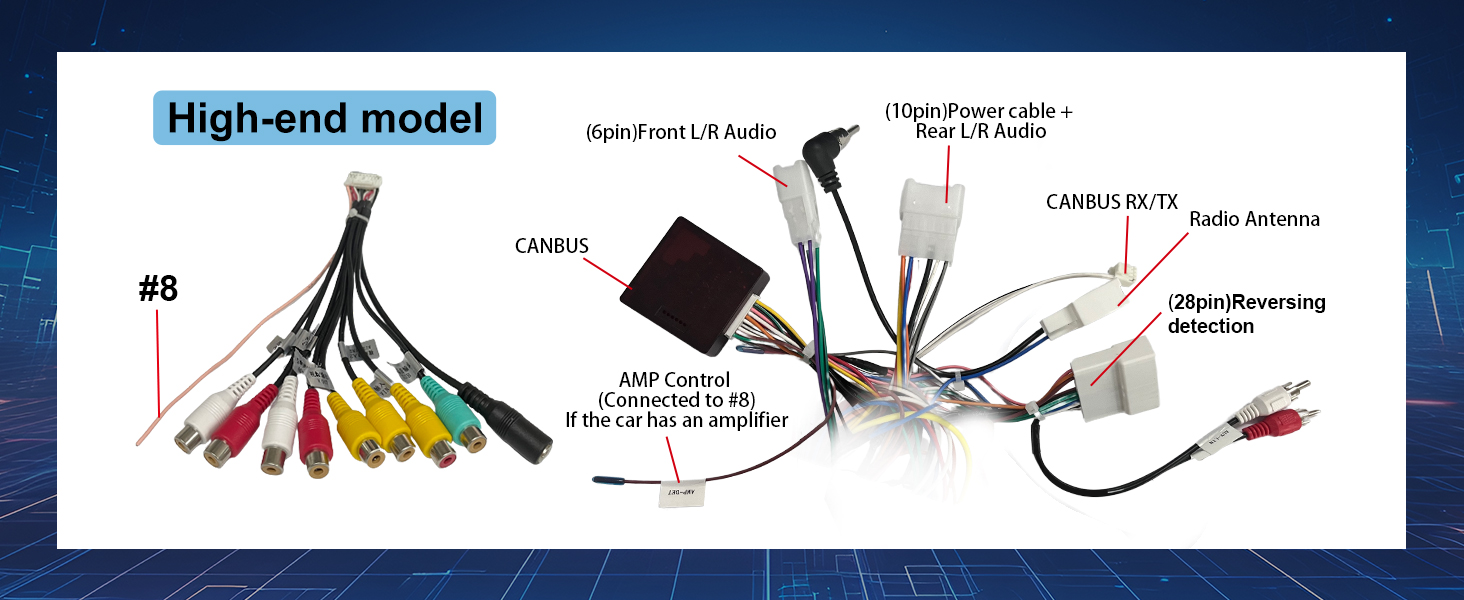
Figure 4.5: OEM Backup Camera Wiring Method for 16-pin and 24-pin connectors. Note: No connection is required for low-end models without an OEM camera.
4.4 Securing the New Unit
- Insert Unit: Carefully push the new Litillbuly receiver into the installation position in the dashboard.
- Secure in Place: Ensure the unit is locked securely in place.
- Reattach Panel: Reattach the surrounding dashboard panel, ensuring all clips are engaged and connectors are reconnected.
- Reconnect Battery: Reconnect the negative terminal of your vehicle's battery.
5. Operating Instructions
5.1 Power On/Off
The unit will typically power on automatically when the vehicle ignition is turned on. To power off, turn off the vehicle ignition.
5.2 Wireless CarPlay & Android Auto
Connect your iPhone or Android phone wirelessly to access navigation, music, calls, and messages directly on the receiver's screen.
- Enable Bluetooth/Wi-Fi: On your phone, ensure Bluetooth and Wi-Fi are enabled.
- Pair Device: On the receiver, navigate to the Bluetooth settings and pair with your phone. Follow the on-screen prompts for pairing.
- Initiate CarPlay/Android Auto: Once paired, the system should automatically prompt you to start CarPlay or Android Auto.
Video 5.1: Demonstration of wireless CarPlay connection and operation.

Figure 5.1: Wireless CarPlay and Android Auto support for seamless smartphone integration.
5.3 Bluetooth Hands-Free and Steering Wheel Controls
- Hands-Free Calling: Once your phone is paired via Bluetooth, you can make and receive calls directly through the receiver. The external microphone enhances call clarity.
- Steering Wheel Controls (SWC): If your vehicle has SWC, the unit supports this function. You can program buttons to control volume, change songs, answer calls, and more. Refer to the unit's settings for SWC configuration.
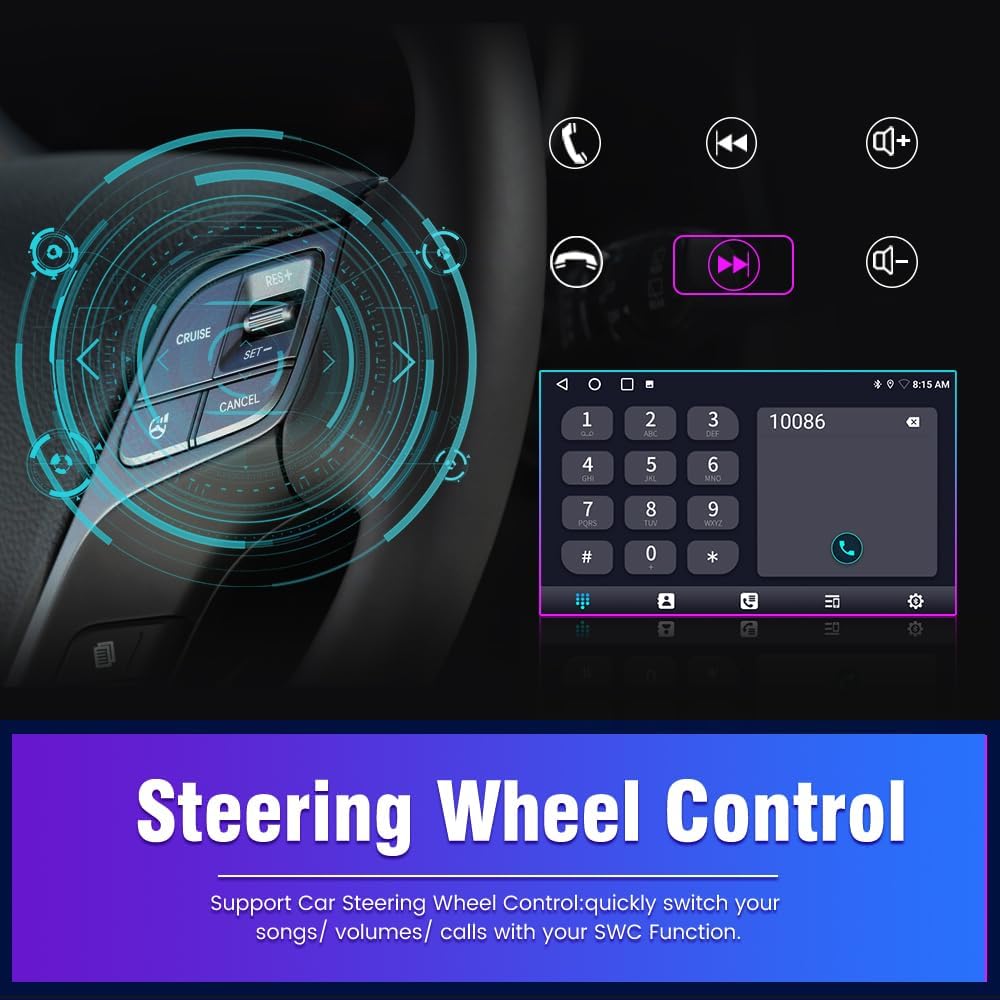
Figure 5.2: Steering Wheel Control functionality for convenient operation while driving.
5.4 Media Playback
- FM/AM Tuner: The built-in digital stereo (RDS) FM/AM tuner allows automatic or semi-automatic scanning for radio stations.
- USB Playback: Connect USB devices to play multimedia files.
- Online Media: With WiFi/WLAN internet connectivity, you can stream music or videos from online platforms like YouTube.
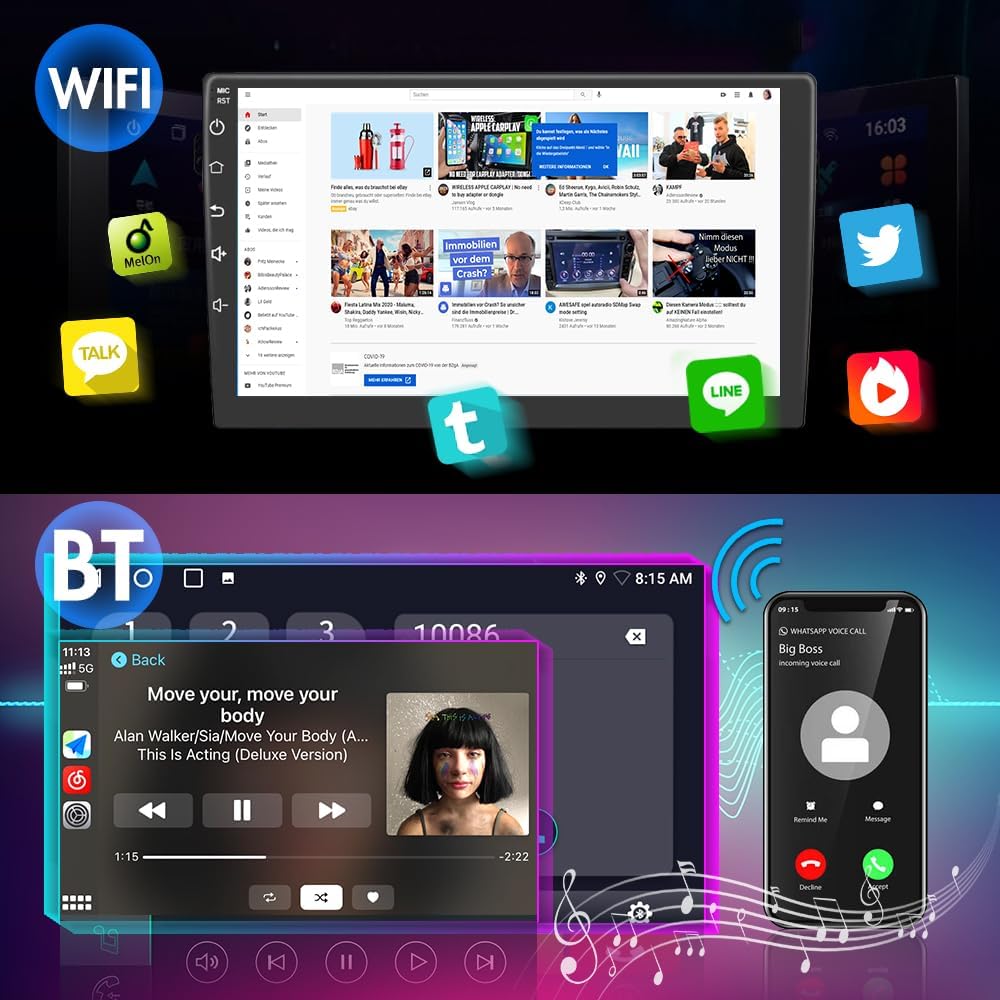
Figure 5.3: WiFi and Bluetooth connectivity for various media and communication functions.
5.5 GPS Navigation
After connecting the GPS antenna, you can use pre-installed maps or download online map applications from the app store for real-time traffic information. Route planning can be done using coordinates, postal codes, addresses, or Points of Interest (POI).

Figure 5.4: GPS Navigation with support for offline and online maps.
5.6 Other Main Functions
- Reversing Assistance: Connect a rear reversing camera (sold separately) for visual assistance when backing up.
- Headrest Video Output: The unit supports transferring video to headrest monitors.
- Mirror Link: Compatible with both Android and iOS devices for screen mirroring.
- Split-screen Display: Allows running two applications simultaneously on the screen, such as navigation and music.
- DSP Function: Digital Sound Processor for enhanced audio control and customization, including stereo EQ settings (jazz, rock, pop, classic, etc.).
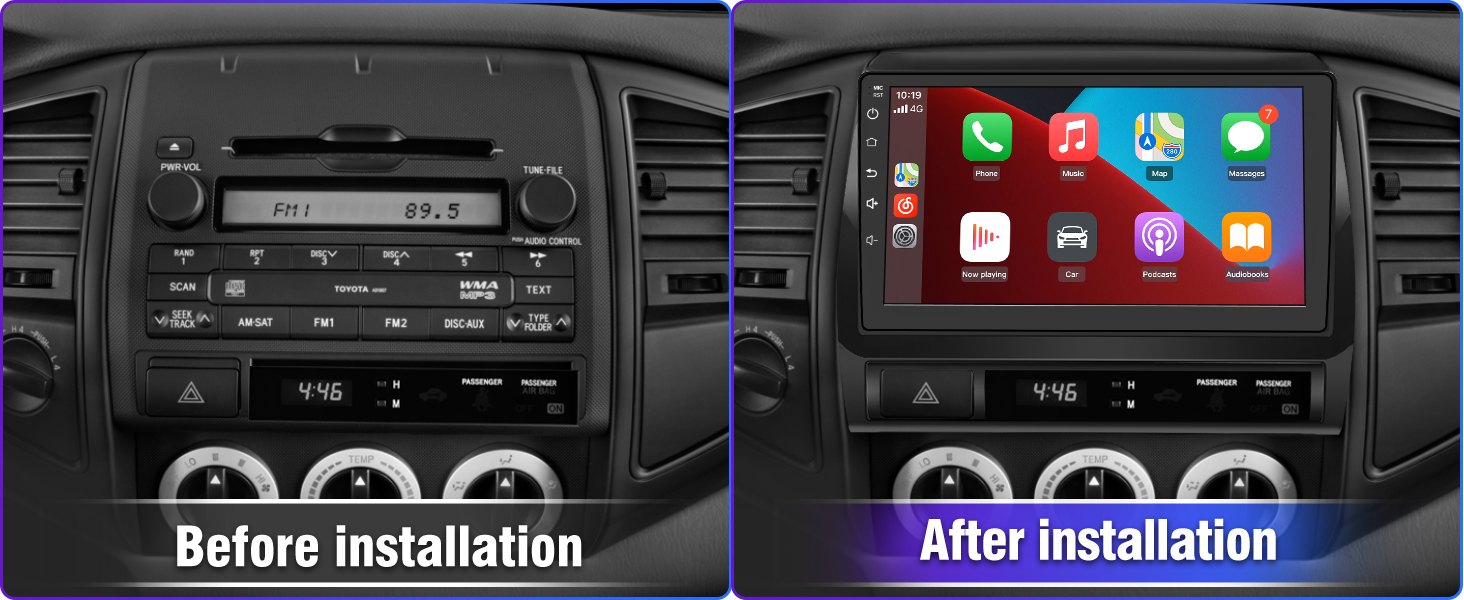
Figure 5.5: Split-screen display for multitasking, such as navigation and media playback.
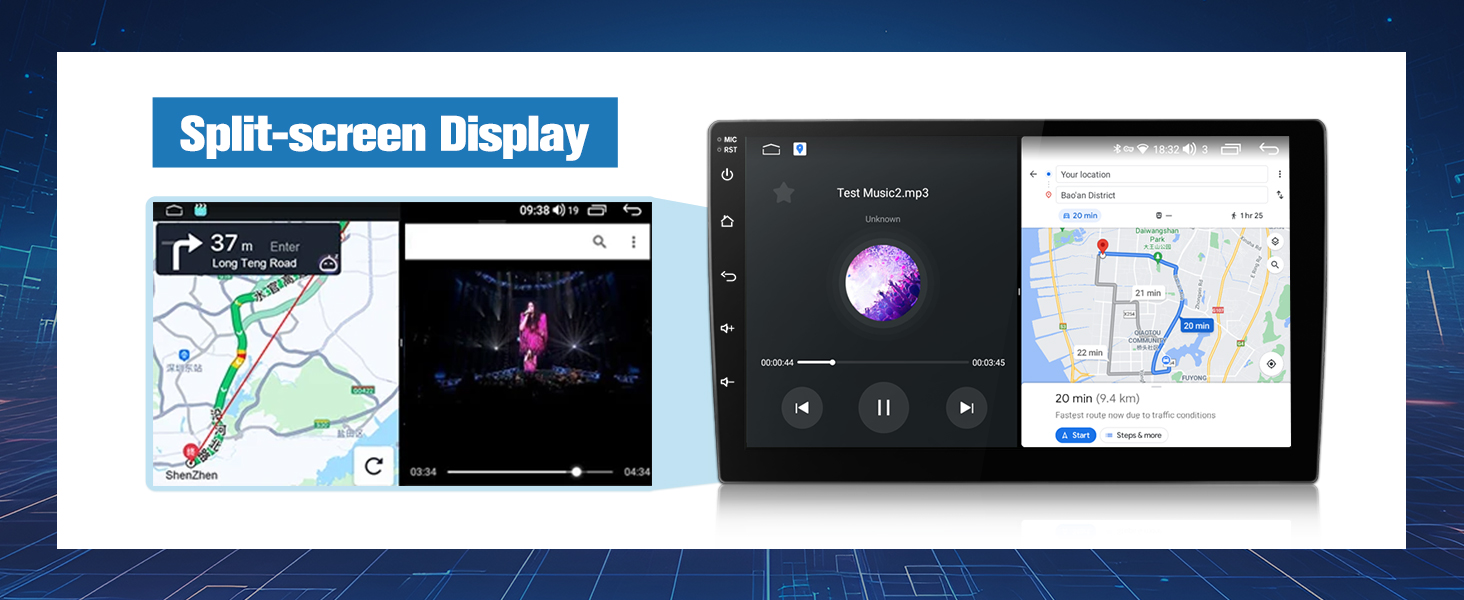
Figure 5.6: DSP Function for advanced audio customization and sound balancing.
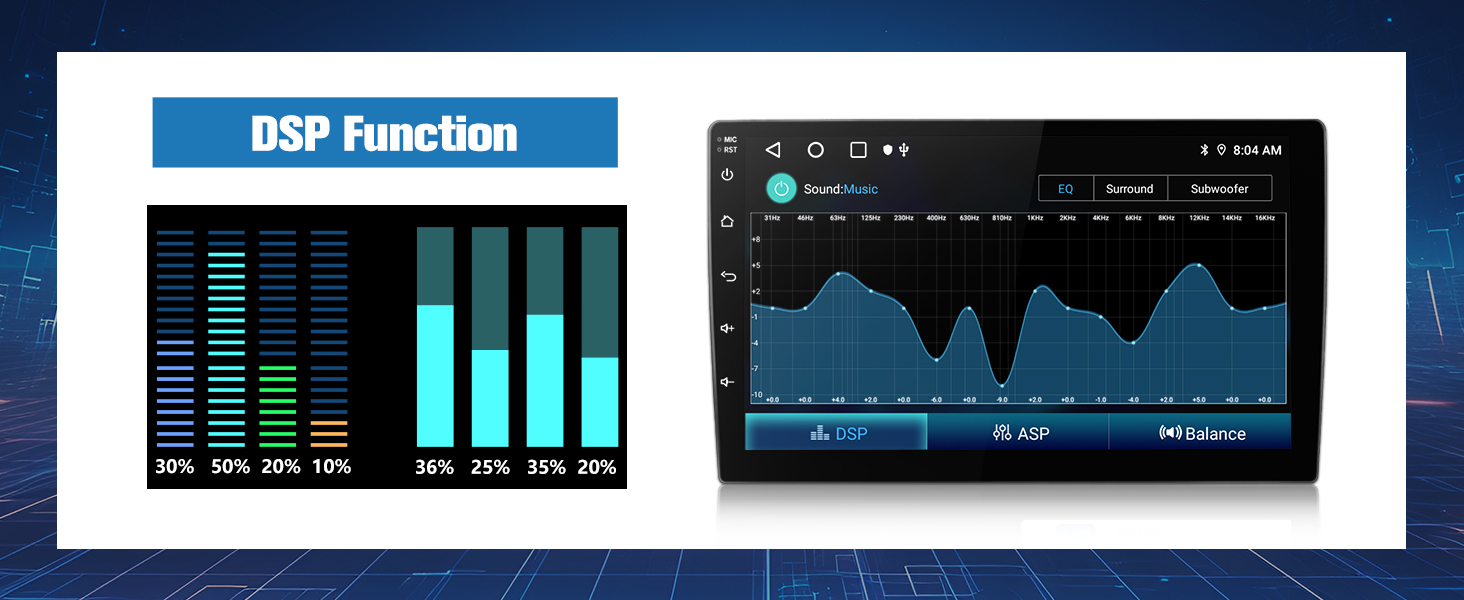
Figure 5.7: Support for rear cameras to aid in parking and reversing maneuvers.
6. Maintenance
- Screen Cleaning: Use a soft, lint-free cloth to clean the touch screen. For stubborn smudges, dampen the cloth with a small amount of screen cleaner. Avoid harsh chemicals.
- Software Updates: Periodically check for software updates to ensure optimal performance and access to new features. Follow the instructions provided with the update.
- General Care: Avoid exposing the unit to extreme temperatures, direct sunlight for prolonged periods, or excessive moisture.
7. Troubleshooting
| Problem | Possible Cause | Solution |
|---|---|---|
| Unit does not power on. | Incorrect wiring; Blown fuse; Loose battery connection. | Check all power connections; Inspect vehicle fuses; Ensure battery terminals are secure. |
| No sound. | Volume too low; Mute activated; Speaker wiring issues. | Increase volume; Check mute status; Verify speaker connections. |
| CarPlay/Android Auto not connecting. | Bluetooth/Wi-Fi off on phone; Incorrect pairing; Software glitch. | Ensure phone's Bluetooth/Wi-Fi is on; Re-pair device; Restart both phone and receiver. |
| Steering Wheel Controls not working. | Can Bus not connected; Incorrect SWC configuration. | Verify Can Bus connection; Configure SWC in unit settings. |
| GPS signal weak or inaccurate. | GPS antenna obstructed or disconnected. | Ensure GPS antenna has a clear view of the sky and is securely connected. |
8. Specifications
| Feature | Detail |
|---|---|
| Brand | Litillbuly |
| Model | B0CDNZ8HKQ |
| Operating System | Android 12 |
| Memory Storage Capacity | 32 GB |
| Display Size | 9 Inches |
| Connectivity Technology | Wi-Fi, Bluetooth |
| Special Feature | Wireless CarPlay and Android Auto |
| Map Type | North America (pre-installed, online maps supported) |
| Mounting Type | Dashboard Mount |
| Vehicle Service Type | Car (Toyota Tacoma 2005-2015) |
| Item Weight | 3.9 pounds |
| Package Dimensions | 13.62 x 11.69 x 4.88 inches |
9. Warranty and Support
9.1 Warranty Information
The Litillbuly Android 12 Wireless CarPlay Receiver comes with a 1-year warranty. For detailed warranty terms and conditions, please refer to the documentation included with your product or contact customer support.
9.2 Customer Support
For any questions, technical assistance, or support regarding your Litillbuly product, please contact our customer support team. We are committed to providing excellent service.
- Email: litillbuly@outlook.com
- Availability: 24 Hours Customer Support
Ask a question about this manual
Ask about setup, troubleshooting, compatibility, parts, safety, or missing instructions. Manuals+ will review the question and use this page’s manual context to help answer it.