1. Introduction
This manual provides detailed instructions for the installation, operation, and maintenance of your AINAVI 7-inch Android 12 Car Stereo. Please read this manual thoroughly before using the product to ensure proper functionality and to prevent damage. This device is designed to enhance your in-car entertainment and navigation experience.
2. Safety Information
- Professional Installation Recommended: Due to the complexity of car electrical systems, professional installation is highly recommended.
- Power Supply: Ensure the car stereo is connected to a 12V DC power supply with negative grounding. Incorrect voltage can cause damage.
- Wiring: Double-check all wiring connections before powering on the unit. Incorrect wiring can lead to short circuits or damage.
- Driving Safety: Do not operate the device in a manner that distracts you from driving. Always prioritize road safety.
- Temperature: Avoid exposing the unit to extreme temperatures or direct sunlight for prolonged periods.
- Moisture: Keep the unit away from water and excessive moisture.
3. Package Contents
Verify that all items listed below are included in your package:
- 1x Android Car Stereo
- Wiring Harness Power Cable, CANbus Decoder
- Radio Antenna Adaptor, GPS Antenna
- USB & Audio Cables, User Manual
- Backup Camera, External Microphone

Figure 3.1: Included Components and Product Dimensions
4. Product Overview
The AINAVI 7-inch Android 12 Car Stereo is an advanced multimedia system designed for select Jeep, Dodge, and Chrysler vehicles. It features a high-performance processor and a vibrant QLED display, offering a comprehensive suite of features for navigation, communication, and entertainment.
4.1 Key Features
- Operating System: Android 12
- Processor: ARM Cortex A55 8-Core
- Memory: 2GB RAM + 32GB ROM
- Display: 7-inch QLED screen, 1024 x 600 resolution, G+G full lamination technology, 178° full-viewing angle
- Audio: Built-in DSP with Time Correction & 48-band EQ, Max output 4*45W amplifier
- Connectivity: Wireless/Wired Apple CarPlay, USB Android Auto, GPS Navigation, Dual-band WiFi (2.4GHz & 5GHz), Bluetooth 5.0
- Compatibility: Plug and Play harness for specific Jeep Wrangler, Dodge, and Chrysler models (2008-2020), supports steering wheel controls.

Figure 4.1: AINAVI 7-inch Android 12 Car Stereo Front View
5. Installation Guide
5.1 Vehicle Compatibility
This car stereo is designed for a custom fit in the following vehicle models and years:
| Vehicle Make | Model | Years |
|---|---|---|
| Chrysler | Sebring | 2007-2010 |
| Chrysler | Town & Country | 2008-2020 |
| Dodge | Caravan | 2008-2013 |
| Dodge | Durango | 2011-2013 |
| Dodge | Journey | 2009-2010 |
| Dodge | Nitro | 2007-2012 |
| Dodge | RAM 1500/2500/3500/4500 | 2009-2012 (RAM 1500), 2010-2012 (RAM 2500/3500/4500) |
| Jeep | Compass | 2009-2011 |
| Jeep | Commander | 2008-2011 |
| Jeep | Grand Cherokee | 2008-2011 |
| Jeep | Liberty | 2008-2011 |
| Jeep | Patriot | 2009-2016 |
| Jeep | Wrangler | 2007-2018 |
Note: This list is based on the provided product information. Always verify fitment with your specific vehicle model and year before installation.

Figure 5.1: Before and After Installation in a Compatible Vehicle
5.2 Pre-Installation Checks
- Disconnect the vehicle's battery to prevent electrical shorts.
- Carefully remove the existing car stereo and dashboard trim. Refer to your vehicle's service manual for specific instructions.
- Identify the vehicle's wiring harness and compare it with the provided wiring harness and CANbus decoder.
5.3 Wiring Diagram
Refer to the following diagram for proper wiring connections. The included wiring harness and CANbus decoder are designed for plug-and-play installation in compatible vehicles, minimizing the need for wire modification.

Figure 5.2: Rear Panel Connections and Wiring Diagram
- 1. CANbus Decoder: Connects to vehicle's CANbus system for integration.
- 2. Power Cable: Main power supply connection.
- 3. USB Cable (4 pins): For USB devices.
- 4. USB Cable (6 pins): For additional USB devices.
- 5. RCA FR - Audio right output (red): Front right audio output.
- 6. RCA FL - Audio left output (white): Front left audio output.
- 7. AUX -RIN - Audio right input (red): Auxiliary right audio input.
- 8. AUX -LIN - Audio left input (white): Auxiliary left audio input.
- 9. V OUT - Video output (yellow): Video output for external displays.
- 10. AUX VIN - Video input (yellow): Auxiliary video input.
- 11. AUX VIN2 - Video input2 (yellow): Second auxiliary video input.
- 12. Power Out (12v): 12V power output.
- 13. SUB - Subwoofer (green): Subwoofer output.
- 14. Microphone input (black): External microphone connection.
- 15. Back-up Camera Input: Input for the rear view camera.
- 16. Bluetooth Antenna: For Bluetooth signal reception.
- 17. WiFi Antenna: For Wi-Fi signal reception.
- 18. GPS Antenna: For GPS signal reception.
- 19. Radio Antenna Adapter: Connects to vehicle's radio antenna.
5.4 Installation Steps
- Connect the main power harness to the car stereo and the vehicle's wiring.
- Connect the CANbus decoder to the appropriate vehicle connector.
- Attach the GPS antenna, WiFi antenna, and Bluetooth antenna to their respective ports on the stereo. Position the GPS antenna in a location with a clear view of the sky.
- Connect the external microphone for improved call quality.
- If installing a backup camera, connect its video input to the designated port (15) and ensure its power is correctly wired to the vehicle's reverse light circuit.
- Connect any additional USB devices or RCA cables as needed.
- Carefully slide the car stereo into the dashboard opening, ensuring all wires are clear and not pinched.
- Secure the stereo in place using the provided mounting brackets or screws.
- Reinstall the dashboard trim.
- Reconnect the vehicle's battery.
- Turn on the vehicle and test the stereo's functions.
6. Operating Instructions
6.1 Basic Interface Navigation
The stereo operates on an Android 12 interface. You can navigate using the touchscreen or the physical buttons on the unit. The main screen typically displays shortcuts to common functions like Radio, Music, Navigation, and Apps.
6.2 Apple CarPlay & Android Auto
The unit supports both wireless and wired Apple CarPlay and USB-connected Android Auto. This allows seamless integration of your smartphone for navigation, communication, and media playback.
- For Wireless CarPlay: Enable Bluetooth and Wi-Fi on your iPhone. Pair your iPhone with the car stereo via Bluetooth. Follow the on-screen prompts to activate CarPlay.
- For Wired CarPlay/Android Auto: Connect your smartphone to the stereo's USB port using a certified USB cable. The system should automatically detect and launch CarPlay or Android Auto.

Figure 6.1: Apple CarPlay and Android Auto Interfaces
6.3 GPS Navigation
The stereo has built-in GPS navigation. You can use online maps when connected to Wi-Fi or download offline maps for navigation without an internet connection.
- Online Maps: Connect the unit to a Wi-Fi network (e.g., your phone's hotspot) to access real-time traffic information and online mapping services.
- Offline Maps: Download map data for your desired regions to the stereo's internal storage. This allows navigation even in areas without cellular or Wi-Fi coverage.
6.4 Bluetooth Connectivity
Bluetooth 5.0 allows for hands-free calling and audio streaming.
- Go to the Bluetooth settings on the stereo.
- Enable Bluetooth on your smartphone and search for available devices.
- Select the car stereo from the list and pair the devices.
- Once paired, you can make/receive calls and stream music wirelessly.
6.5 Wi-Fi Connection
Connect the stereo to a Wi-Fi network to access online features, download apps, and update software.
- Navigate to the 'Settings' menu on the stereo.
- Select 'Network & Internet' or 'Wi-Fi'.
- Turn on Wi-Fi and select your desired network. Enter the password if prompted.
6.6 DSP and Equalizer Settings
The built-in Digital Sound Processor (DSP) and 48-band equalizer allow for precise audio customization.
- Access the 'DSP' or 'EQ' application from the main menu.
- Adjust the 48-band equalizer to fine-tune frequency responses.
- Use the Time Correction feature to digitally control the sound delay for each speaker, optimizing the sound field position for the driver or passengers.
- Explore other DSP features like bass boost, surround sound, and preset sound modes.
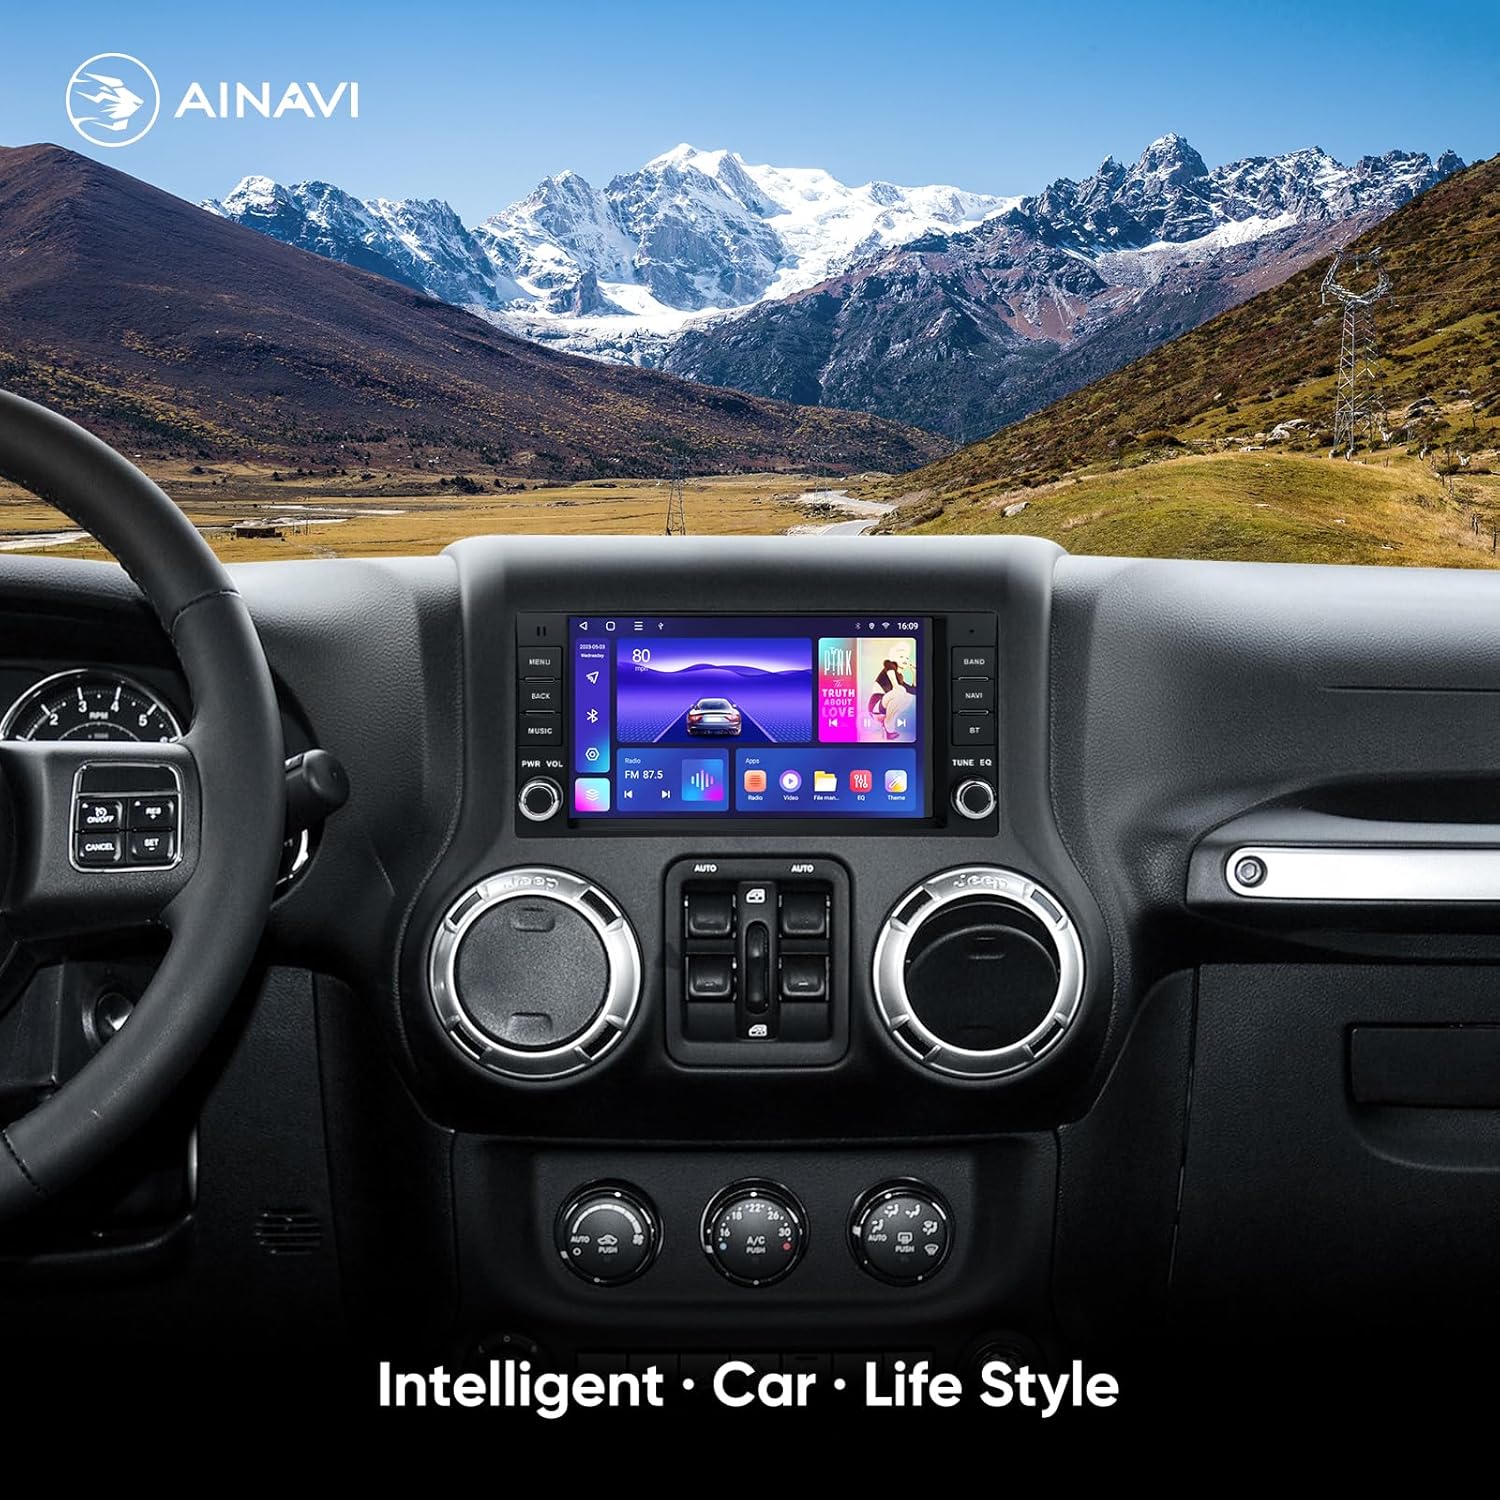
Figure 6.2: Digital Sound Processor (DSP) Interface
6.7 Steering Wheel Controls
The unit supports most original steering wheel control functions through the CANbus decoder. After installation, the controls should function automatically. If not, refer to the stereo's settings for steering wheel control mapping.
7. Troubleshooting
This section addresses common issues you might encounter. For problems not listed here, please contact customer support.
| Problem | Possible Cause | Solution |
|---|---|---|
| No power | Loose power connection, blown fuse | Check power cable connections. Inspect vehicle's fuse box and stereo's fuse. |
| No sound | Speaker wires disconnected, volume too low, mute activated | Verify speaker wire connections. Increase volume. Check if mute is active. |
| Backup camera image is upside down or not displaying | Incorrect camera settings, loose connection | Go to 'Reverse Settings' or 'Camera Settings' in the stereo menu. Adjust camera type or image orientation. Ensure camera input (15) is secure. |
| GPS not working | GPS antenna not connected or poor signal, no offline maps | Ensure GPS antenna (18) is securely connected and placed with a clear view of the sky. Download offline maps if needed. |
| Bluetooth not connecting | Bluetooth off on phone/stereo, pairing issue | Ensure Bluetooth is enabled on both devices. Delete previous pairings and re-pair. |
| CarPlay/Android Auto not launching | Incorrect USB cable, phone not compatible, software issue | Use a high-quality, certified USB cable. Ensure your phone's OS is up to date. Restart both phone and stereo. |
| Steering wheel controls not working | CANbus decoder issue, incorrect settings | Verify CANbus decoder connection. Check steering wheel control settings in the stereo menu for mapping. |
8. Specifications
| Feature | Specification |
|---|---|
| Item Weight | 3.67 pounds |
| Package Dimensions | 11.02 x 7.32 x 7.2 inches |
| Display Size | 7 Inches |
| Operating System | Android 12 |
| Processor | ARM Cortex A55 8-Core |
| RAM | 2GB |
| ROM | 32GB |
| Screen Resolution | 1024 x 600 |
| Special Features | Android Auto, Apple CarPlay, Built-In Wi-Fi, Equalizer (DSP), GPS Navigation |
| Connectivity Technology | Bluetooth 5.0, Wi-Fi (2.4Ghz & 5Ghz) |
| Audio Output Mode | Stereo (4*45W Max Output) |
| Mounting Type | Dashboard Mount |
9. Maintenance
- Screen Cleaning: Use a soft, lint-free cloth to clean the touchscreen. For stubborn marks, lightly dampen the cloth with water or a screen-safe cleaner. Avoid harsh chemicals.
- Software Updates: Periodically check for software updates via the system settings when connected to Wi-Fi. Updates can improve performance and add new features.
- General Care: Avoid placing heavy objects on the unit or exposing it to direct impacts.
10. Warranty & Support
10.1 Warranty Information
This AINAVI car stereo comes with a one-year manufacturer's warranty from the date of purchase. This warranty covers defects in materials and workmanship under normal use. It does not cover damage caused by improper installation, accident, misuse, abuse, neglect, unauthorized modification, or natural disasters.
10.2 Customer Support
For technical assistance, warranty claims, or any questions regarding your AINAVI car stereo, please contact our customer support team:
- Via Amazon: Contact us through your Amazon order details.
- Hotline: +1 (833) 858-5016 (Working hours: 01:00 PM to 00:00 AM PST)
- Email: info@ainavi.com

Figure 10.1: AINAVI Customer Support


