1. Introduction
This manual provides essential instructions for the safe and efficient operation, assembly, and maintenance of your Shark CS110EM Rocket Ultra-Light Corded Stick Vacuum. This lightweight and powerful vacuum is designed for deep cleaning across various surfaces, offering floor-to-ceiling versatility and easy conversion to a handheld unit. Please read this manual thoroughly before first use and retain it for future reference.
2. Important Safety Instructions
When using an electrical appliance, basic precautions should always be observed, including the following:
- Read all instructions before using this vacuum cleaner.
- Always unplug the power cord from the electrical outlet when not in use and before servicing.
- Do not use outdoors or on wet surfaces.
- Do not allow to be used as a toy. Close attention is necessary when used by or near children.
- Use only as described in this manual. Use only manufacturer's recommended attachments.
- Do not use with a damaged cord or plug. If appliance is not working as it should, has been dropped, damaged, left outdoors, or dropped into water, return it to SharkNinja Operating LLC for examination, repair, or adjustment.
- Do not pull or carry by cord, use cord as a handle, close a door on cord, or pull cord around sharp edges or corners. Do not run appliance over cord. Keep cord away from heated surfaces.
- Do not unplug by pulling on cord. To unplug, grasp the plug, not the cord.
- Do not handle plug or vacuum cleaner with wet hands.
- Do not put any object into openings. Do not use with any opening blocked; keep free of dust, lint, hair, and anything that may reduce airflow.
- Keep hair, loose clothing, fingers, and all parts of body away from openings and moving parts.
- Turn off all controls before unplugging.
- Use extra care when cleaning on stairs.
- Do not use to pick up flammable or combustible liquids, such as gasoline, or use in areas where they may be present.
- Do not pick up anything that is burning or smoking, such as cigarettes, matches, or hot ashes.
- Do not use without dust cup and/or filters in place.
3. Assembly and Initial Setup
Your Shark CS110EM vacuum comes with several components that are easy to assemble.
- Attach the Floor Nozzle to the Wand: Insert the wand into the floor nozzle until it clicks securely into place.

Figure 3.1: Fully assembled Shark CS110EM Rocket Ultra-Light Corded Stick Vacuum, showing the main unit, wand, and floor nozzle.
- Connect the Handheld Vacuum to the Wand: Slide the handheld vacuum unit onto the top of the wand until it clicks. Ensure all connections are firm before use.
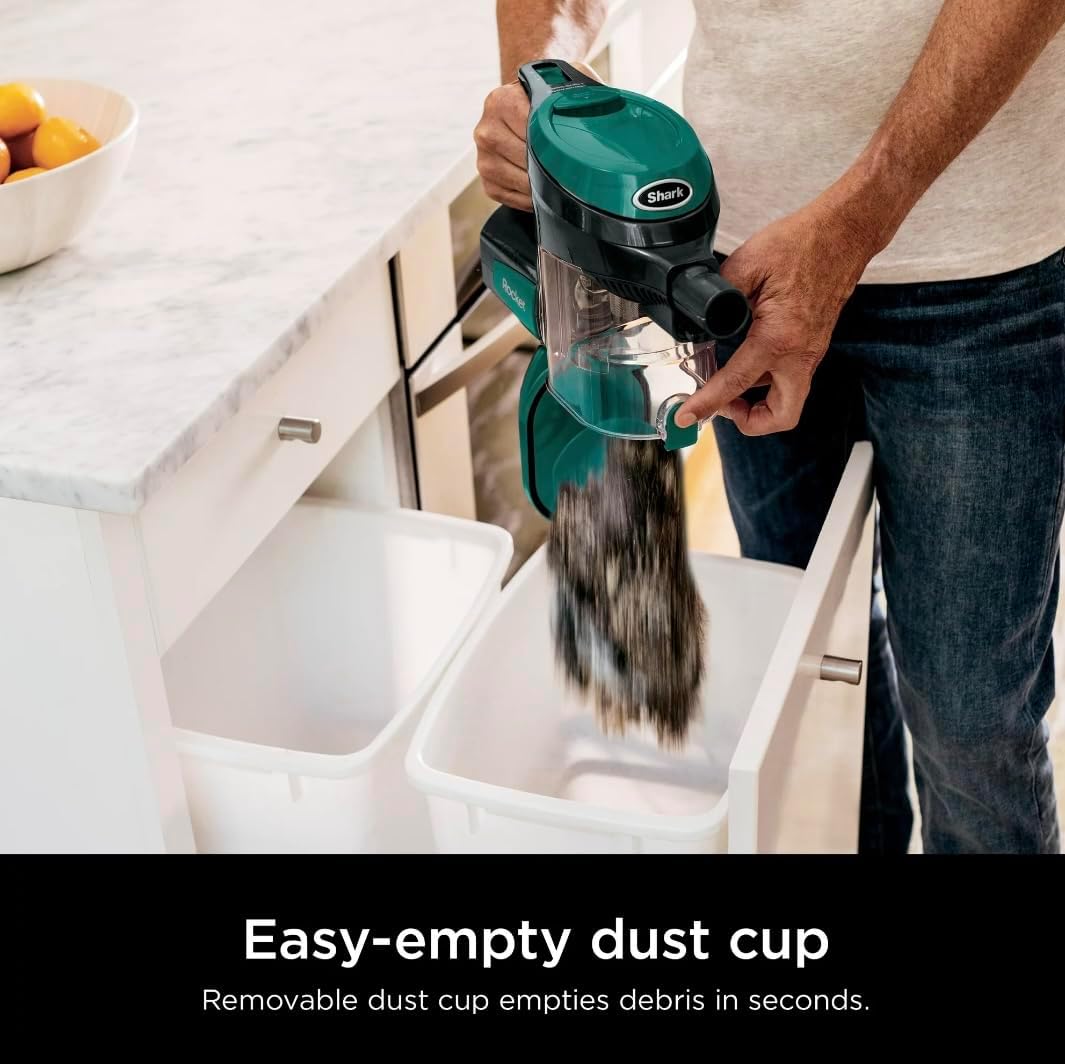
Figure 3.2: Diagram illustrating the main components of the Shark Corded Stick Vacuum, including the handheld unit, wand, and floor nozzle, along with key features like fingertip controls and swivel steering.
- Attach Accessories (Optional): Depending on your cleaning needs, attach any included accessories directly to the handheld vacuum or to the end of the wand.
4. Operating the Vacuum
4.1 Power and Mode Selection
The vacuum features fingertip controls located on the handheld unit. Plug the power cord into a suitable electrical outlet.
- Power On/Off: Press the power button to start or stop the vacuum.
- Surface Selection: Toggle between settings for hard floors and carpets. The hard floor setting provides gentle suction, while the carpet setting engages the brushroll for deeper cleaning.
4.2 Floor Cleaning (Stick Mode)
For cleaning floors, use the vacuum in its full stick configuration.
- Hard Floors: Select the hard floor setting. The powerful suction effectively cleans debris from sealed hard floors.
- Carpets: Select the carpet setting to activate the brushroll for deep cleaning of carpets and area rugs.
- Maneuverability: The swivel steering allows for easy navigation around furniture and obstacles. The slim design enables access under furniture.
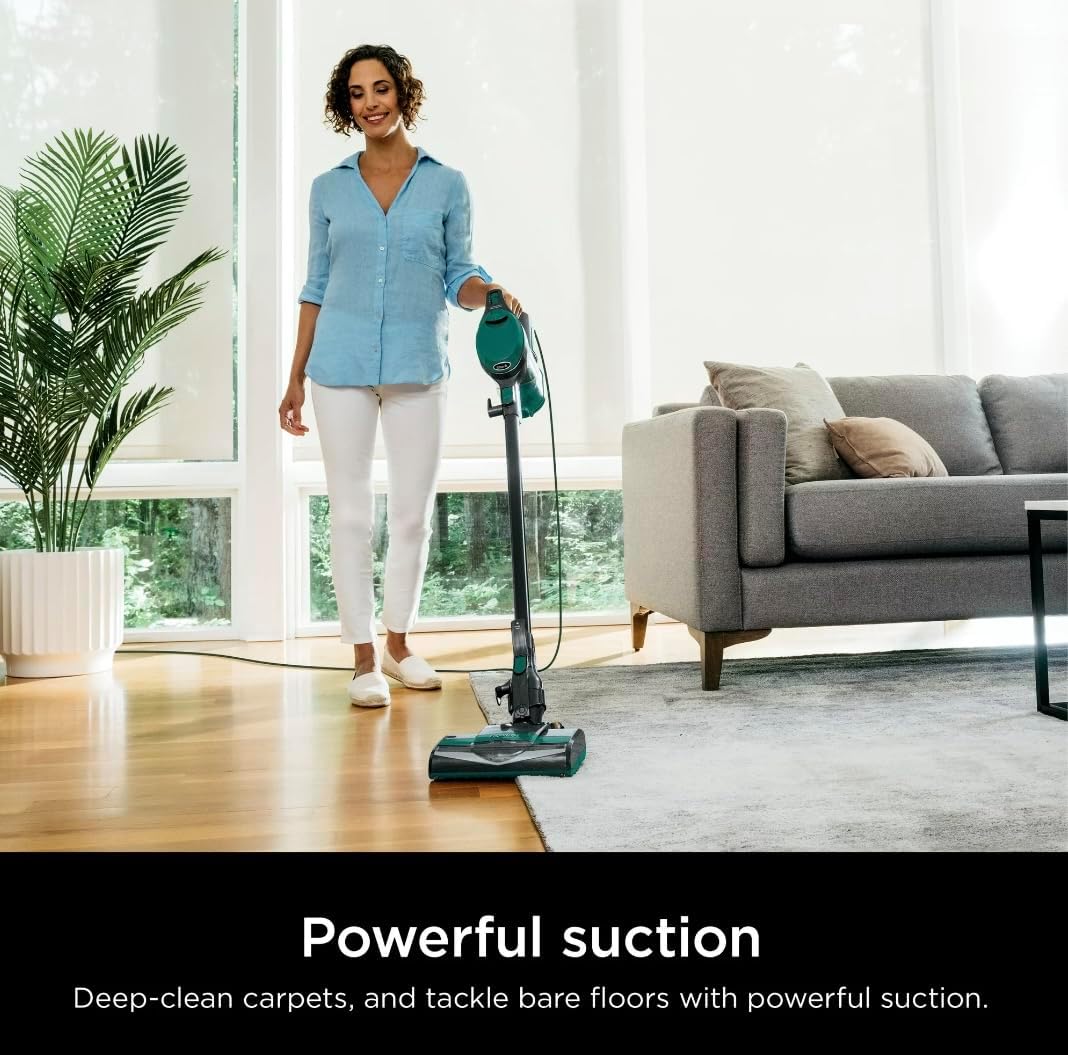
Figure 4.1: A user demonstrating the Shark stick vacuum's powerful suction on both hard floors and carpets.

Figure 4.2: The vacuum's low-profile design allows for easy cleaning under furniture.
4.3 Above-Floor Cleaning (Handheld Mode)
The vacuum easily converts to a handheld unit for versatile cleaning.
- Convert to Handheld: Press the release button to detach the handheld vacuum from the wand.
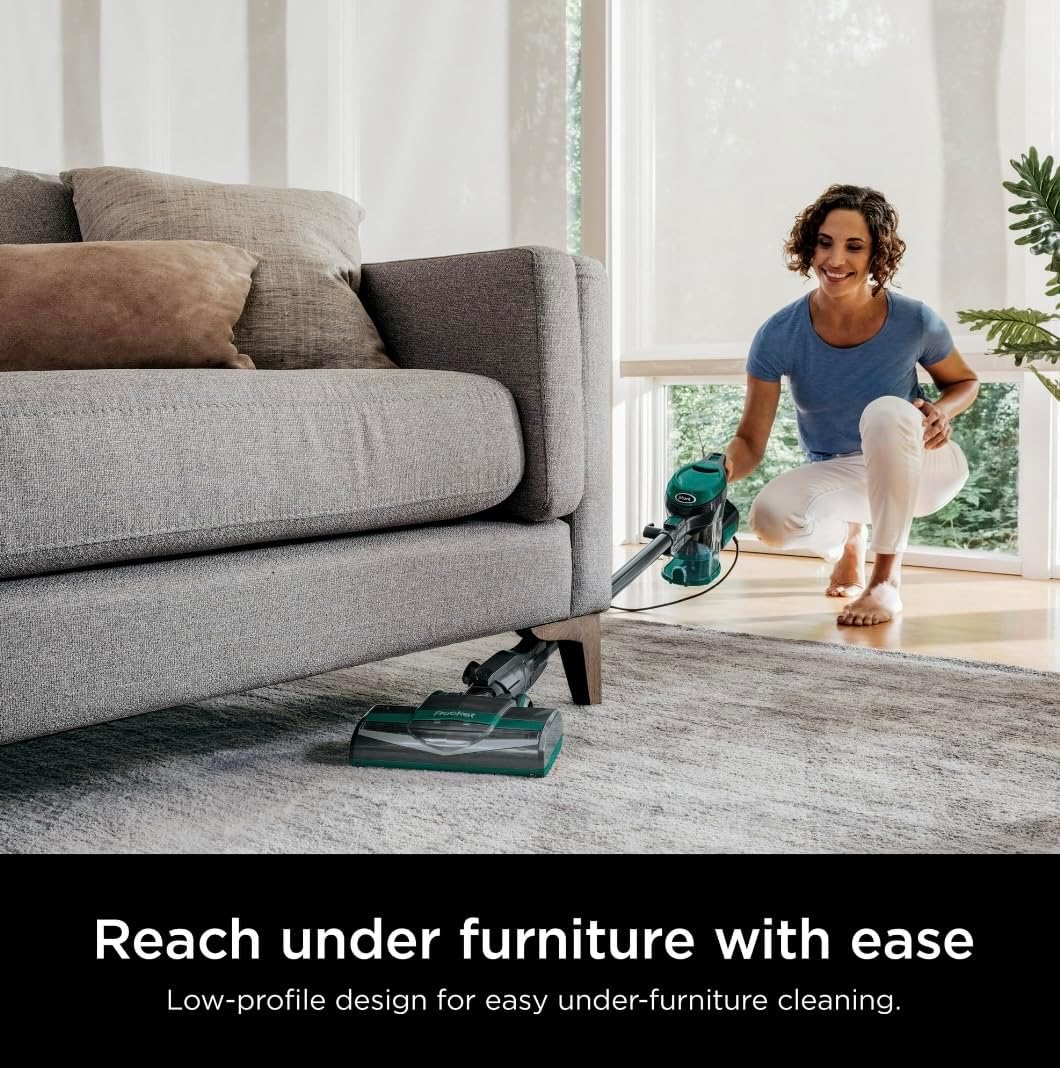
Figure 4.3: The Shark vacuum easily converts into a lightweight handheld unit for cleaning furniture, stairs, and other elevated surfaces.
- Use with Wand for High Reach: For cleaning high areas like ceilings, fans, or curtains, detach the floor nozzle and attach the handheld vacuum directly to the wand.

Figure 4.4: Detach the hand vacuum and wand from the nozzle to reach high and low areas, such as cleaning windows or ceiling corners.
- Use with Accessories: Attach specialized tools (e.g., crevice tool, upholstery tool) directly to the handheld unit or the wand for targeted cleaning.
5. Maintenance
Regular maintenance ensures optimal performance of your vacuum cleaner.
5.1 Emptying the Dust Cup
Empty the dust cup after each use or when debris reaches the MAX fill line.
- Ensure the vacuum is unplugged.
- Hold the handheld vacuum over a trash bin.
- Press the dust cup release latch to open the bottom of the dust cup, allowing debris to fall out.
- Close the dust cup until it clicks securely.

Figure 5.1: The removable dust cup can be easily emptied by pressing a button, disposing of debris in seconds.
5.2 Cleaning Filters
The vacuum uses foam filters. Rinse filters with cold water only. Allow to air dry completely for at least 24 hours before reinstalling.
- Pre-Motor Filters: Located inside the dust cup. Rinse every 3 months.
- Post-Motor Filter: Located at the bottom of the handheld unit. Rinse once a year.
5.3 Brushroll Maintenance
Regularly check the brushroll for any hair, string, or debris that may be wrapped around it. Carefully cut away any obstructions using scissors.
6. Troubleshooting
If your vacuum is not performing as expected, consult the following table for common issues and solutions.
| Problem | Possible Cause | Solution |
|---|---|---|
| Vacuum does not turn on. | Power cord not securely plugged in. | Check plug and electrical outlet. |
| Vacuum is not picking up debris. | Dust cup is full. Filters need cleaning. Blockage in nozzle, wand, or hose. | Empty dust cup. Clean filters. Check for and clear blockages. |
| Brushroll is not spinning. | Carpet/Hard Floor setting incorrect. Blockage in brushroll. | Ensure correct surface setting is selected. Clear any obstructions from the brushroll. |
| Vacuum shuts off. | Overheating due to blockage or dirty filters. | Unplug vacuum, clear blockages, clean filters, and allow to cool for at least 45 minutes. |
7. Specifications
- Model: CS110EM
- Brand: Shark
- Type: Corded Stick Vacuum
- Special Features: Bagless, Compact, Lightweight, Portable
- Filter Type: Foam
- Is Cordless?: No
- Dust Cup Capacity: 0.31 Quarts
- Wattage: 500 watts
- Amperage: 4.2 Amps
- Product Dimensions: 10.5"L x 9.8"W x 46"H
- Item Weight: 8.2 pounds
- Color: Green
- Controller Type: Push Button
- Number of Speeds/Power Levels: 2
- Indoor/Outdoor Usage: Indoor
- UPC: 622356595223
8. Storage
The Shark CS110EM is designed for compact, freestanding storage.
- To store, detach the handheld vacuum unit from the top of the wand.
- Locate the storage hook on the bottom of the wand.
- Clip the handheld vacuum onto this hook. This configuration allows the vacuum to stand upright on its own, making it easy to store in closets or utility rooms.

Figure 8.1: The vacuum can be stored in a freestanding position by detaching the hand vacuum and clipping it to the base of the wand for compact storage.
9. Warranty and Customer Support
For warranty information, product registration, or customer support, please refer to the warranty card included with your purchase or visit the official Shark website.
Website: www.sharkclean.com