
Introduction
Thank you for choosing the Bear JSQ-F50D2 5L Ultrasonic Humidifier. This device is designed to add moisture to the air, helping to alleviate dry air conditions in single rooms. It features a 5-liter water tank, ultrasonic mist technology, and an automatic shut-off function for safety. Please read this manual thoroughly before operating the humidifier to ensure proper use and maintenance.
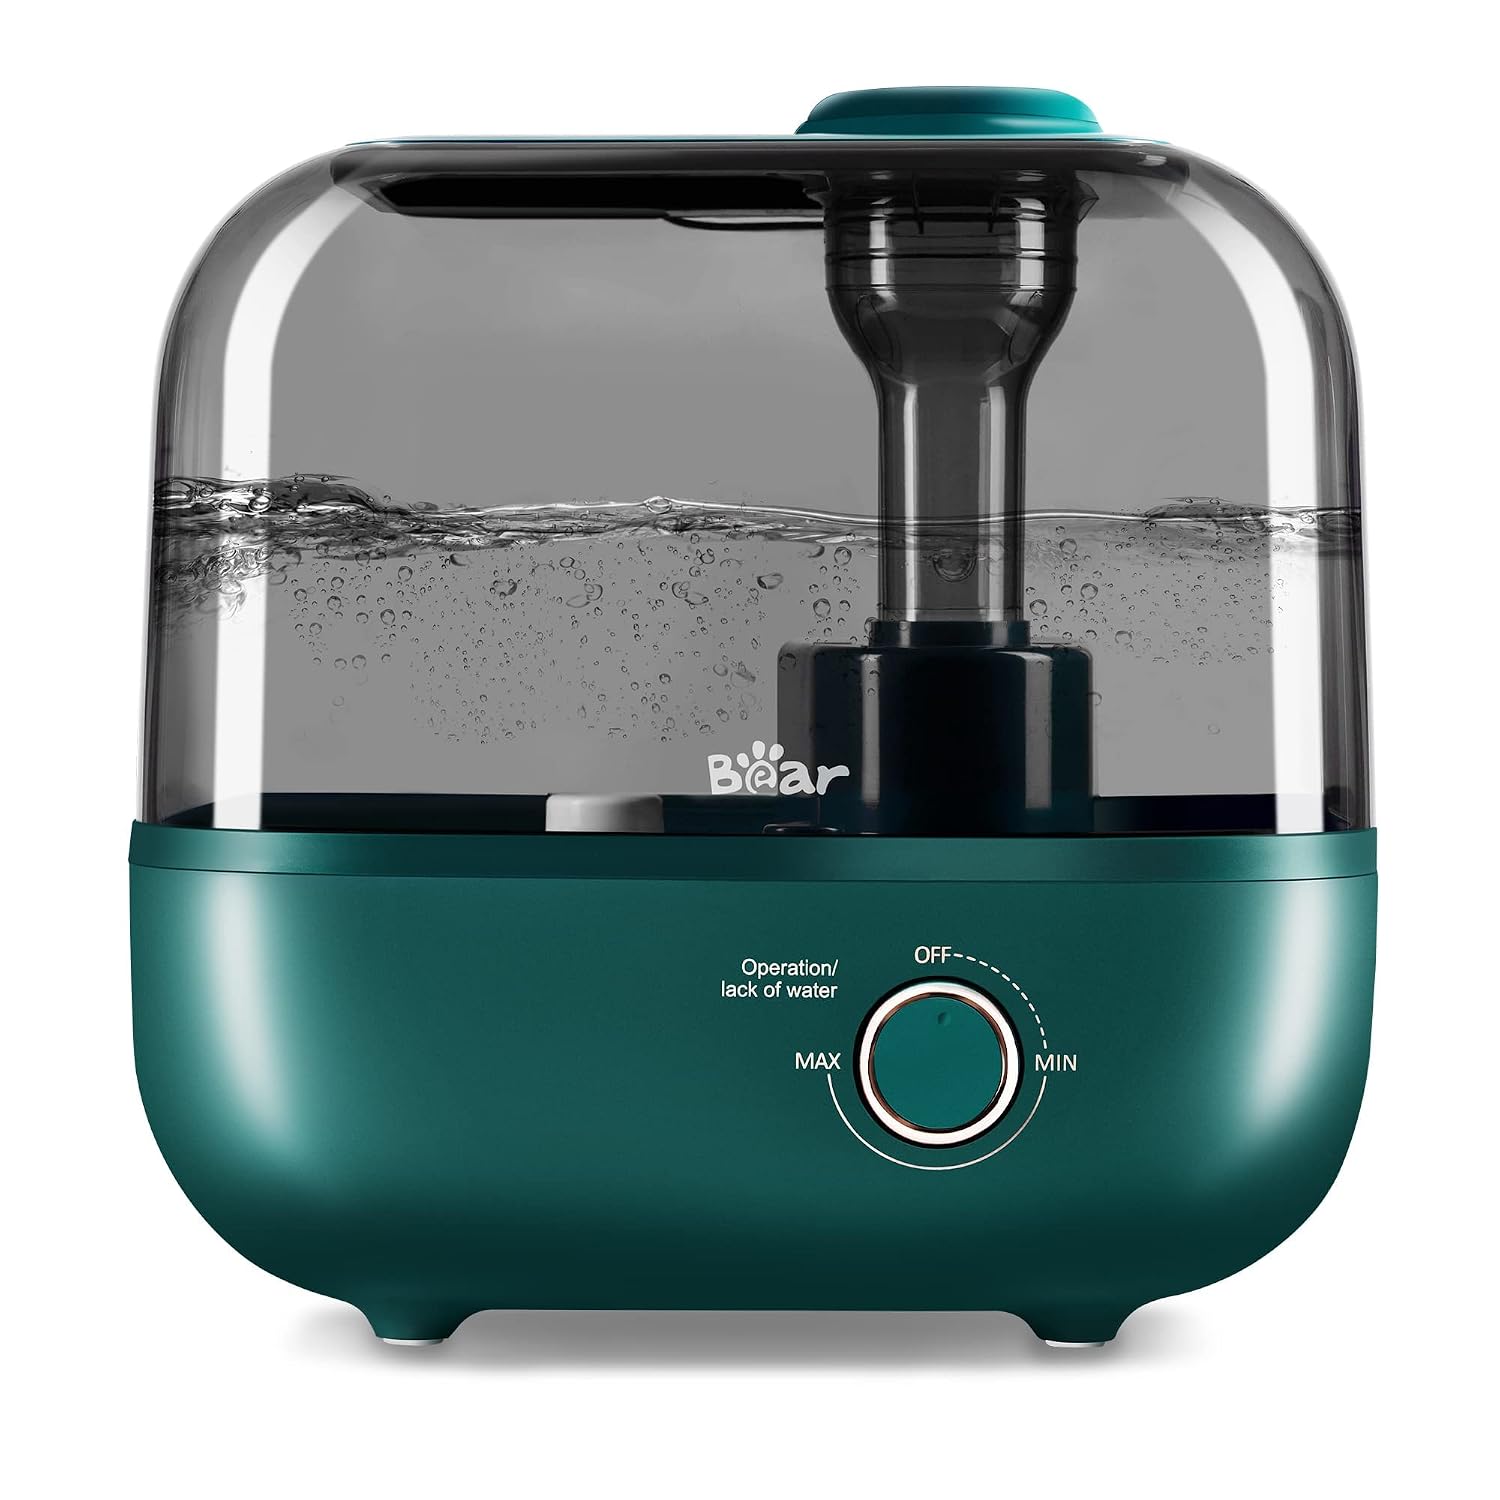
Image: The Bear JSQ-F50D2 5L Ultrasonic Humidifier, showcasing its compact design and transparent water tank.

Image: The humidifier operating in a bedroom, illustrating its ability to provide continuous mist for up to 35 hours, ensuring fresh air throughout the day and night.

Image: The humidifier placed on a wooden surface next to potted plants, illustrating its suitability for maintaining optimal humidity for indoor greenery.
Important Safety Instructions
To reduce the risk of fire, electric shock, or injury, always follow these basic safety precautions:
- Read all instructions before using the appliance.
- Place the humidifier on a firm, flat, level, and waterproof surface at least 12 inches (30 cm) away from walls and appliances.
- Do not place the humidifier directly on carpet, towels, or other absorbent surfaces.
- Keep the power cord away from heated surfaces.
- Always unplug the humidifier before moving, cleaning, or refilling the water tank.
- Do not operate the humidifier with a damaged cord or plug.
- Do not immerse the base unit in water or other liquids.
- Do not add essential oils directly into the water tank or base reservoir. Use the designated aroma sponge if available.
- This appliance is for household use only.
- Supervise children to ensure they do not play with the appliance.
Product Components
Familiarize yourself with the parts of your Bear JSQ-F50D2 humidifier:

Image: An exploded diagram showing the individual components of the Bear JSQ-F50D2 humidifier, including the 360° Mist Nozzle, Water Tank Cover, 5L Tank, Water Tank Cap, Filter Element Assembly, Air Outlet, Floating Ball of Lever, Humidifier Base, and Dial Knob.
- 360° Mist Nozzle: Directs mist output.
- Water Tank Cover: Top cover for the water tank.
- 5L Tank: Main water reservoir.
- Water Tank Cap: Secures the water tank.
- Filter Element Assembly: Filters water before misting.
- Air Outlet: Where mist is released.
- Floating Ball of Lever: Detects water level.
- Humidifier Base: Contains the ultrasonic transducer and control electronics.
- Dial Knob: Controls power and mist output level.
Setup
1. Placement
Place the humidifier on a flat, stable, and waterproof surface. Ensure it is at least 12 inches (30 cm) away from walls, furniture, and electronic devices. Avoid placing it on carpets or near heat sources.
2. Filling the Water Tank
- Remove the water tank cover and the 360° mist nozzle.
- Carefully lift the 5L water tank from the base.
- Unscrew the water tank cap at the bottom of the tank.
- Fill the tank with clean, cool tap water. Distilled or demineralized water is recommended to minimize white dust and mineral buildup. Do not fill with hot water.
- Securely screw the water tank cap back on.
- Place the filled water tank back onto the humidifier base, ensuring it is seated correctly.
- Replace the water tank cover and the mist nozzle.

Image: A hand pouring water into the humidifier's tank, demonstrating the easy refill process. The image also highlights the wide opening for cleaning.
Operation
1. Power On/Off and Mist Control
- Plug the power cord into a suitable electrical outlet (120V).
- Turn the dial knob clockwise from the "OFF" position. The humidifier will start operating.
- Continue turning the dial knob to adjust the mist output level from "MIN" (minimum) to "MAX" (maximum) according to your preference.
- To turn off the humidifier, turn the dial knob counter-clockwise to the "OFF" position.

Image: A hand rotating the dial knob on the humidifier, demonstrating how to adjust the mist output from low to high humidity settings. The 360° mist nozzle is also visible.

Image: The humidifier operating in a living room setting, emitting a powerful mist. Text overlays indicate a maximum mist output of 350ml/h and coverage for a large room (320 sq ft).
2. Automatic Shut-Off
The humidifier is equipped with an automatic shut-off feature. When the water level in the tank is too low, the humidifier will automatically turn off to prevent damage and ensure safety. Refill the water tank to resume operation.
3. Aroma Function (Optional)
To use essential oils, locate the small aroma sponge tray, typically found on the side or back of the base unit. Add a few drops of your preferred essential oil onto the sponge. Do not add essential oils directly into the water tank or base reservoir, as this can damage the unit and void the warranty.
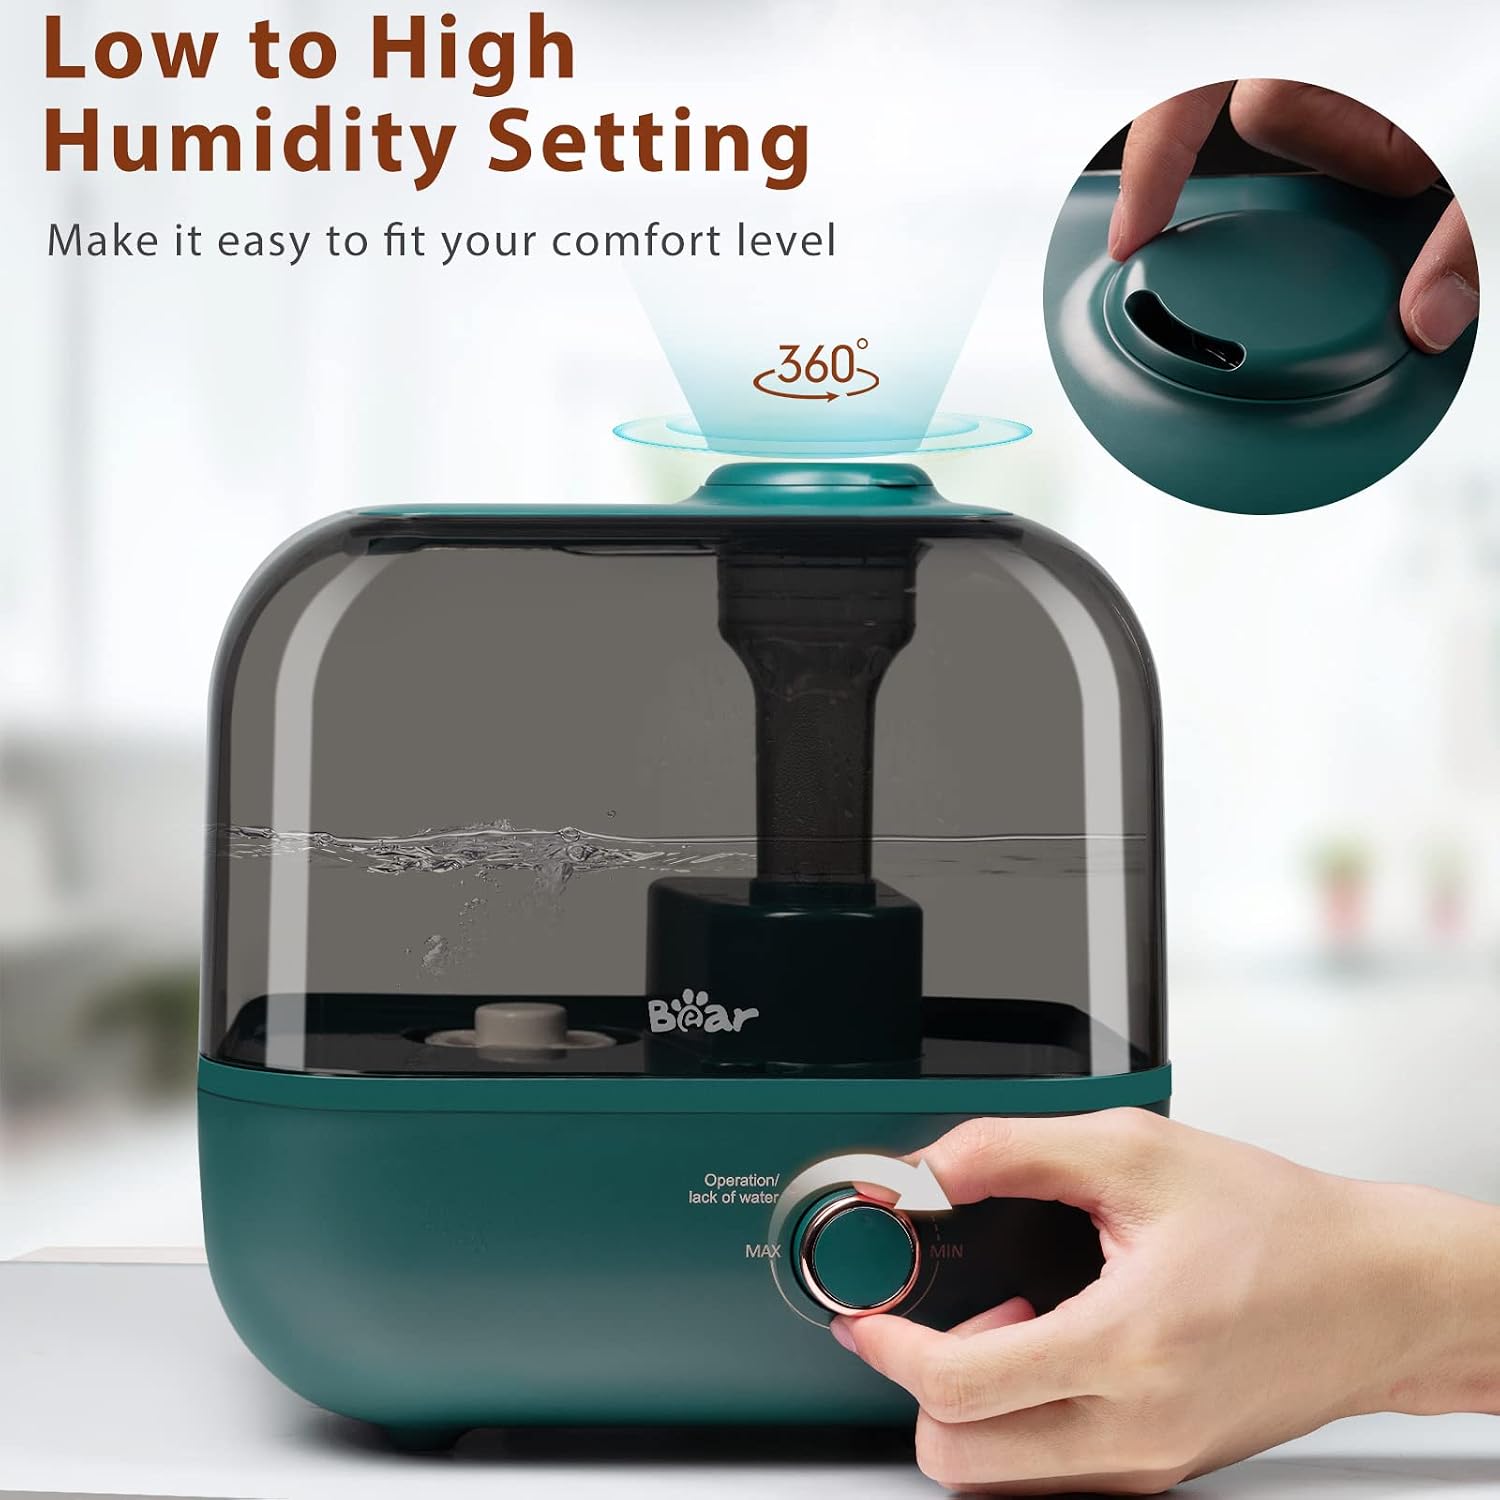
Image: The humidifier operating quietly in a bedroom, with icons indicating comfortable sleep, low noise (under 28dB), and aroma choice. A small inset shows how to add essential oil to the sponge.
Maintenance
Regular cleaning is essential for optimal performance and hygiene. Always unplug the humidifier before cleaning.
1. Daily Maintenance
- Empty any remaining water from the tank and base reservoir.
- Rinse the water tank and base reservoir with fresh water.
- Wipe the surfaces dry with a clean cloth.
2. Weekly Cleaning (or more often with hard water)
- Descaling the Base Reservoir: Mix 1 teaspoon of white vinegar with 1 cup of water. Pour the solution into the base reservoir and let it soak for 20-30 minutes. Gently scrub the ultrasonic transducer and other surfaces with a soft brush or cloth to remove mineral buildup. Rinse thoroughly with clean water.
- Cleaning the Water Tank: Pour a small amount of the vinegar solution into the water tank. Swish it around to coat all inner surfaces. Let it soak for 20-30 minutes. Use a soft brush to clean the inside of the tank, especially around the opening. Rinse thoroughly. The wide opening facilitates easy cleaning.
- Cleaning the Filter Element: If your model includes a filter element, rinse it under cool running water. Replace if heavily soiled or as recommended by the manufacturer.
- Cleaning the Aroma Sponge: If using the aroma function, remove and rinse the aroma sponge. Allow it to air dry completely before reuse.
Image: A hand cleaning the interior of the humidifier's water tank with a cloth, highlighting the wide opening designed for easy access and thorough cleaning.
3. Storage
Before storing, ensure all parts are clean and completely dry. Store the humidifier in a cool, dry place, preferably in its original packaging.
Troubleshooting
| Problem | Possible Cause | Solution |
|---|---|---|
| No mist or very little mist |
|
|
| Unusual odor |
|
|
| Water leakage |
|
|
| White dust around humidifier |
|
|
Specifications
| Model Name | JSQ-F50D2 |
| Brand | Bear |
| Capacity | 5 Liters |
| Operation Mode | Ultrasonic |
| Special Feature | Auto Shut Off |
| Coverage Area | Up to 320 Square Feet |
| Voltage | 120 Volts |
| Wattage | 25 Watts |
| Item Weight | 1.5 kg (3.31 Pounds) |
| Dimensions (LxWxH) | 24.5 x 24.7 x 20.3 Centimeters |
| Color | Green |
Warranty and Support
This Bear humidifier comes with a standard manufacturer's warranty. Please refer to the warranty card included in your product packaging for specific terms and conditions. For technical support, troubleshooting assistance, or warranty claims, please contact Bear customer service through their official website or the contact information provided with your purchase.
Keep your purchase receipt as proof of purchase for warranty purposes.