
1. Introduction
This manual provides detailed instructions for the safe installation, operation, and maintenance of your Metalux HBRC2L3 High Bay LED Light. This fixture is designed for commercial and industrial applications, offering versatile lighting solutions with selectable color temperature (CCT) and lumen output. Please read this manual thoroughly before installation and retain it for future reference.

Figure 1.1: Front view of the Metalux HBRC2L3 High Bay LED Light.
About Metalux Lighting
Video 1.1: An introductory video about Metalux Lighting, highlighting the brand's commitment to quality and innovation in lighting solutions.
2. Safety Information
Please observe the following safety precautions to prevent injury or damage to the product:
- WARNING: Risk of electric shock. Disconnect power at the fuse or circuit breaker before installation or servicing.
- Installation must be performed by a qualified electrician in accordance with all national and local electrical codes.
- Ensure the supply voltage is compatible with the fixture's requirements (120-277V).
- Do not handle energized fixtures with wet hands or while standing on wet or damp surfaces.
- This fixture is designed for indoor use in dry or damp locations. It is not rated for direct exposure to water.
- Do not look directly into the LED light source when illuminated.
- Ensure the mounting structure can support the weight of the fixture.
3. Package Contents
Verify that all components are present before beginning installation:
- Metalux HBRC2L3 High Bay LED Light Fixture
- Mounting Hook
- 1-foot Safety Cable
- 7-foot Power Cord
- 7-foot Dimming Cord
4. Product Features
The Metalux HBRC2L3 High Bay LED Light offers advanced features for optimal performance:
- Selectable CCT: Choose between 4000K (Cool White) or 5000K (Daylight) color temperatures.
- Selectable Lumen Output: Adjust brightness to 12,000, 15,000, or 18,000 lumens.
- Sensor-Ready Port: Integrated port for optional Metalux PIR motion sensor (sold separately, ASIN: B0CGLSR2BZ) for enhanced energy savings.
- Wide Voltage Input: Operates on 120-277V electrical systems.
- 0-10V Dimming: Compatible with 0-10V dimming controls for adjustable light levels.
- Durable Construction: Features cast aluminum housing and an impact-resistant acrylic lens.
- Wide Operating Temperature: Functions reliably from -40°F to 122°F (-40°C to 50°C).
- Long Lifespan: Rated for up to 50,000 hours of operation.

Figure 4.1: Diagram illustrating key features such as mounting hook, diecast aluminum housing, heatsink, impact protection, selectable CCT/lumen switch, and sensor-ready port.

Figure 4.2: Underside view of the fixture showing the heatsink design, which helps dissipate heat and protect the fixture from overheating.
5. Setup and Installation
Follow these steps for proper installation of your high bay LED light.
5.1. Pre-Installation
- Turn off power at the circuit breaker before starting any work.
- Ensure the mounting location is structurally sound and can support the fixture's weight.
- Unpack the fixture and inspect for any damage.
5.2. Mounting the Fixture
The HBRC2L3 is designed for quick and easy installation using the included mounting hook.
- Securely attach the mounting hook to a suitable ceiling structure (e.g., conduit box, chain). Ensure the mounting point is rated for the fixture's weight.
- Hang the fixture from the mounting hook.
- Attach the safety cable to both the fixture and a separate secure point on the building structure as a secondary support.

Figure 5.1: Illustration of the easy mount hook for quick installation. (Chain not included).
5.3. Wiring Connections
Connect the fixture to the electrical supply according to local and national electrical codes.
- Connect the black wire from the fixture's power cord to the live (L) wire of the supply.
- Connect the white wire from the fixture's power cord to the neutral (N) wire of the supply.
- Connect the green/ground wire from the fixture's power cord to the ground (G) wire of the supply.
- For 0-10V dimming, connect the purple wire from the dimming cord to the DIM+ terminal of the 0-10V dimmer, and the gray wire to the DIM- terminal. If dimming is not used, cap these wires individually.
5.4. Selecting CCT and Lumen Output
The fixture features integrated switches for adjusting color temperature and lumen output. These switches are typically located on the fixture's body, accessible before final installation or with a ladder.
- Lumen Selection: Locate the lumen selection switch. Choose from High (18,000 lumens), Medium (15,000 lumens), or Low (12,000 lumens) settings based on your lighting requirements.
- CCT Selection: Locate the CCT selection switch. Choose between 4000K or 5000K to achieve the desired light appearance.

Figure 5.2: Close-up of the selectable lumens switch, allowing adjustment between High, Medium, and Low brightness levels.

Figure 5.3: Close-up of the selectable CCT switch, enabling choice between 4000K and 5000K color temperatures.
5.5. Sensor Installation (Optional)
If using the optional Metalux PIR motion sensor (sold separately), insert it into the sensor-ready center port on the fixture. Refer to the sensor's specific instruction manual for configuration and operation details.
6. Operating Instructions
Once installed and configured, operate the Metalux HBRC2L3 High Bay LED Light as follows:
- Power On/Off: Restore power at the circuit breaker. The light will illuminate according to the selected CCT and lumen settings.
- Dimming: If connected to a 0-10V dimmer, use the dimmer control to adjust the light output from 100% down to 10%.
- Sensor Operation: If an optional motion sensor is installed, the light will respond to occupancy detection as configured by the sensor settings.
7. Maintenance
The Metalux HBRC2L3 High Bay LED Light requires minimal maintenance. Always disconnect power before performing any maintenance.
- Cleaning: Periodically clean the lens and exterior housing with a soft, dry, or slightly damp cloth. Do not use abrasive cleaners or solvents.
- Inspection: Annually inspect the fixture, mounting hardware, and wiring for any signs of wear, damage, or loose connections.
- LEDs: The LEDs are integrated and not user-replaceable.
8. Troubleshooting
If you experience issues with your fixture, refer to the following common problems and solutions:
| Problem | Possible Cause | Solution |
|---|---|---|
| Light does not turn on | No power supply Loose wiring connection Faulty fixture | Check circuit breaker and power source Verify all wiring connections are secure (power off first) Contact customer support if power is present and wiring is correct |
| Light flickers or dims unexpectedly | Incorrect dimmer type Loose wiring Voltage fluctuations | Ensure a 0-10V dimmer is used Check wiring connections Consult an electrician to check supply voltage stability |
| Light output is too low/high | Incorrect lumen setting Dimmer setting | Adjust the lumen selection switch on the fixture Adjust the 0-10V dimmer to the desired level |
| Color temperature is incorrect | Incorrect CCT setting | Adjust the CCT selection switch on the fixture |
9. Specifications
Detailed technical specifications for the Metalux HBRC2L3 High Bay LED Light:
- Model: HBRC2L3
- Brand: Metalux
- Input Voltage: 120-277V
- Wattage: Up to 400 watts (replaces 192W fluorescent or 400W HID)
- Lumen Output: Selectable 12,000, 15,000, or 18,000 Lumens
- Color Temperature (CCT): Selectable 4000K or 5000K
- Dimming: 0-10V Dimming
- Material: Cast Aluminum Housing, Impact-Resistant Acrylic Lens
- Product Dimensions: 13.18"L x 13.18"W x 7.36"H
- Item Weight: 9.43 pounds
- Operating Temperature: -40°F to 122°F (-40°C to 50°C)
- Lifespan: 50,000 hours
- Certifications: FCC Class A rated
- Indoor/Outdoor Usage: Indoor
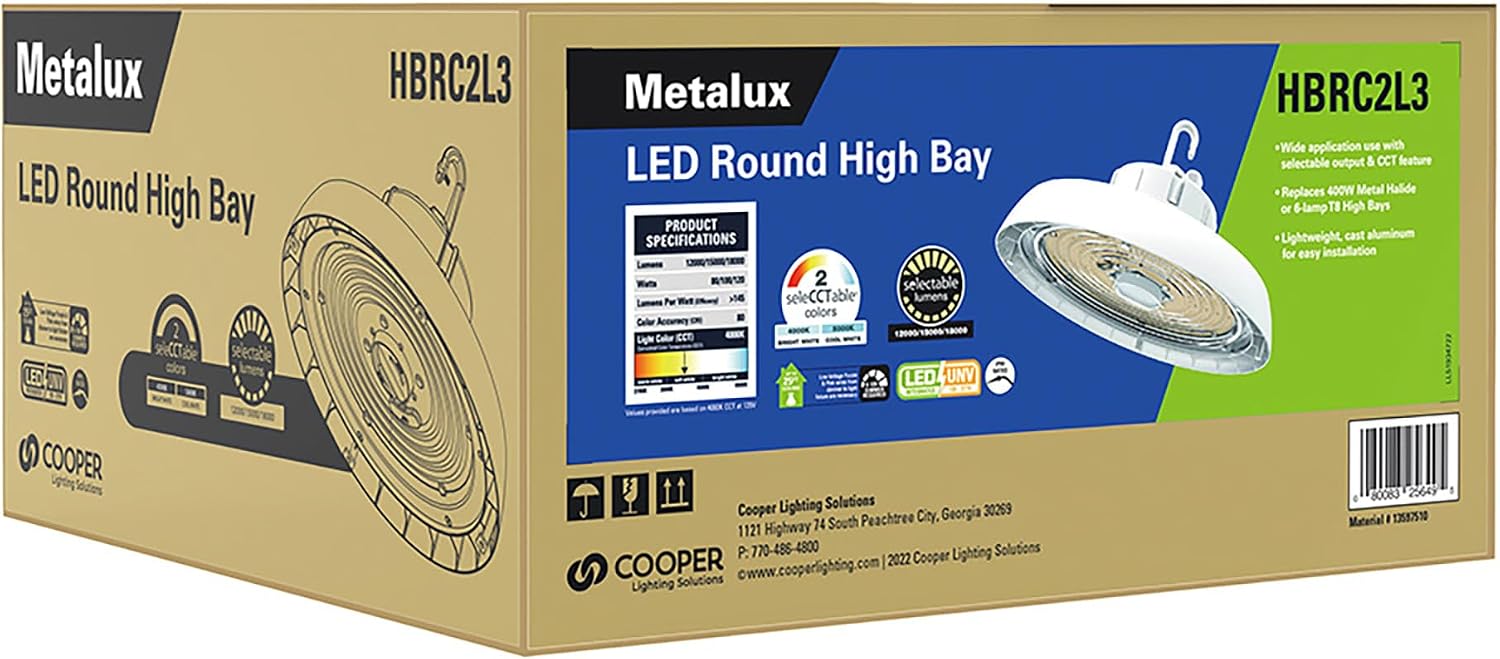
Figure 9.1: Dimensional drawing of the Metalux HBRC2L3 High Bay LED Light, showing length, width, and height measurements.
10. Warranty and Support
The Metalux HBRC2L3 High Bay LED Light is backed by a 5-year limited standard warranty. This warranty covers defects in materials and workmanship under normal use and service.
For warranty claims, technical assistance, or further inquiries, please contact Cooper Lighting Solutions customer support. Refer to the product packaging or the official Metalux website for the most current contact information.
Manufacturer: Cooper Lighting Solutions


