
1. Product Overview
The LIFEMOI 5V/6W Solar Panel is designed to provide a continuous and eco-friendly power source for various low-power battery security cameras. Constructed from monocrystalline silicon with a PET film surface, it boasts an efficiency of over 21%. This panel is built to withstand outdoor conditions with an IP66 waterproof rating and comes with a 3-meter charging cable and multiple connector types for broad compatibility.

Image: The LIFEMOI 5V/6W Solar Panel, showcasing its compact design, coiled 3-meter cable, and included MicroUSB, Type-C, and DC35135 connector tips.
2. Compatibility
This solar panel is compatible with a wide range of low-power battery cameras available on the market. It supports cameras with Type-C, DC (3.5*1.35), or MicroUSB charging ports. Specific compatible models include, but are not limited to, Ring Spotlight Cam Plus/Pro/Battery/Solar/Stick Up Cam Battery/Solar, Wyze Outdoor V1/V2 battery models, SOLiOM B06/P60, SV3C C17, DZEES, EUFYcam, Reolink battery cameras, and Lorex U4711.AA-E/U4 24AA-E.
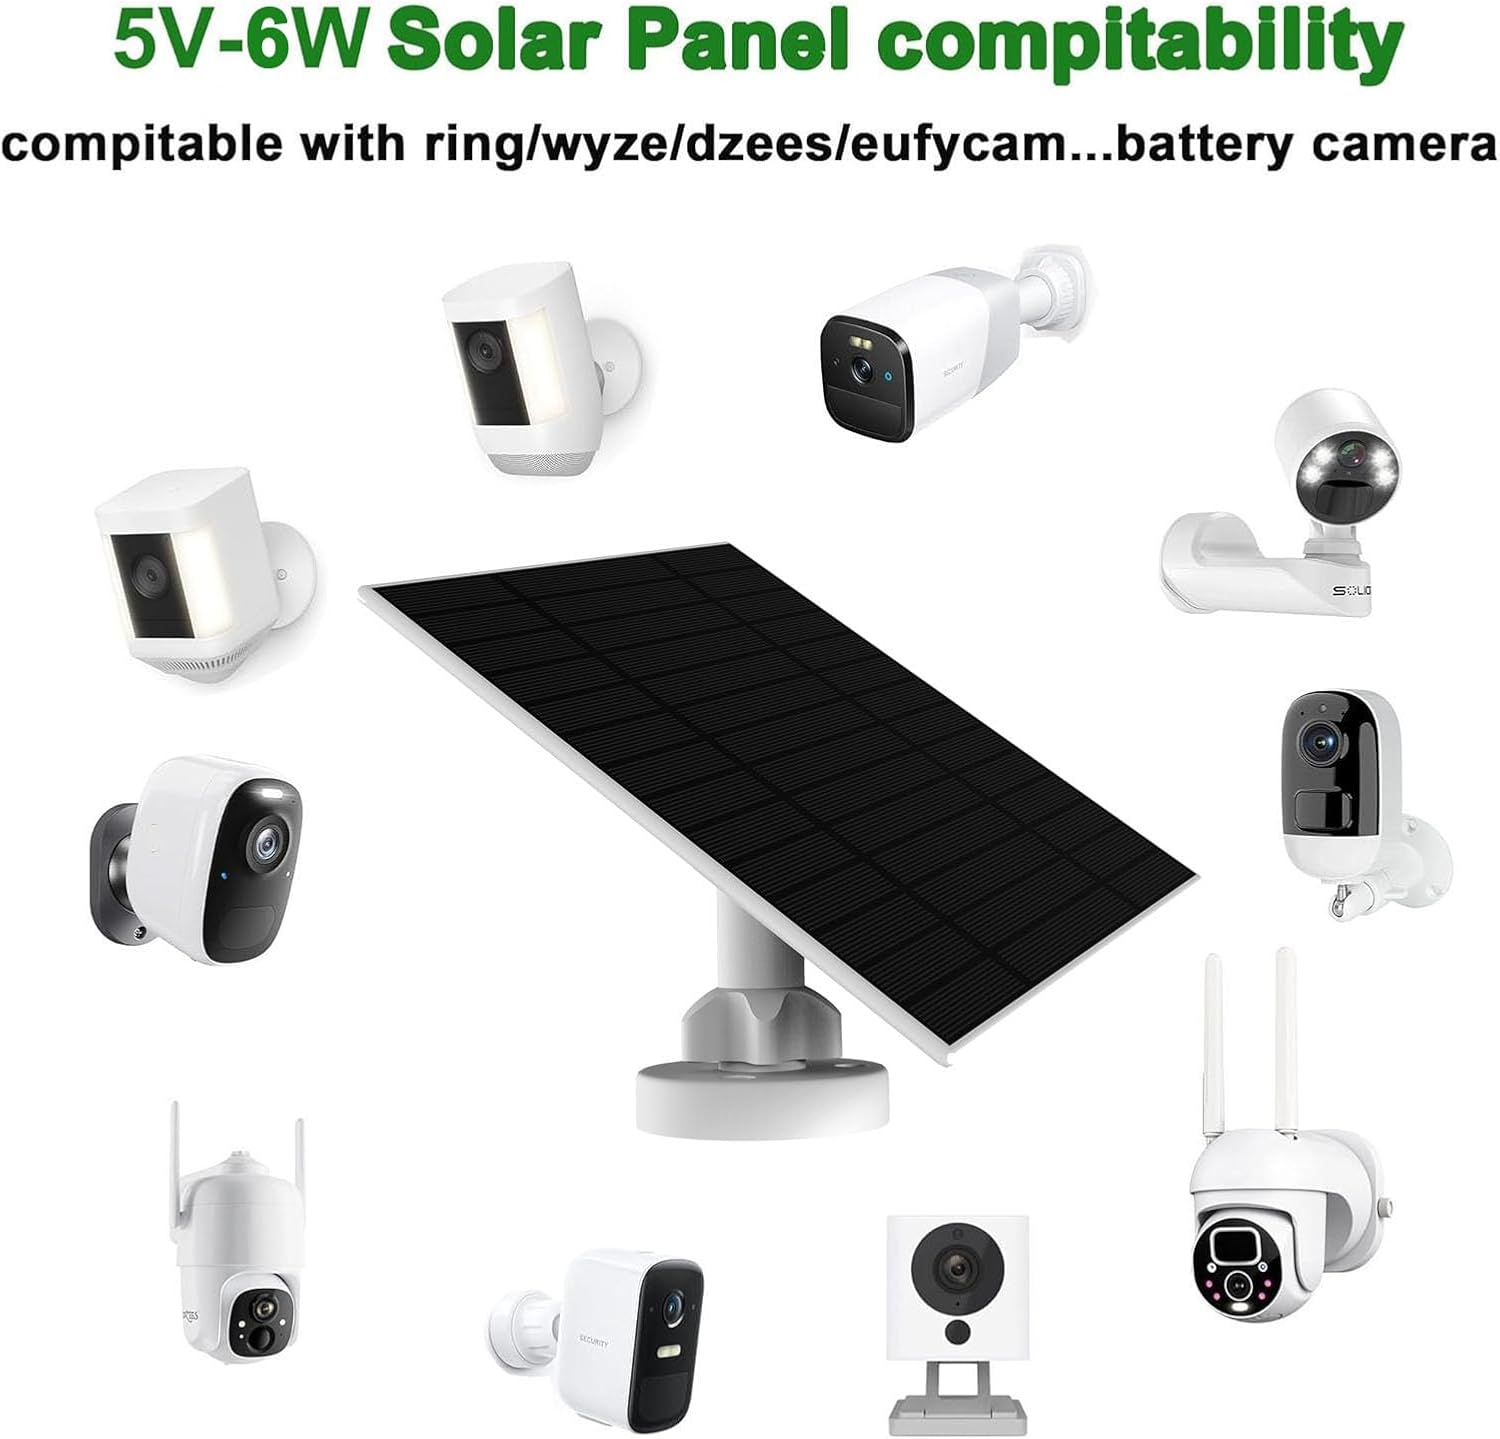
Image: The solar panel positioned centrally, illustrating its broad compatibility with different security camera brands and models.
3. Features and Technology
- Durable Construction: The casing is made from ABS + PC material, ensuring enhanced durability and wear resistance.
- Weatherproof Design: With an IP66 waterproof rating, the panel is capable of withstanding various weather conditions, including wind, rain, and storms.
- Optimal Charging: Designed to keep your security camera's battery fully charged, providing continuous power during sunny days.
- Adjustable Mounting: Features a 360-degree rotatable and 90-degree adjustable wall mount, allowing for precise positioning to maximize sunlight exposure.
- High Conversion Efficiency: Made with monocrystalline silicon, achieving a conversion efficiency of over 21%.
- Multiple Connectors: Equipped with Micro USB, Type-C, and DC35135 interfaces for versatile connectivity.
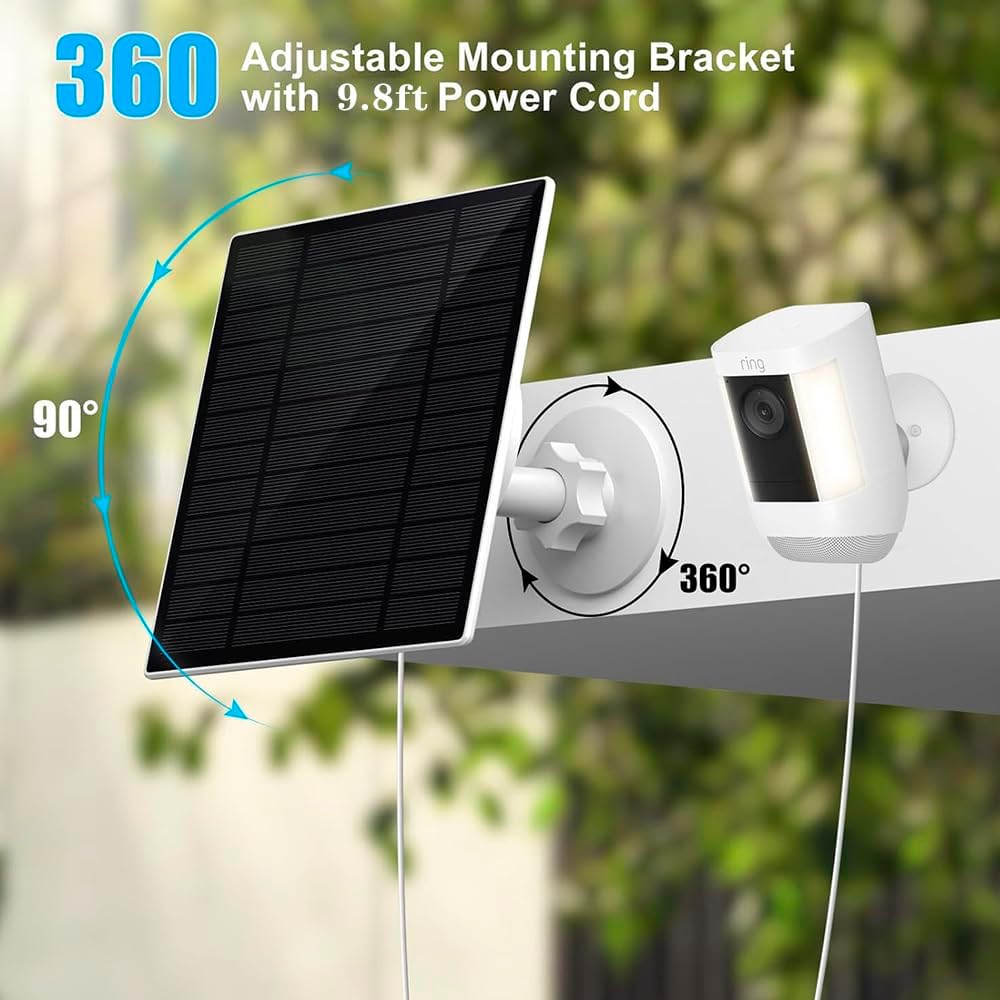
Image: A visual representation of the solar panel's adjustable mounting bracket, highlighting its 360-degree rotation and 90-degree tilt capabilities for optimal sun alignment.

Image: Demonstrates the IP66 waterproof and weather-resistant features of the solar panel, showing it performing in different environmental conditions.
4. Package Contents
Upon opening the package, verify that all the following components are included:
- 1 x Solar Panel with 3-meter Charging Cable
- 1 x Mounting Bracket
- 3 x Mounting Screws
- 1 x Instruction Manual
- 1 x Type-C to Micro-USB Adapter
- 1 x Type-C to DC35135 Adapter

Image: A detailed view of the 3-in-1 charging cable, highlighting its versatile Type-C, DC35-135, and Micro-USB connectors.
5. Setup and Installation
Follow these steps to properly install your solar panel:
- Mount the Bracket: Secure the mounting bracket to your desired location using the three provided screws. Choose a spot that receives maximum direct sunlight throughout the day.
- Attach the Solar Panel: Fix the solar panel onto the installed mounting bracket. Ensure it is securely fastened.
- Adjust Direction: Rotate the handle on the bracket to adjust the panel's direction. Position the panel to maximize its exposure to sunlight.
- Connect to Camera: Use the 3-meter charging cable (included) to connect the solar panel to your security camera. Select the appropriate adapter (Micro USB, Type-C, or DC35135) for your camera's charging port.
6. Operating Instructions
Once installed and connected, the solar panel will automatically begin charging your compatible security camera's battery when exposed to sufficient sunlight. The panel is designed for continuous charging, ensuring your camera remains powered without frequent manual battery replacements. For optimal performance, ensure the panel is positioned to receive direct sunlight for the majority of the day.
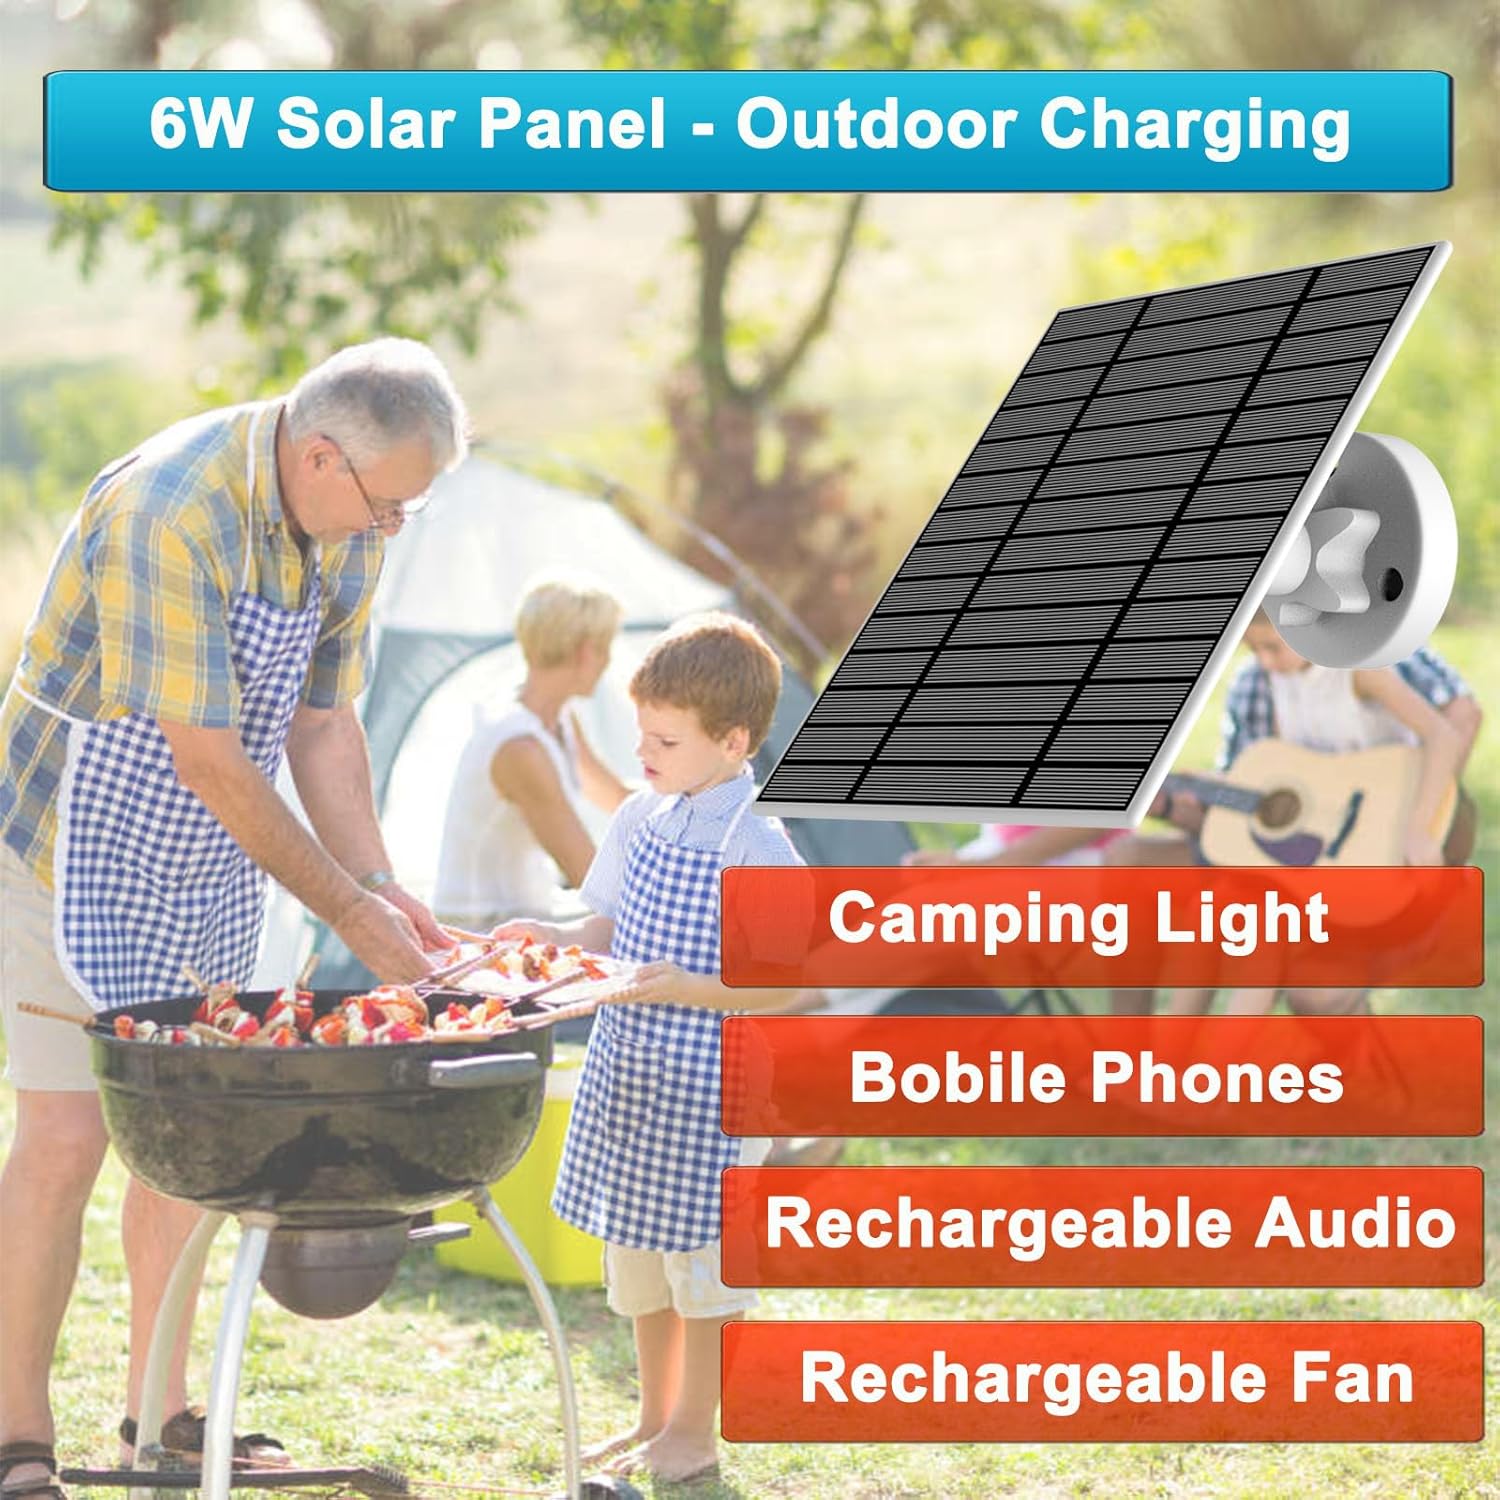
Image: The solar panel can also be used for outdoor charging of other compatible low-power devices, such as camping lights, mobile phones, rechargeable audio devices, and rechargeable fans.
7. Maintenance
To ensure the longevity and optimal performance of your solar panel, consider the following maintenance tips:
- Regular Cleaning: Periodically clean the surface of the solar panel to remove dust, dirt, leaves, or other debris that may accumulate and reduce efficiency. Use a soft, damp cloth and mild detergent if necessary. Avoid abrasive cleaners or harsh chemicals.
- Inspect Connections: Occasionally check the charging cable and connectors for any signs of wear, damage, or corrosion. Ensure they remain securely connected to both the solar panel and the camera.
- Monitor Sunlight Exposure: If trees or new structures grow and begin to shade the panel, readjust its position using the adjustable mount to maintain maximum sunlight exposure.
- Winter Care: In snowy conditions, gently remove any snow accumulation from the panel's surface to allow it to continue generating power.
8. Troubleshooting
If you encounter issues with your solar panel, consider the following common problems and solutions:
- Camera Not Charging:
- Ensure the solar panel is receiving direct sunlight. Shading can significantly reduce charging efficiency.
- Verify that the charging cable is securely connected to both the solar panel and the camera, and that the correct adapter is used.
- Check the cable and connectors for any visible damage.
- Clean the surface of the solar panel to remove any dirt or debris that might be blocking sunlight.
- Intermittent Charging:
- This may occur due to inconsistent sunlight exposure (e.g., passing clouds, partial shading). Ensure the panel is in an unshaded location.
- Check for loose connections that might be causing intermittent contact.
- Panel Appears Damaged:
- If the panel or cable is physically damaged, discontinue use and contact customer support for assistance.
9. Specifications
| Specification | Value |
|---|---|
| Product Dimensions (L x W x H) | 16.9 x 11.6 x 1.4 cm (Solar Panel) / 19 x 16 x 1 cm (Overall) |
| Weight | 390 grams |
| Model Number | 5-5-c-e |
| Color | White |
| Material | ABS + PC |
| Maximum Power | 6 Watt |
| Operating Voltage | 5V (DC) |
| Waterproof Rating | IP66 |
| Solar Cell Type | Monocrystalline Silicon |
| Conversion Efficiency | Over 21% |
| Cable Length | 3 meters |
| Operating Temperature | -20 ℃ to 60 ℃ |
| Connectors Included | Micro USB, Type-C, DC35135 |
| Special Features | 360-degree rotation and 90-degree adjustable wall mount |
| UPC | 749649120112 |
10. Warranty and Support
LIFEMOI products have passed FCC, CE, and RoHS certifications, ensuring high quality. We provide a free maintenance service within 12 months from the date of purchase. If you encounter any problems or have questions, please do not hesitate to contact us. We offer 24/7 online customer service to assist you.
Thank you for choosing LIFEMOI solar panels and contributing to environmental protection!