
Introduction
Thank you for choosing the LIFEMOI 5V-6W Solar Panel. This solar panel is designed to provide continuous power to your compatible battery-powered security cameras, eliminating the need for frequent manual recharging. It features a durable, weather-resistant design and versatile connectivity options to ensure reliable performance in various outdoor conditions.
This panel is compatible with a wide range of low-power battery cameras, including models from Ring (Spotlight Cam Plus/Pro/Battery/Solar/Stick up Cam Battery/Solar), Wyze Outdoor V1/V2, SOLiOM B06/P60, SV3C C17, DZEES, EUFYcam, Reolink battery cameras, and Lorex U471AA-E/U424AA-E. It supports Micro USB, Type-C, and DC (3.5 * 1.35) charging ports.

Image: The LIFEMOI 5V-6W Solar Panel with its versatile 3-in-1 charging cable, featuring Type-C, DC35-135, and Micro-USB connectors.
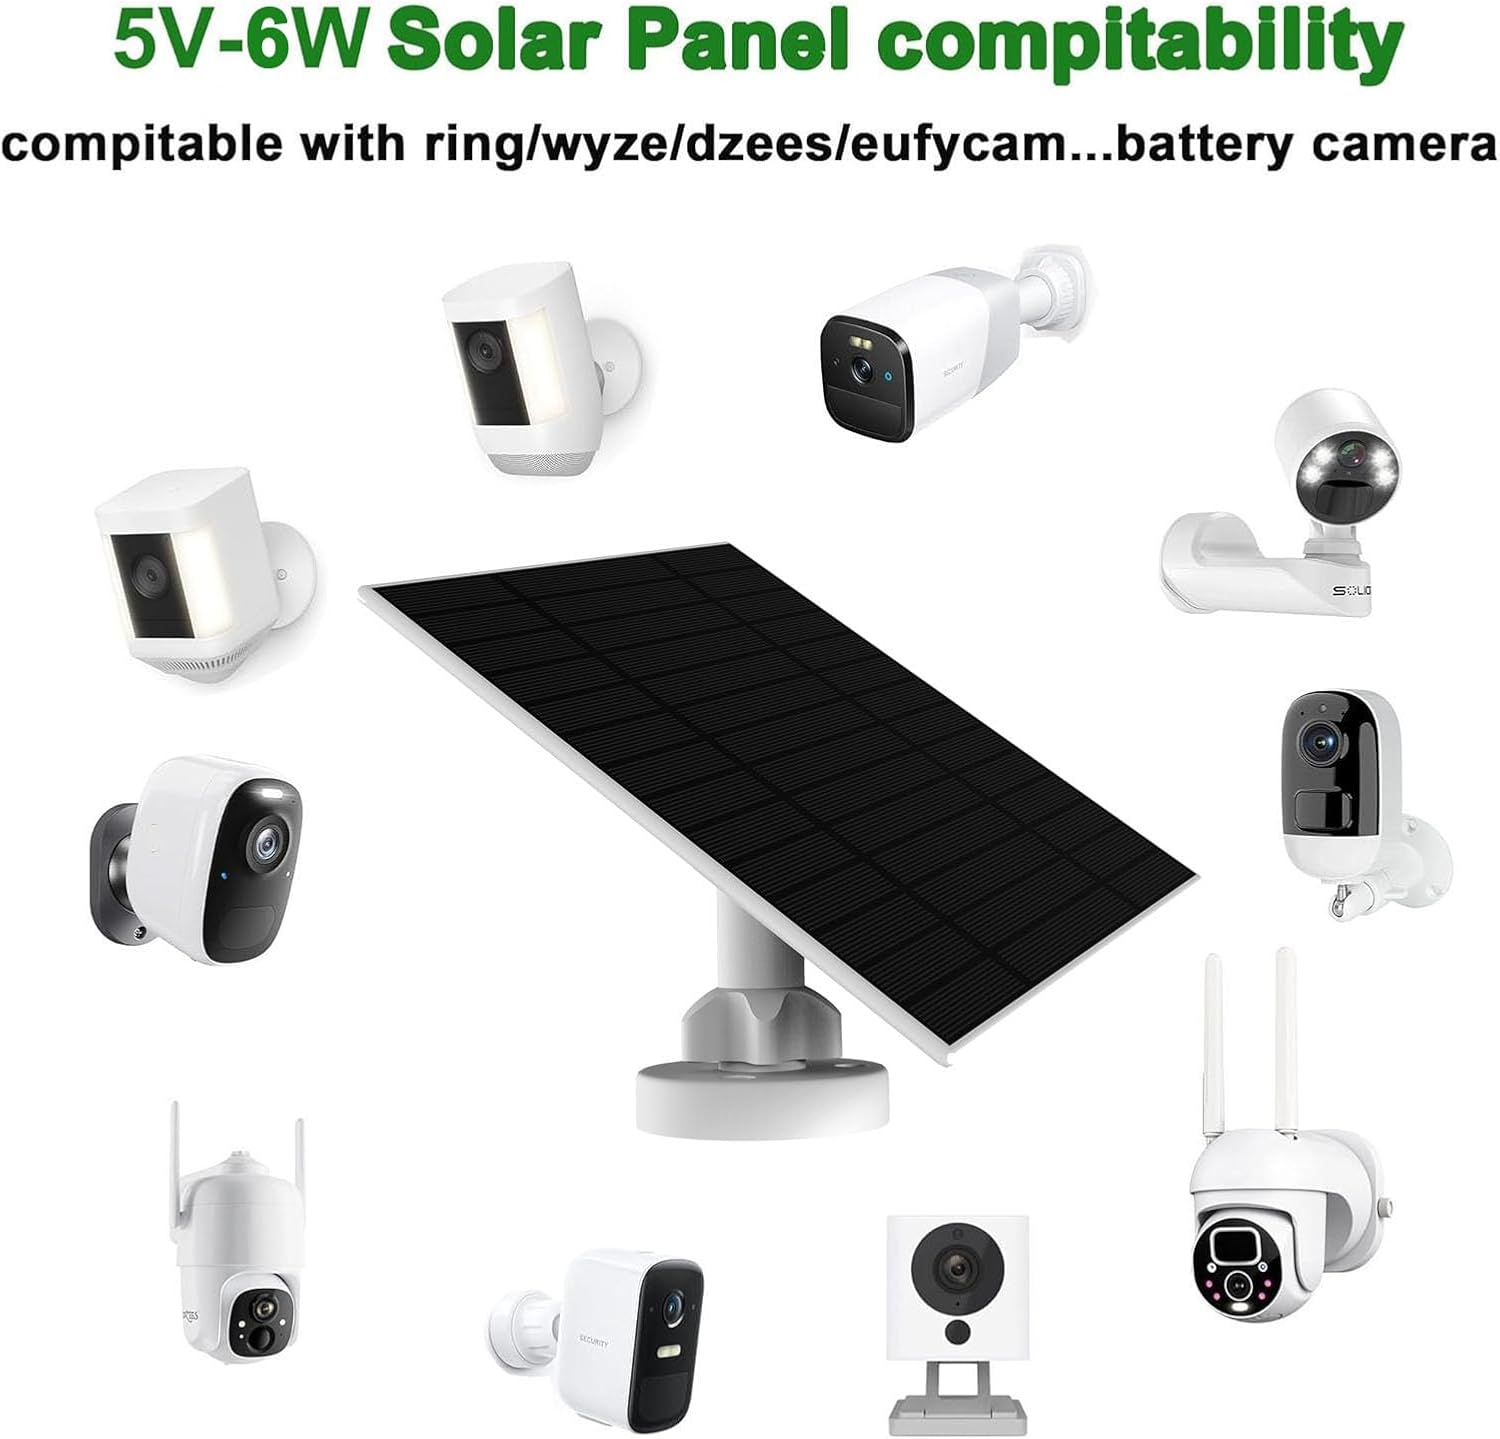
Image: The solar panel shown with various compatible security cameras, highlighting its broad compatibility.
Package Contents
Please ensure all items are present in the package before proceeding with installation:
- 1 x Solar Panel with 3m/9.8ft charging cable
- 1 x Bracket
- 3 x Screws
- 1 x Instructions (this manual)
- 1 x Type-C to Micro USB adapter
- 1 x Type-C to DC35135 adapter
Video: Unboxing the LIFEMOI Solar Panel, showing all included components and adapters.
Setup and Installation
Follow these steps to install your solar panel:
- Choose a Location: Select a location that receives maximum direct sunlight throughout the day. Avoid areas with obstructions like trees or buildings that could cast shadows.
- Install the Bracket: Use the three provided screws to securely install the wall mounting bracket. Ensure the bracket is firmly attached to a stable surface.
- Attach the Solar Panel: Fix the solar panel onto the installed bracket.
- Adjust the Panel Angle: The bracket allows for 360° rotation and 90° tilt. Adjust the panel's direction and angle to maximize sunlight exposure. This is crucial for efficient charging.
- Connect to Camera: Use the 3m/9.8ft charging cable and the appropriate adapter (Micro USB, Type-C, or DC35135) to connect the solar panel to your security camera. Ensure a secure connection.
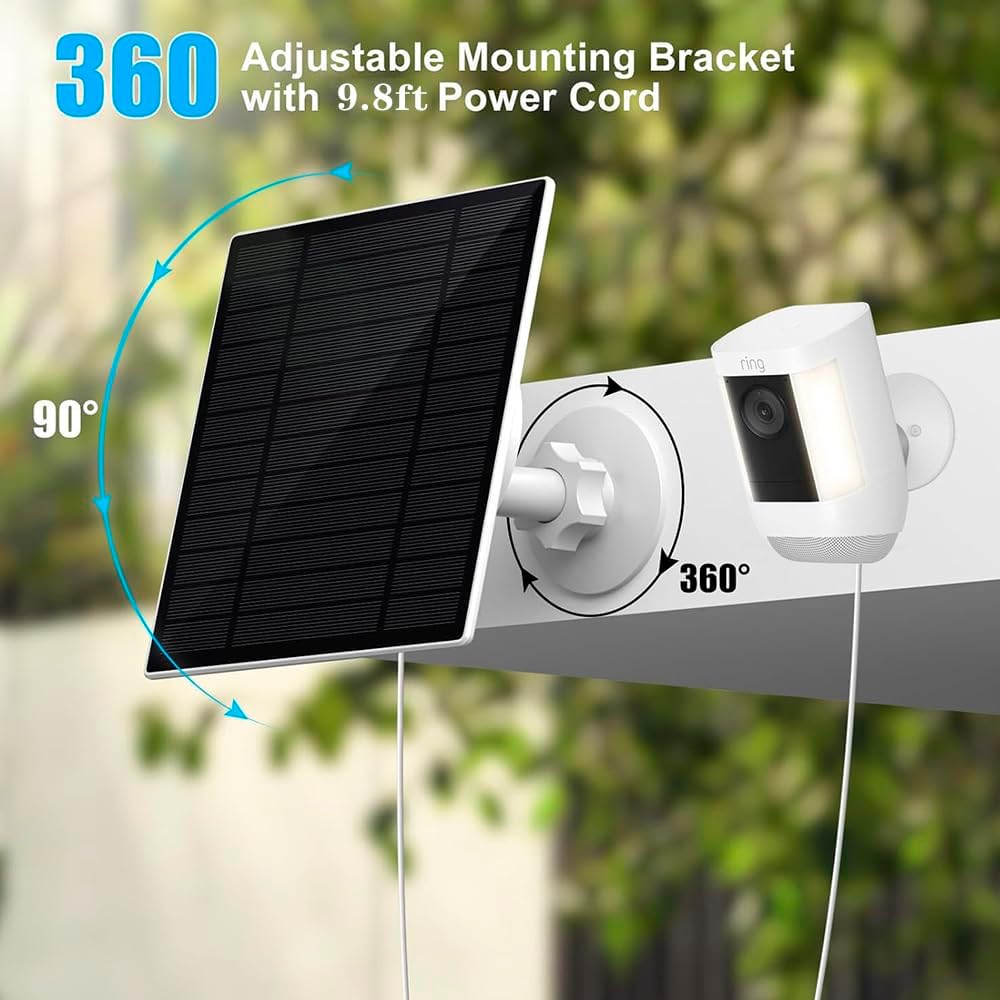
Image: The 360° rotatable and 90° adjustable wall mounting bracket, allowing for optimal solar panel positioning.
Image: The solar panel installed outdoors, connected to a security camera, demonstrating its function for continuous charging.
Operation
Once installed and connected, the solar panel will automatically begin charging your camera's battery when exposed to sufficient sunlight. The monocrystalline silicon panel with over 21% conversion efficiency ensures effective power generation.
- Continuous Charging: The panel is designed to keep your camera's battery fully charged, providing uninterrupted operation.
- Optimal Performance: For best results, ensure the panel is clean and positioned to receive direct sunlight for several hours each day.
- Versatile Connectivity: The included 3-in-1 charging cable with Micro USB, Type-C, and DC35135 connectors allows for broad compatibility with various camera models.
Video: Demonstration of the solar panel's charging capabilities and features.
Maintenance
The LIFEMOI solar panel is built for durability and minimal maintenance:
- Weather Resistance: With an IP66 waterproof rating and ABS+PC shell material, the panel is designed to withstand wind, rain, and thunderstorms.
- Temperature Range: It operates effectively in temperatures ranging from -20℃ to 60℃.
- Cleaning: Periodically wipe the surface of the solar panel with a soft, damp cloth to remove dust, dirt, or debris that may reduce charging efficiency. Do not use harsh chemicals or abrasive materials.
- Connection Check: Occasionally inspect the charging cable and connectors for any signs of wear or damage. Ensure they remain securely connected to the camera.

Image: The solar panel demonstrating its IP66 waterproof and weather-resistant capabilities in different environmental settings.
Troubleshooting
| Problem | Possible Cause | Solution |
|---|---|---|
| Camera not charging | Insufficient sunlight exposure | Adjust the panel's angle and position to receive more direct sunlight. Clear any obstructions. |
| Camera not charging | Loose or incorrect cable connection | Ensure the charging cable is securely connected to both the solar panel and the camera, using the correct adapter. |
| Camera not charging | Dirty solar panel surface | Clean the panel surface to remove any dirt or debris that may be blocking sunlight. |
| Camera not charging | Damaged cable or panel | Inspect the cable and panel for visible damage. If damaged, contact customer support. |
Specifications
| Feature | Detail |
|---|---|
| Brand | LIFEMOI |
| Model Number | 5-5/3-3-RI |
| Working Voltage | 5V (DC) |
| Output Power | 6W |
| Waterproof Rating | IP66 |
| Material | Monocrystalline Silicon, ABS+PC |
| Conversion Efficiency | Over 21% |
| Charging Cable Length | 3m / 9.8ft |
| Connectors | Micro USB, Type-C, DC (3.5 * 1.35) |
| Operating Temperature | -20℃ to 60℃ |
| Product Dimensions | 6.66 inches * 4.57 inches * 0.56 inches (Panel) |
| Item Weight | 0.4 Kilograms |
Warranty and Support
LIFEMOI products are FCC, CE, and RoHS certified, ensuring high quality and safety standards.
We provide a free maintenance service for 12 months from the date of purchase. If you have any questions or require assistance before or after your purchase, please do not hesitate to contact us. Our customer support team is available via email 7 days a week, 24 hours a day, and we are happy to help you resolve any issues.
Thank you for your contribution to environmental protection by choosing solar panels!