
1. Introduction
Thank you for choosing the ATTACK SHARK X3 Lightweight Tri-Mode Wireless Gaming Mouse. This manual provides detailed instructions for setting up, operating, and maintaining your new gaming mouse. The X3 mouse is designed for high-performance gaming, featuring a Pixart PAW3395 optical sensor, Kailh GM8.0 switches, and versatile tri-mode connectivity.
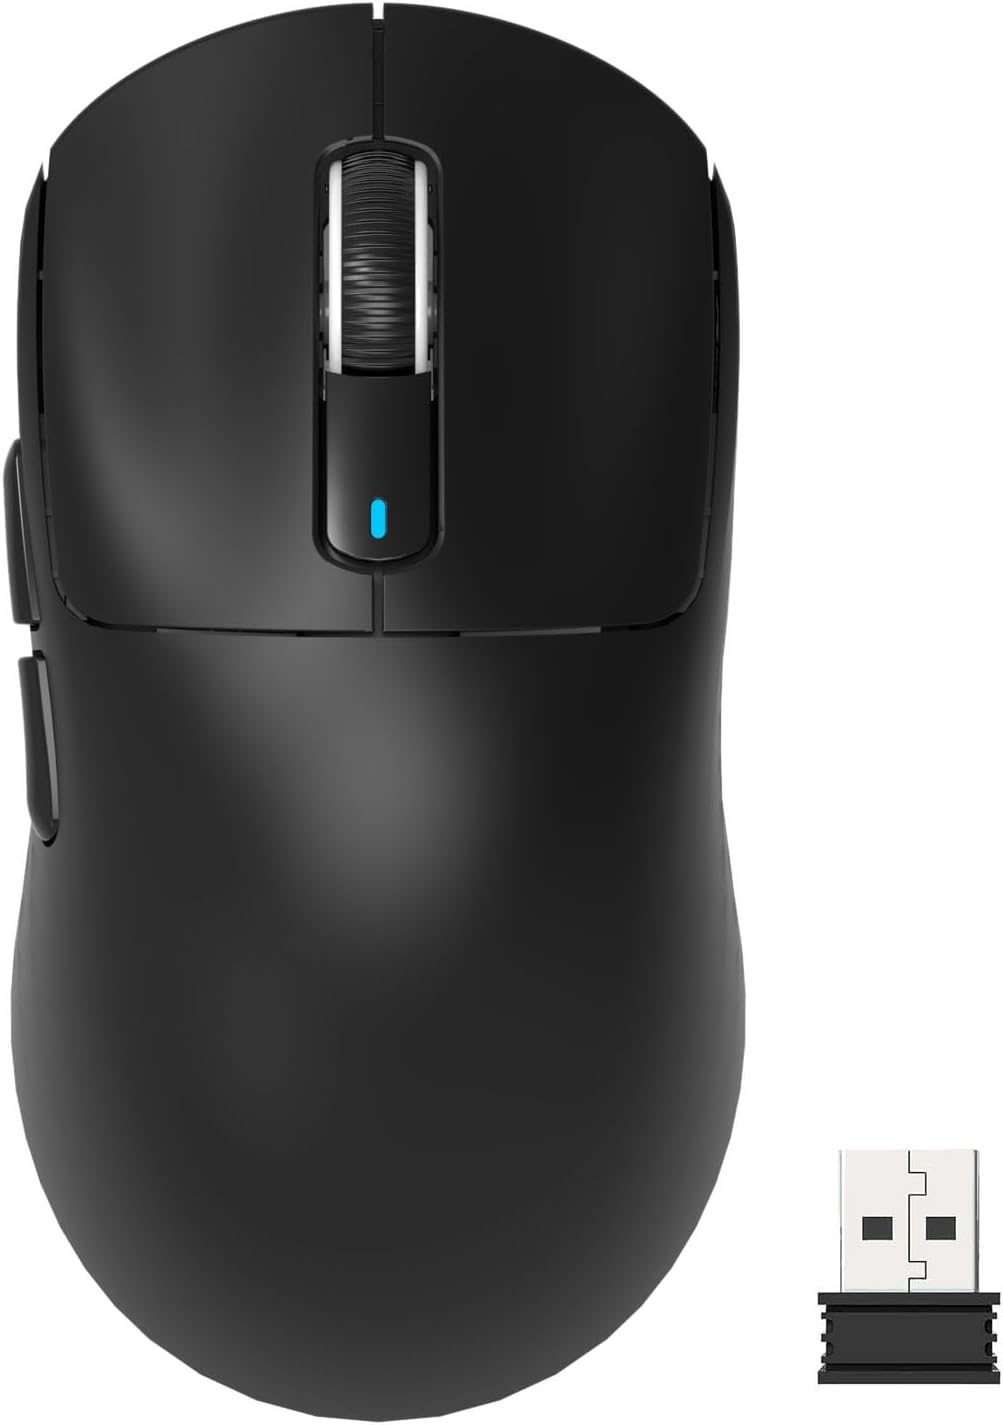
This image displays the ATTACK SHARK X3 wireless gaming mouse in black, shown from a top-down perspective, alongside its compact USB receiver.
2. Key Features
- Pixart PAW3395 Optical Sensor: Offers up to 26,000 DPI, 650 IPS tracking speed, 1000Hz response rate, and 50G acceleration for precise tracking.
- Ultralight Ergonomic Design: Weighs approximately 49g, reducing hand fatigue during extended use.
- Kailh GM8.0 Switches & TTC Encoder: Provides crisp clicks with an 80-million-click lifespan and precise scroll wheel feedback.
- Tri-Mode Connectivity: Supports 2.4G wireless, Bluetooth 5.2, and USB-C wired connections.
- 5 Programmable Buttons: Customizable via driver software for DPI, polling rate, LOD, shortcuts, and macros.

An angled view of the X3 mouse, illustrating its main features including ultra-lightweight design, tri-mode connectivity, PixArt PAW 3395 sensor, up to 26000 DPI, and Kailh GM 8.0 switches.
3. Setup
3.1 Unboxing and Initial Inspection
Carefully remove the mouse and all accessories from the packaging. Ensure all components are present: ATTACK SHARK X3 mouse, USB-C charging cable, and 2.4G USB receiver.
A short demonstration video showcasing the lightweight design and wireless capabilities of the ATTACK SHARK X3 gaming mouse.
3.2 Connecting Your Mouse
The X3 mouse offers three connection modes:
- 2.4G Wireless Mode:
- Locate the 2.4G USB receiver stored in the compartment on the underside of the mouse.
- Plug the USB receiver into an available USB port on your computer.
- Slide the mode switch on the bottom of the mouse to the '2.4G' position (often indicated by red light).
- The mouse should connect automatically.
- Bluetooth 5.2 Mode:
- Slide the mode switch on the bottom of the mouse to the 'BT' position (often indicated by blue light).
- On your computer or device, open Bluetooth settings and search for new devices.
- Select 'ATTACK SHARK X3' from the list of available devices to pair.
- To pair with a second Bluetooth device, short press the mode switching key on the bottom of the mouse to switch BT channel. Press and hold for 3 seconds to enter pairing mode.
- USB-C Wired Mode:
- Connect the provided USB-C cable to the front port of the mouse and the other end to a USB port on your computer.
- The mouse will function in wired mode and charge simultaneously.

The underside of the X3 mouse, detailing its connectivity options: a switch for 2.4G, Bluetooth, or Off, and indicators for performance (2.4GHz), efficiency (Bluetooth 5.0), and wired USB-C mode.
3.3 Charging the Mouse
Connect the mouse to your computer using the USB-C cable. The mouse will charge while in wired mode. A full charge can provide up to 200 hours of continuous use.

A top-down view of the X3 mouse, illustrating its extended battery life of up to 200 hours of continuous use.
4. Operating Instructions
4.1 DPI Adjustment
The X3 mouse features a dedicated DPI button on its underside, allowing you to cycle through 6 adjustable DPI levels (800/1600/2400/3200/5000/26000). The DPI indicator light will change color to reflect the current setting.

A detailed diagram of the X3 mouse's underside, labeling key components such as the DPI button, DPI indicator light, USB receiver compartment, mode switch, and overall dimensions.
4.2 Programmable Buttons
The mouse has 5 programmable buttons. To customize these buttons, including setting DPI, polling rate, Lift-Off Distance (LOD), shortcuts, and macros, you will need to download and install the official ATTACK SHARK driver software. Refer to the official ATTACK SHARK website for software downloads.
4.3 Mode Switching
Use the physical switch on the bottom of the mouse to easily switch between 2.4G wireless, Bluetooth, and wired modes as needed for different devices or scenarios.
This video provides a visual overview of the ATTACK SHARK X3 mouse, demonstrating its design, key features, and various functionalities.
5. Maintenance
5.1 Cleaning
To maintain optimal performance, regularly clean your mouse. Use a soft, dry cloth to wipe the surface. For stubborn dirt, a slightly damp cloth can be used, but ensure no moisture enters the internal components. Avoid harsh chemicals or abrasive materials.
5.2 Storage
When not in use, store the mouse in a cool, dry place away from direct sunlight and extreme temperatures. If storing for an extended period, ensure the mouse is fully charged to preserve battery health.
6. Troubleshooting
- Mouse not responding:
- Ensure the mouse is charged.
- Check the mode switch on the bottom of the mouse to ensure it's set to the correct connection type (2.4G, BT, or Wired).
- For 2.4G mode, ensure the USB receiver is securely plugged into a working USB port.
- For Bluetooth mode, verify that Bluetooth is enabled on your device and the mouse is paired. Try re-pairing if necessary.
- Try connecting the mouse in wired mode to see if it functions.
- Lag or intermittent disconnections:
- Ensure the mouse is fully charged. Low battery can affect wireless performance.
- Reduce interference by moving other wireless devices away from the mouse and receiver.
- For 2.4G, try plugging the receiver into a different USB port, preferably a USB 2.0 port or one closer to the mouse.
- Update your computer's Bluetooth drivers if using Bluetooth mode.
- If using on macOS, some users report lag after waking from sleep; turning the mouse off and on again may resolve this.
- Scroll wheel issues (slow, unresponsive):
- Ensure the mouse is clean, especially around the scroll wheel mechanism.
- Check for driver updates or recalibration options within the ATTACK SHARK software.
- Buttons are hard to press or loud:
- This is often a characteristic of the Kailh GM8.0 switches, known for their tactile feedback. If you suspect a defect, contact support.
7. Specifications
| Feature | Detail |
|---|---|
| Brand | ATTACK SHARK |
| Model | X3 |
| Connectivity Technology | Bluetooth, USB, Wired, Wireless (2.4G) |
| Movement Detection Technology | Optical (Pixart PAW3395) |
| DPI Levels | 800/1600/2400/3200/5000/26000 (Adjustable) |
| Tracking Speed | 650 IPS |
| Acceleration | 50G |
| Polling Rate | 1000Hz |
| Switches | Kailh GM8.0 Micro Switches (80 million click lifespan) |
| Encoder | TTC Scroll Wheel Encoder |
| Item Weight | 1.73 ounces (approx. 49g) |
| Package Dimensions | 6.54 x 4.53 x 1.77 inches |
| Batteries | 1 Nonstandard Battery (rechargeable) |
| Battery Life | Up to 200 hours (continuous use) |
8. Warranty and Support
For warranty information, technical support, and driver downloads, please visit the official ATTACK SHARK website or contact their customer service. Keep your proof of purchase for any warranty claims.
Official Brand Store: ATTACK SHARK Store


