
Introduction
This manual provides essential information for the safe and efficient operation, setup, and maintenance of your Corally Asuga XLR 6S RTR high-performance off-road racing buggy. The Asuga XLR is designed for durability and speed, featuring a robust chassis and powerful components. Please read this manual thoroughly before operating the vehicle to ensure proper use and to maximize its lifespan.
Safety Information
- Always operate the RC buggy in open areas, away from people, pets, and obstacles.
- Keep hands, hair, and loose clothing away from moving parts.
- Do not operate near water or in wet conditions unless the vehicle is specifically designed for it.
- Ensure batteries are charged correctly and safely. Use only compatible chargers and batteries.
- Supervise children during operation. This product is not a toy and requires responsible handling.
- Turn off the vehicle and transmitter when not in use.
Setup
1. Battery Installation
The Corally Asuga XLR requires 4-6S block LiPo batteries or 2x2S and 2x3S LiPo batteries with XT90 connectors.
- Ensure the vehicle's power switch is in the OFF position.
- Open the battery compartment.
- Carefully insert the charged LiPo batteries, ensuring correct polarity.
- Secure the batteries using the provided straps or holders.
- Close the battery compartment securely.

Image: Top-down view of the Corally Asuga XLR chassis, highlighting the battery compartment and internal electronics. This shows the layout for battery placement.
2. Transmitter Preparation
Install AA batteries into the 2.4 GHz 2-channel radio system transmitter. Refer to the transmitter's specific manual for detailed instructions on battery installation and binding procedures if necessary.
3. Initial Checks
- Verify all screws are tightened and components are secure.
- Check the steering and throttle response before driving.
- Ensure the suspension moves freely without binding.
Operating Instructions
1. Powering On
- Turn on the transmitter first.
- Then, turn on the vehicle's power switch. The Hobbywing Torox 185 ESC will initialize.
- Wait for the system to establish a connection (indicated by LED lights on the ESC/receiver).
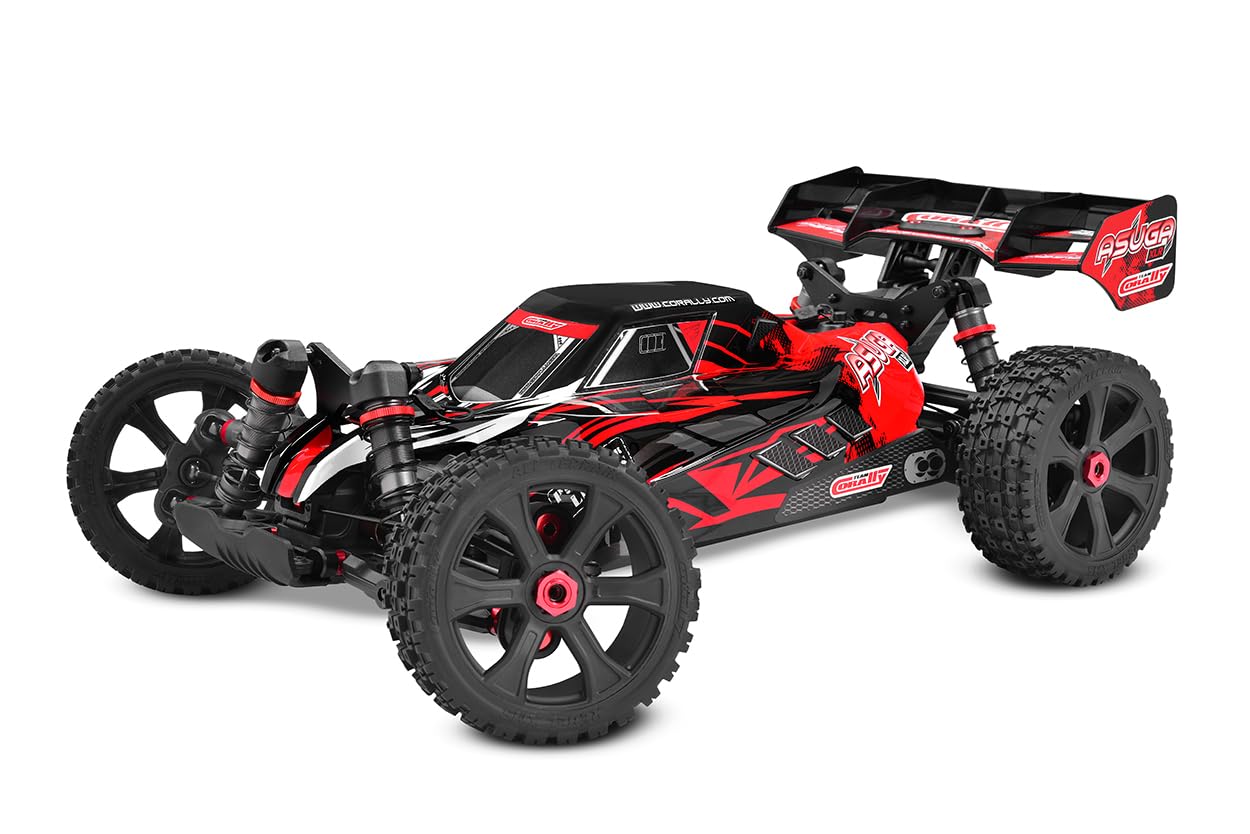
Image: Detailed view of the Hobbywing Torox 185 ESC and power switch, showing the main electronic components for power control.
2. Basic Controls
- Throttle: Pull the trigger on the transmitter to accelerate forward. Push the trigger to brake or reverse.
- Steering: Turn the steering wheel on the transmitter left or right to control the vehicle's direction. The Team Corally CR-HV 7225 Digital Servo provides precise steering.
3. Driving Tips
- Start with gentle throttle inputs to get accustomed to the vehicle's power.
- Practice steering in open spaces before attempting higher speeds or complex maneuvers.
- Be aware of your surroundings and potential hazards.
- Monitor battery levels and stop operation before batteries are fully depleted to prevent damage.
Maintenance
Regular maintenance is crucial for the longevity and performance of your Corally Asuga XLR.
1. After Each Run
- Clean the vehicle: Remove dirt, dust, and debris from the chassis, suspension, and drivetrain using a soft brush or compressed air.
- Inspect for damage: Check for loose screws, bent parts, or damaged components.
- Check wheel nuts: Ensure all wheel nuts are tight.
- Battery care: Disconnect and properly store LiPo batteries. Never leave them fully charged for extended periods.
2. Periodic Maintenance
- Bearings: The vehicle features "ABEC 3" Rubber sealed ball bearings. Periodically clean and lubricate them to ensure smooth operation. Replace worn bearings.
- Shocks: Inspect the 16mm "Big Bore" aluminum shock absorbers for leaks and proper damping. Refill or replace shock oil as needed.
- Drivetrain: Check the precision CNC-cut hardened steel spur gear, differential spiral bevel gears, and S2 hardened spring steel drive joints for wear. Lubricate moving parts as recommended by Corally.
- Tires: Inspect the low profile Rebel XMS Off-Road tires for wear and damage. Ensure they are securely mounted.

Image: Underside view of the Corally Asuga XLR chassis, highlighting the robust construction and suspension arm holders. Regular inspection of these areas is important for maintenance.
Troubleshooting
This section addresses common issues you might encounter.
| Problem | Possible Cause | Solution |
|---|---|---|
| Vehicle does not respond |
|
|
| Loss of range/intermittent control |
|
|
| Motor not running or running slowly |
|
|
Specifications
| Feature | Detail |
|---|---|
| Model Type | Electric Powered 4WD XL Buggy RTR - 6S Brushless Power |
| Model Number | C-00288-R |
| Dimensions (L x W x H) | 582 mm x 352 mm x 210 mm (approx. 22.99 x 14.65 x 8.27 inches) |
| Item Weight | 4.45 kg (9.81 pounds) |
| Motor | Team Corally Kuron 825 Brushless Motor |
| ESC | Hobbywing Torox 185 ESC |
| Servo | Team Corally CR-HV 7225 Digital Servo |
| Bearings | "ABEC 3" Rubber sealed ball bearings |
| Shock Absorbers | 16mm "Big Bore" aluminum shock absorbers |
| Required Batteries | 4-6S block or 2x2S and 2x3S LiPo batteries with XT90 connector (for vehicle), AA batteries (for transmitter) |
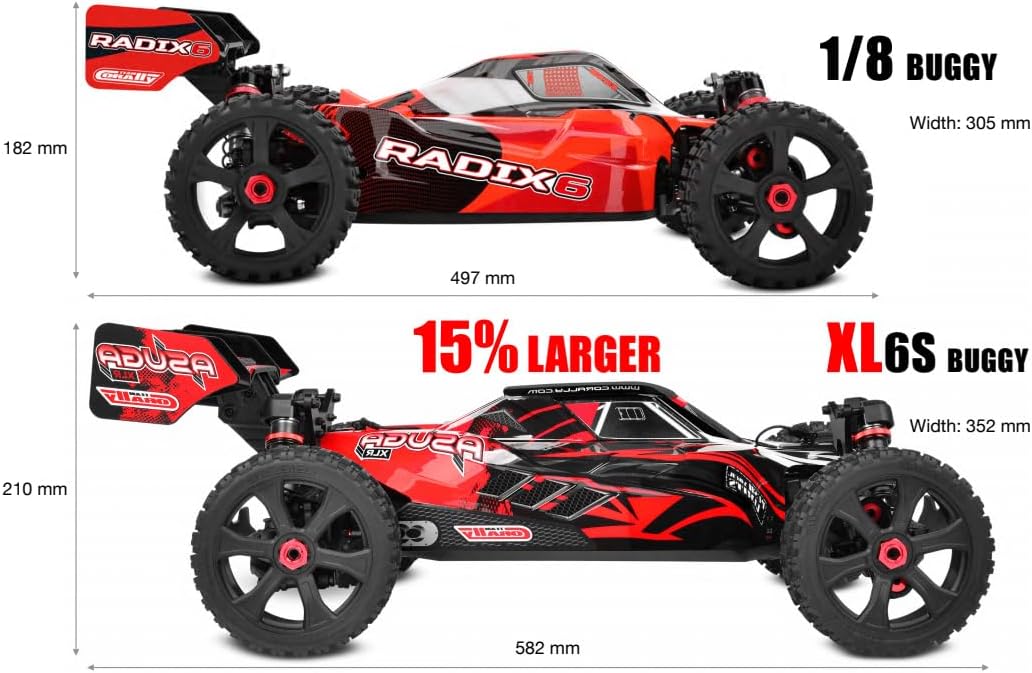
Image: Size comparison of the Asuga XLR 6S Buggy (bottom) with a standard 1/8 Buggy (top), illustrating its larger scale and dimensions (Length: 582mm, Width: 352mm, Height: 210mm).
Warranty and Support
For warranty information and technical support, please refer to the official Corally website or contact your authorized Corally dealer. Keep your proof of purchase for any warranty claims.


