
KITCHMIX WT-340A
KITCHMIX 4-Slice Retro Toaster Instruction Manual
Model: WT-340A
Introduction
This manual provides essential instructions for the safe and efficient operation, maintenance, and troubleshooting of your KITCHMIX 4-Slice Retro Toaster. Please read this manual thoroughly before first use and retain it for future reference.
This toaster features a retro design with a durable stainless steel body, 1.5-inch wide slots, 6 browning levels, and dual independent control panels for versatile toasting.
Important Safety Instructions
WARNING: To reduce the risk of fire, electric shock, or injury:
- Do not touch hot surfaces. Use handles or knobs.
- Do not immerse cord, plugs, or toaster in water or other liquid.
- Close supervision is necessary when any appliance is used by or near children.
- Unplug from outlet when not in use and before cleaning. Allow to cool before putting on or taking off parts.
- Do not operate any appliance with a damaged cord or plug or after the appliance malfunctions or has been damaged in any manner.
- The use of accessory attachments not recommended by the appliance manufacturer may cause injuries.
- Do not use outdoors.
- Do not let cord hang over edge of table or counter, or touch hot surfaces.
- Do not place on or near a hot gas or electric burner, or in a heated oven.
- Extreme caution must be used when moving an appliance containing hot oil or other hot liquids.
- Do not use appliance for other than intended use.
- Oversize foods, metal foil packages, or utensils must not be inserted in a toaster as they may create a risk of fire or electric shock.
- A fire may occur if toasters are covered or touching flammable material, including curtains, draperies, walls, and the like, when in operation.
- Do not attempt to dislodge food when toaster is plugged in.
- Do not operate unattended.
- To disconnect, turn any control to "off", then remove plug from wall outlet.
Product Overview
The KITCHMIX 4-Slice Retro Toaster is designed for efficient and versatile toasting. It features two independent control panels, allowing different settings for each pair of slots.
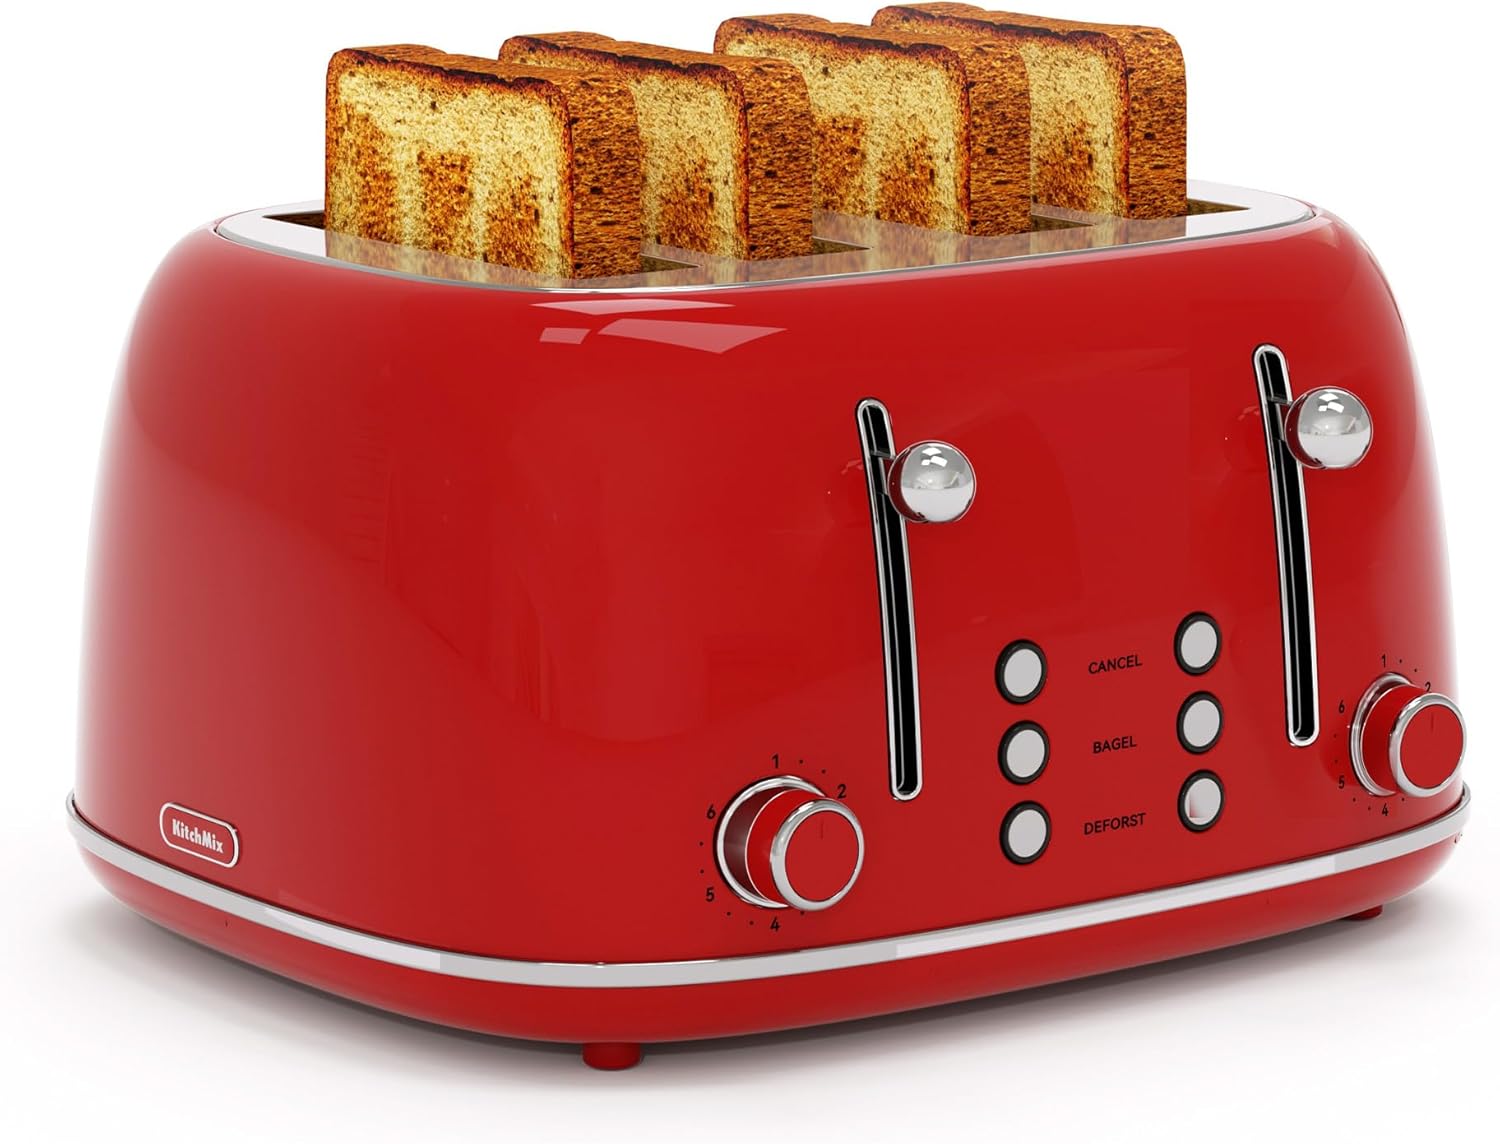
Image: Front view of the KITCHMIX 4-Slice Retro Toaster in red, with four slices of toast in the slots.
Key Features:
- 1.5 Inch Extra-wide Slots: Accommodates various bread types like waffles, muffins, and bagels.
- 6 Shade Browning Levels: Adjustable dial from light to dark (Levels 1-6) for personalized toasting.
- Dual Independent Control Panels: Allows simultaneous toasting with different settings for each pair of slots.
- Multiple Toasting Functions: Includes Cancel, Bagel, and Defrost buttons.
- High Lift Lever: For easy removal of smaller items.
- Removable Crumb Trays: For easy cleaning.
- Cord Wrap Storage: For neat storage.
Setup
- Unpack the toaster and remove all packaging materials.
- Place the toaster on a stable, flat, heat-resistant surface, away from flammable materials.
- Ensure the crumb trays are properly inserted at the bottom of the toaster.
- Plug the power cord into a standard 120V AC electrical outlet.
- Before first use, it is recommended to operate the toaster without bread on the highest setting (Level 6) a few times to burn off any manufacturing residues and eliminate initial odors. Ensure good ventilation during this process.
Operating Instructions
Basic Toasting
- Insert up to four slices of bread or other items into the toaster slots. Ensure items are not too thick to prevent jamming.
- Select your desired browning level using the shade control knob (1-6). Level 1 is the lightest, Level 6 is the darkest.
- Press down the toast lever until it locks into place. The toaster will begin toasting.
- Once toasting is complete, the toast will automatically pop up.
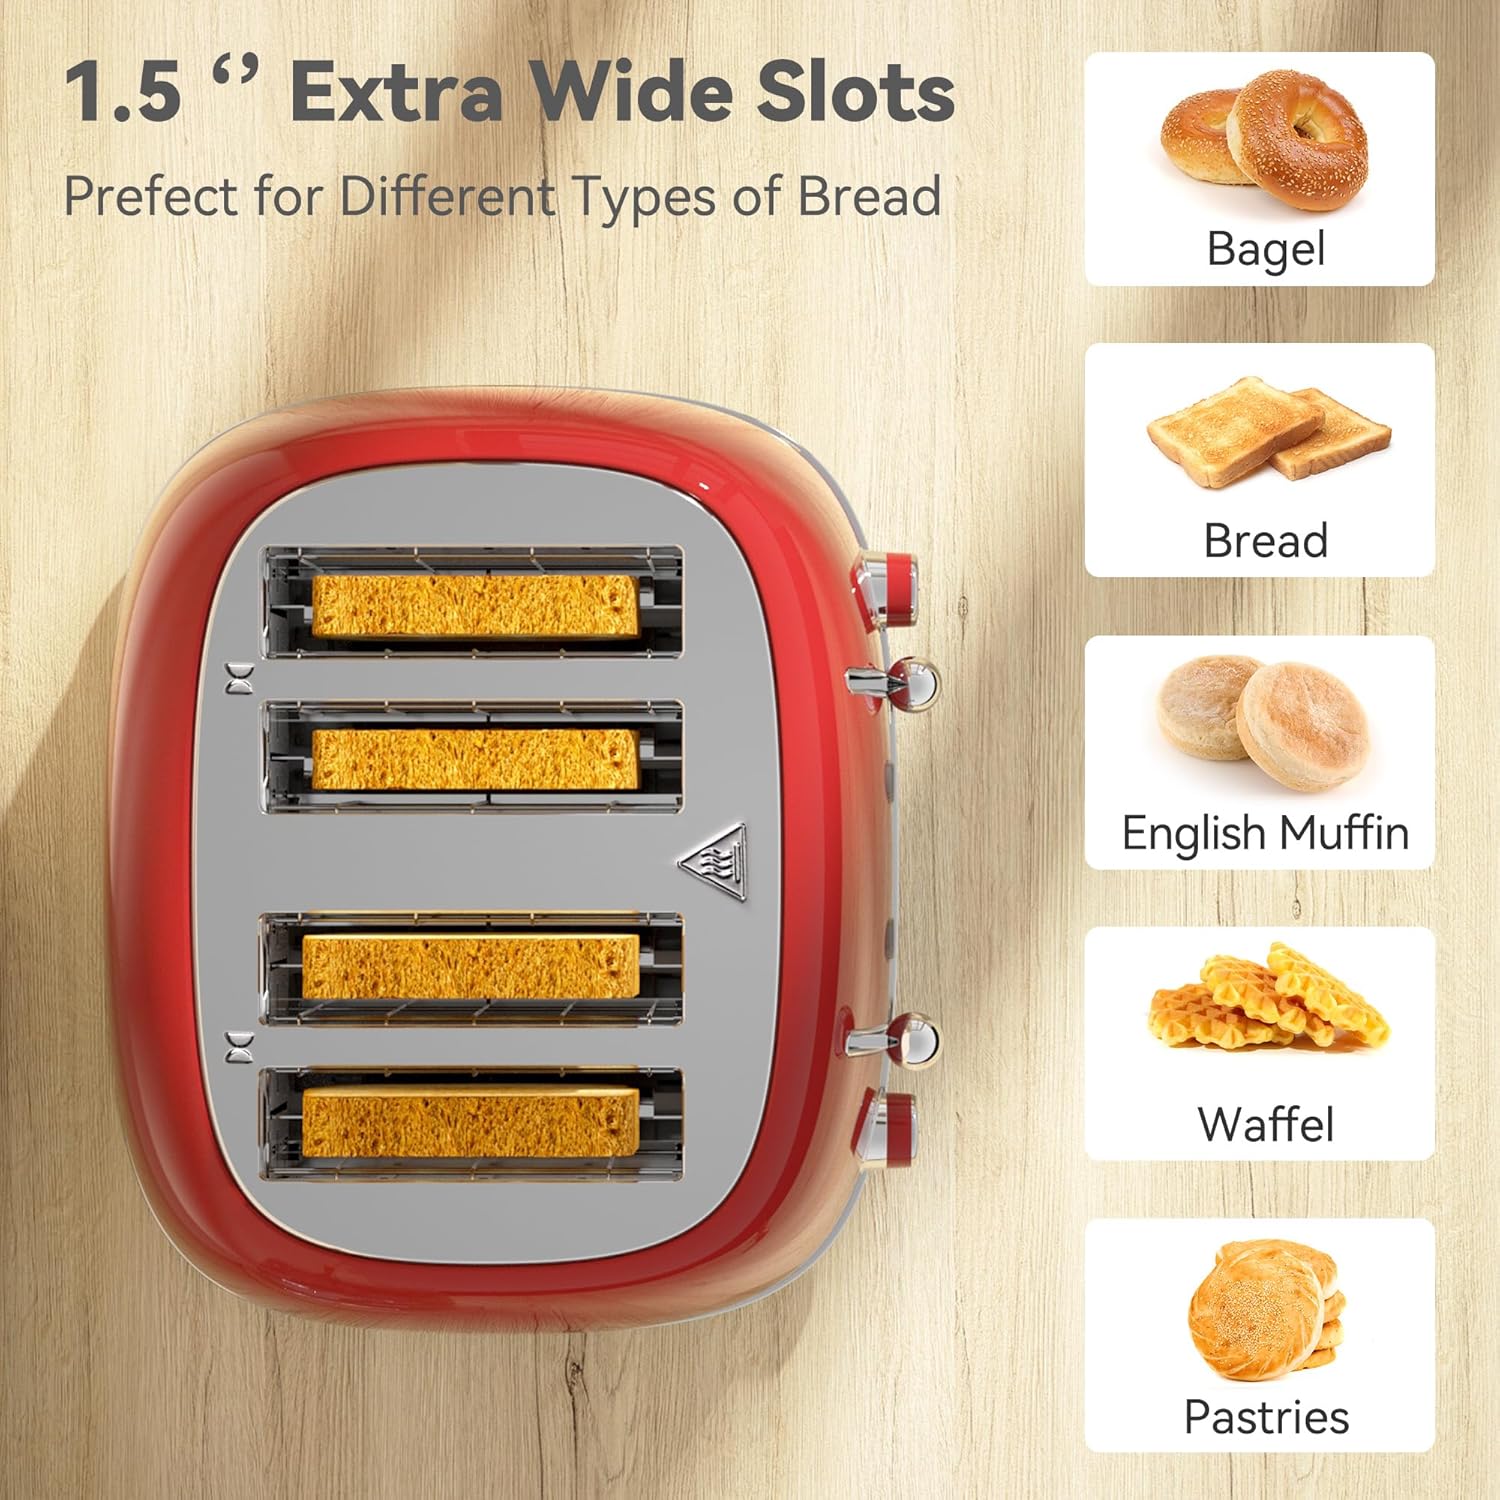
Image: A hand inserting slices of bread into the toaster slots.
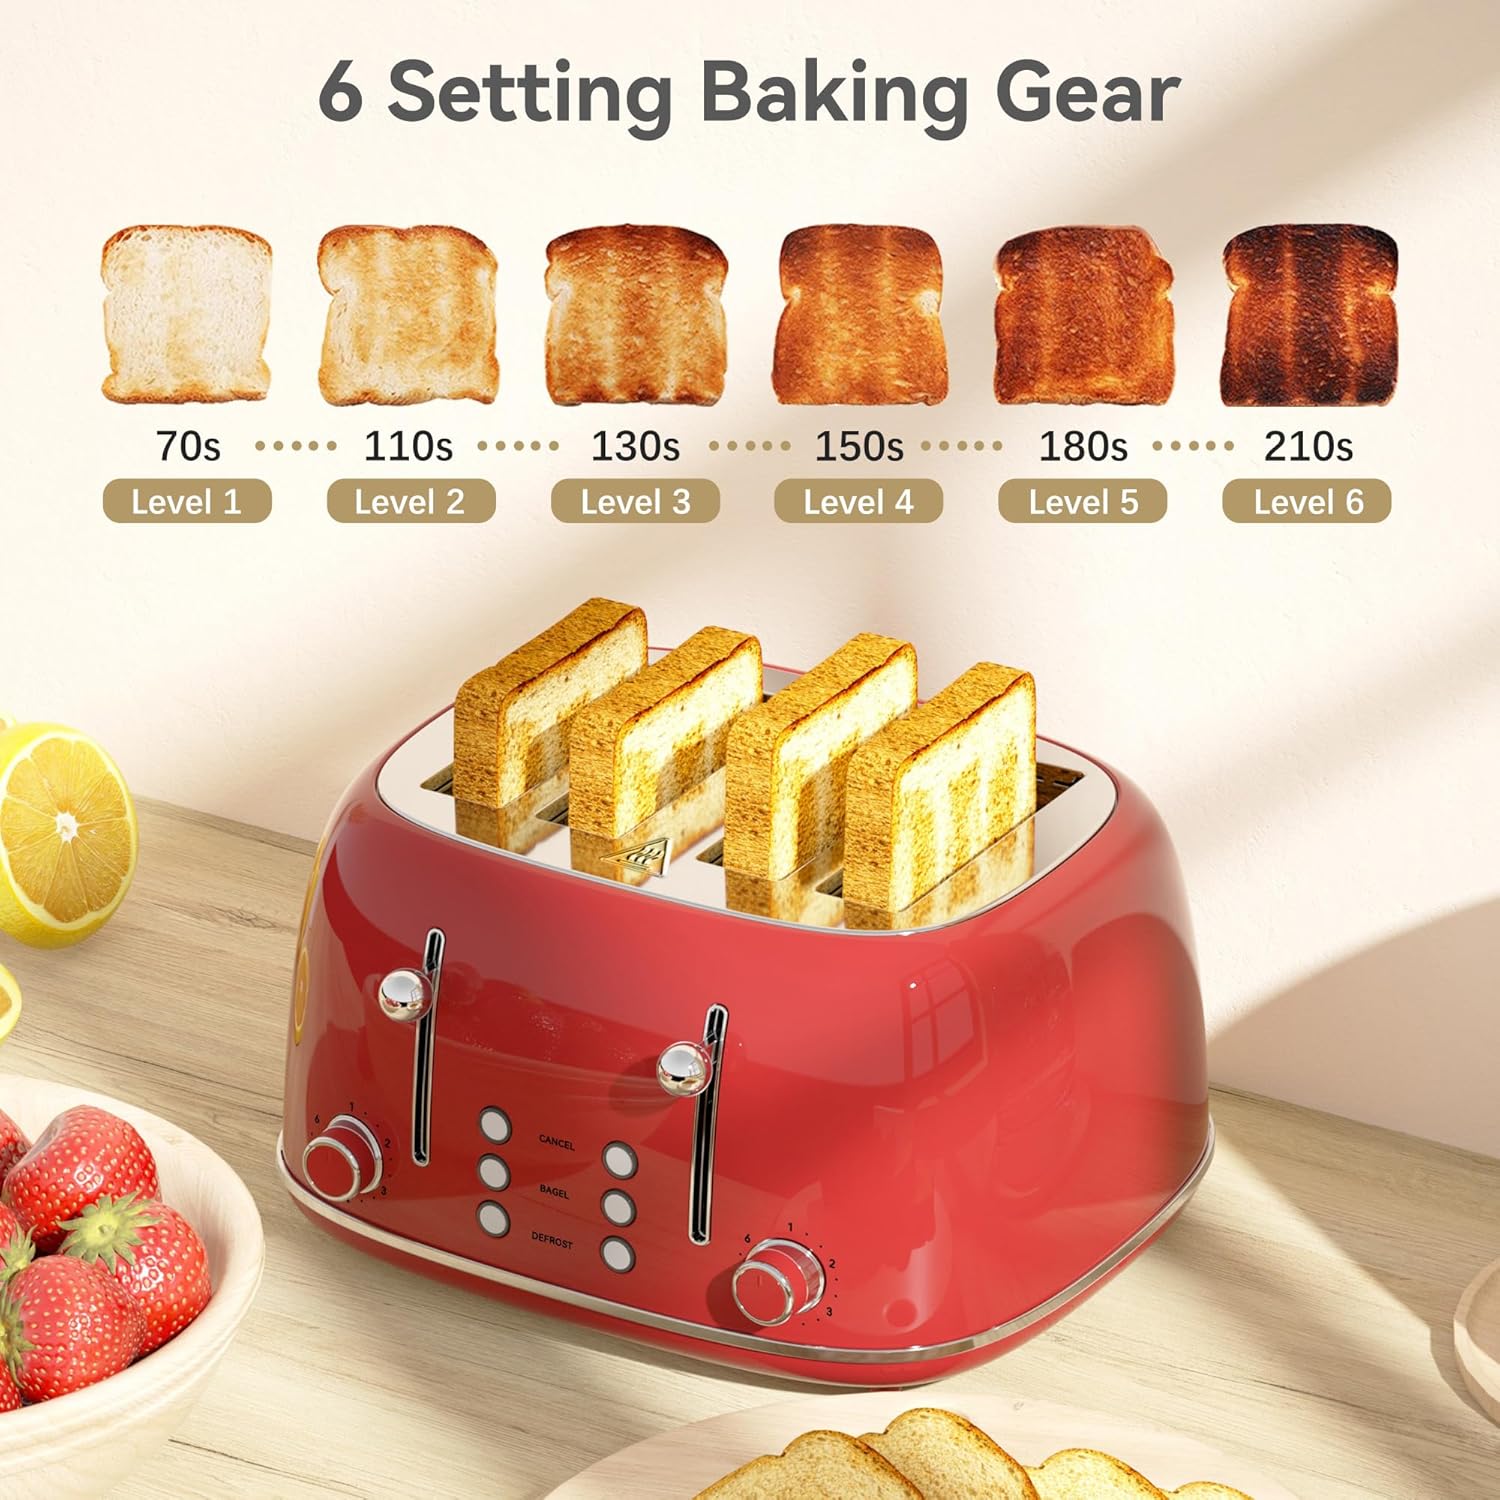
Image: A hand adjusting the shade control knob on the toaster.

Image: A hand pressing down the toast lever on the toaster.

Image: Four slices of toasted bread automatically popping up from the toaster.
Special Functions
- CANCEL Button: Press this button at any time to stop the toasting cycle and eject the bread.
- BAGEL Button: Activates the bagel function, which toasts the cut side of the bagel while gently warming the outer side. Insert bagels with the cut side facing inwards.
- DEFROST Button: Designed to toast frozen bread. This function adds extra time to the toasting cycle to thaw and then toast the bread to your selected browning level.
Image: Close-up of the toaster showing the Cancel, Bagel, and Defrost buttons.
Browning Level Guide
The following table provides a general guide for browning levels. Actual results may vary based on bread type and freshness.
| Level | Description | Approximate Time |
|---|---|---|
| 1 | Lightly toasted | 70-90 seconds |
| 2 | Light golden | 110 seconds |
| 3 | Golden | 130 seconds |
| 4 | Medium brown | 150-160 seconds |
| 5 | Dark brown | 180 seconds |
| 6 | Very dark | 200-210 seconds |
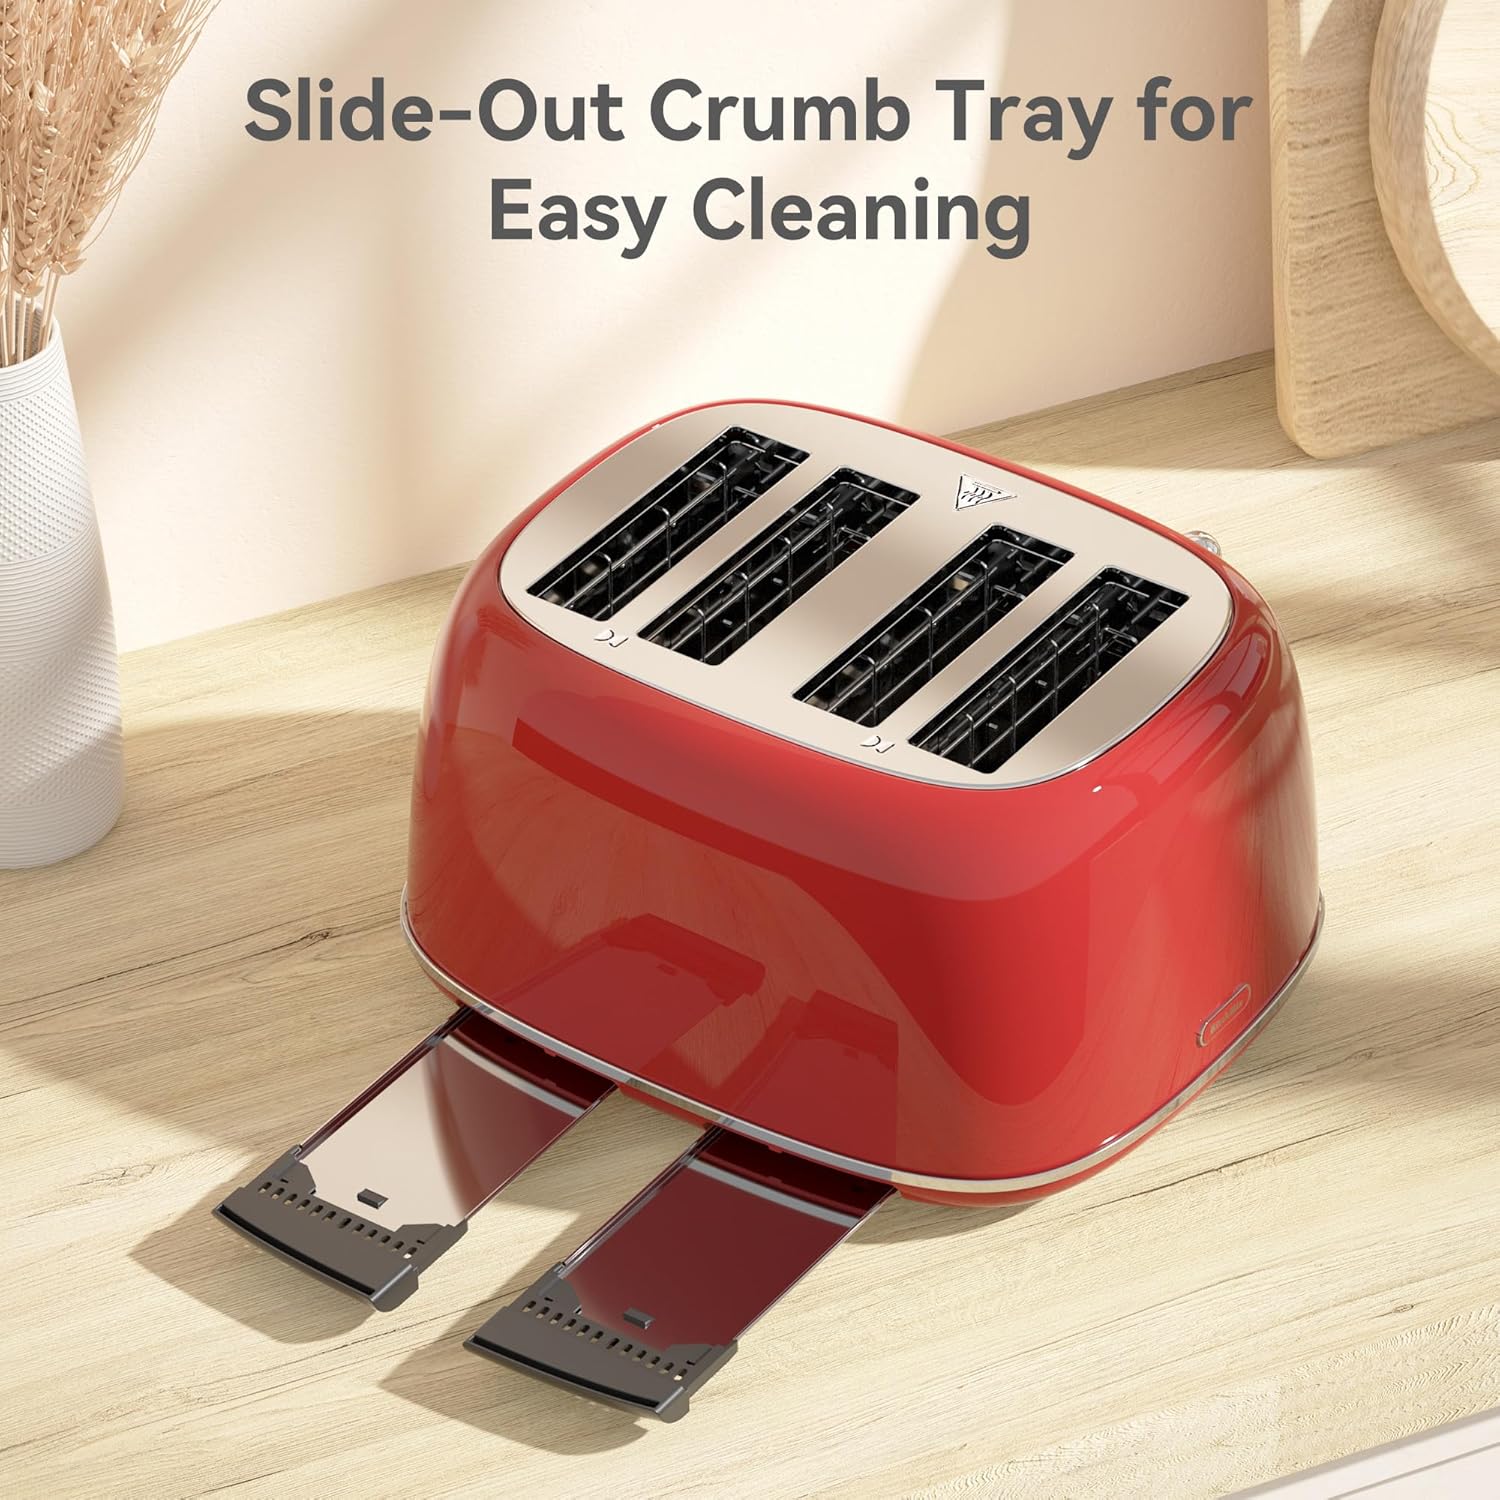
Image: A visual representation of the six browning levels, showing toast from very light to very dark.
Care and Maintenance
Cleaning the Crumb Trays
- Always unplug the toaster from the power outlet and allow it to cool completely before cleaning.
- Pull out the removable crumb trays located at the bottom of the toaster.
- Discard crumbs. Wipe the trays with a damp cloth and dry thoroughly.
- Slide the crumb trays back into the toaster until they click into place.

Image: A hand removing the crumb tray from the bottom of the toaster for cleaning.
Cleaning the Exterior
- Wipe the exterior of the toaster with a soft, damp cloth. Do not use abrasive cleaners or metal scouring pads, as they may scratch the surface.
- Ensure the toaster is completely dry before plugging it back in.
Storage
- When not in use, unplug the toaster and allow it to cool.
- Use the cord wrap storage feature on the bottom of the toaster to neatly store the power cord.
- Store the toaster in a clean, dry place.

Image: The underside of the toaster showing the cord wrapped around the storage grooves.
Troubleshooting
| Problem | Possible Cause | Solution |
|---|---|---|
| Toaster does not turn on. | Not plugged in; power outage; faulty outlet. | Ensure the toaster is securely plugged into a working outlet. Check your circuit breaker. |
| Bread is not toasting evenly. | Uneven bread thickness; crumb buildup; first use. | Ensure bread slices are of uniform thickness. Clean crumb trays regularly. The first few uses may result in uneven toasting. |
| Smoke coming from toaster. | Food stuck in slots; excessive crumbs; high browning setting. | Immediately unplug the toaster. Allow to cool, then carefully remove any stuck food. Clean crumb trays. Reduce browning setting if necessary. |
| Toast is too light/dark. | Incorrect browning setting. | Adjust the browning control knob to a higher setting for darker toast or a lower setting for lighter toast. |
| Lever does not stay down. | Toaster is not plugged in; internal mechanism issue. | Ensure the toaster is plugged into a live electrical outlet. If the issue persists, contact customer support. |
Specifications
- Brand: KITCHMIX
- Model: WT-340A
- Color: Red
- Material: Stainless Steel
- Product Dimensions (D x W x H): 13.58" x 14.37" x 8.46"
- Wattage: 1650 watts
- Voltage: 120 Volts
- Number of Slices: 4
- Browning Settings: 6 levels
- Item Weight: 5.96 Pounds
- UPC: 614160288088
Warranty and Support
For warranty information or technical support, please contact KITCHMIX customer service.
Please have your model number (WT-340A) and purchase date available when contacting support.
For common inquiries, you may also visit the KITCHMIX official website.
Video Demonstrations
The following videos provide visual guidance on using your KITCHMIX Toaster.
No official seller videos are available for this product at this time.
Ask a question about this manual
Ask about setup, troubleshooting, compatibility, parts, safety, or missing instructions. Manuals+ will review the question and use this page’s manual context to help answer it.