1. Introduction and Product Overview
Thank you for choosing the RecPro RP-AC48V RV Air Conditioner. This non-ducted, low-profile unit is designed to provide efficient heating and cooling for your RV, ensuring comfort in various climates. It features an integrated heat pump, a touch screen plenum display, and a washable return air filter for easy maintenance.
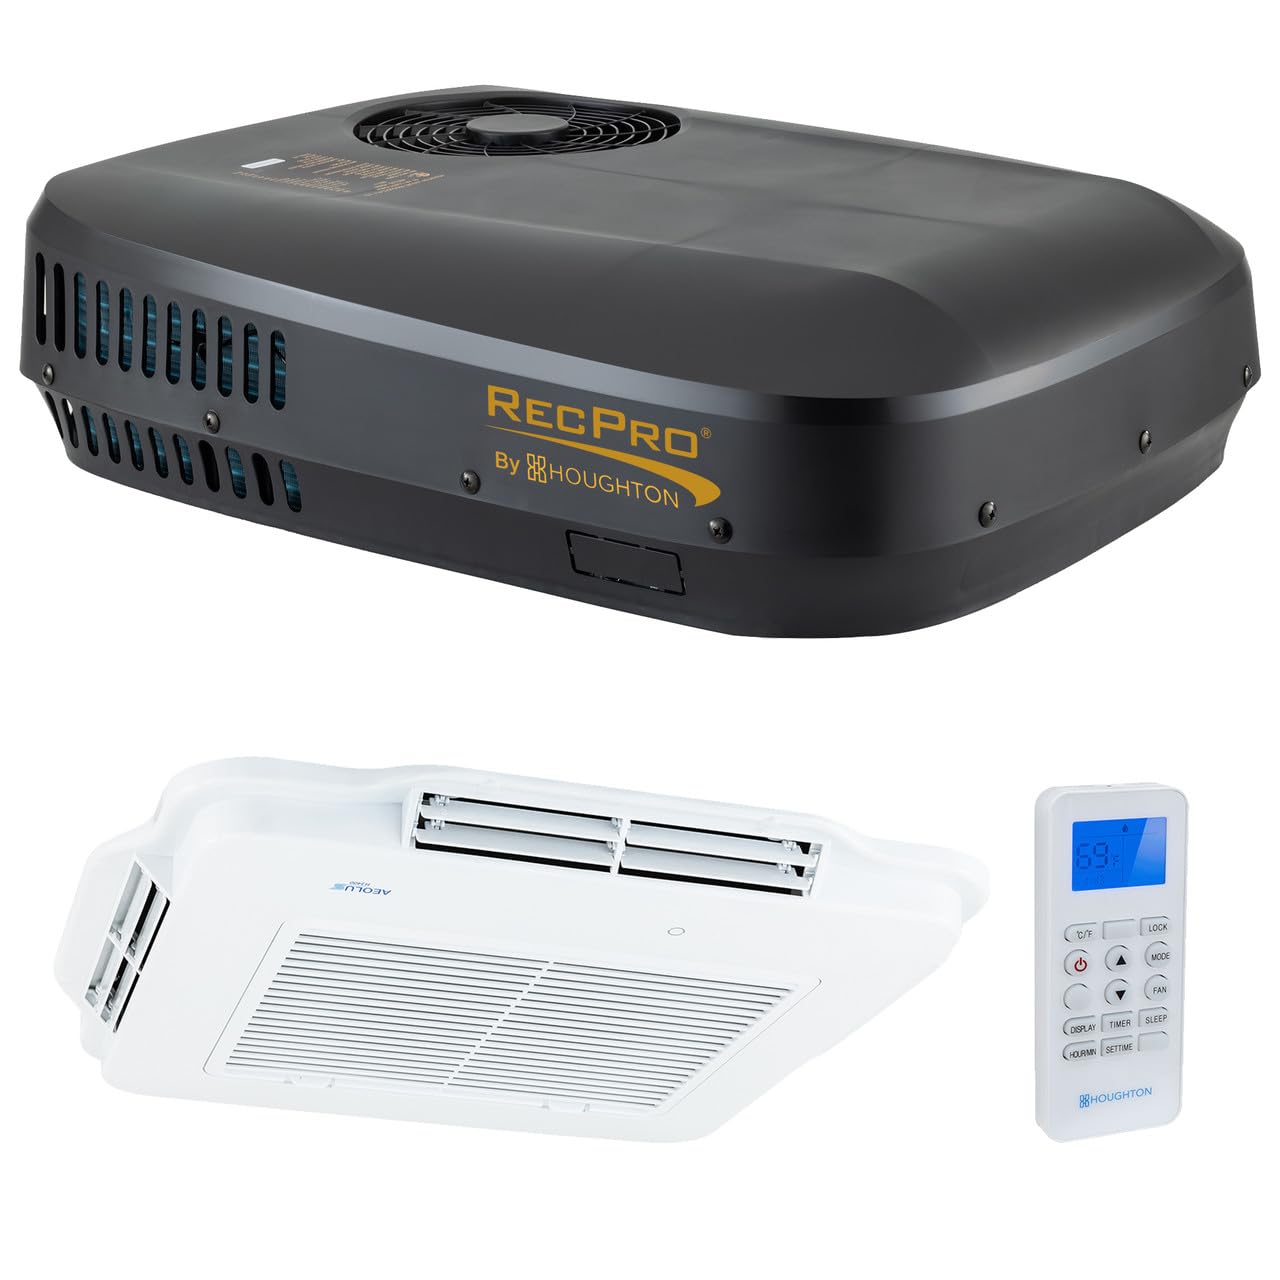
Figure 1: RecPro RP-AC48V RV Air Conditioner exterior unit.
Key Features:
- Efficient Heating & Cooling: Provides both heating and cooling functions in a single device.
- Touch Screen Plenum Display: Allows precise temperature control.
- Washable Return Air Filter: Designed for easy maintenance and minimal amp draw.
- Automatic Coil Defrosting: Protects compressor and coils in cold conditions when in heating mode.
- Four Adjustable Air Outlets: Ensures quick and even air distribution throughout the space.
2. Safety Information
Please read all safety instructions carefully before installation and operation. Failure to follow these instructions may result in property damage, personal injury, or death.
- Ensure all power sources are disconnected before performing any installation or maintenance.
- Installation should be performed by qualified personnel to prevent electrical shock or damage.
- Do not block air inlets or outlets.
- Keep children away from the unit during operation.
- Use only specified voltage (48 Volts DC) for operation.
3. Package Contents
The RecPro RP-AC48V RV Air Conditioner package includes the following components:
- Air Conditioner Unit (Exterior)
- Indoor Plenum Assembly with Touch Screen Display
- Remote Control
- Mounting Hardware
- Washable Air Filter
- User Manual
4. Specifications
| Specification | Value |
|---|---|
| Model Info | RP-AC48V |
| Item Weight | 86 pounds |
| Product Dimensions | 34 x 26 x 9 inches |
| Voltage | 48 Volts (DC) |
| Wattage | 1650 W |
| Cooling Power | 9500 British Thermal Units |
| Noise Level | 43 Decibels |
| Installation Type | Packaged |
| Form Factor | Low-profile, non-ducted air conditioner with four adjustable air outlets |
| Refrigerant | R-410A |
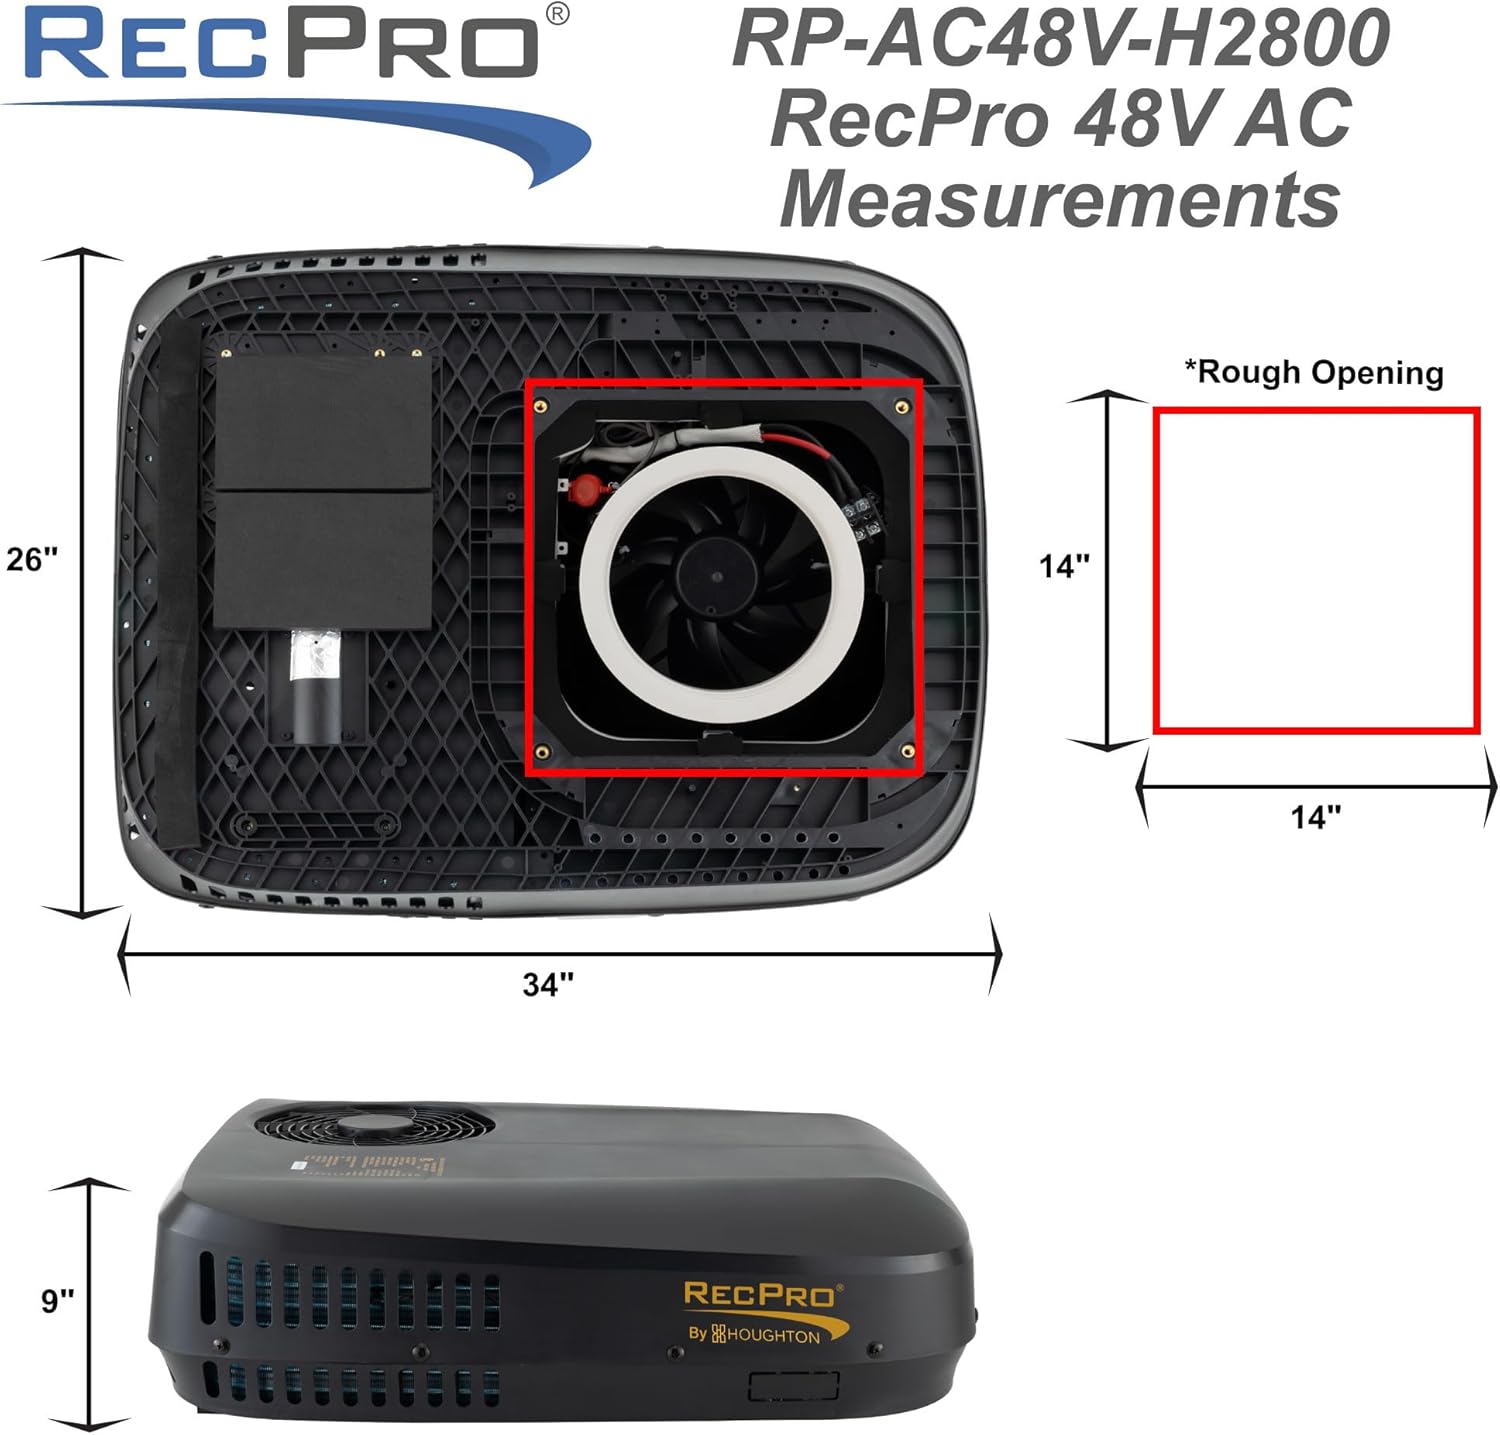
Figure 2: Dimensions of the RecPro RP-AC48V RV Air Conditioner.

Figure 3: Power consumption details for the RecPro RP-AC48V RV Air Conditioner.
5. Setup and Installation
Installation of the RecPro RP-AC48V RV Air Conditioner requires careful attention to detail. It is recommended to have professional assistance or a thorough understanding of RV electrical and structural components.
General Installation Steps:
- Prepare the Roof Opening: Ensure a standard 14.25 x 14.25 inch opening is available or created on the RV roof. Clean the area thoroughly.
- Apply Sealant: Apply a bead of self-leveling silicone around the roof opening to ensure a watertight seal.
- Position the Exterior Unit: Carefully lift and place the exterior AC unit over the prepared opening, ensuring the pre-attached gasket aligns with the sealant.
- Install Plenum Mounting Bracket: From inside the RV, install the plenum mounting bracket, securing it with the provided bolts and metal plates. Torque bolts to 7N.M.
- Connect Wiring: Connect the electrical wiring from the exterior unit to the indoor plenum assembly. Ensure correct polarity and secure connections.
- Install Indoor Plenum Assembly: Attach the indoor plenum assembly to the mounting bracket.
- Secure Air Filter: Insert the washable air filter into its designated slot in the indoor plenum.
Video 1: Detailed steps for installing the indoor unit of the RV air conditioner.
Video 2: Guide for ducted installation of the AC unit.
6. Operating Instructions
The RecPro RP-AC48V can be operated using the touch screen display on the indoor plenum or the included remote control.
Using the Remote Control:
- Power On/Off: Press the power button to turn the unit on or off.
- Mode Selection: Cycle through cooling, heating, dehumidifying, and fan-only modes.
- Temperature Adjustment: Use the up/down arrows to set your desired temperature.
- Fan Speed: Adjust fan speed (low, medium, high, auto) to control airflow.
- Timer/Sleep Function: Set a timer for automatic operation or activate sleep mode for quiet, energy-efficient overnight use.

Figure 4: Indoor plenum display and remote control for the RecPro RP-AC48V.
Video 3: Overview of the RecPro RV Air Conditioner's features and quiet operation.
7. Maintenance
Washable Air Filter:
The unit is equipped with a washable return air filter for easy maintenance. Regularly clean the filter to ensure optimal performance and airflow.
- To remove the filter, locate the filter tabs on the indoor plenum and gently pull.
- Wash the filter with mild soap and water.
- Allow the filter to dry completely before reinserting it into the unit.
General Cleaning:
Wipe the exterior of the unit with a soft, damp cloth. Do not use harsh chemicals or abrasive cleaners.
8. Troubleshooting
If you experience issues with your RecPro RP-AC48V, refer to the following common troubleshooting steps:
- Unit Not Turning On: Check the 48V DC power supply and ensure all connections are secure. Verify that the RV's battery system is adequately charged.
- Insufficient Cooling/Heating: Ensure the air filter is clean and not obstructed. Check that all air outlets are open and not blocked. Verify the temperature setting on the display or remote.
- Unusual Noises: Inspect the unit for any loose components or debris. If unusual noises persist, contact customer support.
- Water Leakage: Check the roof sealant around the exterior unit for any cracks or gaps. Ensure the condensate drain is clear and not clogged.
For further assistance, please contact RecPro customer support.
9. Warranty and Support
RecPro products are designed for durability and performance. For specific warranty details, please refer to the warranty card included with your product or visit the official RecPro website.
Customer Support:
If you have any questions, require technical assistance, or need to report an issue, please contact RecPro customer support through their official website or the contact information provided in your product packaging.


