
1. Introduction
This manual provides detailed instructions for the installation, operation, and maintenance of the GUETNEU GT2P-UID Digital Display Energy Meter. This device is designed to accurately measure AC voltage, current, and energy consumption in various applications. Please read this manual thoroughly before use to ensure safe and correct operation.
2. Product Overview
2.1 Key Features
- Durable Construction: Manufactured from high-quality ABS and PC alloy materials, offering fire-resistant, flame-retardant, heat-resistant, impact-resistant, and chemical-resistant properties for long-term stability.
- Multi-Function Measurement: Accurately measures AC voltage, current, and energy consumption.
- Data Storage: Features automatic data storage, retaining energy data during power loss and resuming accumulation upon power restoration.
- Energy Data Reset: Allows for recalculation of energy readings by pressing and holding the CLR button for 10 seconds.
- Clear Digital Display: Equipped with an HD digital display for easy and clear reading of all measured parameters.
- Rail Installation: Designed for convenient rail mounting, simplifying the installation process.
2.2 Components
The GUETNEU GT2P-UID energy meter consists of the main unit with a digital display, input/output terminals, and a CLR button.
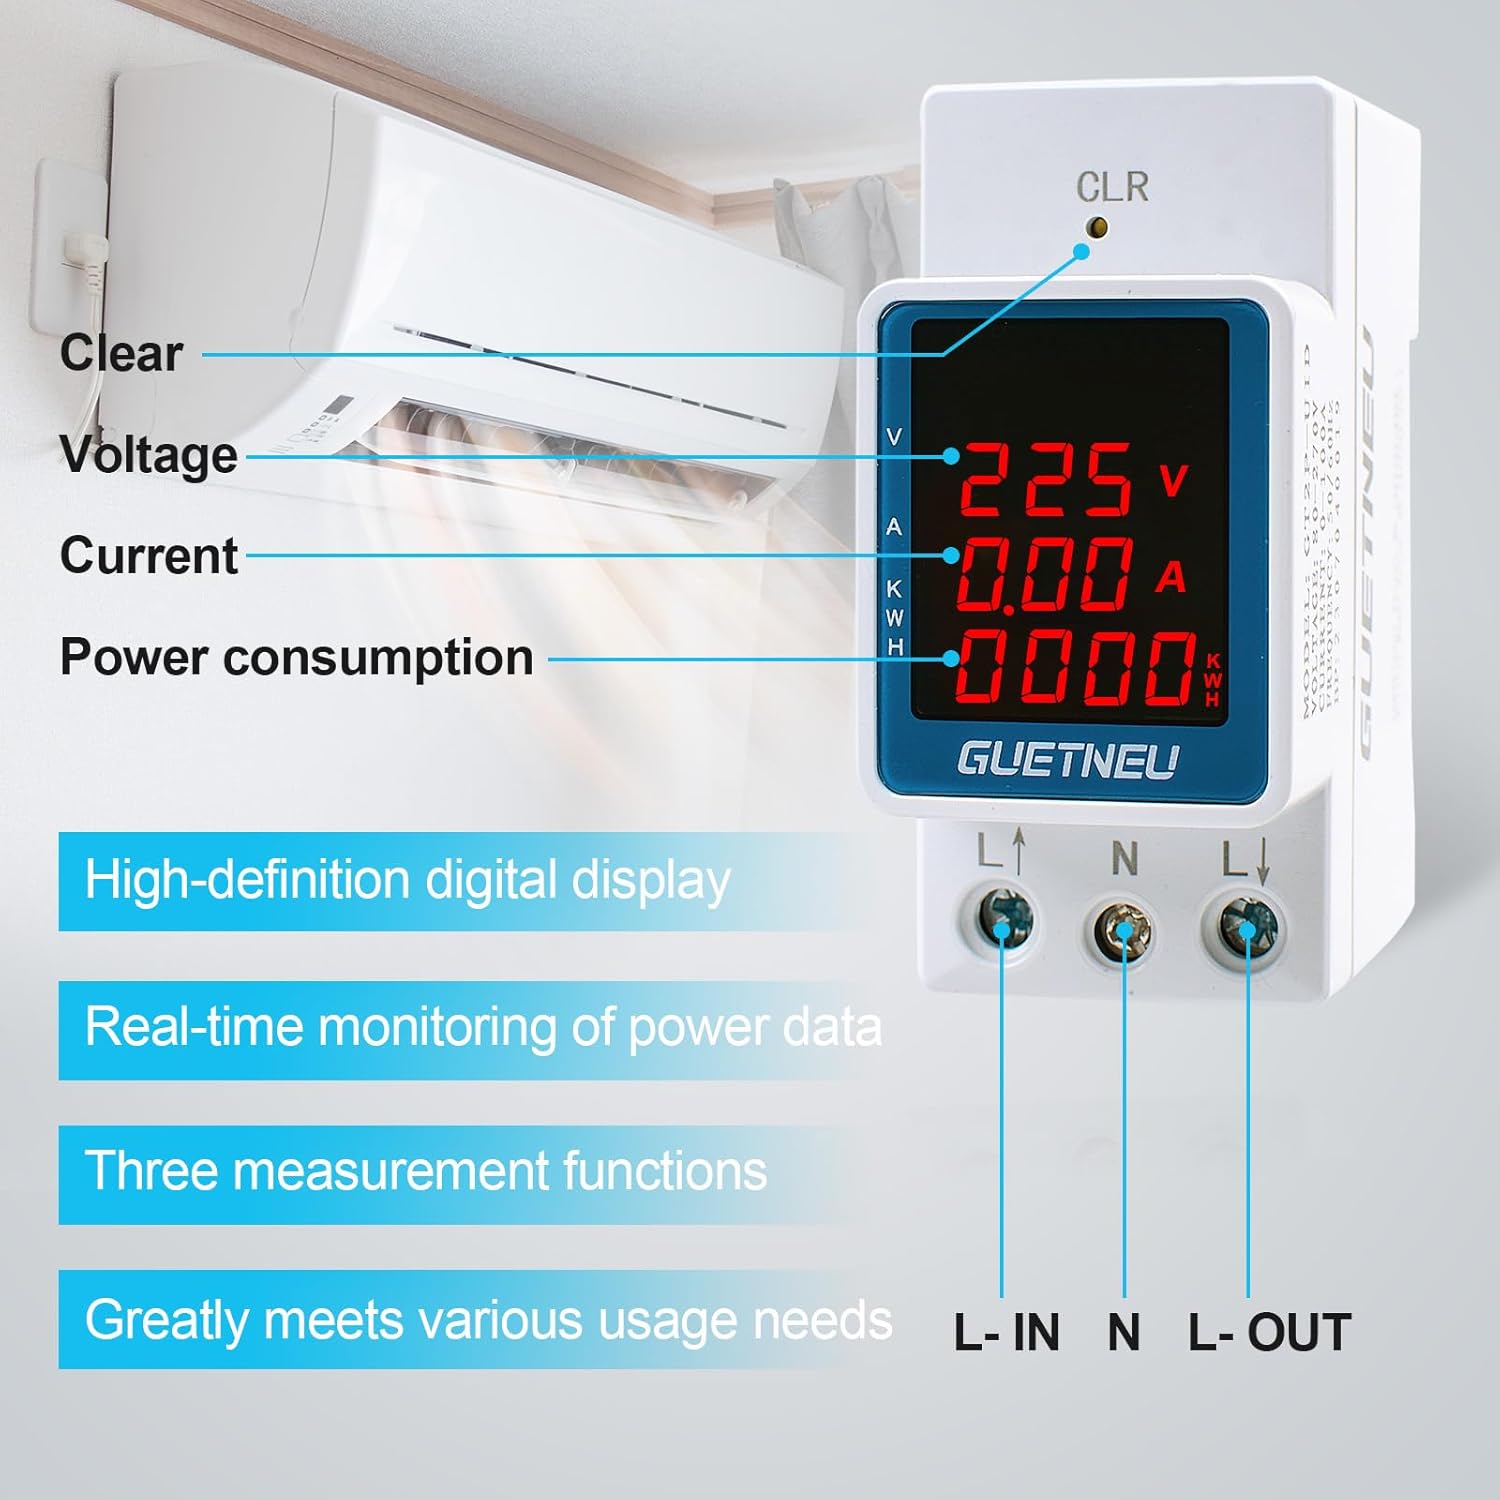
Image: Front view of the GUETNEU GT2P-UID energy meter highlighting its digital display and measurement indicators for voltage, current, and power consumption. The input and output terminals (L-IN, N, L-OUT) are also visible.

Image: Two views of the GUETNEU GT2P-UID energy meter. The top image shows the meter's construction from ABS and PC alloy materials, emphasizing its fire-retardant and durable properties. The bottom image illustrates the rail installation design, showing the meter mounted on a DIN rail.
3. Specifications
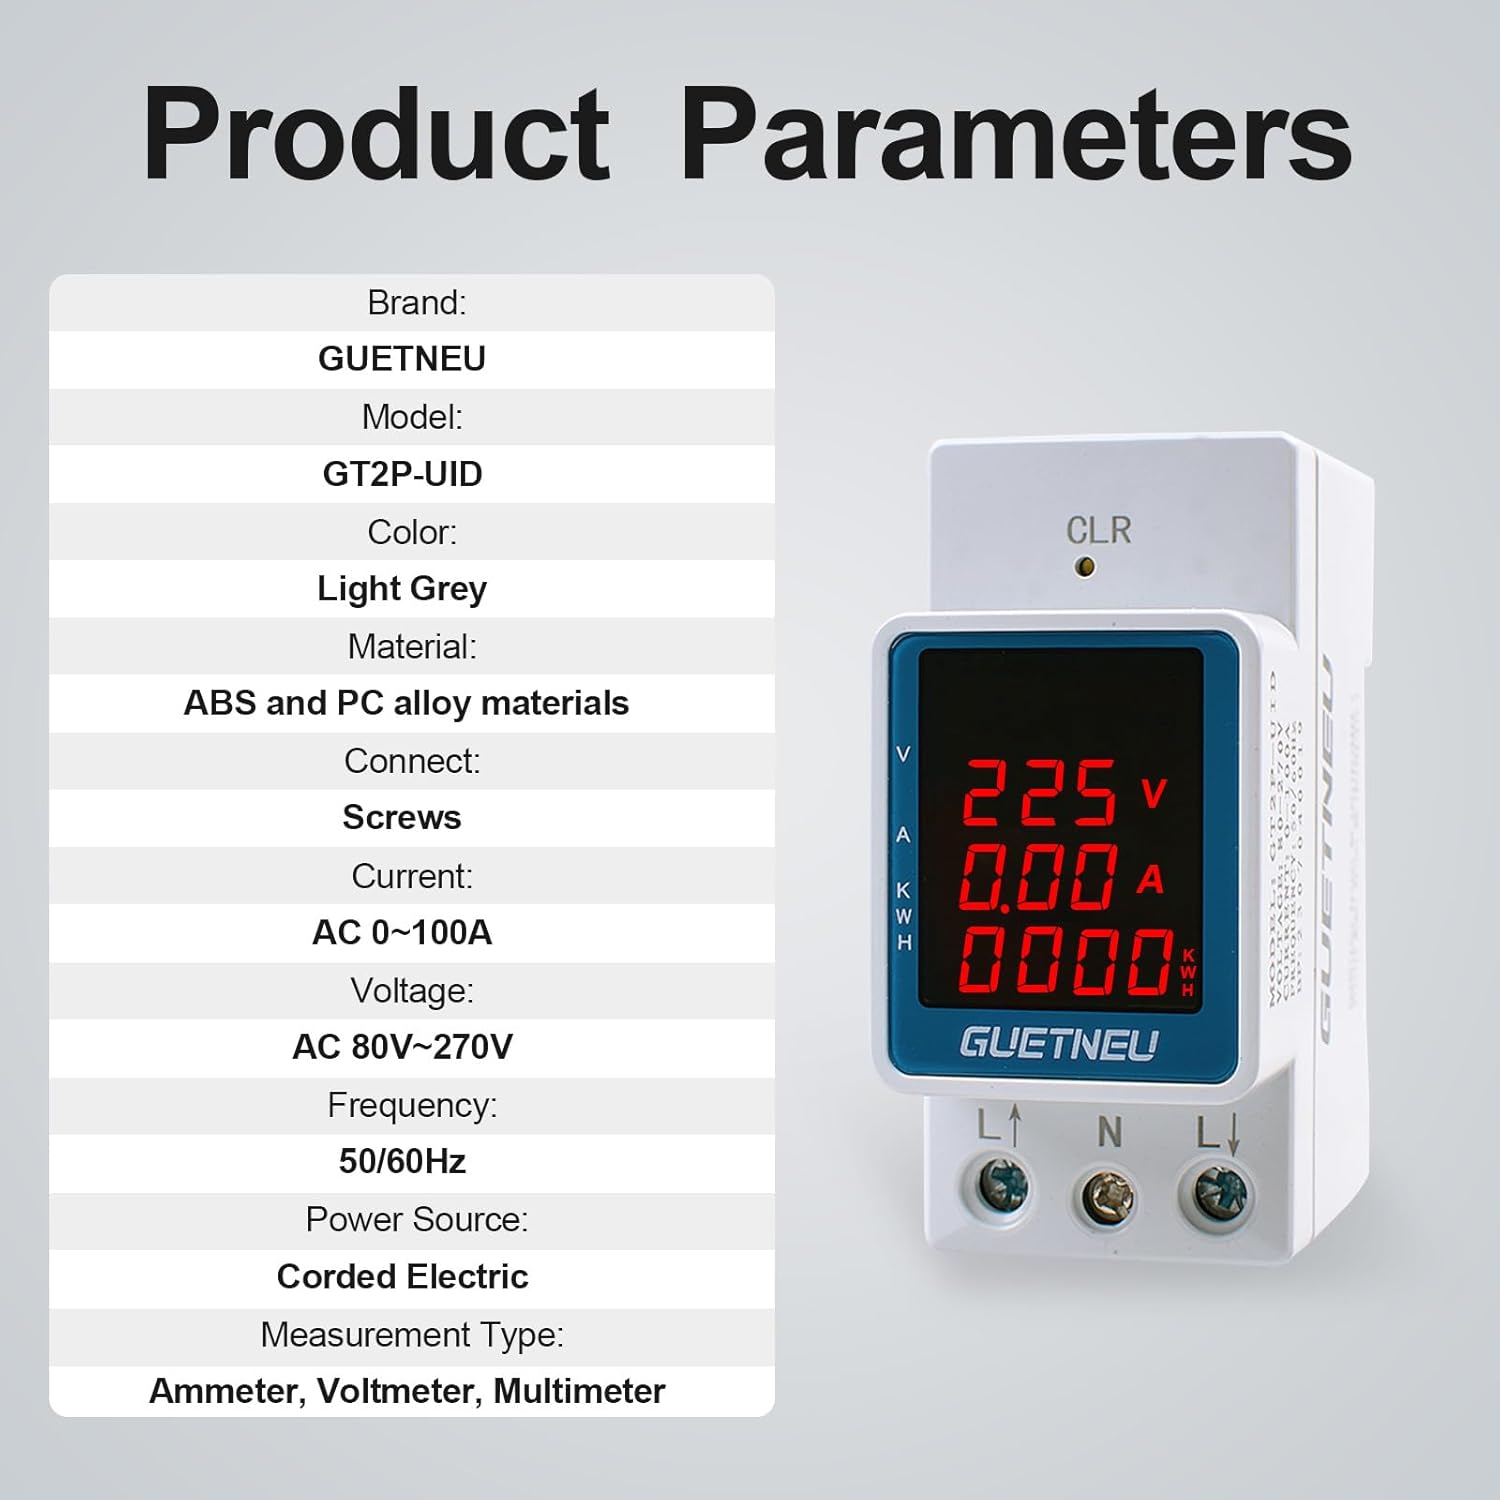
Image: A visual representation of the GUETNEU GT2P-UID energy meter's product parameters, including brand, model, color, material, connection type, current, voltage, frequency, power source, and measurement type.
| Parameter | Value |
|---|---|
| Brand | GUETNEU |
| Model | GT2P-UID |
| Color | Light Grey |
| Material | ABS and PC alloy materials |
| Connection Type | Screw Terminals |
| Current Range | AC 0~100A |
| Voltage Range | AC 80V~270V |
| Frequency | 50/60Hz |
| Power Source | Corded Electric |
| Measurement Type | Ammeter, Voltmeter, Multimeter |
| Parcel Dimensions | 10.8 x 8.7 x 5.3 cm |
| Item Weight | 140 g |
| Certifications | CE, RoHS |

Image: A detailed dimension diagram (in mm) of the GUETNEU GT2P-UID energy meter, showing its height, width, and depth, along with key measurements for installation.
4. Safety Information
WARNING: Electrical work should only be performed by qualified personnel. Always disconnect power before installation or maintenance.
- This product is suitable for indoor use only.
- This product is designed exclusively for AC (Alternating Current) applications.
- Ensure that the measured current and voltage are within the specified operating ranges (AC 0~100A, AC 80V~270V). Exceeding these limits can damage the device or create safety hazards.
- Proper wiring is essential for safe and accurate operation. Refer to the wiring diagram carefully.
- Do not attempt to disassemble or modify the device.
5. Setup and Installation
5.1 Rail Installation
The GT2P-UID energy meter is designed for DIN rail mounting. To install:
- Ensure the power supply to the circuit is completely disconnected.
- Align the meter's mounting clips with the DIN rail.
- Press firmly until the meter snaps securely onto the rail.
5.2 Wiring Diagram
Follow the wiring diagram below for correct connection. Incorrect wiring can lead to device malfunction or electrical hazards.

Image: A clear wiring diagram for the GUETNEU GT2P-UID energy meter, showing connections for L-IN (Live Input), N (Neutral), and L-OUT (Live Output) with corresponding circuit breakers.
Connection Steps:
- Connect the incoming Live (L-IN) wire to the left-most terminal.
- Connect the incoming Neutral (N) wire to the middle terminal.
- Connect the outgoing Live (L-OUT) wire to the right-most terminal.
- Ensure all screw terminals are tightened securely to prevent loose connections.
After installation, restore power and verify the display illuminates and shows readings.
6. Operating Instructions
6.1 Reading the Display
The HD digital display provides real-time measurements for:
- Voltage (V): Displays the current AC voltage.
- Current (A): Displays the current AC current flow.
- Energy Consumption (kWh): Accumulates total energy consumed.
6.2 Resetting Energy Data
To reset the accumulated energy consumption (kWh) data:
- Locate the 'CLR' button on the front of the meter.
- Press and hold the 'CLR' button for approximately 10 seconds.
- The energy consumption reading will reset to zero.
Video: Demonstration of a multifunctional electricity power meter display, showing various readings and potentially how to interact with the device. This video is provided by a seller and illustrates general functionality relevant to digital energy meters.
7. Maintenance
- Keep the meter clean and free from dust. Use a soft, dry cloth for cleaning.
- Do not use abrasive cleaners or solvents.
- Ensure the operating environment is within the specified temperature and humidity ranges.
- Regularly check wiring connections for tightness, especially after initial installation or if the device is moved.
8. Troubleshooting
| Problem | Possible Cause | Solution |
|---|---|---|
| Display is blank or frozen | No power supply; Loose wiring; Device malfunction | Check power source; Verify all wiring connections are secure; If problem persists, contact support. |
| Incorrect readings | Improper wiring; Device malfunction; Out of specified range | Review wiring diagram and correct connections; Ensure voltage/current are within range; Contact support if readings remain inaccurate. |
| Energy data not accumulating | Device malfunction; Intermittent power supply | Check power stability; Contact support. |
9. Warranty and Support
For warranty information, please refer to the documentation provided at the time of purchase or contact your retailer. For technical support or further assistance, please reach out to the manufacturer or authorized service center.