
Klipsch R-101SW
Klipsch Reference R-101SW 10-inch Front-Firing Subwoofer
User Manual
Introduction
This manual provides essential information for the proper setup, operation, and maintenance of your Klipsch Reference R-101SW 10-inch Front-Firing Subwoofer. Please read these instructions thoroughly before use to ensure optimal performance and safety.

Figure 1: Angled view of the Klipsch R-101SW Subwoofer, showcasing its black finish and the distinctive spun-copper woofer.
Safety Information
Always observe the following safety precautions to prevent electric shock, fire, or damage to the unit:
- Do not expose this appliance to dripping or splashing liquids.
- Do not place objects filled with liquids, such as vases, on the apparatus.
- Ensure proper ventilation. Do not block any ventilation openings.
- Place the unit on a stable, level surface to prevent it from falling.
- Unplug the unit during lightning storms or when unused for long periods.
- Refer all servicing to qualified service personnel.
Package Contents
Verify that the following items are included in your package:
- Klipsch Reference R-101SW Subwoofer
- Power Cord
- User Manual (this document)
Product Features
- 10-inch Spun-Copper Woofer: Features a thermoformed crystalline polymer woofer for low frequency response with minimal distortion.
- All-Digital Amplifier: Delivers efficient power with high accuracy for optimal sound reproduction.
- Front-Firing Driver: Allows for flexible placement within your listening environment.
- Low-Pass Crossover and Phase Control: Enables seamless integration with other speakers and fine-tuning of bass levels.
- Line/LFE Inputs: Provides compatibility with various AV receivers.
- Durable Cabinet Design: Reinforced ¾-inch MDF construction reduces cabinet vibration.
- LED Front-Mounted Power Indicator: Clearly indicates the unit's power status.
- Low-Profile Grille: Offers acoustic transparency and a refined aesthetic.
Setup
1. Placement
The R-101SW is a front-firing subwoofer, offering flexibility in placement. For optimal bass response, consider placing the subwoofer in a corner of the room or along a wall. Experiment with different locations to find the best sound for your listening area.
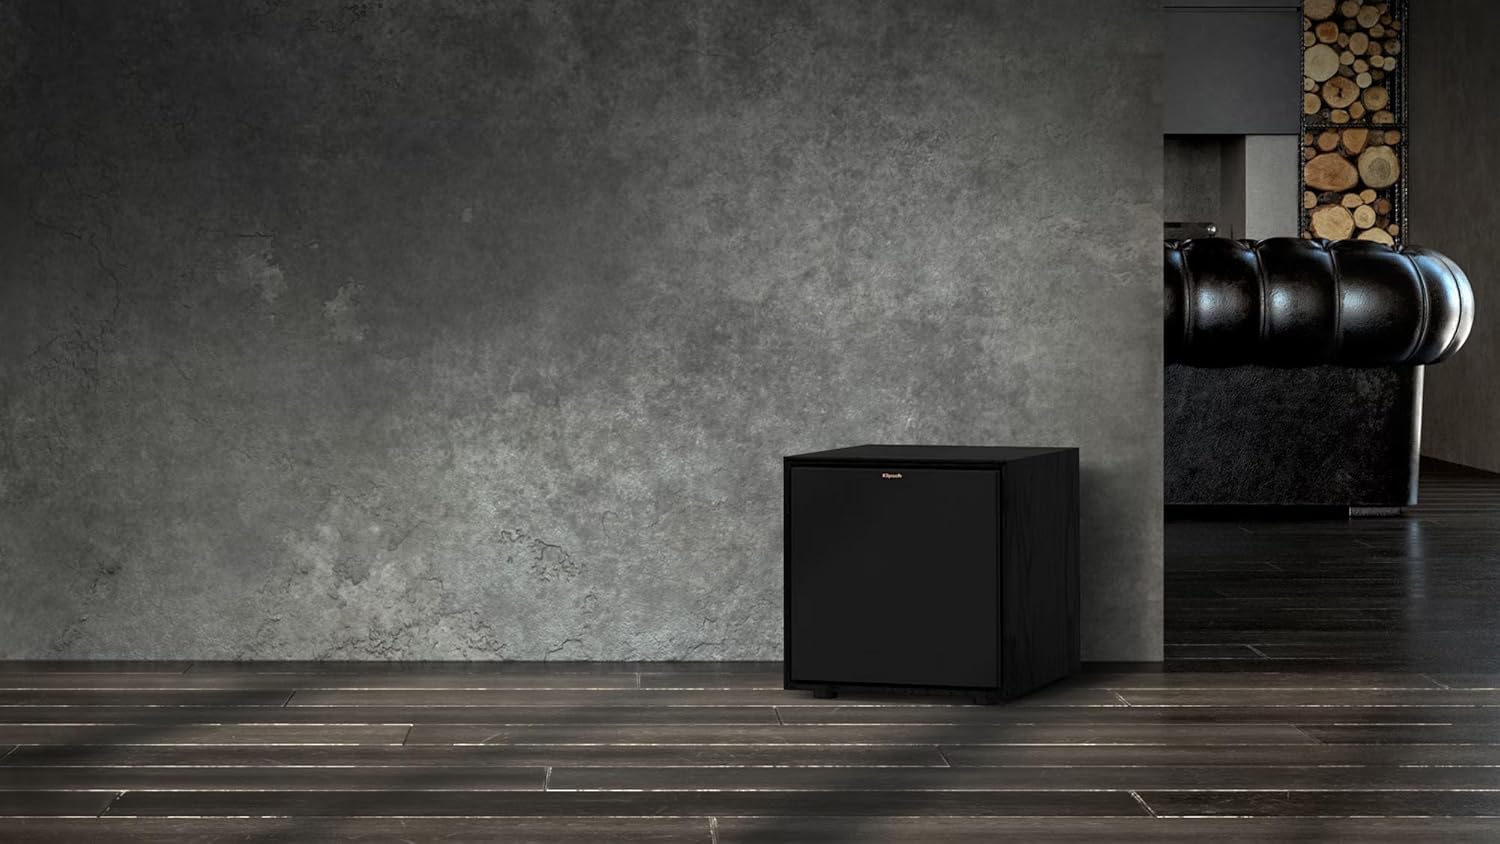
Figure 2: The R-101SW Subwoofer positioned in a living room, demonstrating typical placement.
2. Connections
Connect the subwoofer to your AV receiver using an LFE (Low-Frequency Effects) cable or standard RCA stereo cables.
- LFE Connection (Recommended): If your AV receiver has an "SUBWOOFER OUT" or "LFE OUT" jack, connect a single RCA cable from this output to the LFE input on the R-101SW.
- Stereo RCA Connection: If your receiver does not have an LFE output, connect stereo RCA cables from the receiver's "FRONT PRE-OUT" or "SUBWOOFER PRE-OUT" to the "LINE IN" (Left and Right) inputs on the R-101SW.

Figure 3: Detailed view of the rear control panel, showing GAIN, LOW PASS, PHASE controls, and LINE IN/LFE inputs.
3. Power Connection
Once audio connections are made, plug the supplied power cord into the subwoofer's power inlet and then into a suitable wall outlet.
Operating Instructions
Control Panel Overview
The rear panel of your R-101SW subwoofer features several controls for fine-tuning its performance:
- GAIN (Volume) Control: Adjusts the output level of the subwoofer. Start with a low setting and gradually increase until the bass blends seamlessly with your main speakers.
- LOW PASS (Crossover) Control: Determines the upper frequency limit of the subwoofer. Set this to match the low-frequency capabilities of your main speakers. If using an AV receiver with LFE output, set this control to LFE or bypass, as the receiver will manage the crossover.
- PHASE Switch (0°/180°): Adjusts the phase of the subwoofer's output relative to your main speakers. Experiment with both settings to find the one that produces the most impactful and coherent bass.
- POWER Switch: Toggles the subwoofer between ON, AUTO, and OFF modes.
- ON: Subwoofer remains continuously on.
- AUTO: Subwoofer automatically turns on when an audio signal is detected and enters standby mode after a period of inactivity.
- OFF: Subwoofer is powered off.
LED Power Indicator
A small LED on the front of the subwoofer indicates its power status:
- Solid White: Subwoofer is ON or in AUTO mode and active.
- Dim White: Subwoofer is in AUTO mode and in standby.
- Off: Subwoofer is OFF.
Maintenance
To maintain the appearance and performance of your subwoofer:
- Dust the cabinet with a dry, soft cloth.
- Avoid using abrasive cleaners or solvents.
- Keep the subwoofer away from direct sunlight and heat sources.
- Ensure adequate airflow around the unit.
Troubleshooting
| Problem | Possible Cause | Solution |
|---|---|---|
| No Sound |
|
|
| Distorted Sound |
|
|
| Weak Bass |
|
|
Specifications

Figure 4: Dimensions of the Klipsch R-101SW Subwoofer.
| Feature | Detail |
|---|---|
| Model Name | R-101SW |
| Speaker Type | Subwoofer |
| Woofer Diameter | 10 Inches |
| Speaker Maximum Output Power | 300 Watts |
| Connectivity Technology | RCA (Wired) |
| Recommended Uses | Home Theater |
| Product Dimensions (D x W x H) | 19.7" x 14" x 14.6" |
| Item Weight | 30 Pounds |
| Color | Black |
| Power Source | Corded Electric |
Warranty and Support
Your Klipsch R-101SW Subwoofer comes with a Limited Warranty. For specific warranty terms and conditions, please refer to the warranty card included with your product or visit the official Klipsch website.
For technical support, troubleshooting assistance, or service inquiries, please contact Klipsch Customer Service or visit their support page online. You can find contact information and support resources on the official Klipsch website: www.klipsch.com/support
Related documentsR-101SW


Ask a question about this manual
Ask about setup, troubleshooting, compatibility, parts, safety, or missing instructions. Manuals+ will review the question and use this page’s manual context to help answer it.