
1. Safety Information
Please read and understand all instructions before beginning installation. Failure to do so may result in electric shock, fire, or other injuries that could be hazardous or even fatal. Keep these instructions for future reference.
- WARNING: To avoid electric shock, ensure power is turned off at the circuit breaker or fuse box before installation or any maintenance.
- All electrical connections must be in accordance with local codes and ordinances, and the National Electric Code (NEC). If you are unfamiliar with proper electrical wiring connections, obtain the services of a qualified electrician.
- Do not exceed the maximum wattage for the bulb specified (1 x Max 60W E26).
- This fixture is intended for indoor use only.
- Handle glass components with care to prevent breakage.
2. Package Contents
Verify that all components are present before beginning installation.
- Mounting Hardware
- Shade
- Light Fixture Assembly
Note: E26 bulb is not included.
3. Specifications
| Brand | ALOADECOR |
| Model Number | A7106D33AAB07A |
| Color | Antique Brass |
| Material | Glass, Wrought Iron |
| Style | Industrial |
| Light Fixture Form | Pendant |
| Room Type | Bedroom, Dining Room, Entryway, Home Office, Kitchen |
| Power Source | Hardwired |
| Special Features | Adjustable Height, Dimmable |
| Light Source | Incandescent (compatible with LED/CFL) |
| Number of Light Sources | 1 |
| Voltage | 110 volts AC |
| Wattage | Max 60 watts |
| Bulb Base | E26 |
| Item Dimensions (L x W x H) | 12.8"L x 12.8"W x 61.4"H (Maximum) |
| Maximum Hanging Length | 60" |
| Minimum Hanging Length | 20" |
| Item Weight | 5.3 pounds |
| Certifications | ETL, cETL |

Figure 1: Product Dimensions. The diagram illustrates the adjustable hanging rods and the overall size of the pendant light, including the 13-inch shade width.
4. Setup and Installation
It is recommended to have this fixture installed by a qualified electrician.
4.1 Before You Begin
- Turn off power at the main circuit breaker panel or fuse box.
- Clear the work area.
- Gather all necessary tools (e.g., screwdriver, wire strippers, electrical tape).
4.2 Installation Steps
- Carefully unpack the fixture and its components.
- Attach the mounting bracket to the junction box in the ceiling using the provided screws.
- Determine the desired hanging length. The pendant light features adjustable hanging rods. Connect the appropriate number of rods to achieve your preferred height (minimum 20", maximum 60").
- Connect the electrical wires: Connect the fixture's black wire to the house's black (live) wire, the fixture's white wire to the house's white (neutral) wire, and the fixture's ground wire to the house's ground wire. Secure connections with wire nuts.
- Carefully tuck all wires into the junction box.
- Secure the canopy of the fixture to the mounting bracket with the provided screws or nuts.
- Install one E26 base bulb (Max 60W, not included) into the socket.
- Restore power at the circuit breaker.

Figure 2: Assembled Pendant Light. This image shows the complete fixture with its antique brass finish and dome shade.

Figure 3: Detail of Hanging Mechanism. This close-up highlights the robust construction and adjustable components of the light fixture.
4.3 Assembly Video
Video 1: ALOADECOR 7106D33 Assembly Video. This video provides a visual guide for the installation process of the pendant light.
5. Operating Instructions
Once installed, the pendant light operates like any standard hardwired light fixture.
- Turning On/Off: Use the wall switch connected to the fixture to turn the light on or off.
- Dimming Function: This fixture is dimmable. To utilize the dimming feature, you must use a compatible dimmer switch (not included) and dimmable E26 bulbs (not included).
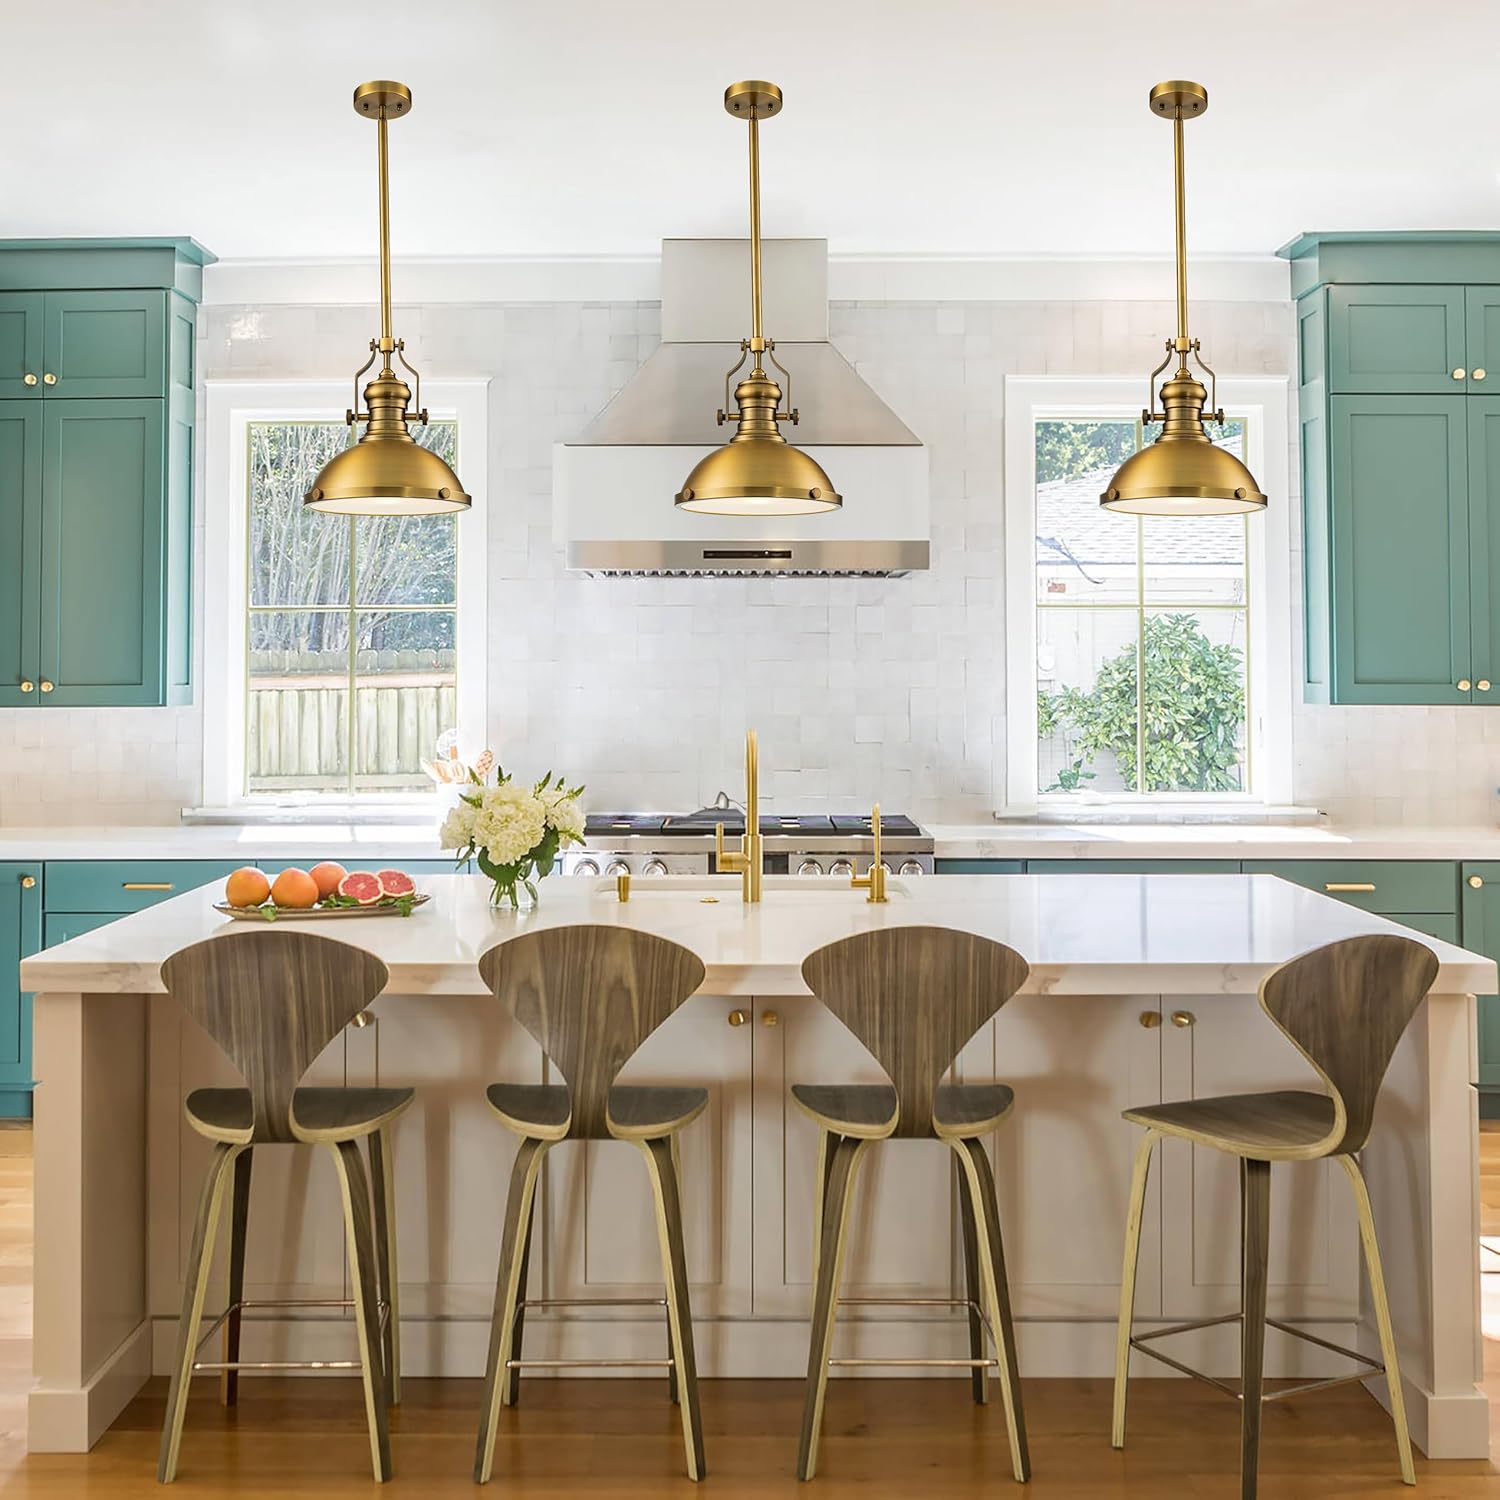
Figure 4: Pendant Lights in Use. The image demonstrates the fixture providing illumination in a kitchen setting.
6. Maintenance
Regular maintenance ensures the longevity and appearance of your light fixture.
- Cleaning: Always turn off power before cleaning. Wipe the fixture with a soft, dry cloth. Do not use abrasive cleaners, solvents, or polishes as they may damage the finish.
- Bulb Replacement: Ensure power is off and the bulb has cooled before attempting to replace it. Unscrew the old E26 bulb and screw in a new E26 bulb (Max 60W).
7. Troubleshooting
If you encounter issues with your pendant light, refer to the following common problems and solutions.
- Light does not turn on:
- Check if the power is on at the circuit breaker.
- Ensure the bulb is securely screwed into the socket and is not burnt out.
- Verify that the wiring connections are secure and correct.
- Light flickers:
- Ensure the bulb is fully tightened.
- If using a dimmer, ensure both the dimmer switch and the bulb are compatible with dimming.
- Check for loose wiring connections.
- Buzzing sound:
- This can sometimes be caused by incompatible dimmer switches or bulbs. Try a different bulb or consult an electrician.
8. Warranty and Support
8.1 Warranty Information
This ALOADECOR product comes with a 1-year manufacturer's warranty from the date of purchase. This warranty covers defects in materials and workmanship under normal use. It does not cover damage resulting from improper installation, accident, misuse, abuse, or unauthorized modifications.
8.2 Customer Support
For technical assistance, warranty claims, or any questions regarding your ALOADECOR pendant light, please contact the seller or manufacturer directly through the platform where the product was purchased. Please have your model number (A7106D33AAB07A) and proof of purchase available when contacting support.