
1. Introduction
This user manual provides essential information for the safe and effective use of your INSE N5 cordless vacuum cleaner accessories. Please read this manual thoroughly before installation, operation, or maintenance to ensure proper function and longevity of the product. Keep this manual for future reference.
2. Important Safety Instructions
- Always ensure the vacuum cleaner is turned off and unplugged (if applicable) before installing or removing any accessories.
- Do not attempt to modify or repair the accessories yourself. Contact qualified service personnel for assistance.
- Keep accessories away from water or other liquids to prevent electric shock or damage.
- Store accessories in a dry, safe place when not in use.
- Dispose of batteries according to local regulations. Do not incinerate or expose batteries to high temperatures.
3. Product Components
The INSE N5 cordless vacuum cleaner accessories include the following items:

Figure 3.1: INSE N5 Battery Pack
This is the rechargeable battery pack for the INSE N5 cordless vacuum cleaner, providing power for operation.

Figure 3.2: INSE N5 Metal Filters
Two replacement metal filters designed to capture dust and debris, ensuring efficient vacuum performance.
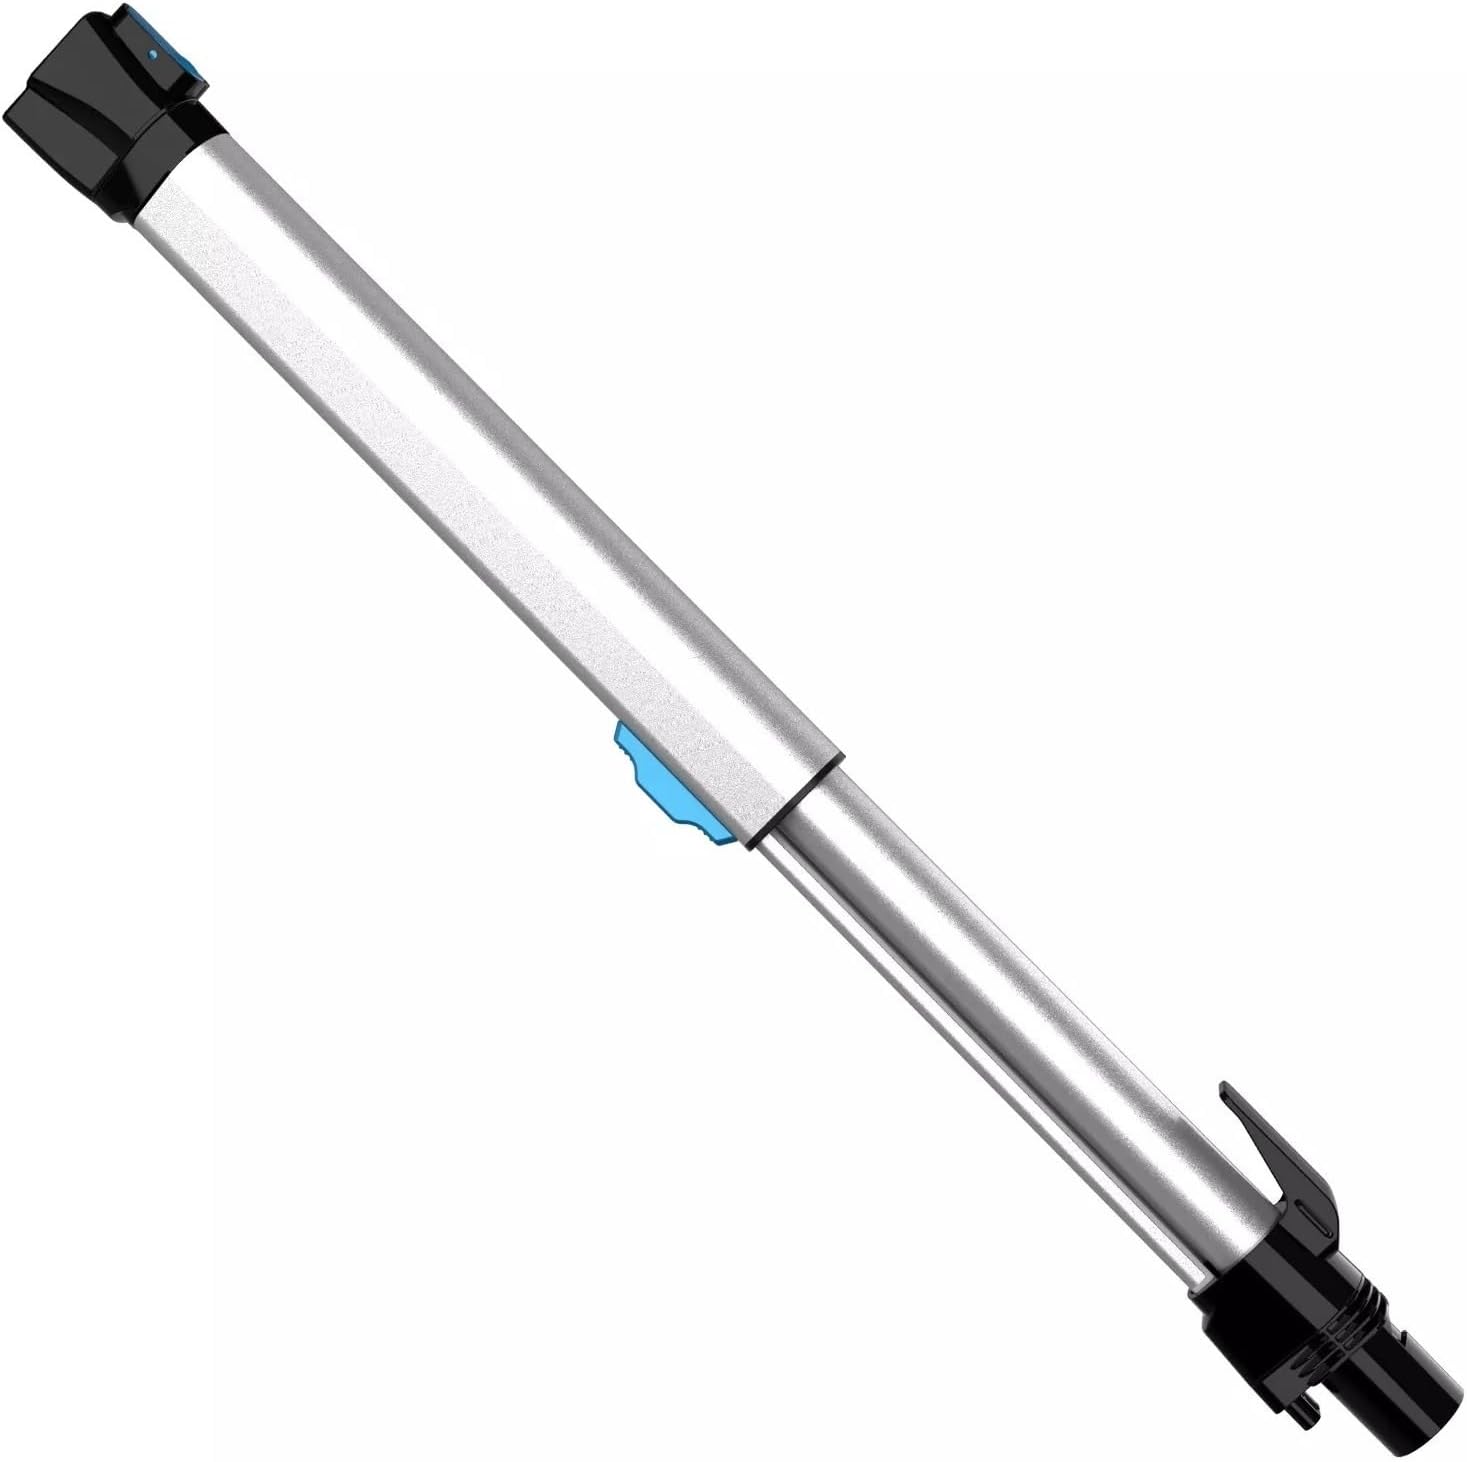
Figure 3.3: INSE N5 Extension Wand
An adjustable extension wand for reaching high or low areas, connecting the main unit to the brush head.

Figure 3.4: INSE N5 Multi-functional Composite Brush Head
The main cleaning attachment, featuring a rotating brush for effective dirt and dust collection on various surfaces.

Figure 3.5: INSE N5 Main Vacuum Unit
The core unit of the vacuum cleaner, housing the motor and dustbin. Accessories attach to this unit.

Figure 3.6: INSE N5 Wall Mount
A wall-mounted hook for convenient storage of the vacuum cleaner.
4. Setup and Installation
4.1 Battery Installation
- Ensure the main vacuum unit is powered off.
- Align the N5 battery pack with the battery slot on the main vacuum unit (refer to Figure 3.1 and 3.5).
- Gently push the battery pack into the slot until it clicks securely into place.
- Charge the battery fully before first use.
4.2 Filter Installation/Replacement
- Ensure the main vacuum unit is powered off and the dustbin is empty.
- Locate the filter compartment, typically inside or near the dustbin (refer to Figure 3.2).
- Remove the old filter by twisting or pulling it out.
- Insert the new metal filter, ensuring it is seated correctly and forms a tight seal.
- Close the filter compartment or reattach the dustbin.
4.3 Attaching Accessories (Wand and Brush Head)
- To attach the extension wand (Figure 3.3) to the main vacuum unit (Figure 3.5), align the connectors and push until it clicks.
- To attach the multi-functional composite brush head (Figure 3.4) to the extension wand, align the connectors and push until it clicks.
- Ensure all connections are secure before operating the vacuum cleaner.
5. Operating Instructions
- Ensure the battery is fully charged and all accessories are correctly installed.
- Press the power button on the main vacuum unit to turn on the device.
- Select the desired power mode (if available) for your cleaning task.
- Guide the brush head over the surface to be cleaned.
- After cleaning, press the power button again to turn off the vacuum cleaner.
- Empty the dustbin after each use or when it reaches its maximum capacity.
6. Maintenance
6.1 Filter Cleaning
- Regularly check and clean the metal filter (Figure 3.2) to maintain suction power.
- Remove the filter from the vacuum cleaner.
- Tap the filter gently to dislodge dust. For thorough cleaning, rinse the filter under running water.
- Allow the filter to air dry completely for at least 24 hours before reinserting it into the vacuum cleaner. Do not use a dryer or direct heat.
6.2 Brush Head Cleaning
- Periodically inspect the multi-functional composite brush head (Figure 3.4) for tangled hair or debris.
- Turn off the vacuum and detach the brush head.
- Use scissors or a cleaning tool to carefully cut and remove any tangled hair or fibers from the brush roll.
- Wipe the brush head housing with a damp cloth if necessary. Ensure it is dry before reattaching.
6.3 Battery Care
- To prolong battery life, avoid fully discharging the battery frequently.
- Store the battery in a cool, dry place when not in use for extended periods.
- If the vacuum will not be used for a long time, charge the battery to about 50% before storage.
7. Troubleshooting
| Problem | Possible Cause | Solution |
|---|---|---|
| Vacuum not turning on. | Battery not charged or not installed correctly. | Ensure battery is fully charged and securely installed. |
| Low suction power. | Clogged filter or full dustbin. | Clean the metal filter (Section 6.1) and empty the dustbin. Check for blockages in the brush head or wand. |
| Brush head not rotating. | Hair or debris tangled in the brush roll. | Clean the brush head (Section 6.2) to remove obstructions. |
| Battery not charging. | Charger not connected properly or faulty. | Ensure charger is securely connected to both the battery and power outlet. Try a different outlet. |
8. Specifications
| Model | INSE N5 (Accessories) |
| Accessory Type | Battery, Metal Filter, Multi-functional Composite Brush, Extension Wand, Wall Mount |
| Item Weight (Battery) | Approximately 1 gram (Note: This weight seems unusually low for a battery, please refer to product packaging for accurate weight.) |
| ASIN | B0CB4DDZLZ |
| First Available Date | July 4, 2023 |
Note: Specifications are subject to change without notice.
9. Warranty and Support
For warranty information, technical support, or service inquiries, please contact the seller or manufacturer directly through your purchase platform. Please have your product model (INSE N5) and ASIN (B0CB4DDZLZ) ready when contacting support.


