
1. Introduction
This manual provides essential instructions for the safe and effective use of your OLIGHT MCC S Magnetic Charging Cable. Please read this manual thoroughly before use and retain it for future reference.
The OLIGHT MCC S Magnetic Charging Cable is specifically designed for charging compatible OLIGHT devices. It features a magnetic connection for ease of use and is suitable for various charging environments, including use with car chargers, power banks, and solar chargers (power sources not included).
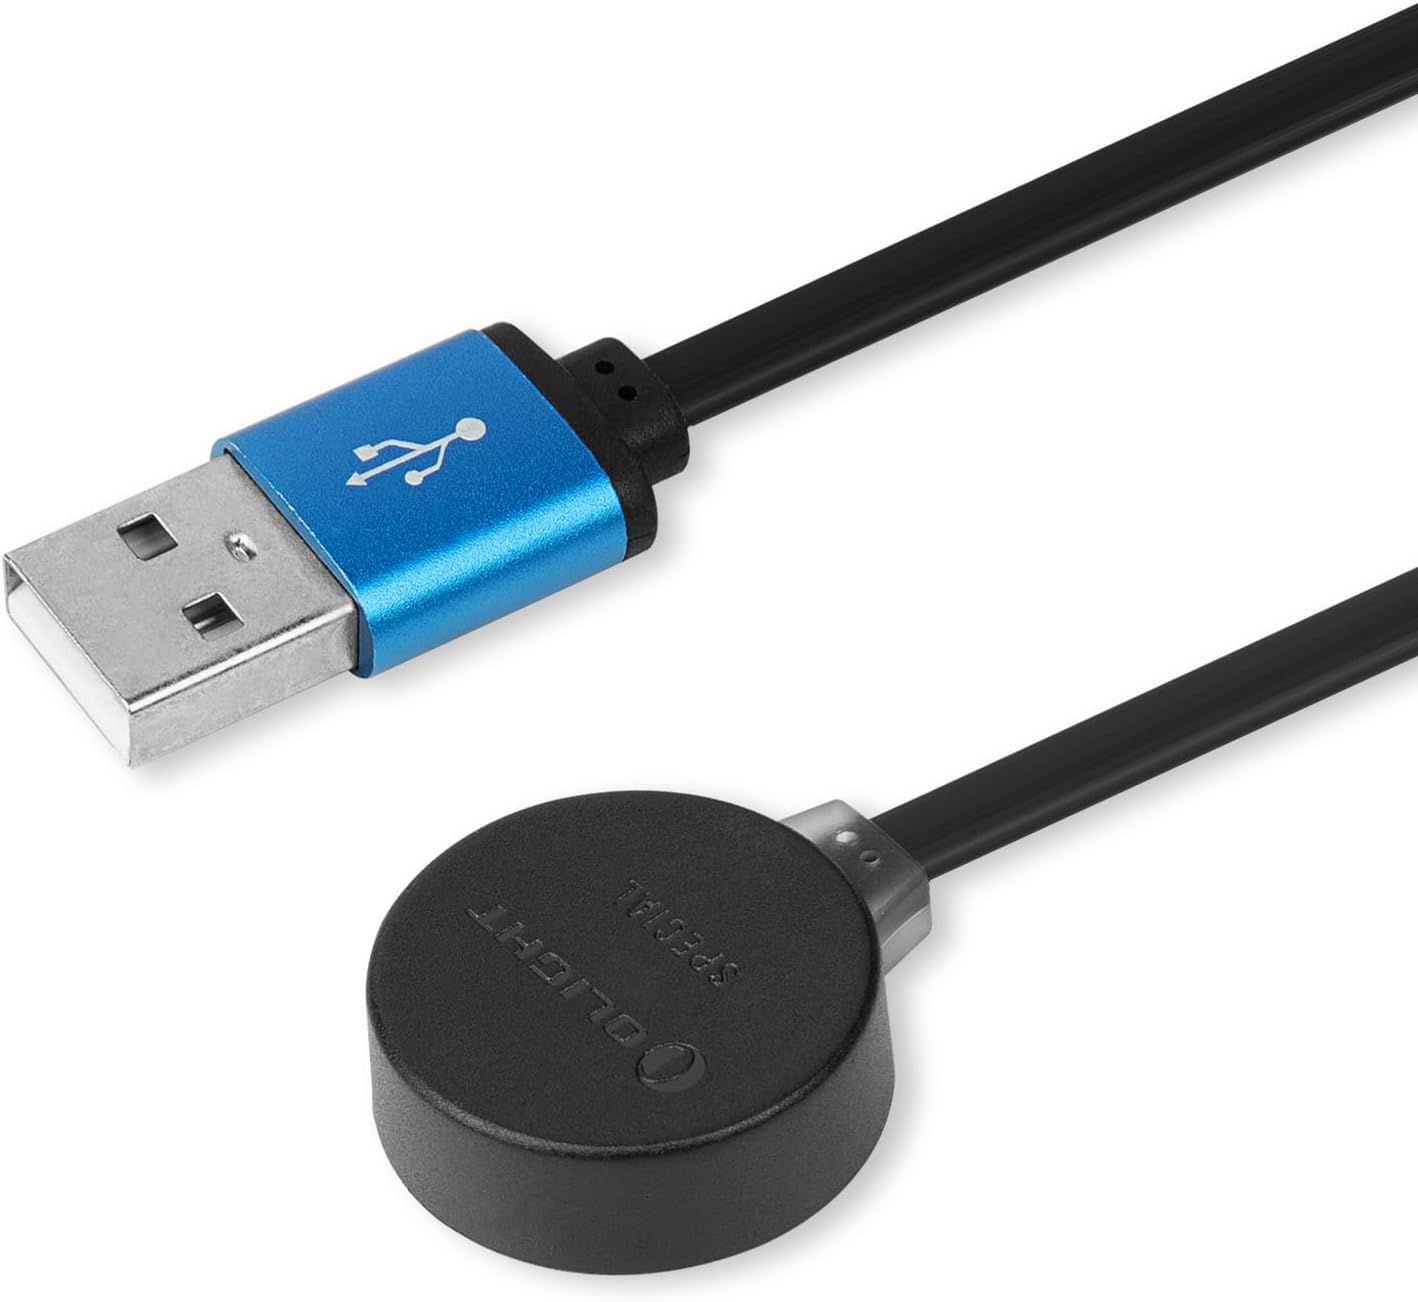
Image 1.1: The OLIGHT MCC S Magnetic Charging Cable, featuring a USB Type-A connector and a magnetic charging puck.
2. Compatibility
IMPORTANT: The OLIGHT MCC S Magnetic Charging Cable has a reversed magnetic polarity compared to other OLIGHT charging cables. It is ONLY compatible with the specific models listed below. Using this cable with incompatible devices may cause damage or prevent proper charging.
2.1 Compatible Devices:
- OLIGHT PL-Mini
- OLIGHT PL-Mini 2
- OLIGHT Baldr Mini
- OLIGHT Baldr RL Mini
- OLIGHT Baldr S
- OLIGHT Baldr S BL

Image 2.1: Visual representation of compatible OLIGHT devices: PL-Mini 2, Baldr Mini, Baldr RL Mini, Baldr S BL, and Baldr S.
2.2 Incompatible Devices:
This cable is not compatible with any other OLIGHT flashlights or devices not explicitly listed above. This includes, but is not limited to, the following series:
- Baton3 Series
- S1R II, S2R II
- Warrior Mini2, Warrior X Pro, Warrior X 3, Warrior 3s
- Seeker 3 Pro
- Marauder Mini
- ArKfeld
- Odin, Odin Mini
- PL-Pro, Baldr Pro R
- Obulb, Obulb MC, Obulb MCs, Obulb Pro
- Perun 2, Perun 2 Mini

Image 2.2: Examples of OLIGHT flashlight models that are NOT compatible with the MCC S charging cable.

Image 2.3: Examples of OLIGHT weapon lights (Odin, PL-Pro, Baldr Pro R) that are NOT compatible with the MCC S charging cable.

Image 2.4: Examples of OLIGHT Obulb series products that are NOT compatible with the MCC S charging cable.

Image 2.5: Examples of OLIGHT Perun headlamps (Perun 2, Perun 2 Mini) that are NOT compatible with the MCC S charging cable.
3. Setup and Usage
3.1 Connecting the Cable:
- Connect the USB Type-A end of the MCC S charging cable to a compatible USB power source (e.g., USB wall adapter, car charger, power bank, computer USB port).
- Locate the magnetic charging port on your compatible OLIGHT device.
- Bring the magnetic charging puck of the MCC S cable close to the device's charging port. The magnet will automatically align and snap into place.

Image 3.1: The magnetic charging puck connected to an OLIGHT PL-Mini 2 device.
3.2 Power Sources:
The MCC S cable can be used with various USB power sources, including:
- Standard USB wall adapters
- Car USB chargers
- Portable power banks
- Computer USB ports
- Solar chargers with USB output

Image 3.2: An OLIGHT Baldr Mini being charged via the MCC S cable connected to a power bank.

Image 3.3: An OLIGHT Baldr S being charged via the MCC S cable connected to a portable power station.
4. Operating and Charging Indicators
Once the MCC S cable is properly connected to both a power source and a compatible OLIGHT device, charging will begin automatically.
4.1 Charging Status Indicators:
The magnetic charging puck typically features an indicator light to show the charging status:
- Red Light: Indicates that the device is currently charging. This may also indicate that the battery power is below 10%.
- Green Light: Indicates that the device is fully charged.

Image 4.1: An OLIGHT PL-Mini 2 showing a red indicator light, signifying charging or low battery.

Image 4.2: An OLIGHT Baldr S illustrating red (charging/low battery) and green (fully charged) indicator lights.
5. Maintenance
To ensure the longevity and proper function of your MCC S Magnetic Charging Cable, follow these maintenance guidelines:
- Cleaning: Keep the magnetic charging puck and the USB connector clean and free from dust, dirt, or debris. Use a dry, soft cloth for cleaning.
- Storage: Store the cable in a cool, dry place when not in use. Avoid extreme temperatures.
- Handling: Do not pull the cable forcefully from the device or power source. Always grasp the connector ends. Avoid sharp bends or kinks in the cable.
- Inspection: Periodically inspect the cable for any signs of damage, such as frayed wires, exposed conductors, or bent connectors. Discontinue use if damage is observed.
6. Troubleshooting
If you encounter issues with your MCC S Magnetic Charging Cable, refer to the following troubleshooting steps:
- Device Not Charging:
- Ensure the cable is securely connected to both the power source and the OLIGHT device.
- Verify that your OLIGHT device is one of the compatible models (PL-Mini, PL-Mini 2, Baldr Mini, Baldr RL Mini, Baldr S, Baldr S BL). This cable is not universally compatible with all OLIGHT products.
- Check if the power source is functioning correctly. Try a different USB port or power adapter.
- Inspect the magnetic charging puck and the device's charging port for any obstructions or damage.
- Slow Charging:
- Ensure the power source provides sufficient output (e.g., a standard 5V USB port).
- Avoid using excessively long USB extension cables, which can reduce charging efficiency.
- Magnetic Connection Issues:
- Clean the magnetic surfaces on both the cable and the device.
- Ensure no metallic debris is interfering with the magnetic connection.
If problems persist after following these steps, please contact OLIGHT customer support for assistance.
7. Specifications
| Feature | Detail |
|---|---|
| Brand | OLIGHT |
| Model Name | O-MCCS-BK-300000 |
| Connector Type | USB Type A |
| Cable Type | USB |
| Special Feature | Magnetic |
| Compatible Devices | OLIGHT PL-Mini, PL-Mini 2, Baldr Mini, Baldr RL Mini, Baldr S, Baldr S BL |
| Color | Black |
| Connector Gender | Male-to-Male |
| Number of Pins | 4 |
| AC Adapter Current | 350 Milliamps (0.35A) |
| Wattage | 1.75 watts |
| Maximum Voltage | 4.2 Volts |
| Product Dimensions | 19.68 x 0.82 x 0.27 inches |
| Item Weight | 0.317 ounces |
| Indoor/Outdoor Usage | Indoor, Outdoor |
8. Warranty and Support
OLIGHT offers a Lifetime Warranty for this product, ensuring quality and reliability. For warranty claims, technical support, or any further inquiries, please contact OLIGHT customer service directly.
You can typically find contact information on the official OLIGHT website or through your purchase platform.
Note: Please retain your proof of purchase for warranty purposes.

