1. Introduction
The Re-Flix Superior Light 4-in-1 Universal Remote Control (Model 747516) is designed to simplify your home entertainment experience. This remote is pre-programmed for the ECCO 132786 TV, allowing for immediate use upon battery insertion. It offers control over multiple devices, functioning as a versatile replacement for your original remote controls.
Important: Please ensure that the model designation of your device or original remote control matches the model designation specified in this manual for optimal compatibility.
2. Setup
2.1. Battery Installation
- Locate the battery compartment on the back of the remote control.
- Slide open the battery compartment cover.
- Insert two (2) 1.5V AAA batteries, ensuring correct polarity (+ and -). Batteries are not included.
- Close the battery compartment cover securely.

Figure 1: Back view of the remote control showing the battery compartment.
This image displays the rear of the Re-Flix Superior Light remote control. The battery compartment cover is clearly visible, indicating where to insert the two AAA batteries. The model number and manufacturer details are also present on a label.
2.2. Initial Use (Pre-programmed)
This remote control is pre-programmed for the ECCO 132786 TV. After inserting the batteries, it is ready for immediate use with the specified device. No code entry or additional programming steps are required for this primary function.
Note: Data will not be lost even if the batteries are removed or run out.
2.3. Programming for Other Devices (Optional)
To program this remote control for other devices beyond the pre-programmed ECCO 132786 TV, a separate USB programmer is required. This USB programmer is not included with the remote control.
3. Operating Instructions
The Re-Flix Superior Light remote control features a comprehensive layout for intuitive operation. Below is a general overview of key buttons and their functions.

Figure 2: Front view of the remote control with all buttons.
This image shows the front face of the Re-Flix Superior Light remote control, displaying its full array of buttons. These include power, device selection (TV, SAT, DVD, AUX), number pad, navigation cluster (OK, arrow keys), volume and channel controls, and dedicated smart TV/app buttons.
3.1. Device Selection Buttons
- TV/DTV: Switches the remote to control the television.
- TV, SAT, DVD, AUX: Selects the device to be controlled by the remote. Press the corresponding button to switch control to your TV, Satellite receiver, DVD player, or Auxiliary device.
3.2. Basic Functions
- POWER (⏻): Turns the selected device on or off.
- Number Buttons (0-9): Used for direct channel selection or inputting numbers.
- SOURCE: Cycles through input sources on your TV.
- MENU: Opens the menu of the selected device.
- OK / Navigation Arrows (◄ ▲ ► ▼): Used to navigate menus and confirm selections.
- EXIT: Exits the current menu or function.
- BACK: Returns to the previous screen or menu.
- VOL+ / VOL-: Increases or decreases the volume.
- CH+ / CH-: Changes the channel up or down.
- MUTE: Mutes or unmutes the audio.
3.3. Advanced Functions
- SLEEP: Activates the sleep timer function on compatible devices.
- FAV: Accesses favorite channels.
- SHIFT: May alter the function of other buttons (refer to device manual if applicable).
- SIZE: Adjusts screen size/aspect ratio.
- SETUP: Accesses setup menus.
- SUBT.: Toggles subtitles on/off.
- INFO: Displays program information.
- NET TV, SMART TUBE, SMART VIDEO, EPG: Dedicated buttons for smart TV applications and Electronic Program Guide.
4. Maintenance
4.1. Cleaning
To clean the remote control, use a soft, dry cloth. Do not use abrasive cleaners, solvents, or chemical agents, as these may damage the surface or internal components.
4.2. Battery Replacement
Replace batteries when the remote's performance degrades or it stops responding. Always replace both batteries simultaneously with new 1.5V AAA batteries. Dispose of old batteries responsibly according to local regulations.
4.3. Storage
Store the remote control in a cool, dry place away from direct sunlight, extreme temperatures, and high humidity. If storing for an extended period, it is recommended to remove the batteries to prevent leakage.
5. Troubleshooting
- Remote not responding:
- Check if the batteries are inserted correctly with the right polarity.
- Replace old batteries with new ones.
- Ensure there is a clear line of sight between the remote control and the device's infrared receiver.
- Verify that the correct device mode (TV, SAT, DVD, AUX) is selected.
- Remote not controlling the intended device:
- Confirm that the remote is pre-programmed for your specific device model (e.g., ECCO 132786 TV).
- If attempting to control a different device, ensure it has been correctly programmed using a separate USB programmer (not included).
- Refer to the original device's manual for its remote control compatibility and IR receiver location.
- Buttons not working:
- Clean the remote control surface and buttons to remove any dirt or debris that might be obstructing button presses.
- If only specific buttons are not working, it might indicate a hardware issue.
6. Specifications
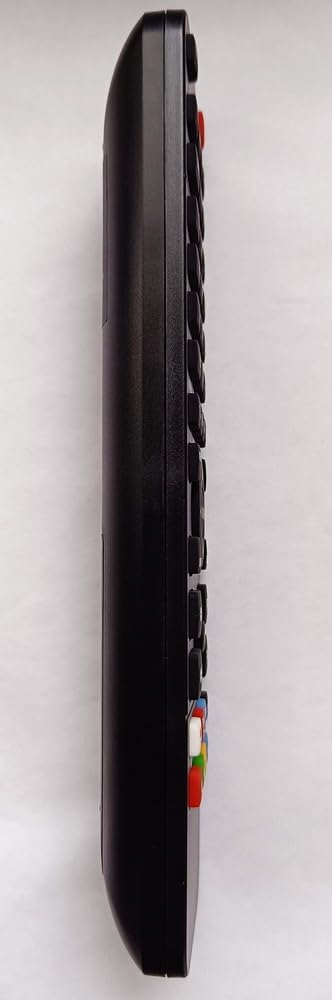
Figure 3: Side profile of the remote control.
This image presents a side view of the Re-Flix Superior Light remote control, highlighting its ergonomic and slim design. The contours and button placement along the side are visible.
| Feature | Detail |
|---|---|
| Brand | Re-Flix |
| Model Number | 747516 |
| Compatible Devices | Television (pre-programmed for ECCO 132786) |
| Connectivity Technology | Infrared |
| Number of Supported Devices | 1 (4-in-1 universal capability with external programmer) |
| Number of Buttons | 50 |
| Maximum Range | 10 Meters |
| Batteries Required | 2 x 1.5V AAA (not included) |
| Weight | 89 g |
| Dimensions (L x W x H) | 21 x 4.7 x 2 cm |
| Spare Parts Availability | Information unavailable |
| Software Updates Guaranteed Until | Information not available |
7. Warranty and Support
Specific warranty information for the Re-Flix Superior Light 4-in-1 Universal Remote Control is not provided in the product details. For warranty claims or technical support, please contact the seller or manufacturer directly. Keep your purchase receipt as proof of purchase.
For additional programming of other devices, please note that a separate USB programmer is required and is not included with this product. Support for programming other devices may require consulting the documentation for the USB programmer.


