1. Introduction
The Fanvil I16S SIP Video Intercom is a robust communication device designed for outdoor environments, offering reliable audio and video communication. This manual provides essential information for the proper installation, operation, and maintenance of your Fanvil I16S intercom system.
2. Product Overview
The Fanvil I16S integrates security, audio/video intercom, and broadcasting functionalities. It features a durable design with IP65 waterproof and IK10 anti-collision ratings, making it suitable for various outdoor applications.
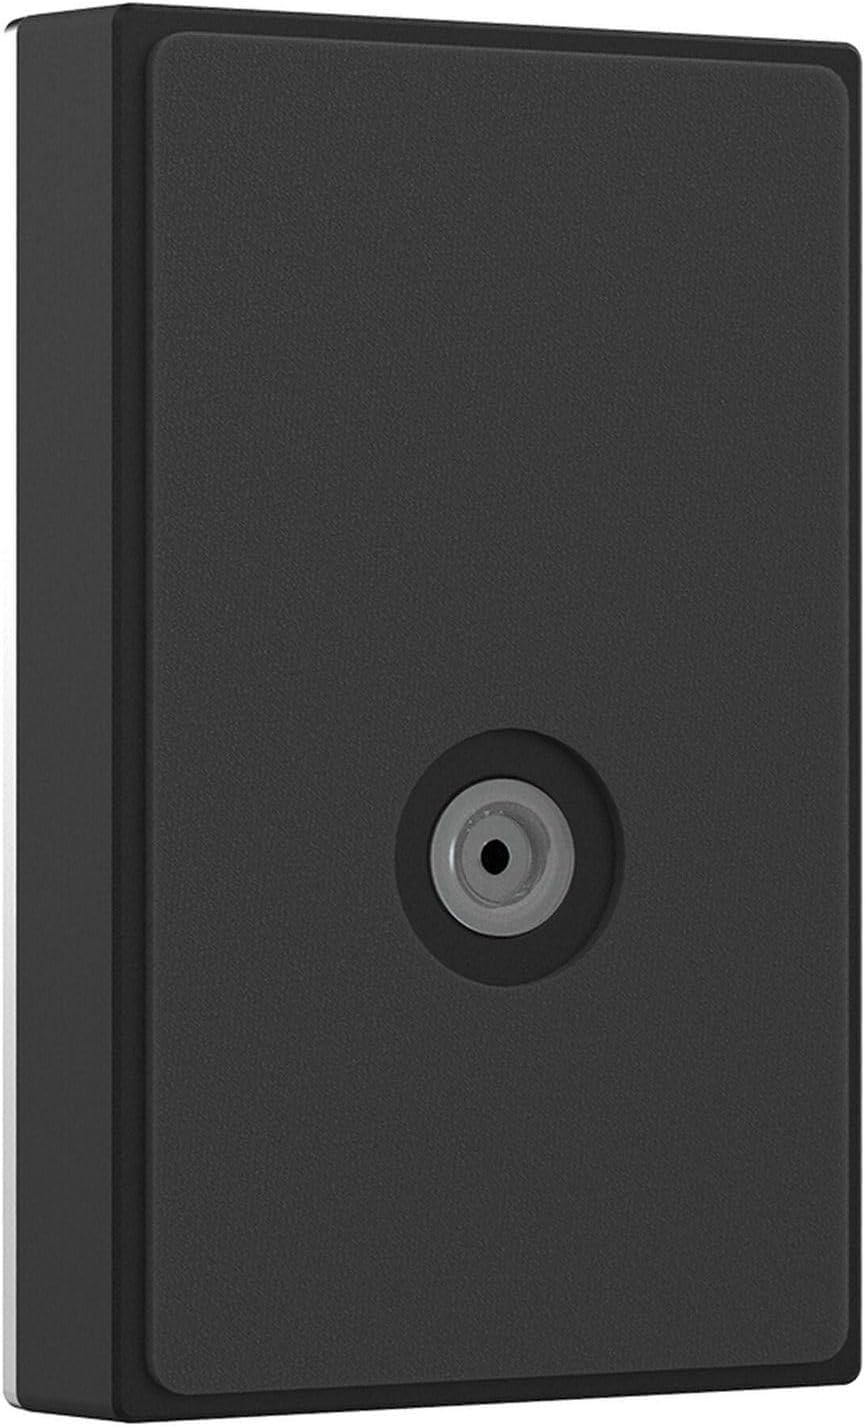
Figure 1: Front view of the Fanvil I16S SIP Video Intercom, showing the call button and speaker grille.
3. Key Features
- IP65 Waterproof Rating: Ensures protection against dust and water ingress, suitable for outdoor use.
- IK10 Anti-collision: Robust die-cast aluminum frame provides high resistance against impact.
- HD Voice Speech Quality: Equipped with a built-in 3W speaker and Acoustic Echo Canceller for clear audio.
- Anti-tamper Alarm: Triggers an alarm if the cover is separated from the housing.
- Built-in TF Card Slot: Supports data storage or offline audio broadcasting.
- Integrated I/O Ports: Includes 2 short-in detect ports and 2 short-out control ports for external device integration.
- Audio Line Out Port: Allows connection to an expandable external active speaker.
- SIP Compatibility: Compatible with various SIP platforms such as Asterisk, Broadsoft, 3CX, Metaswitch, Elastix, and Avaya.
4. Package Contents
The Fanvil I16S package typically includes the following items:
- Fanvil I16S SIP Video Intercom Unit
- Mounting accessories (screws, wall plugs)
- Quick Installation Guide
Note: Specific contents may vary. Please check the packaging for a complete list.
5. Setup and Installation
The Fanvil I16S is designed for wall-mounted installation. Ensure all connections are secure before powering on the device.
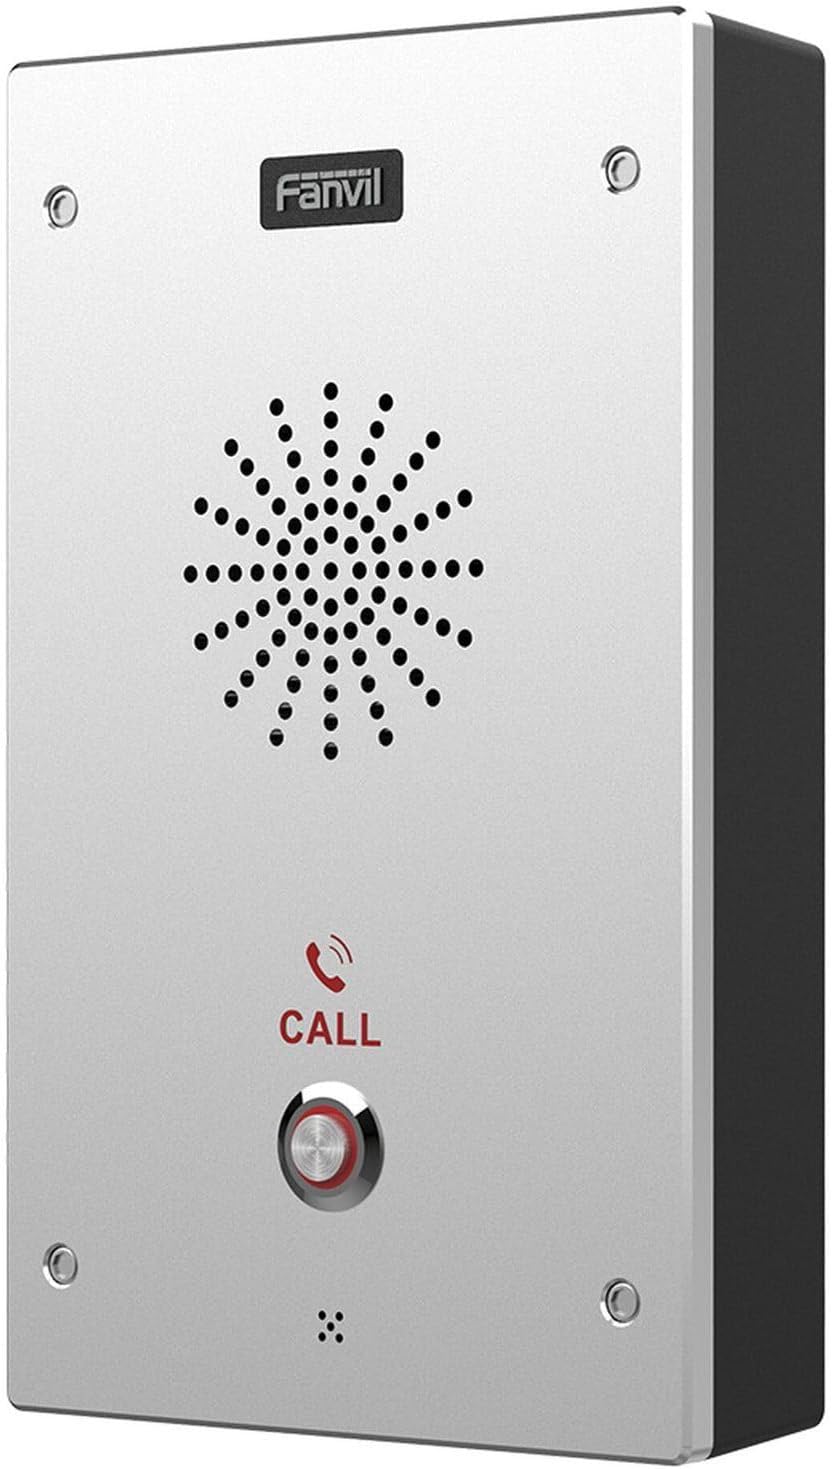
Figure 2: Side view of the Fanvil I16S, illustrating connection ports.
5.1 Mounting
- Choose a suitable wall location for installation, ensuring it is within reach of network and power cables.
- Use the provided mounting template (if applicable) to mark drilling points on the wall.
- Drill holes and insert wall plugs.
- Secure the intercom unit to the wall using the provided screws.
5.2 Wiring Connections
- Network Connection: Connect an Ethernet cable to the RJ45 port (x1) on the intercom. This provides network connectivity and can supply power if using Power over Ethernet (PoE Class 3).
- Power Supply: If not using PoE, connect a DC12V-24V/1A power adapter to the DC port (x1).
- TF Card: Insert a TF card into the TF card slot (x1) for data storage or offline audio broadcasting, if desired.
- I/O Ports: Connect external devices to the 2 short-in detect ports and 2 short-out control ports as required for your security system integration.
- Audio Line Out: If connecting an external active speaker, use the audio line out port.
5.3 Initial Configuration
After physical installation and power-up, the device will obtain an IP address. Access the device's web interface via a web browser using its IP address to perform initial SIP account registration and network settings. Refer to the detailed configuration guide for specific software setup steps.
6. Operating Instructions
6.1 Making a Call
To initiate a call, press the 'CALL' button on the front panel of the intercom. The intercom will then attempt to connect to the pre-configured SIP extension or number.
6.2 Two-Way Audio
Once a call is established, users can engage in two-way audio communication through the built-in speaker and microphone. The HD voice quality and Acoustic Echo Canceller ensure clear conversations.
6.3 Video Monitoring
If connected to a compatible SIP video phone or monitoring system, the video feed from the intercom's camera can be viewed.
6.4 Anti-tamper Alarm
The intercom is equipped with an anti-tamper alarm. If the device cover is forcibly removed or separated from the housing, an alarm will be triggered, and an alert can be sent to the monitoring system.
7. Maintenance
Regular maintenance ensures the longevity and optimal performance of your Fanvil I16S intercom.
- Cleaning: Periodically wipe the exterior of the intercom with a soft, damp cloth. Avoid using harsh chemicals or abrasive cleaners.
- Inspection: Regularly check all cables and connections for any signs of wear or damage. Ensure the mounting is secure.
- Firmware Updates: Check the Fanvil official website for any available firmware updates to ensure your device has the latest features and security patches.
- Environmental Protection: While the device is IP65 rated, avoid directing high-pressure water jets directly at the unit.
8. Troubleshooting
If you encounter issues with your Fanvil I16S, refer to the following common troubleshooting steps:
- No Power: Verify that the power adapter is correctly connected and supplying the correct voltage (DC12V-24V/1A) or that the PoE switch is active and providing power.
- No Network Connectivity: Check the Ethernet cable connection. Ensure the network switch port is active and configured correctly. Verify the device's IP address and network settings.
- Cannot Make/Receive Calls: Confirm that the SIP account is correctly registered on your IP PBX or SIP server. Check network firewall settings.
- Poor Audio Quality: Ensure the microphone and speaker grilles are clear of obstructions. Check network bandwidth and latency.
- Video Issues: Verify camera settings in the web interface. Ensure sufficient lighting in the area.
For persistent issues, consult the Fanvil support website or contact your system administrator.
9. Specifications
| Feature | Specification |
|---|---|
| Model Name | i16S |
| Indoor/Outdoor Usage | Outdoor |
| Connectivity Technology | Wired (Ethernet) |
| Power Source | Corded Electric (DC12V-24V/1A) / PoE (Class 3) |
| Network Interface | 1 x RJ45 10/100 Mbps Ethernet |
| Protection Level | IP65 (Waterproof), IK10 (Anti-collision) |
| Housing Material | Aluminum Alloy Shell |
| Speaker | Built-in 3W Speaker |
| Audio Features | HD Voice, Acoustic Echo Canceller |
| I/O Ports | 2 x Short-in detect, 2 x Short-out control |
| Storage | Built-in TF Card Slot |
| Mounting Type | Wall-mounted |
| Dimensions (L x W x H) | 7.68 x 4.72 x 1.57 inches (195 x 120 x 40 mm) |
| Item Weight | 1.32 pounds (600 grams) |
| Video Capture Resolution | 720p |
| Control Method | Voice |
10. Warranty and Support
Fanvil products typically come with a limited manufacturer's warranty. For detailed warranty information, please refer to the warranty card included with your product or visit the official Fanvil website. For technical support, product inquiries, or service requests, please contact your vendor or Fanvil customer support directly.
Fanvil Official Website: www.fanvil.com


