
SRJTEK SM-E135F, SM-E135F/DS
SRJTEK LCD Touch Screen Digitizer Assembly Replacement Manual
For Samsung Galaxy F13 Models: SM-E135F, SM-E135F/DS
Introduction
This manual provides essential information and instructions for the installation and proper handling of your SRJTEK LCD Display Touch Screen Digitizer Assembly Replacement for the Samsung Galaxy F13. Please read this guide thoroughly before attempting any installation to ensure a successful repair and to prevent damage to the product or your device.
Product Specifications
| Material | PLS LCD |
| Compatible Models | SM-E135F, SM-E135F/DS |
| Screen Size | 6.6 inches |
| Resolution | 1080 x 2408 pixels |
| Color | Black |
| Item Weight | 4.9 ounces |
| Package Dimensions | 7.44 x 4.09 x 1.1 inches |
Package Contents
Your SRJTEK screen replacement kit includes the following items:
- 1x LCD Touch Screen Assembly Replacement
- 1x Free Double-sided Adhesive Tape
- 1x Set of Install Tools (universal, additional professional tools may be required)
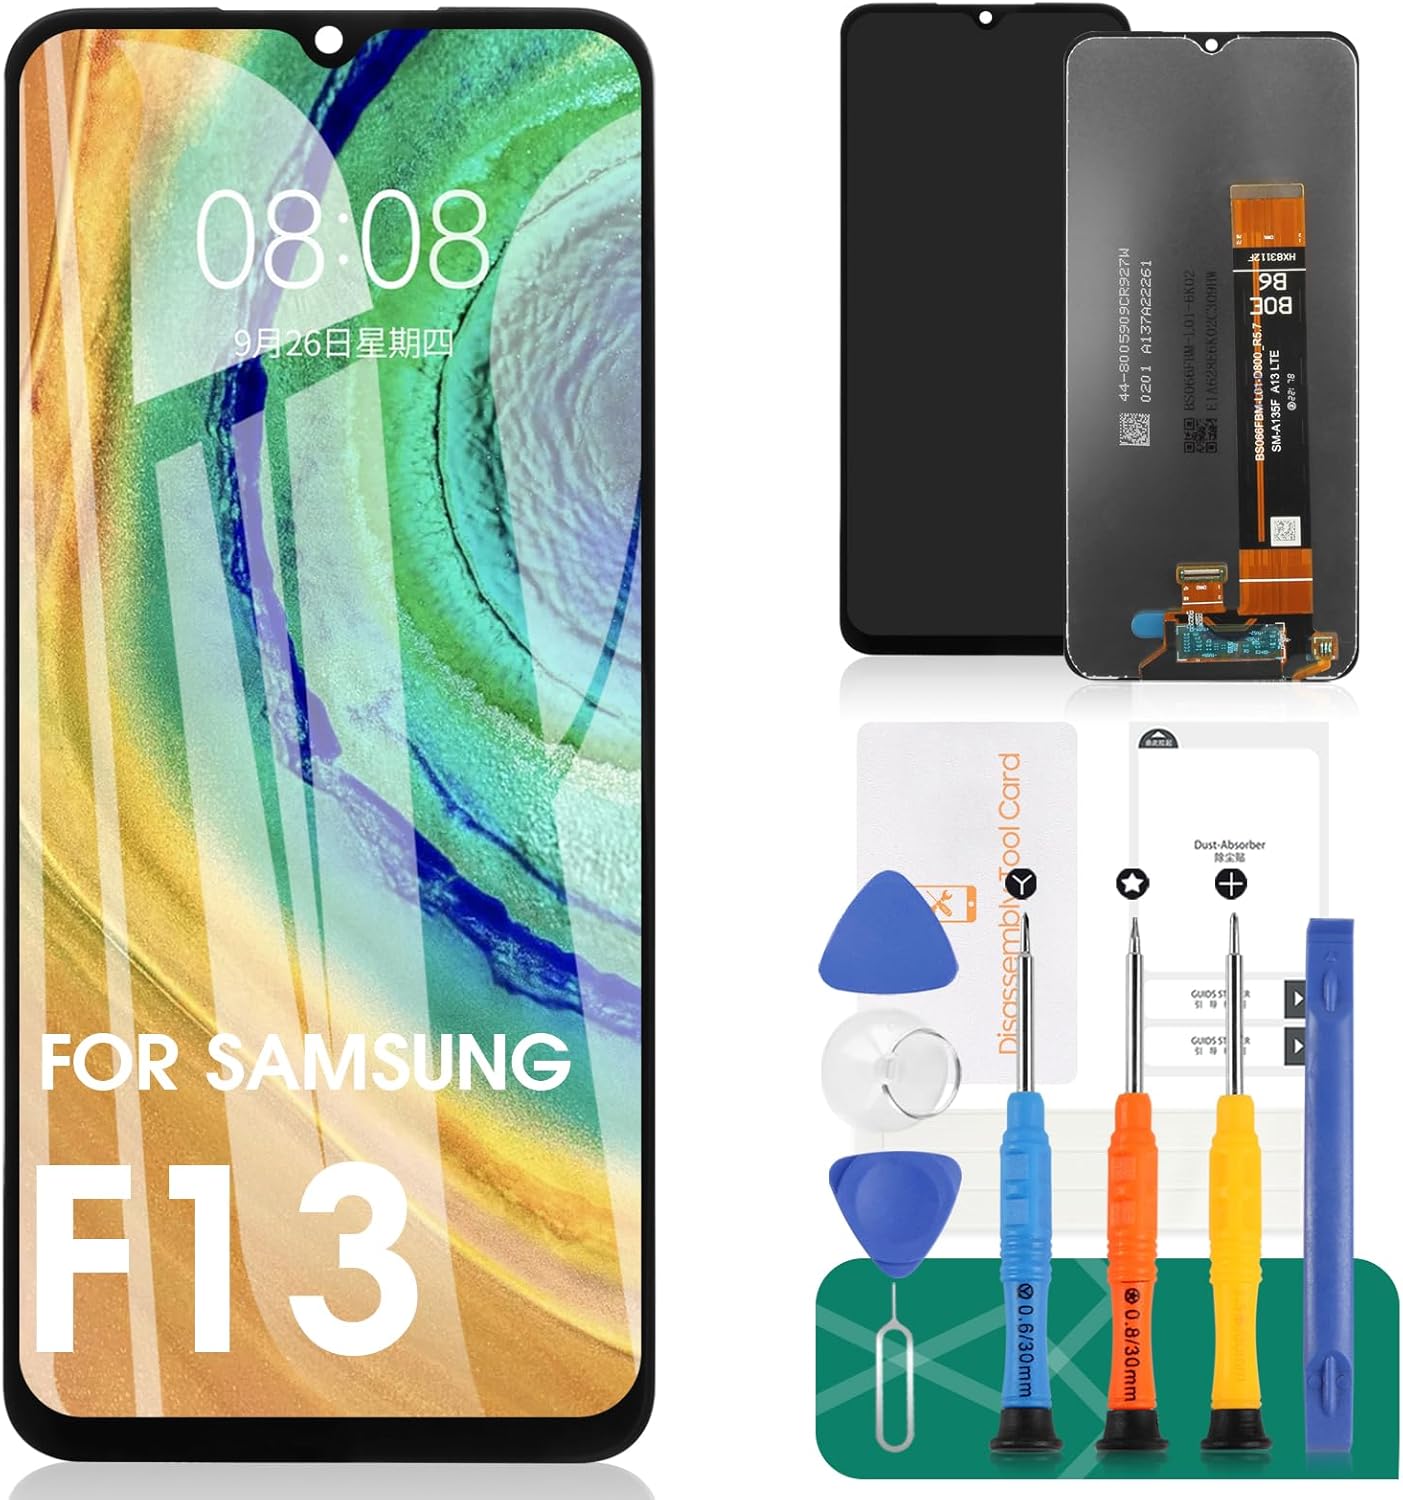
Image: The SRJTEK LCD Touch Screen Digitizer Assembly for Samsung F13, shown alongside the included double-sided adhesive tape and a set of universal installation tools.
Important Precautions
Please observe the following critical precautions before and during installation to ensure the longevity and proper function of your new screen:
- Fragile Product: The screen is made of glass and is very fragile. Handle with extreme care.
- Pre-Installation Testing: Always test the screen thoroughly before proceeding with full installation. Do not remove any protective films or labels until testing is complete and successful.
- Static Electricity: Be mindful of static electricity. Static discharge can damage electronic components. Consider using anti-static precautions.
- Cable Bending: Do not bend the LCD cable excessively. Curvatures greater than 90 degrees can lead to a black screen or display issues.
- Professional Installation Recommended: If you are not experienced in phone repair or lack professional maintenance skills, it is strongly recommended to seek assistance from a qualified repair shop. Self-installation without proper knowledge can lead to damage and void the product's functionality.
Pre-Installation Testing
Before fully installing the screen, it is crucial to test its functionality. This step helps identify any potential issues before permanent attachment.
- Connect Flex Cables: Carefully connect the new screen's flex cables to the corresponding connectors on your phone's motherboard. Ensure they are seated correctly and securely.
- Power On: Power on your device. Check for display functionality, touch responsiveness across the entire screen, and proper color reproduction.
- Check for Defects: Look for any dead pixels, lines, flickering, or abnormal display behavior.
- Test Touch Sensitivity: Navigate through menus, open apps, and perform gestures to confirm the touch screen is fully responsive and accurate.
- Proceed or Contact Support: If the screen functions correctly, you may proceed with the full installation. If any issues are observed, disconnect the screen and contact customer support before attempting further steps. Do not remove protective films or adhesive until the screen is confirmed to be working.
Installation Guide
This section provides a general overview of the installation process. Due to the complexity of phone repair, detailed step-by-step instructions are beyond the scope of this manual. It is highly recommended to consult professional repair guides or video tutorials specific to the Samsung Galaxy F13 screen replacement on platforms like YouTube.
- Disassembly: Carefully disassemble your phone, removing the old damaged screen. Pay attention to all screws, connectors, and adhesive points.
- Clean Frame: Thoroughly clean the phone's frame, removing any old adhesive residue or glass fragments. A clean surface is essential for proper adhesion of the new screen.
- Apply Adhesive: Apply the provided double-sided adhesive tape to the phone's frame where the screen will sit. Ensure even application.
- Install New Screen: Carefully align the new screen with the phone's frame and gently press it into place, ensuring the flex cables are not pinched or bent.
- Reassembly: Reassemble your phone, reconnecting all components and securing screws.

Image: Rear view of the replacement screen, highlighting the flex cables and connectors that need to be properly attached to the phone's motherboard during installation.

Image: A detailed diagram illustrating the various components of the screen assembly, such as the camera ring, screw points, flex cable, and the ARC frame, which are crucial for correct alignment and installation.
Troubleshooting
If you encounter issues after installation, consider the following common problems and solutions:
- Black Screen: If your phone displays a black screen after installation, press and hold the power key and volume down key simultaneously for about 10-15 seconds. If the phone vibrates, it often indicates that the main flex cable is not properly installed. Re-check all cable connections.
- Incorrect Screen Response / Unresponsive Touch: This can be due to a loose flex cable connection or static issues. Ensure all cables are securely seated and consider re-testing after a full power cycle.
- Display Issues (Pixel Distortion, Lines, Wrong Colors): These often point to a damaged flex cable or a faulty screen. Ensure the cable was not bent excessively during installation. If the issue persists after re-checking connections, the screen may be defective.
For persistent issues, it is advisable to consult a professional repair technician.
Quality and Features
The SRJTEK replacement screen is designed to provide a high-quality visual and tactile experience for your Samsung Galaxy F13.
- High Sensitivity Touch: Our screen incorporates high sensitivity touch functionality, ensuring smooth and responsive interaction, similar to the original screen.
- Enhanced Display: Features high color saturation, high resolution, and a wide color gamut for a clear and vibrant display.
- Durability: Newly upgraded internal and external screens with 9H hardness for increased resistance to scratches.
- Eye Protection: Includes added polarizers for improved eye comfort compared to some other screens.

Image: A hand interacting with a phone equipped with the SRJTEK replacement screen, demonstrating its smooth and responsive touch functionality.

Image: A visual comparison illustrating the superior display effect of the SRJTEK screen, highlighting better viewing angles, adjustable brightness, and higher definition compared to other screens.

Image: A side-by-side comparison demonstrating the visual quality of the SRJTEK screen ("Ours") against a generic screen ("Others"), showcasing the clarity and vibrancy.
Warranty and Support
All SRJTEK products undergo strict Quality Control testing before shipment to ensure they are 100% intact and free from scratches, dead zones, or pixel defects.
For any questions, concerns, or assistance with installation or troubleshooting, please contact SRJTEK customer support. We aim to respond to inquiries within 24 hours.
Note: Specific warranty terms and conditions may apply. Please refer to your purchase documentation for detailed warranty information.
Ask a question about this manual
Ask about setup, troubleshooting, compatibility, parts, safety, or missing instructions. Manuals+ will review the question and use this page’s manual context to help answer it.