
Important Safeguards
Please read all instructions carefully before using your mollie Ice Maker. Keep this manual for future reference.
- Ensure the ice maker is placed on a stable, level surface away from direct sunlight and heat sources.
- Do not immerse the appliance, power cord, or plug in water or other liquids.
- Supervise children when the appliance is in use.
- Do not operate any appliance with a damaged cord or plug, or after the appliance malfunctions or has been damaged in any manner. Contact customer support for assistance.
- Use only potable water in the ice maker.
- Unplug the ice maker before cleaning or when not in use for extended periods.
- Do not block ventilation openings. Ensure adequate air circulation around the unit.
Product Overview
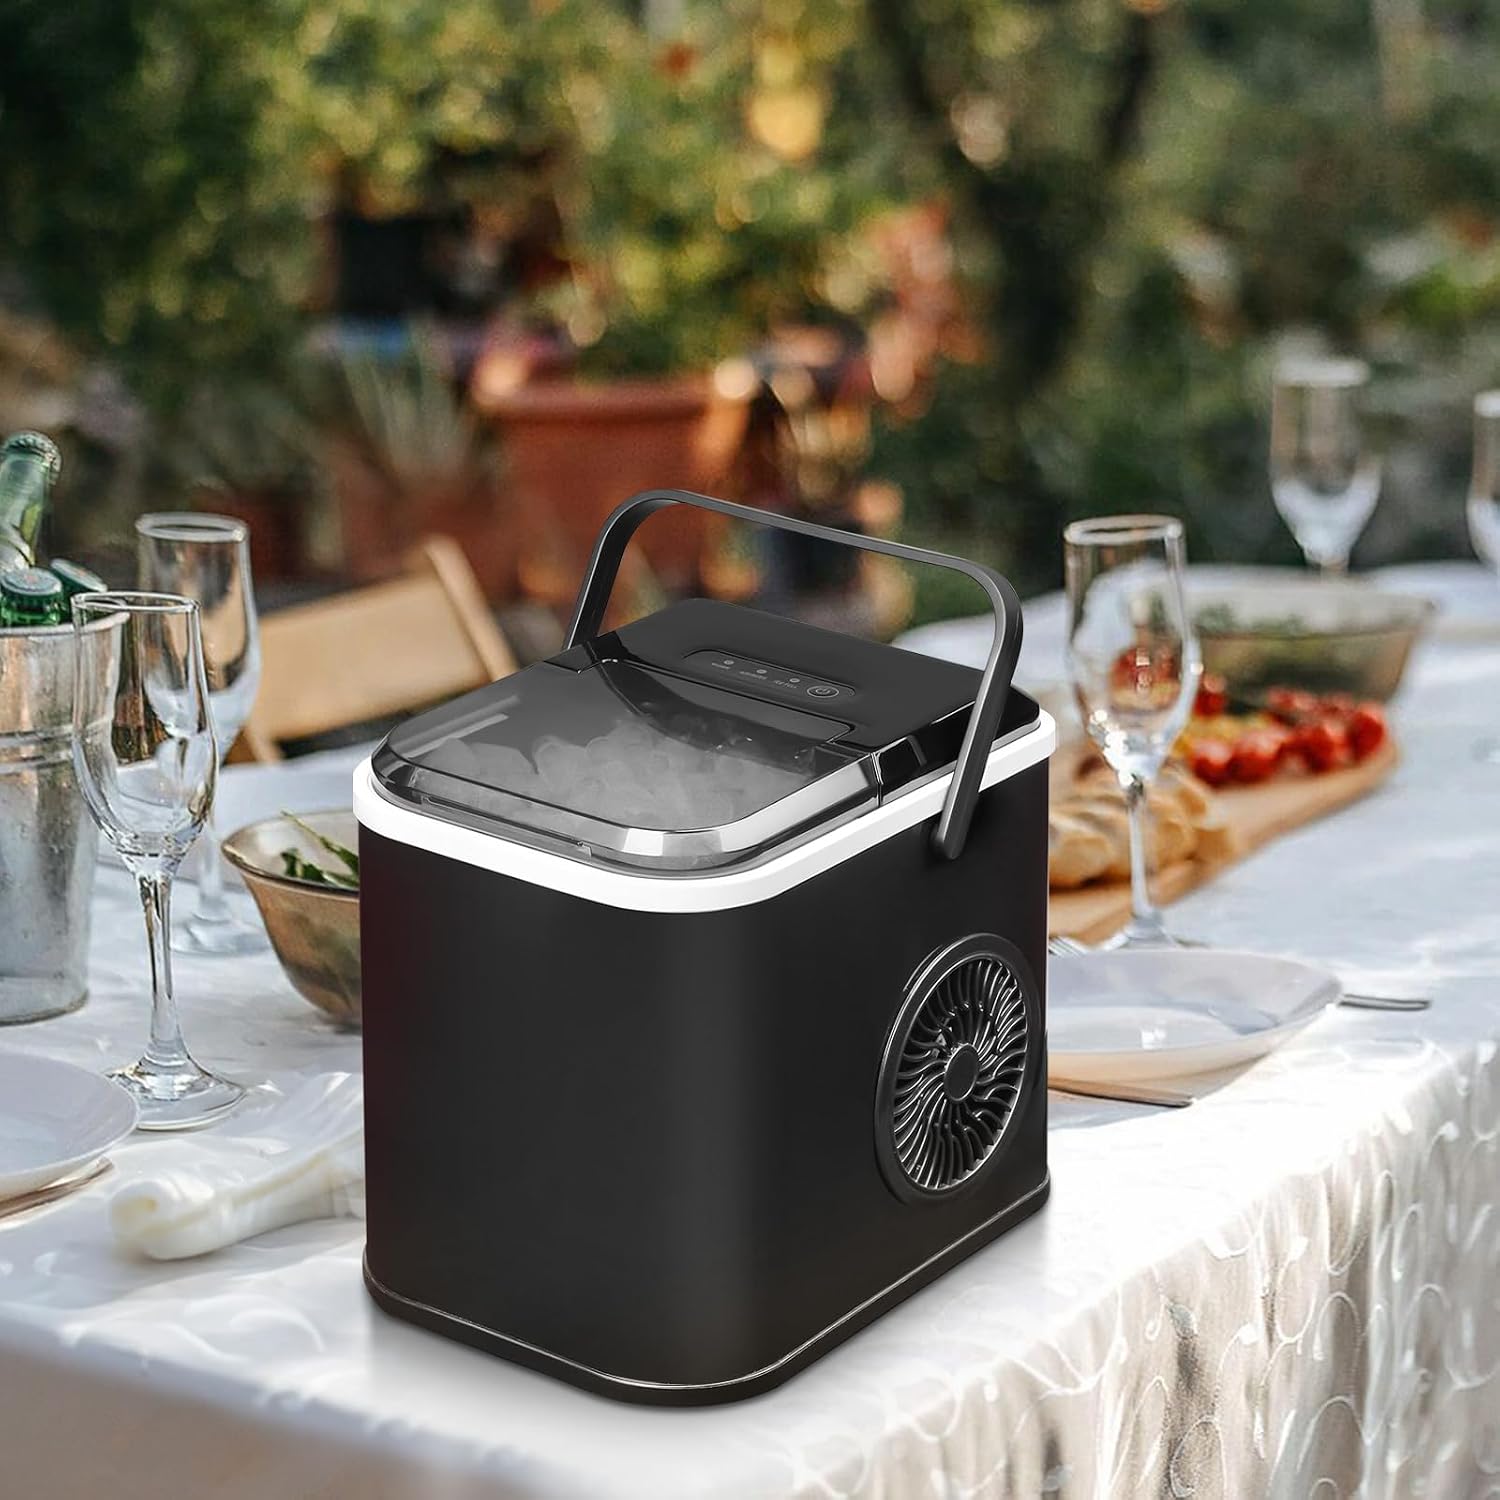
The mollie Countertop Ice Maker is designed for convenience, producing bullet-shaped ice cubes quickly and efficiently. Its compact size and portable design make it suitable for various settings.
Key Features:
- Portable Design: Compact size with a convenient handle for easy transport.
- Fast Ice Production: Produces 8 bullet ice cubes in approximately 8 minutes, with a daily capacity of up to 22-26 pounds.
- Efficient Cooling: Bullet-shaped ice cubes offer a larger surface area for faster beverage chilling.
- Smart Sensors: Features an infrared sensor for auto shut-off when the ice basket is full and an indicator for low water levels.
- Quiet Operation: Operates at less than 35dB, ensuring minimal disturbance.
- Self-Cleaning Function: Simplifies maintenance and ensures hygienic ice production.
- Included Accessories: Comes with a removable ice basket and an ice scoop.
Components:


Product in Use:



How it Works:


Product Videos:
What's in the Box
- mollie Countertop Ice Maker
- Removable Ice Basket
- Ice Scoop
- User Manual (this document)
Setup
1. Unpacking and Placement
- Remove all packaging materials and check that all components are present and undamaged.
- Place the ice maker on a flat, stable, heat-resistant surface. Ensure there is at least 4 inches (10 cm) of space around the unit for proper ventilation.
- Avoid placing the unit near heat sources or in direct sunlight.
2. Initial Cleaning
- Before first use, clean the interior of the ice maker. Remove the ice basket and wash it with warm water and a mild detergent.
- Wipe the interior with a soft cloth dampened with warm water and a small amount of vinegar or mild detergent. Rinse thoroughly.
- Drain any remaining water through the bottom water outlet.
- Allow the unit to air dry completely before use.
3. First Use
- Plug the ice maker into a grounded electrical outlet.
- Open the lid and fill the water reservoir with potable water up to the MAX fill line. Do not overfill.
- Close the lid.
- Press the 'Power' button to start the ice-making cycle. The 'Work' indicator will illuminate.
- Discard the first 2-3 batches of ice to ensure optimal cleanliness and taste.
Operating Instructions
Making Ice
- Ensure the unit is plugged in and the water reservoir is filled with potable water.
- Press the 'Power' button to begin the ice-making process. The 'Work' indicator light will turn on.
- The ice maker will automatically produce bullet-shaped ice cubes. The first batch typically takes about 8 minutes.
- When the ice basket is full, the 'Ice Full' indicator will light up, and the ice maker will pause operation. Remove ice from the basket to resume production.
- If the water level is low, the 'Add Water' indicator will light up. Add more water to the reservoir to continue ice production.
- To stop ice production, press the 'Power' button.
Self-Cleaning Function
The self-cleaning function helps maintain the hygiene of your ice maker.
- Ensure the water reservoir is filled with clean water.
- Press and hold the 'Power' button for 3 seconds. The self-cleaning cycle will begin.
- The unit will run through a cleaning cycle, circulating water internally.
- Once the cycle is complete, drain the water from the unit using the bottom water outlet.
- Wipe the interior dry with a clean cloth.
Maintenance
Regular Cleaning
- Clean the ice maker regularly, especially if used frequently.
- Unplug the unit before cleaning.
- Remove the ice basket and wash it.
- Wipe the interior and exterior surfaces with a soft cloth and mild detergent.
- For thorough cleaning, use the self-cleaning function as described in the Operating Instructions.
- Ensure all parts are dry before reassembling or storing.
Descaling (if necessary)
Over time, mineral deposits from water can build up. If you notice reduced ice production or unusual odors, descaling may be necessary.
- Mix a solution of water and white vinegar (1:1 ratio) or a commercial descaling agent according to its instructions.
- Pour the solution into the water reservoir.
- Run the self-cleaning cycle. Repeat if necessary.
- After descaling, drain the solution completely and rinse the reservoir thoroughly with clean water. Run several cycles with clean water to flush out any residue, discarding the ice produced.
Storage
- If storing the ice maker for an extended period, ensure it is thoroughly cleaned and dried.
- Drain all water from the reservoir and dry the interior.
- Store the unit in a cool, dry place, away from direct sunlight.
Troubleshooting
| Problem | Possible Cause | Solution |
|---|---|---|
| Ice maker not working / 'Work' light off | Unit not plugged in; Power outage; Unit is off. | Ensure unit is securely plugged in; Check power supply; Press the 'Power' button to turn on. |
| 'Add Water' light on | Water reservoir is empty or low. | Fill the water reservoir with potable water up to the MAX line. |
| 'Ice Full' light on | Ice basket is full; Ice is blocking the sensor. | Remove ice from the basket; Ensure ice is not obstructing the infrared sensor. |
| Ice cubes are small or cloudy | Water temperature is too high; Ambient temperature is too high; Mineral deposits. | Use colder water; Ensure unit is in a cool environment; Perform descaling. |
| Unusual noise during operation | Normal operation sounds (compressor, water pump); Unit not level. | Ensure unit is on a level surface; If noise is excessive or unusual, contact customer support. |
| Ice has an odd taste or smell | First use; Unit needs cleaning; Stale water. | Discard first few batches of ice; Clean the unit thoroughly; Use fresh potable water. |
Specifications
| Model Number | A54-IM-001-1100ML-BK |
| Brand | mollie |
| Product Dimensions | 12 x 9 x 11 inches |
| Item Weight | 13.23 pounds |
| Daily Ice Production | Up to 26 lbs (approx. 11.8 kg) |
| Ice Production Cycle | Approx. 8 minutes for 8 cubes |
| Water Tank Capacity | 1.1 Liters |
| Noise Level | Less than 35dB |
| ASIN | B0C9JJ5167 |
Warranty and Support
For warranty information or technical support, please refer to the product packaging or contact mollie customer service directly. Keep your purchase receipt as proof of purchase for any warranty claims.
Contact information for support is typically found on the manufacturer's website or included in the product packaging.