
1. Introduction
Thank you for choosing the mollie Countertop Ice Maker. This manual provides essential information for the safe and efficient operation, maintenance, and troubleshooting of your new appliance. Please read it thoroughly before first use and retain it for future reference.
This compact ice maker is designed to produce bullet-shaped ice cubes quickly and conveniently, offering three different ice sizes to suit your needs. It features a user-friendly interface, automatic shut-off, and a self-cleaning function for ease of use and maintenance.
2. Safety Instructions
- Always ensure the ice maker is placed on a stable, level surface away from direct sunlight and heat sources.
- Do not immerse the appliance, power cord, or plug in water or other liquids.
- Keep hands and foreign objects out of the ice-making area when the machine is operating to prevent injury.
- Use only potable water in the water tank.
- If using pure or distilled water, adding a small amount of salt (a pinch) can prevent false water shortage alarms.
- Ensure the ice storage basket is correctly positioned before operation to avoid reset prompts.
- Unplug the ice maker from the power outlet before cleaning or when not in use.
- Do not operate the appliance with a damaged cord or plug, or after the appliance malfunctions or has been damaged in any manner.
- This appliance is for household use only.
3. Product Overview
3.1 Components and Dimensions
Familiarize yourself with the main components of your ice maker.
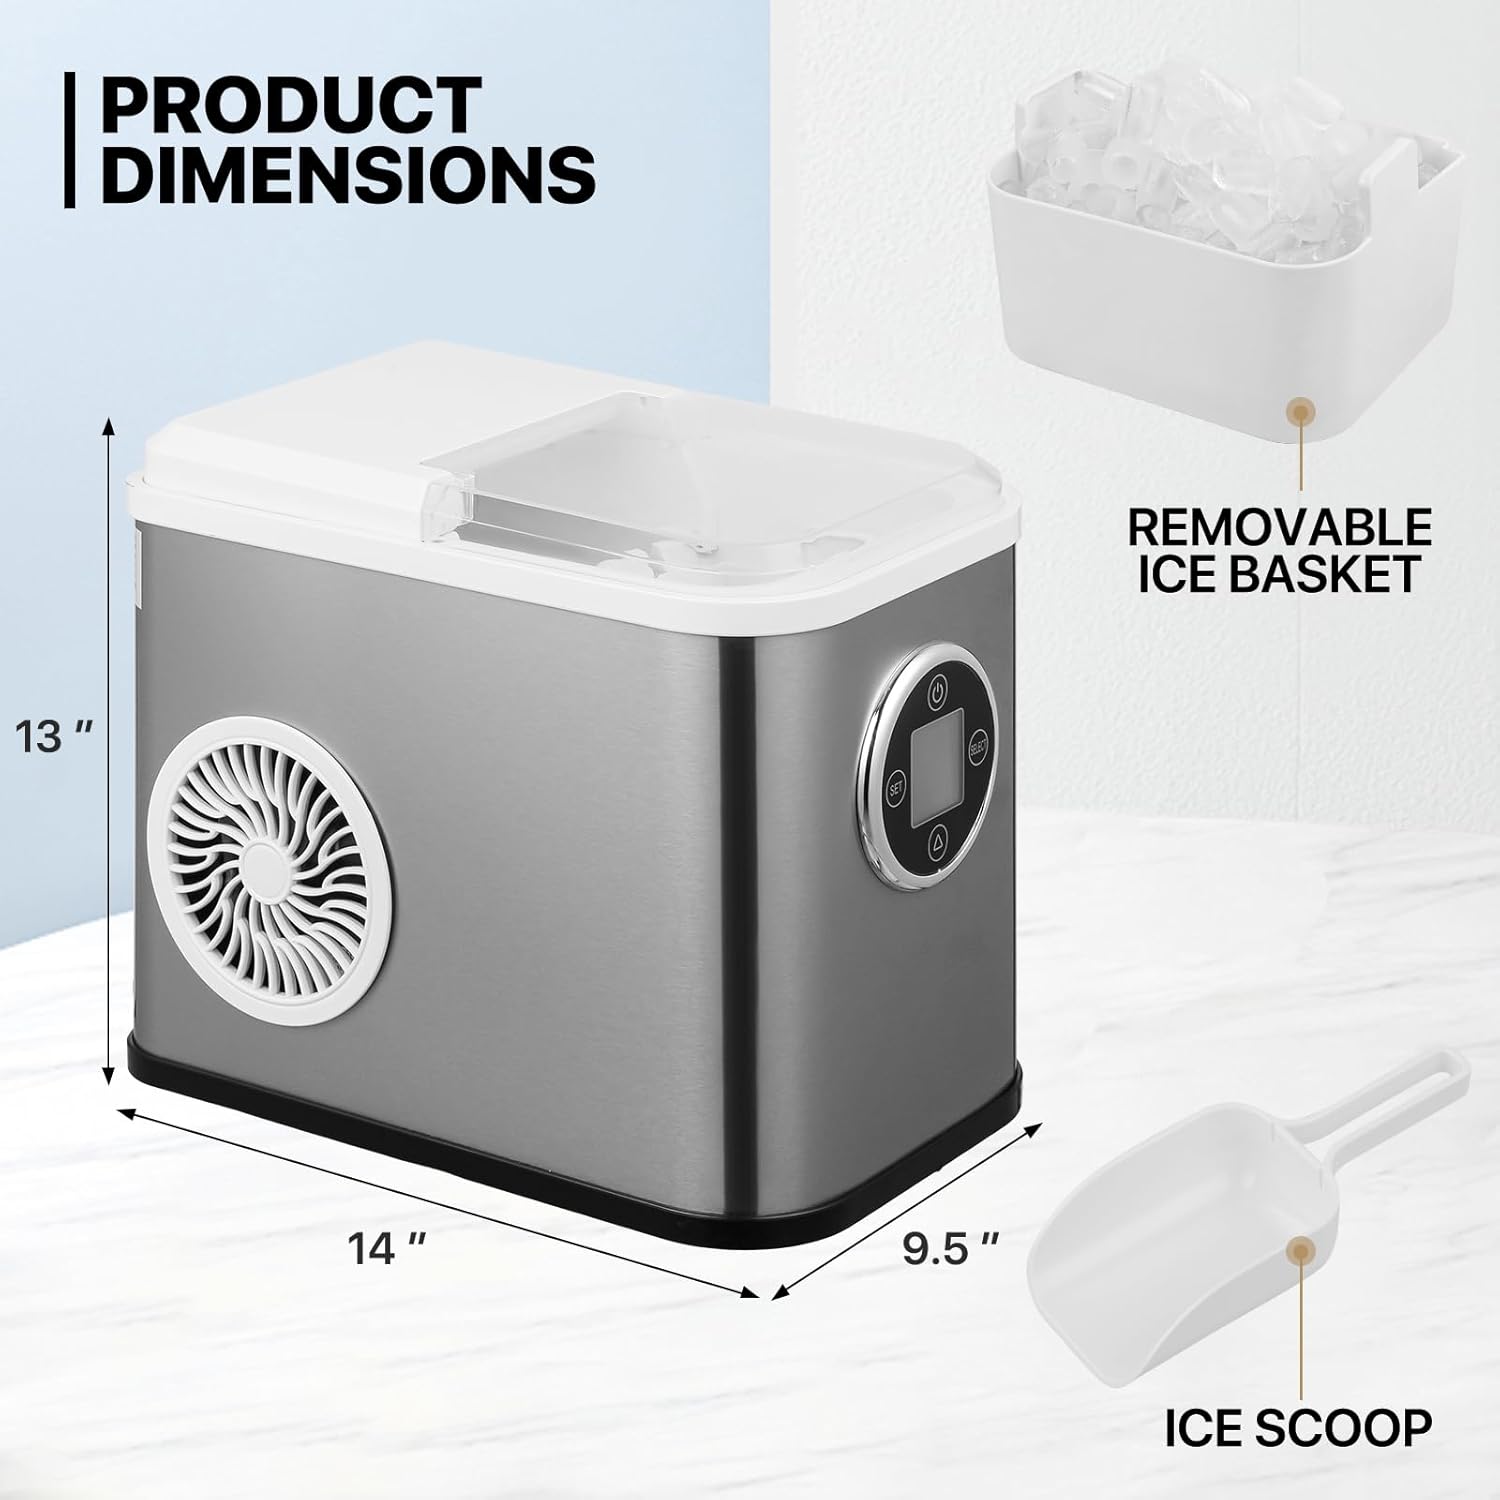
Image: The mollie ice maker showing its dimensions (13" H x 14" W x 9.5" D), with a removable ice basket and an ice scoop.
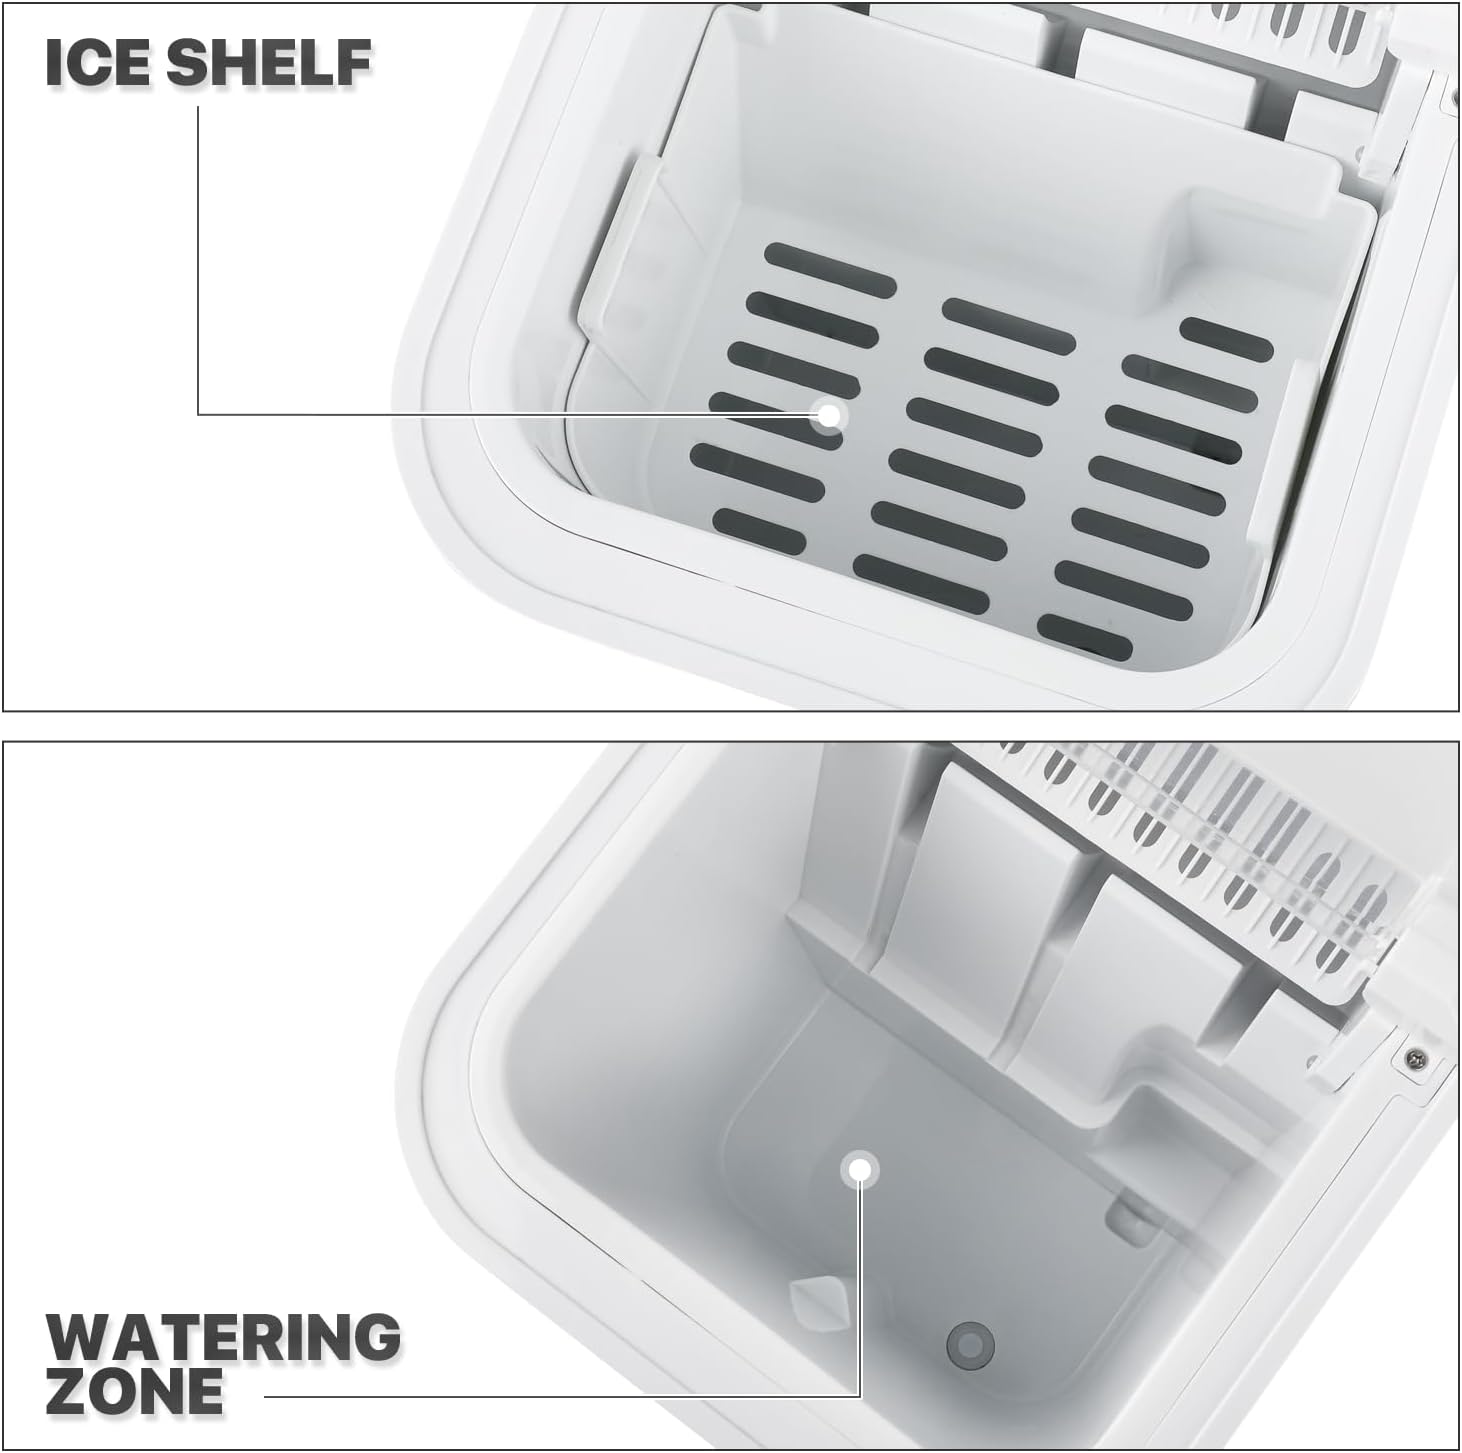
Image: An internal view of the ice maker, highlighting the ice shelf where ice cubes are collected and the watering zone at the bottom of the tank.
3.2 Control Panel
The control panel allows you to operate and monitor the ice maker.

Image: Detailed illustration of the ice maker's operation panel, showing the LCD display, power button, set button, select button, and indicators for ice making, ice full, timer, ice size (L/M/S), add water, and ice making box not reset.
- LCD Display: Shows current time, timer settings, and operational status.
- Power Button: Turns the unit on/off and initiates ice making.
- SET Button: Used for setting the timer.
- SELECT Button: Used to choose ice cube size (Small, Medium, Large).
- Up/Down Arrows: Adjusts timer settings.
- Indicators: Lights for 'Ice Full', 'Add Water', 'Ice Making', 'Ice Making Box Not Reset', and selected ice size.
3.3 Key Features
- Fast Ice Production: Produces 9 bullet-shaped ice cubes in approximately 10 minutes.
- Daily Output: Capable of producing up to 26 pounds of ice per day.
- Three Ice Cube Sizes: Select from Small, Medium, or Large bullet-shaped ice cubes.
- Automatic Shut-Off: Features an infrared sensor that stops ice production when the ice basket is full.
- Low Water Indicator: Alerts you when the water tank needs refilling.
- Self-Cleaning Function: Simplifies maintenance by automatically cleaning the internal components.
- 24-Hour Timer: Allows scheduling of power on/off cycles.
- Quiet Operation: Operates at less than 35dB.
- Energy Efficient: Recirculating water tank design minimizes water waste.
4. Setup
- Unpack: Carefully remove the ice maker from its packaging. Remove all packing materials, including any tape or protective films.
- Placement: Place the ice maker on a flat, stable, and heat-resistant surface. Ensure there is adequate ventilation around the unit (at least 10 cm clearance on all sides).
- Initial Cleaning: Before first use, clean the interior of the ice maker according to the 'Cleaning and Maintenance' section.
- Power Connection: Plug the power cord into a grounded electrical outlet.
5. Operation
5.1 Making Ice

Image: A three-step visual guide showing how to operate the ice maker: 1. Add water to the reservoir. 2. Press the power button and select the desired ice size. 3. Collect the ice cubes from the basket.
- Add Water: Open the lid and pour potable water into the water tank up to the MAX fill line. Do not overfill.
- Power On: Press the Power Button on the control panel to turn on the ice maker.
- Select Ice Size: Press the SELECT Button repeatedly to cycle through the available ice cube sizes: Small (S), Medium (M), or Large (L). The corresponding icon will illuminate on the LCD display. The default size is Medium.
- Start Ice Production: The ice maker will automatically begin the ice-making cycle after selecting the size. The 'Ice Making' indicator will light up.
- Collect Ice: Once ice cubes are formed, they will drop into the removable ice basket. The 'Ice Full' indicator will light up when the basket is full, and the machine will pause ice production. Remove ice as needed.
5.2 Ice Cube Sizes

Image: Visual representation of the three optional ice sizes: Small for rapid cooling, Medium for versatile drinks and cocktails, and Large for extended cooling of beverages.
- Small (S): Ideal for rapid cooling of refreshing beverages.
- Medium (M): A balanced size suitable for everyday drinks like water, tea, coffee, and cocktails.
- Large (L): Best for strong drinks such as whiskey and other spirits, providing extended cooling.
5.3 Using the Timer Function
The 24-hour timer allows you to schedule when the ice maker turns on or off.
- Set Timer: Press the SET Button. The time display will flash.
- Adjust Time: Use the Up/Down arrow buttons to set the desired time for the timer (0-24 hours).
- Confirm: Press the SET Button again to confirm the timer setting. The timer indicator will light up.
- The machine will automatically power on or off after the set duration.
5.4 Video Demonstration
Video: A demonstration of the mollie Countertop Ice Maker in operation, showing the process of adding water, selecting ice size, ice production, and collecting the bullet-shaped ice cubes.
6. Maintenance
6.1 Self-Cleaning Function
The self-cleaning function helps maintain the hygiene of your ice maker.

Image: Illustration of the self-cleaning function, showing a hand pressing the power button for 3 seconds to activate the cleaning cycle, with a visual representation of water circulating inside the machine.
- Ensure the water tank is filled with clean water.
- Press and hold the Power Button for 3-5 seconds to activate the self-cleaning mode.
- The machine will run a cleaning cycle, circulating water through its internal system.
- Once the cycle is complete, drain the water from the unit using the bottom water outlet.
6.2 General Cleaning

Image: Close-up of the ice maker's bottom, showing the water outlet for convenient drainage.
- Exterior: Wipe the exterior with a soft, damp cloth. Do not use abrasive cleaners or solvents.
- Interior: For thorough cleaning, remove the ice basket and wipe the interior surfaces with a soft cloth dampened with a mild detergent solution. Rinse thoroughly with clean water.
- Drainage: Regularly drain any remaining water from the reservoir using the bottom water outlet to prevent mineral buildup.
- Storage: If storing the ice maker for an extended period, ensure it is completely dry before packing.
7. Troubleshooting
| Problem | Possible Cause | Solution |
|---|---|---|
| Ice maker not producing ice. | No water in the reservoir. | Add water to the reservoir up to the MAX line. |
| Ice maker not producing ice. | Power supply issue. | Ensure the unit is properly plugged in and the power outlet is functional. |
| 'Add Water' indicator is on, but there is water in the tank (false alarm). | Using pure or distilled water. | Add a small pinch of salt to the water to improve conductivity. |
| 'Ice Full' indicator is on, but the basket is not full. | Ice sensor is blocked or dirty. | Clean the ice sensor. |
| Ice storage basket reset prompt. | Ice storage basket not correctly positioned. | Ensure the ice basket is fully and correctly inserted into its designated position. |
| Ice cubes are too small or clumpy. | Water temperature is too high. | Use colder water. Ensure the machine is in a cool environment. |
| Unusual noise during operation. | Unit not level or internal components loose. | Ensure the unit is on a level surface. If noise persists, contact customer support. |
8. Specifications
- Brand: mollie
- Model Number: A54-IM-002-1800ML-WH-SL
- Daily Ice Output: Approximately 26 lbs (11.8 kg)
- Ice Shape: Bullet-shaped
- Ice Sizes: Small, Medium, Large
- Power: 120W
- Refrigerant Type: R600a
- Water Tank Capacity: 1.8 L
- Product Dimensions: 40.64 x 30.48 x 38.1 cm (16 x 12 x 15 inches)
- Product Weight: 7.5 kg (16.5 lbs)
- Noise Level: < 35dB
- Features: Self-cleaning mode, 24H timer, automatic shut-off, low water indicator.
9. Warranty and Support
For warranty information or technical support, please refer to the documentation provided at the time of purchase or contact mollie customer service. Keep your purchase receipt as proof of purchase.