
Introduction
This manual provides detailed instructions for the installation, operation, and maintenance of your Vikye Auto DVR Dashcam. This device is designed to record video footage in up to 1080P Full HD, offering features such as seamless loop recording, motion detection, and parking monitoring to enhance your driving safety and provide evidence in case of incidents.
Package Contents
Please verify that all items listed below are included in your package:
- 1 x Vikye Auto DVR Dashcam
- 1 x Car Charger
- 1 x Mounting Stand (Suction Cup Mount)
- 1 x User Manual (This document)
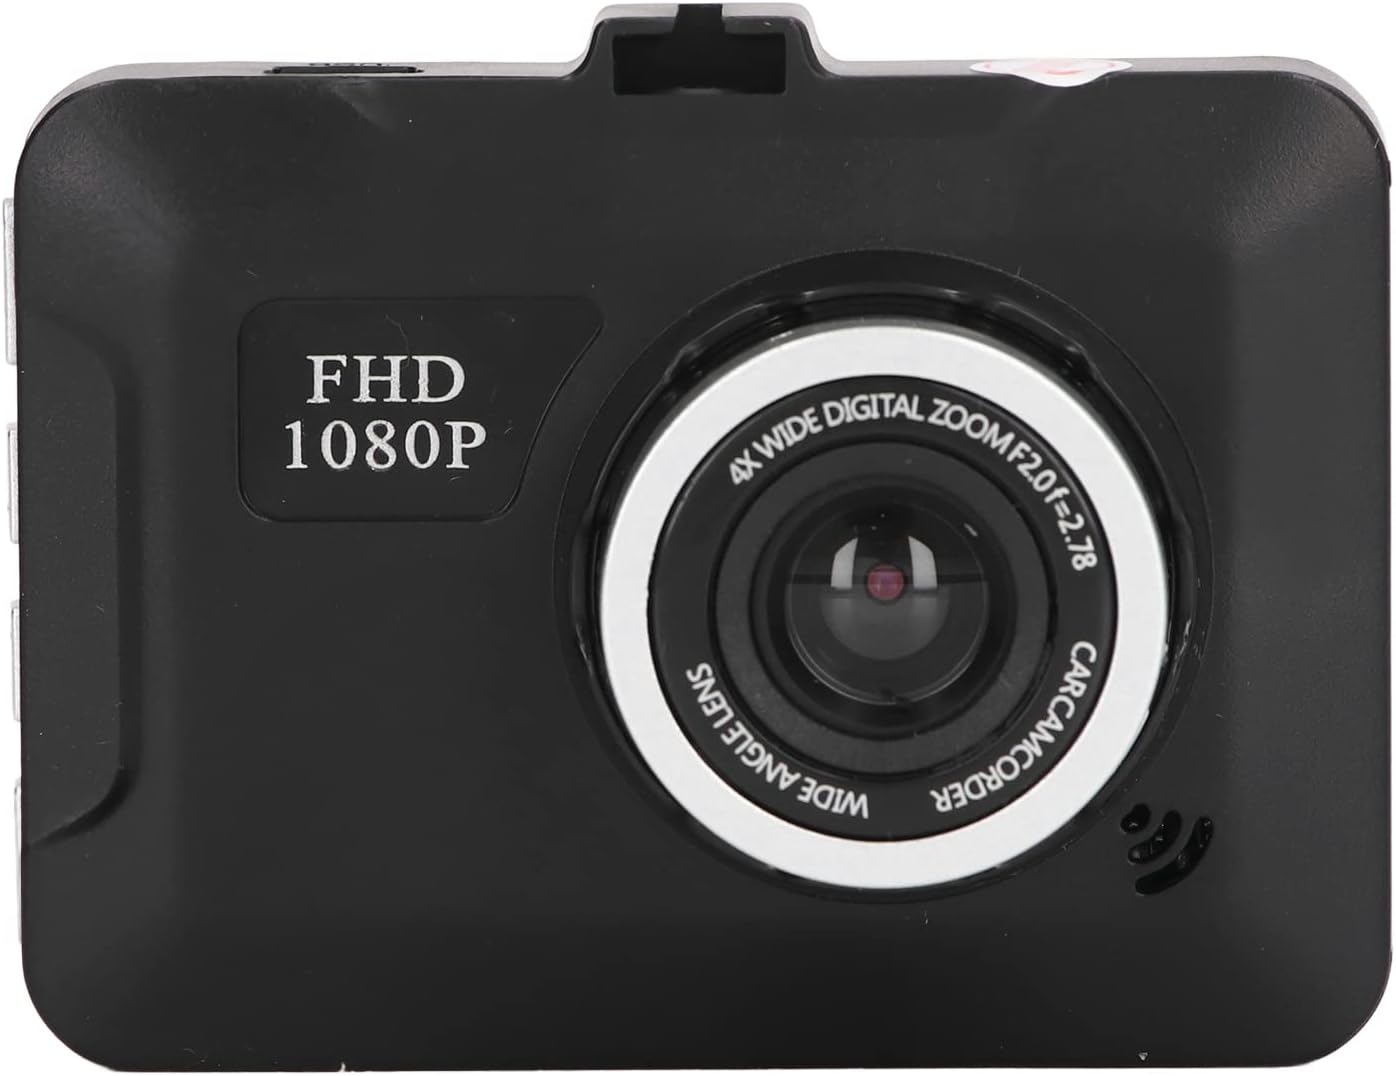
Image: The included car charger with a long cable, used to power the dashcam.
Product Overview
Familiarize yourself with the main components and controls of your dashcam.
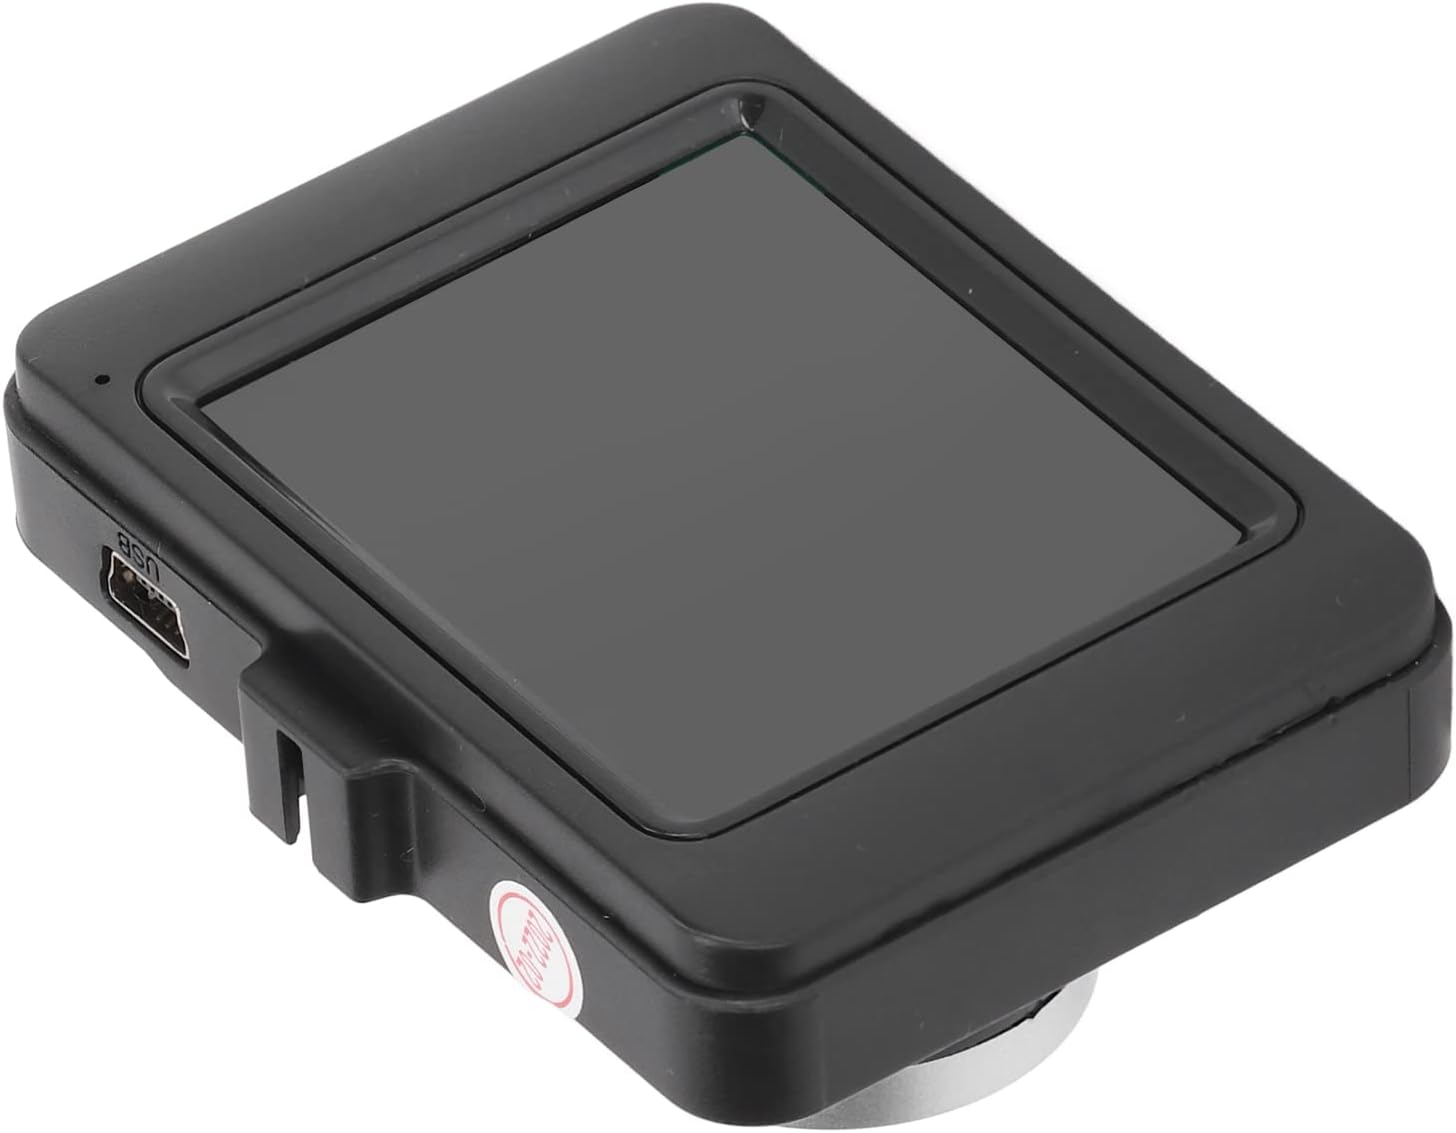
Image: Front view of the dashcam, highlighting the wide-angle lens and 'FHD 1080P' indicator.
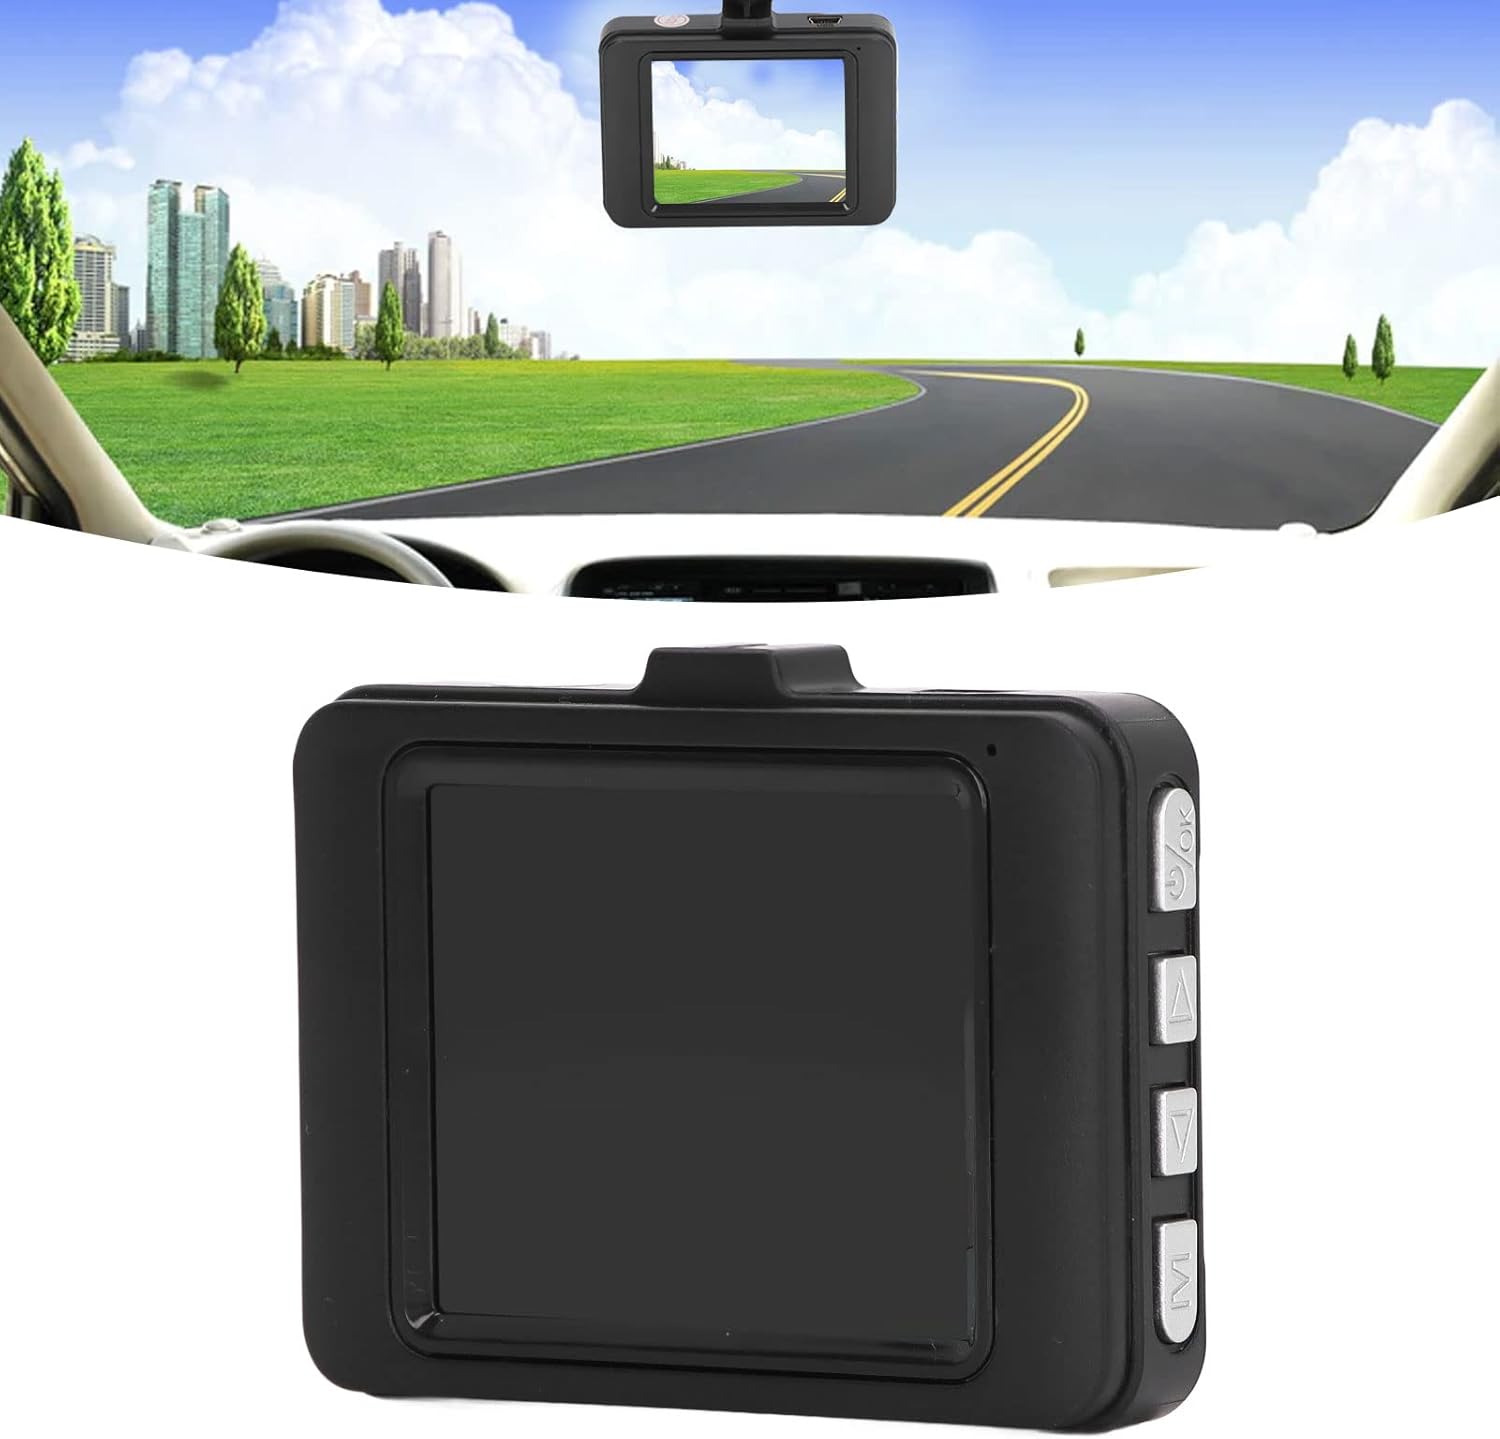
Image: Rear view of the dashcam, displaying the screen and the control buttons on the right side.
Components:
- Display Screen: Shows live view, menu, and playback.
- Camera Lens: Records video footage.
- Power Button: Turns the device on/off.
- OK Button: Confirms selections or starts/stops recording.
- Menu/Mode Button (M): Accesses settings or switches modes.
- Up/Down Buttons (▲/▼): Navigates menu options.
- USB Port: For power supply and data transfer.
- Memory Card Slot: Insert your MicroSD card here.
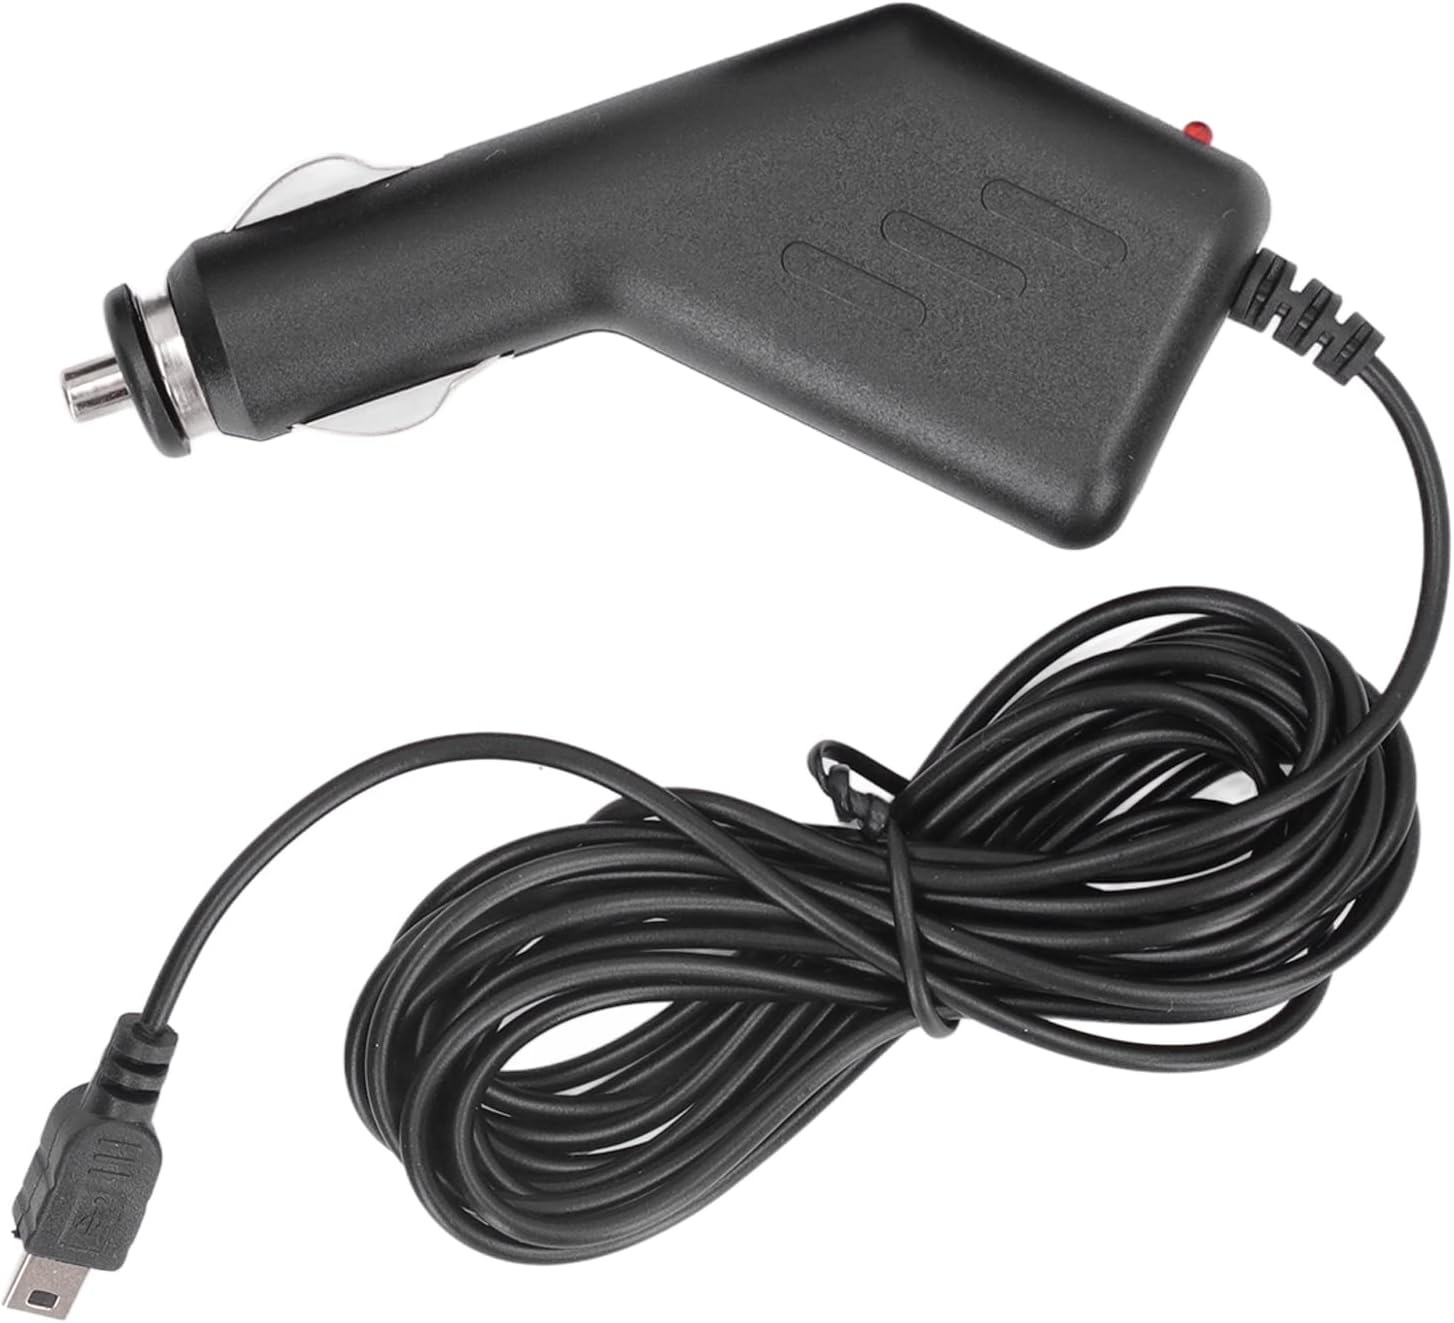
Image: Side view of the dashcam, illustrating the USB power port and the memory card slot.
Setup
Follow these steps to set up your dashcam for first use.
- Insert Memory Card: Before use, insert a MicroSD memory card (up to 32GB, not included) into the memory card slot. Ensure the card is inserted correctly until it clicks into place.
- Attach Mounting Stand: Secure the suction cup mount to the dashcam.
- Mount the Dashcam: Choose a suitable location on your car's windshield, typically behind the rearview mirror, to ensure a clear view of the road without obstructing your driving vision. Clean the windshield surface thoroughly. Press the suction cup firmly against the glass and engage the locking mechanism to secure it.
- Connect Power: Plug the car charger into your vehicle's cigarette lighter socket. Connect the small end of the USB cable to the dashcam's USB port and the other end to the car charger. Route the cable neatly to avoid interference with driving controls.
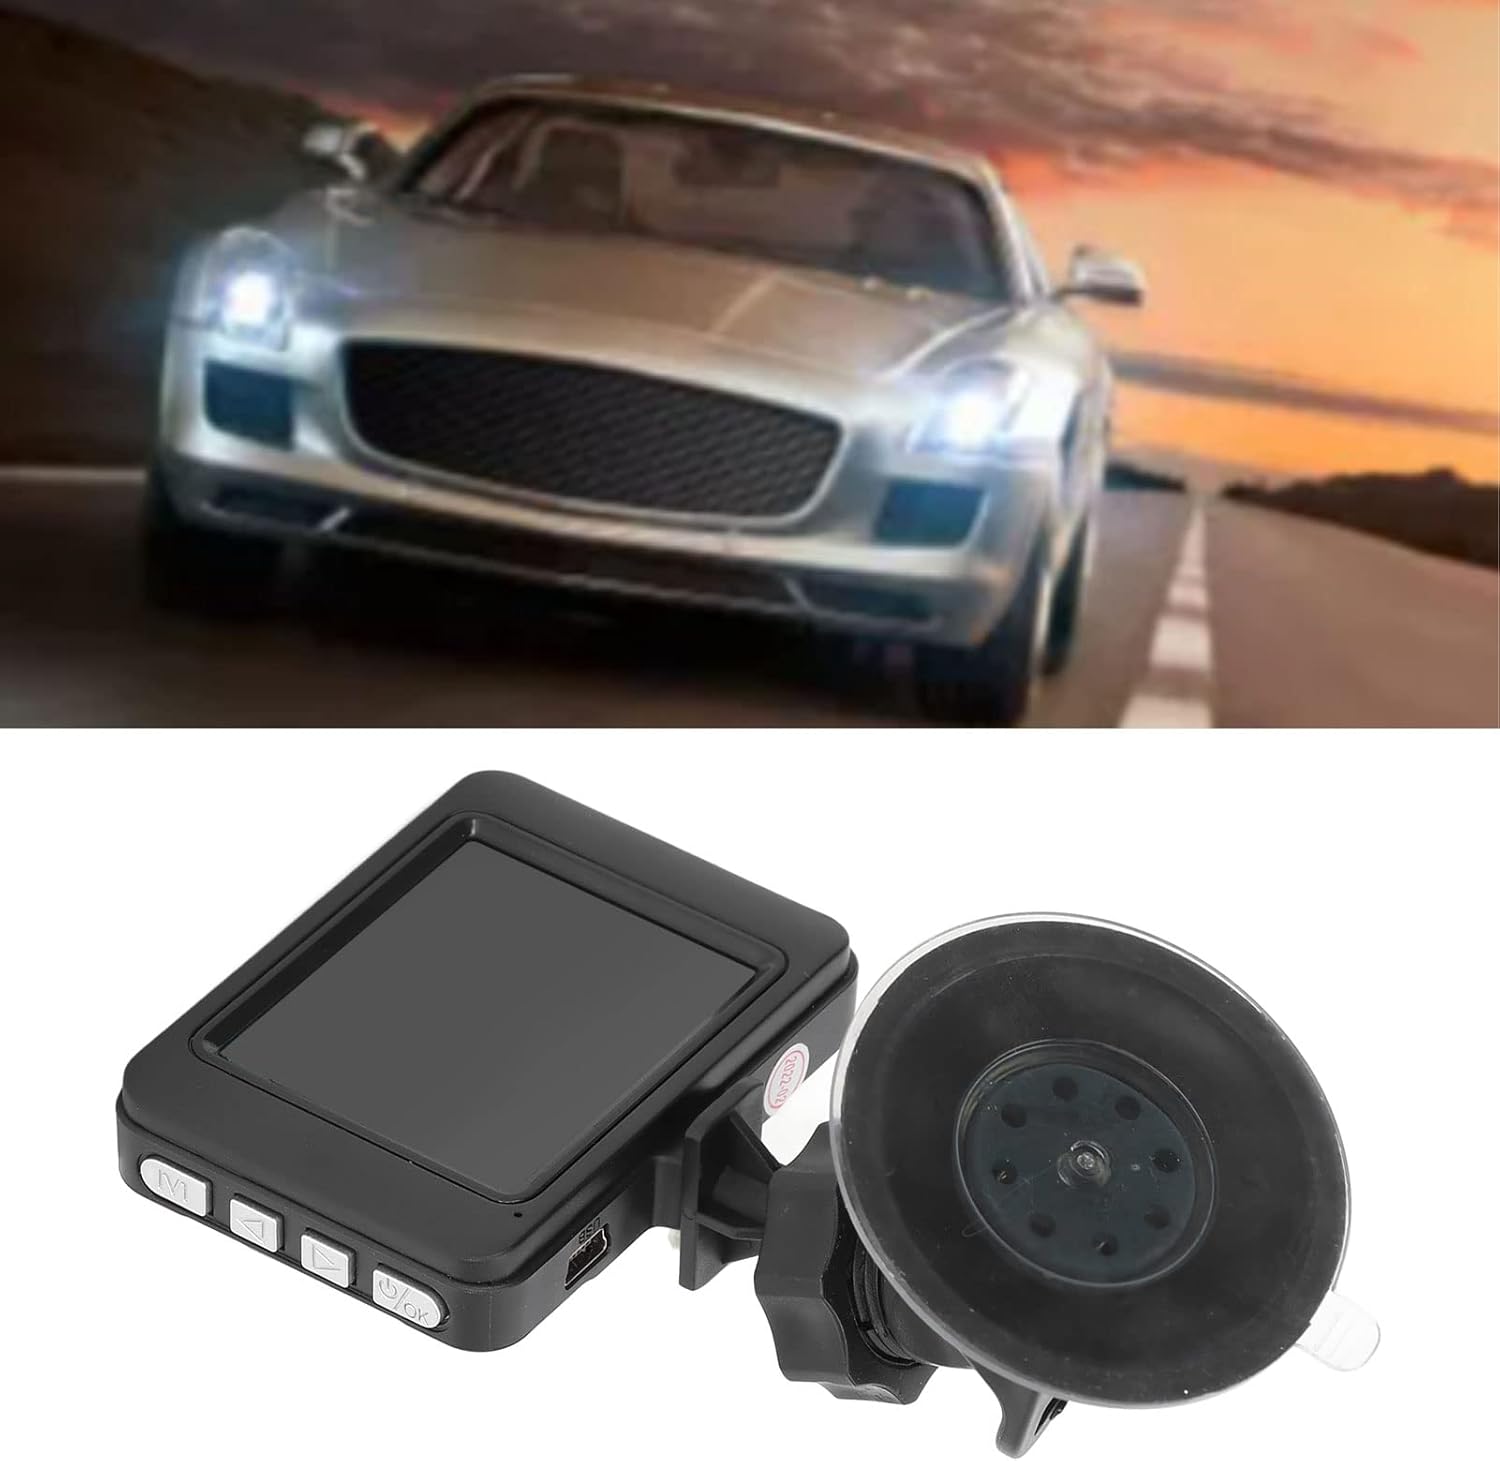
Image: The dashcam connected to its suction cup mount, ready for installation on the windshield.
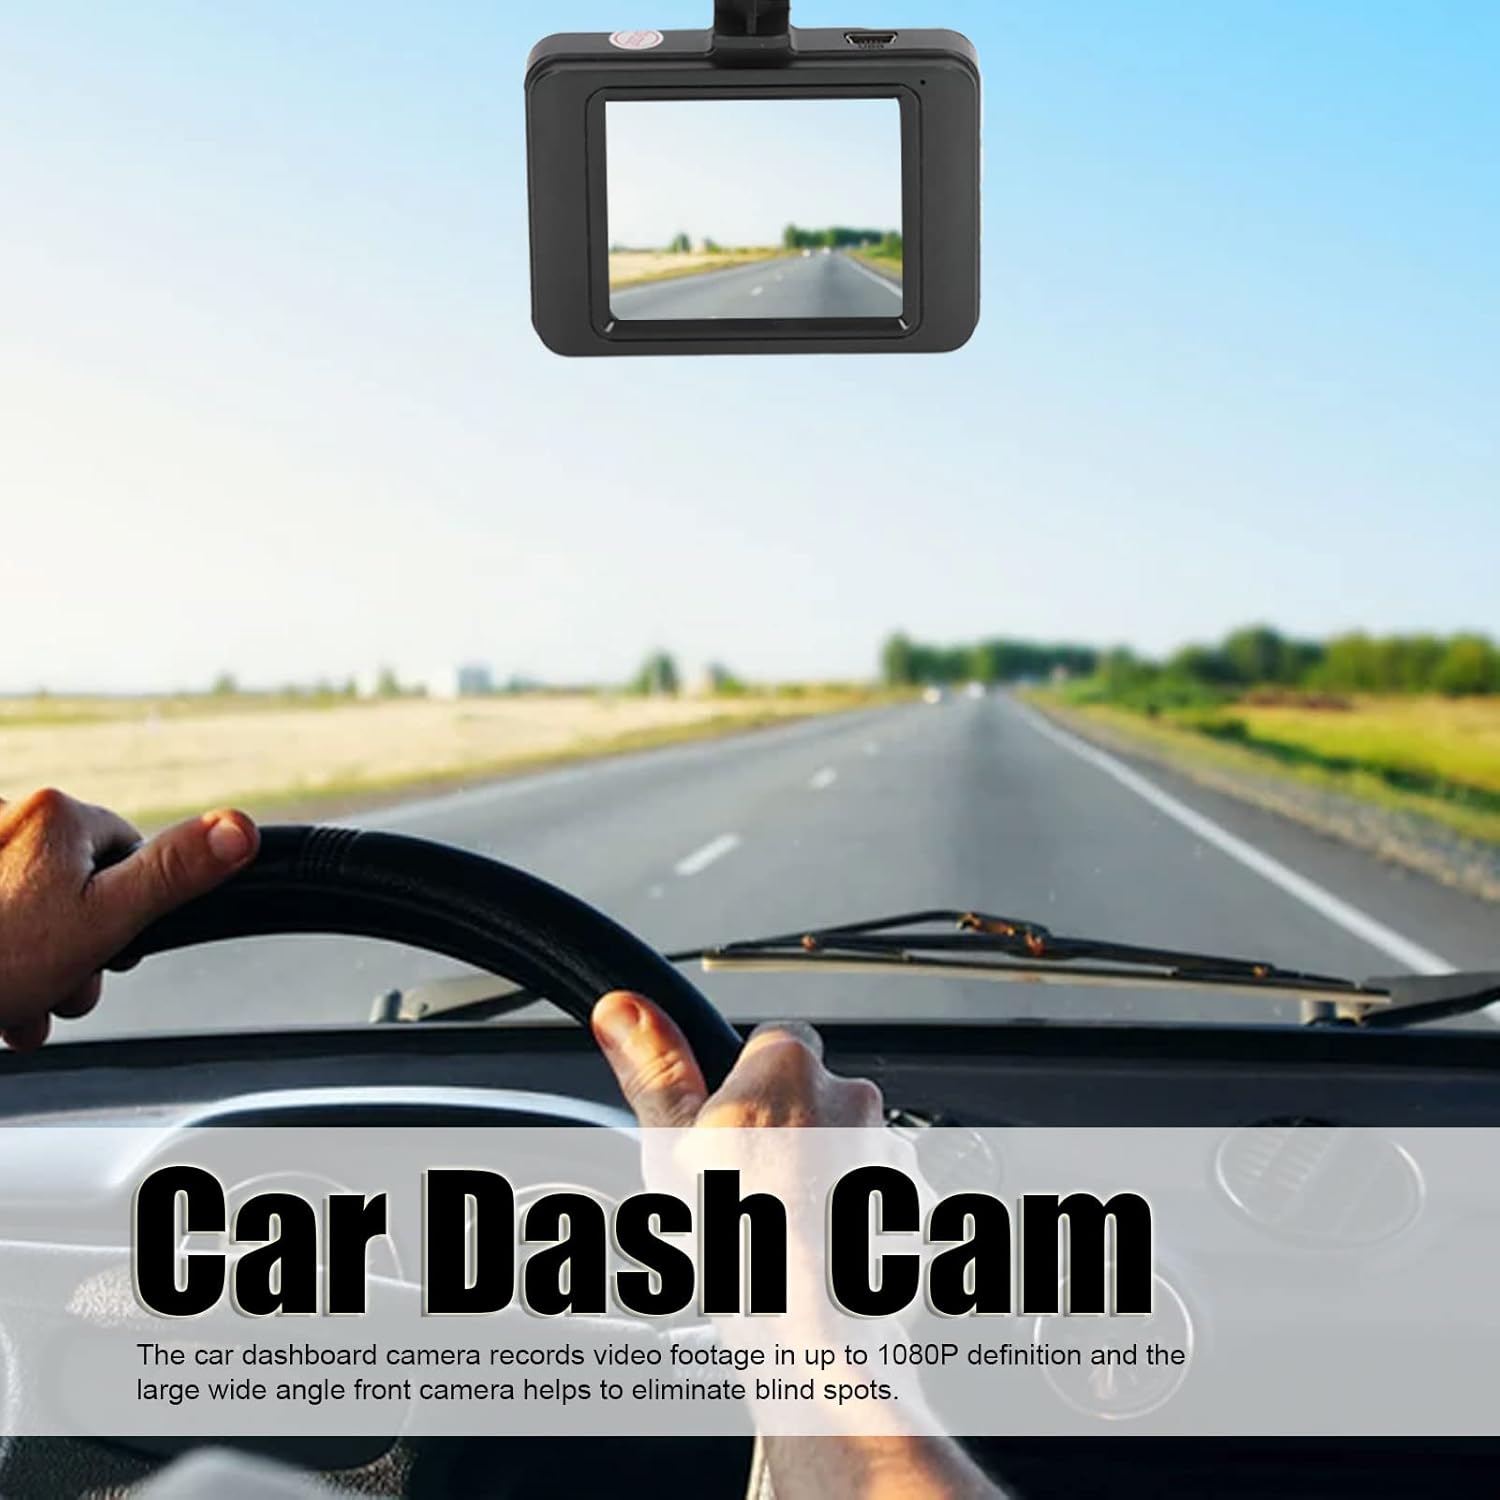
Image: The dashcam properly installed on the car's windshield, capturing the view of the road.
Operating Instructions
Automatic Recording
When the dashcam is connected to the car charger and the vehicle's engine starts, the DVR will automatically power on, enter recording mode, and begin recording. A blue indicator light will flash to confirm recording is in progress. Video files are saved to the inserted memory card.
Stopping Recording
To manually stop recording, press the OK button. The blue indicator light will stop flashing.
Loop Recording
The dashcam utilizes seamless loop recording. When the memory card becomes full, the dashcam will automatically overwrite the oldest unlocked video files with new recordings. This ensures continuous recording without manual intervention.
G-Sensor and File Lock
The built-in G-sensor detects sudden impacts or collisions. In such an event, the current video segment will be automatically locked and protected from being overwritten by loop recording. This safeguards important video evidence.
Motion Detection
When enabled, the dashcam can automatically start recording if it detects movement in front of the vehicle while parked. This feature helps monitor your vehicle when you are away.
Parking Monitor
The parking monitor feature allows the dashcam to automatically record if it detects an impact or motion while the vehicle is parked and the engine is off. This provides surveillance for potential incidents like hit-and-runs.
Maintenance
Proper maintenance ensures the longevity and optimal performance of your dashcam.
- Clean the Lens: Regularly clean the camera lens with a soft, lint-free cloth to ensure clear video recordings. Avoid abrasive materials that could scratch the lens.
- Clean the Screen: Use a soft cloth to wipe the display screen. Do not use harsh chemicals.
- Memory Card Management: It is recommended to format the memory card periodically (e.g., once a month) within the dashcam's settings to prevent data corruption and ensure smooth operation. Back up any important files before formatting.
- Temperature: Avoid exposing the dashcam to extreme temperatures for extended periods, as this can affect battery life and device performance.
Troubleshooting
If you encounter issues with your dashcam, refer to the following common problems and solutions.
| Problem | Possible Cause | Solution |
|---|---|---|
| Dashcam does not power on. | No power supply; faulty car charger; damaged USB cable. | Ensure the car charger is securely plugged into the cigarette lighter and the vehicle's ignition is on. Check the USB cable for damage. Try a different car charger or USB cable if available. |
| Dashcam stops recording unexpectedly. | Memory card full (if loop recording is off); memory card error; power interruption. | Ensure loop recording is enabled. Format the memory card. Check power connection. Try a different memory card. |
| Video footage has lines or distortions. | Dirty lens; faulty memory card; internal hardware issue. | Clean the camera lens. Try formatting or replacing the memory card. If the issue persists, contact customer support. |
| Dashcam does not detect motion. | Motion detection feature is disabled; incorrect sensitivity settings. | Access the dashcam's menu to ensure motion detection is enabled and adjust its sensitivity settings. |
Specifications
Key technical specifications of the Vikye Auto DVR Dashcam.
- Model Number: Vikyezhdgxea7uo
- Video Resolution: 1080P, 720P, VGA
- Video Format: AVI
- Supported Memory Card: MicroSD, up to 32GB (not included)
- Battery: Built-in Lithium Battery, 100 mAh capacity
- Display Type: LED
- Screen Dimensions: 4.3 inches
- Frame Rate: 30 FPS
- Special Features: Motion Detection, Loop Recording, Parking Monitor, G-Sensor
- Mounting Type: Dashboard mount with adhesive (suction cup mount also included)
- Color: Black
- Connectivity Technology: VGA (for certain connections, typically refers to cable type)
Warranty and Support
Manufacturer's Warranty
This Vikye Auto DVR Dashcam is covered by a manufacturer's warranty for 90 days from the date of purchase. Please retain your proof of purchase for warranty claims.
Customer Support
For technical assistance, warranty inquiries, or any other questions regarding your Vikye Auto DVR Dashcam, please contact the seller or manufacturer directly through the platform where the product was purchased. Provide your model number (Vikyezhdgxea7uo) and purchase details for efficient support.