
1. Introduction
Thank you for choosing the VINGLI 6ft White Pre-lit Artificial Christmas Pine Tree. This manual provides essential information for the safe assembly, operation, and maintenance of your new Christmas tree. Please read these instructions carefully before setup and retain them for future reference.
2. Important Safety Information
- Indoor Use Only: This product is designed for indoor use. While durable, prolonged outdoor exposure may affect its lifespan and electrical components.
- Electrical Safety: Ensure the power outlet used is appropriate for the tree's electrical requirements. Do not overload circuits. Unplug the tree when not in use or before performing any maintenance.
- Fire Hazard: Keep the tree away from open flames, heat sources, and flammable materials. The tree is crafted with flame-retardant PVC material, but caution is always advised.
- Stability: Always use the provided sturdy metal stand to ensure the tree is stable and upright. Do not place the tree in high-traffic areas where it could be easily knocked over.
- Children and Pets: Keep small children and pets away from the tree during assembly and ensure all small parts (like ornaments, if added) are securely attached to prevent choking hazards.
- Light Maintenance: Do not attempt to replace individual LED bulbs. If a section of lights does not work, check connections. If issues persist, contact customer support.
3. Package Contents
Please verify that all components are present before beginning assembly:
- Tree Sections (typically 3 sections for a 6ft tree)
- Metal Tree Stand with 3 screws
- Power Adapter with UL certification (light switch)
- Remote Control for lights
- Instruction Manual
4. Setup Instructions
Follow these steps for easy assembly:
- Assemble the Tree Stand: Open the metal tree stand and insert the three screws into the designated holes. Tighten them partially to secure the base.
- Insert the Bottom Tree Section: Carefully insert the largest tree section (bottom section) into the assembled stand. Ensure it is firmly seated and then fully tighten the screws on the stand to secure it.
- Connect Middle and Top Sections: Connect the middle tree section to the bottom section, aligning the poles. Then, connect the top tree section to the middle section. The tree features a fully hinged construction for straightforward assembly.
- Connect Electrical Cords: Locate the electrical connectors between each tree section and securely connect them. Ensure all connections are snug.
- Shape the Branches (Fluffing): Starting from the bottom, gently pull and spread out each branch tip, working your way up the tree. This process, known as 'fluffing,' helps create a full and realistic appearance. Adjust tips to fill any gaps. This may take approximately 30 minutes for optimal results.
- Plug In the Tree: Connect the power adapter to the tree's main power cord and then plug the adapter into a standard electrical outlet.

Image: The VINGLI 6ft White Pre-lit Artificial Christmas Pine Tree with its remote control, illustrating the overall product and its lighting feature.

Image: A visual representation of the 6ft tree's height in comparison to an average person, highlighting its size.

Image: Two white pre-lit Christmas trees, a 4ft and a 6ft model, displayed in a room to show size options and their illuminated appearance.
5. Operating Instructions
Your VINGLI Christmas tree comes pre-lit with 250 warm white LED lights and includes a remote control for various lighting modes.
5.1 Powering On/Off
- Use the 'ON' and 'OFF' buttons on the remote control to power the lights.
- Alternatively, the power adapter itself may have a manual switch.
5.2 Changing Light Modes
The remote control allows you to cycle through 8 different lighting modes:
- Combination
- In Waves
- Sequential
- Slo-Glo
- Chasing/Flashing
- Slow Fade
- Twinkle/Flash
- Steady On
Press the numbered buttons (1-8) on the remote to select your desired mode. The 'DIM+' and 'DIM-' buttons adjust brightness.

Image: An illustration detailing the 8 distinct lighting modes available for the pre-lit tree, controlled by the included remote.
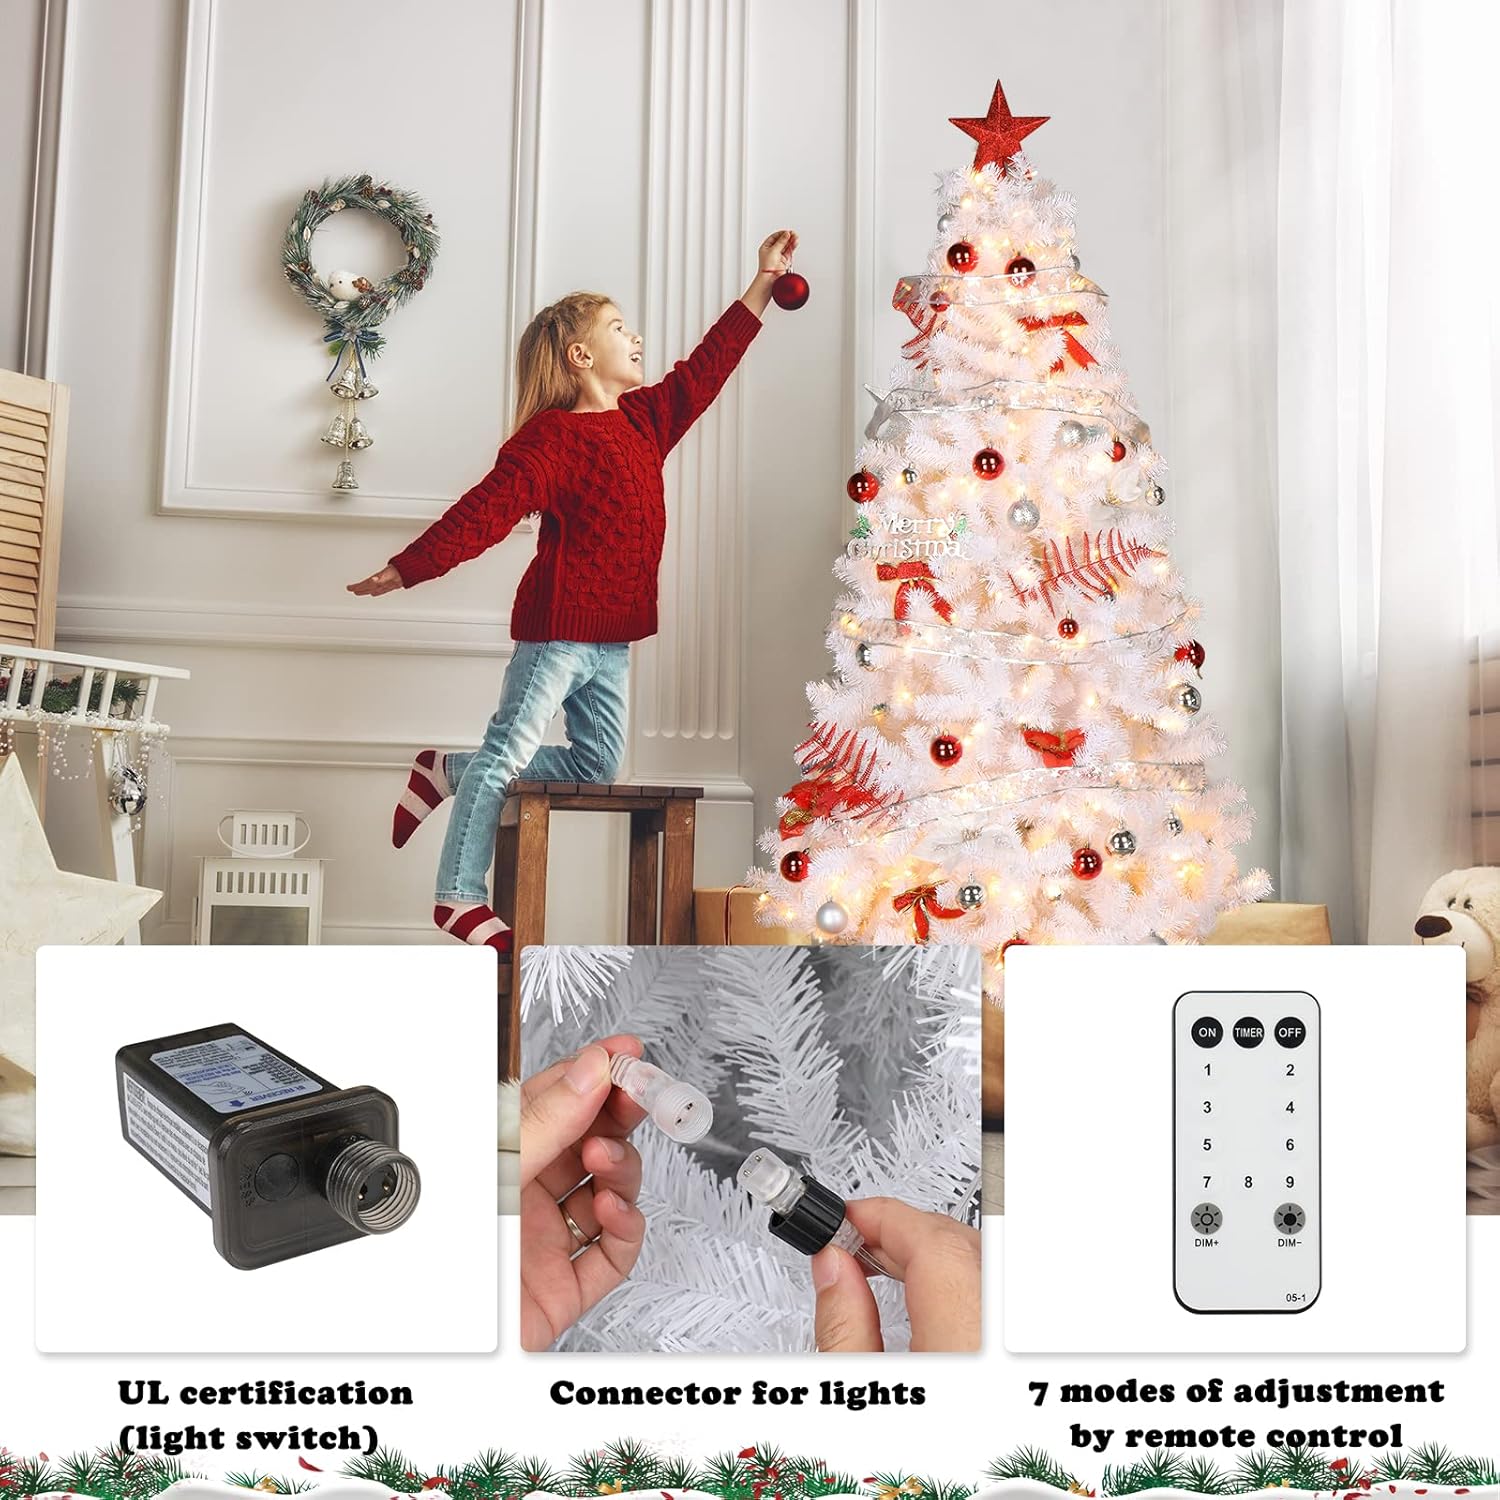
Image: Detailed view of the UL certified light switch, the connector for the lights, and the remote control, showing key operational components.

Image: A split image demonstrating the difference between warm white and cool white light settings on the Christmas tree, showcasing the light color options.
6. Maintenance and Storage
6.1 Cleaning
- Before cleaning, ensure the tree is unplugged from the power outlet.
- Use a soft, dry cloth or a feather duster to remove dust from the branches and lights.
- Do not use liquid cleaners or solvents, as they may damage the tree's finish or electrical components.
6.2 Storage
- Before disassembling, ensure the tree is completely unplugged.
- Gently compress the branches back towards the center pole.
- Disassemble the tree in reverse order of assembly (top section first, then middle, then bottom).
- Store the tree sections and stand in their original packaging or a suitable storage bag in a cool, dry place, away from direct sunlight and extreme temperatures.
7. Troubleshooting
If you encounter any issues with your Christmas tree, please refer to the following table for common problems and solutions:
| Problem | Possible Cause | Solution |
|---|---|---|
| Lights do not turn on. | Power cord not plugged in; loose electrical connection between sections; remote control battery dead. | Ensure the power cord is securely plugged into a working outlet. Check all electrical connections between tree sections. Replace the remote control battery if necessary. |
| Some sections of lights are off. | Loose connection between tree sections. | Check and secure the electrical connections between the tree sections. |
| Tree appears sparse or not full. | Branches not properly fluffed. | Spend more time shaping and spreading out each individual branch tip, starting from the innermost tips and working outwards. |
| Remote control not working. | Remote control battery dead; remote not pointed at receiver. | Replace the remote control battery. Ensure the remote is pointed towards the tree's light receiver (usually near the power adapter). |
8. Product Specifications
| Feature | Detail |
|---|---|
| Brand | VINGLI |
| Model Number | LTLED-D30V6W0.2A |
| Height | 6 feet (72 inches) |
| Color | White |
| Material | Polyvinyl Chloride (PVC) |
| Number of Branch Tips | 900 |
| Lights | 250 Warm White LED Lights |
| Light Modes | 8 (Combination, In Waves, Sequential, Slo-Glo, Chasing/Flashing, Slow Fade, Twinkle/Flash, Steady On) |
| Base Type | Metal Stand |
| Item Weight | 13.2 Pounds |
| Product Dimensions | 43.98"D x 43.98"W x 72"H |
9. Warranty and Customer Support
VINGLI products are manufactured with quality and care. For specific warranty information, please refer to the documentation included with your purchase or contact VINGLI customer support directly. If you have any questions, concerns, or require assistance with your product, please reach out to our customer service team. Contact details can typically be found on the product packaging or the official VINGLI website.