
1. Introduction
The VILTROX DC-70 II is a 7-inch camera field monitor designed to enhance your filming experience. It features a 178° wide-view angle IPS panel with a 1024 x 600 HD resolution, 450cd/m² brightness, and a 1200:1 contrast ratio, providing clear and accurate visual feedback. Its ultra-thin 21.5mm design makes it portable for various shooting environments. Equipped with HDMI input/output, AV input, headphone jack, and a USB upgrade port, this monitor serves as an external display for transmitting real-time 4K video signals from mirrorless cameras, digital video cameras, and camcorders.
2. Package Contents
Please verify that all items are present in your package:
- VILTROX DC-70 II Camera Video Monitor x1
- VILTROX NP-F550 Battery x1
- Battery Charging Cable x1
- Sunshade Hood x1
- Hot Shoe Mount x1
- HDMI Cable x2
- Cloth Bag x1

Image: The VILTROX DC-70 II monitor shown with all included accessories: two HDMI cables, a cloth bag, an NP-F550 battery, a battery charging cable, a sunshade hood, and a hot shoe mount.
3. Product Overview
Familiarize yourself with the monitor's ports and controls:

Image: A detailed diagram illustrating the VILTROX DC-70 II monitor's front, back, and side views, with dimensions and labels for all ports and buttons.
- Power Switch: Turns the monitor on or off.
- 1/4 Screw Hole: For mounting the monitor to various accessories.
- USB Interface: For firmware upgrades.
- Menu Function Keys: For navigating and selecting menu options.
- HDMI Input Interface: Connects to camera for video input.
- HDMI Output Interface: For looping out video signal to another display.
- DC Power Interface: Connects to AC power adapter.
- Horn: Internal speaker for audio output.
- Battery Trough: Slot for NP-F series batteries.
- Battery Release Button: Releases the battery from the trough.
- AV Interface: For analog video input.
- Headphone Jack: For audio monitoring.
4. Setup
4.1 Power Supply
The DC-70 II monitor supports dual power supply modes:
- Battery Power: Insert a compatible NP-F series battery (NP-F550, NP-F570, NP-F750, NP-F770, NP-F960, NP-F970) into the battery trough on the back of the monitor. The included NP-F550 battery can be charged using the provided charging cable.
- AC Adapter Power: Connect the included AC power adapter to the DC Power Interface on the monitor and plug it into a wall outlet.

Image: The back of the VILTROX DC-70 II monitor with an NP-F series battery inserted, alongside an image of the AC power adapter and various battery charging methods (adapter, car, power bank, computer).
4.2 Mounting the Monitor
Attach the monitor to your camera rig or hot shoe using the standard cold shoe adapter. The adapter allows for multi-directional adjustment for optimal viewing angles. The monitor is compatible with DSLRs, camcorders, and handheld stabilizers.
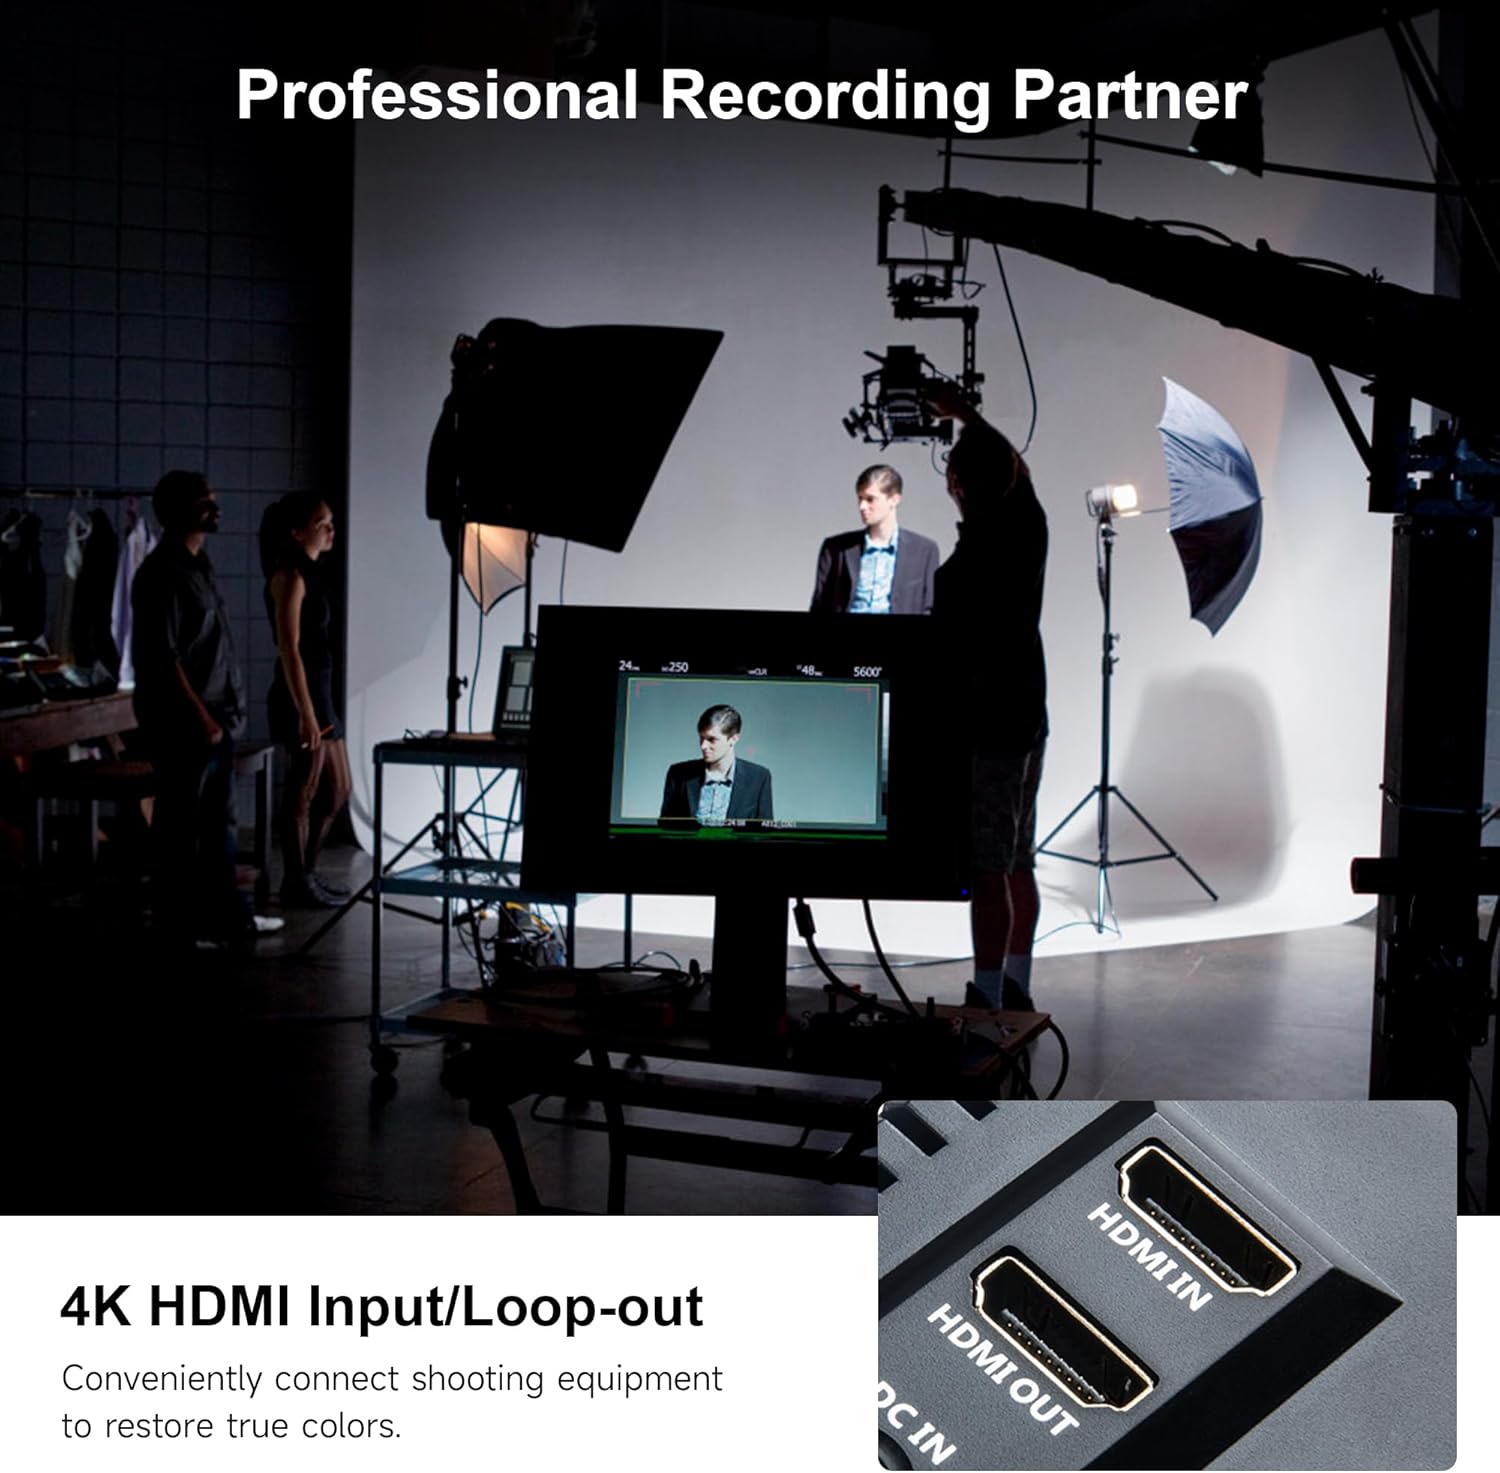
Image: The VILTROX DC-70 II monitor, with its detachable sunshade, mounted on top of a DSLR camera via a cold shoe adapter, ready for outdoor use.
4.3 Connecting to a Camera
Use one of the provided HDMI cables to connect your camera's HDMI output to the HDMI Input Interface on the DC-70 II monitor. If your camera uses AV output, connect it to the AV Interface. The monitor can receive and display real-time 4K video signals.

Image: A close-up view of the VILTROX DC-70 II monitor's side panel, clearly showing the HDMI IN and HDMI OUT ports, along with the DC IN port.
5. Operating Instructions
5.1 Power On/Off
Press the Power Switch located on the side of the monitor to turn it on. Press and hold the Power Switch to turn it off.
5.2 Menu Navigation
Use the Menu Function Keys to navigate through the monitor's settings. Typically, there are buttons for 'Menu', 'Up', 'Down', 'Left', 'Right', and 'Enter' or similar functions. Refer to the on-screen display for specific button assignments.
5.3 Monitoring Tools and Features
The DC-70 II includes several professional monitoring tools to assist with focus, exposure, and color accuracy:
- Peaking Focus Assist: Highlights in-focus areas to aid manual focusing.
- False Color: Displays exposure levels using a spectrum of colors.
- Histogram: Graphical representation of tonal distribution in the image.
- Monochrome: Displays the image in black and white.
- Zooming Pixel: Magnifies a portion of the image for detailed inspection.
- Safe Frames: Overlays guides for safe areas for broadcast or specific aspect ratios.
- Image Flip (H/V): Flips the image horizontally or vertically.
- Image Freeze: Pauses the live video feed.
- Check Field: Displays only red, green, or blue channels, or turns off all channels.
- Pixel to Pixel: Displays the image at its native resolution without scaling.
- Color Temperature Settings: Adjusts the white balance of the display (e.g., 6500K, 7200K, 9300K).
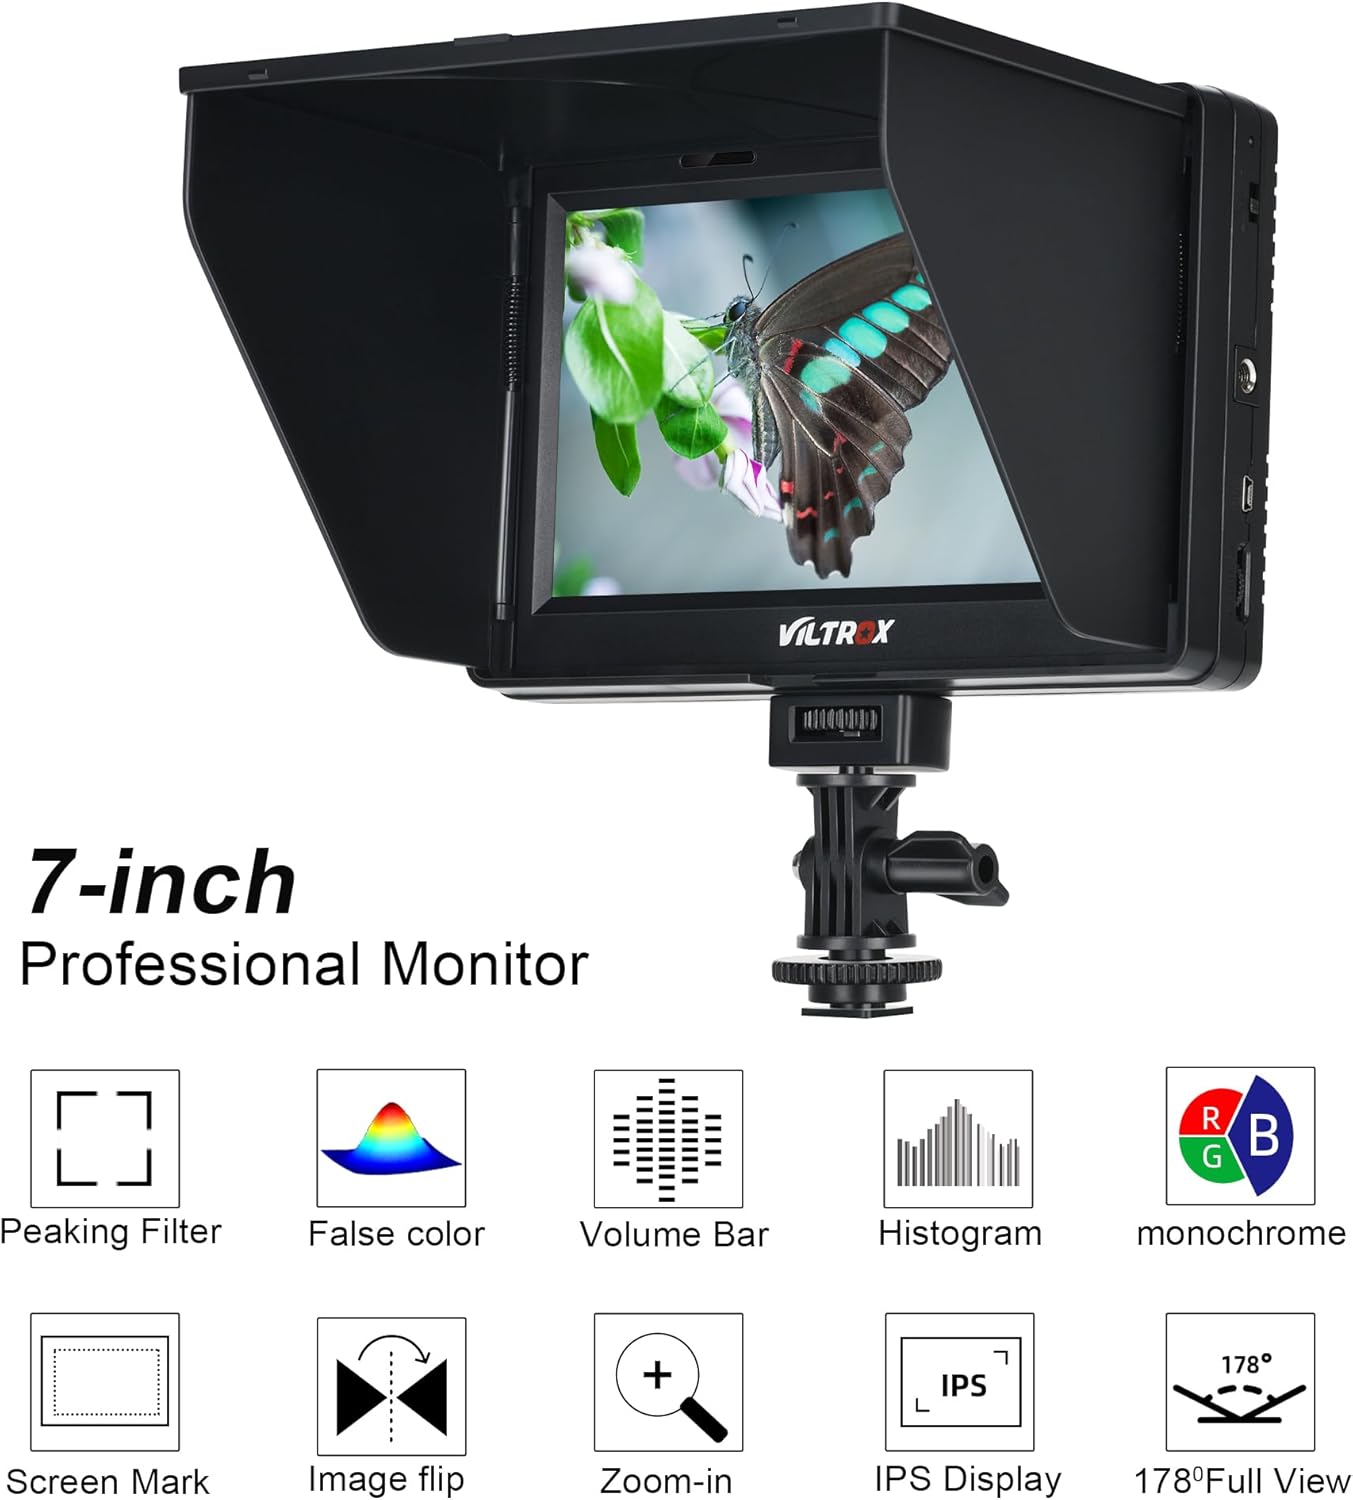
Image: The VILTROX DC-70 II monitor screen showing icons representing various professional monitoring features such as Peaking Filter, False Color, Volume Bar, Histogram, Monochrome, Screen Mark, Image Flip, Zoom-in, IPS Display, and 178° Full View.

Image: The VILTROX DC-70 II monitor displaying a scene with auxiliary monitoring tools, including icons for Peaking Color, False Color, Volume Bar, Brightness, Monochrome, Screen Mark, Flip-H, and Zoom.

Image: The VILTROX DC-70 II monitor illustrating color correction capabilities, showing a scene with different color temperature settings (6500K, 7200K, 9300K).

Image: Two VILTROX DC-70 II monitors side-by-side, one displaying a normal image and the other showing the same image with the False Color monitoring feature activated, highlighting exposure levels.
6. Maintenance
To ensure the longevity and optimal performance of your VILTROX DC-70 II monitor, follow these maintenance guidelines:
- Cleaning: Use a soft, dry cloth to clean the monitor's exterior. For the screen, use a specialized screen cleaning solution and a microfiber cloth. Avoid abrasive materials or harsh chemicals.
- Storage: When not in use, store the monitor in the provided cloth bag or a protective case to prevent dust and scratches. Keep it in a cool, dry place away from direct sunlight and extreme temperatures.
- Battery Care: If using battery power, ensure batteries are charged regularly and stored properly. Remove batteries if the monitor will not be used for an extended period.
- Sunshade: The detachable sunshade helps protect the screen and improve visibility in bright conditions. Attach it when needed and remove it for storage to prevent damage.
7. Troubleshooting
If you encounter issues with your VILTROX DC-70 II monitor, refer to the following common problems and solutions:
| Problem | Possible Cause / Solution |
|---|---|
| Monitor does not power on. | Ensure the battery is fully charged and correctly inserted, or the AC adapter is securely connected to both the monitor and a power outlet. |
| No video signal displayed. | Check HDMI/AV cable connections between the camera and monitor. Ensure the camera's video output is active and set to the correct format. Try cycling power on both the camera and monitor. |
| Signal loss when recording in 4K. | This monitor may experience signal loss with some 4K recording setups, potentially requiring a downgrade to 1080p for stable monitoring during recording. Ensure your HDMI cable is rated for 4K. |
| Short battery life (approx. 1 hour). | The included NP-F550 battery has a limited capacity. For extended use, consider purchasing higher capacity NP-F series batteries (e.g., NP-F750, NP-F970). |
| Difficulty turning on live view. | If the monitor requires multiple attempts to display live view, try turning both the camera and monitor off and on again in sequence. Ensure all connections are firm. |
| Cold shoe mount feels unstable or breaks. | Exercise caution when mounting and adjusting the monitor. Avoid overtightening or applying excessive force. Consider using a more robust mounting solution for professional or heavy-duty applications. |
| Menu language is incorrect. | Navigate through the monitor's menu settings to find the 'Language' option and select your preferred language. |
8. Specifications
| Feature | Specification |
|---|---|
| Model | DC-70 II |
| Screen Size | 7 inches |
| Panel Type | IPS |
| Resolution | HD 1024 x 600 |
| Brightness | 450 cd/m² |
| Contrast Ratio | 1200:1 |
| Aspect Ratio | 16:10 |
| Viewing Angle | 178° |
| Input Ports | HDMI, AV |
| Output Ports | HDMI, Headphone Jack |
| Other Interfaces | USB (for firmware upgrade), DC Power Input |
| Power Supply | NP-F series battery (NP-F550 included) or AC adapter |
| Dimensions (approx.) | 7.5 x 5.0 x 0.8 inches (Monitor only) |
| Weight (approx.) | 2.44 pounds (Item Weight) |
| Manufacturer | Weiying |
9. Warranty and Support
For warranty information, please refer to the documentation included with your purchase or contact the retailer where the product was acquired. For technical support or further assistance, please visit the official VILTROX website or contact their customer service department.


