
Introduction
The Dilwe XY509 is a universal multipurpose PID temperature controller designed for precise temperature management in various industrial applications. It features a dual display for set temperature (SV) and process temperature (PV), supporting both heating and cooling control. This manual provides essential information for the safe and effective installation, operation, and maintenance of your XY509 temperature controller.
Safety Information
Please read and understand all instructions before installing or operating this device. Failure to follow these instructions may result in equipment damage, personal injury, or electric shock.
- Ensure power is disconnected before performing any wiring or maintenance.
- This device should be installed by qualified personnel only.
- Verify all wiring connections are correct and secure to prevent malfunction or damage.
- Do not operate the controller in environments exceeding its specified temperature and humidity limits.
- Use appropriate personal protective equipment during installation and operation.
Package Contents
Verify that all items are present and undamaged upon opening the package:
- 1 x Dilwe XY509 Temperature Controller
- 2 x Mounting Frames
- 1 x English User Manual (this document)
Product Overview
The XY509 features a clear digital display and intuitive controls for easy parameter setting and monitoring.

Figure 1: Front View of XY509 Controller. This image shows the front panel of the Dilwe XY509 PID Temperature Controller, featuring the red PV (Process Value) display, green SV (Set Value) display, and control buttons including SET, R/S, and arrow keys for navigation and adjustment. Indicator lights for AT (Auto-Tune), OUT1, OUT2, ALM1, and ALM2 are also visible.
Display and Indicators:
- PV (Process Value) Display: Shows the current measured temperature (red digits).
- SV (Set Value) Display: Shows the target temperature or parameter setting (green digits).
- AT (Auto-Tune) Indicator: Lights up when the auto-tuning function is active.
- OUT1/OUT2 Indicators: Indicate the status of output relays.
- ALM1/ALM2 Indicators: Indicate the status of alarm outputs.
Control Buttons:
- SET Button: Enters parameter setting mode or confirms a setting.
- R/S (Run/Stop) Button: Used for specific functions, often related to running or stopping a process or resetting.
- Arrow Keys (Up/Down/Left): Used to navigate menus, adjust values, or shift digits during parameter setting.
Specifications
| Feature | Specification |
|---|---|
| Model | XY509 |
| Output Type | Universal (Relay/SSR) |
| Power Supply | 100-240VAC, 50/60Hz |
| Maximum Input Range | 0-1300°C (Adjustable) |
| Display | 2 lines, 4-digit Celsius temperature (PV: Red, SV: Green) |
| Control Method | PID, On/Off |
| Alarm | ALM1 |
| Dimensions (L x W x H) | Approx. 96 x 96 x 78mm / 3.8 x 3.8 x 3.1 inches |
| Material | ABS |
| Input Types Supported | 10 different types of Thermocouple and RTD (user selectable) |
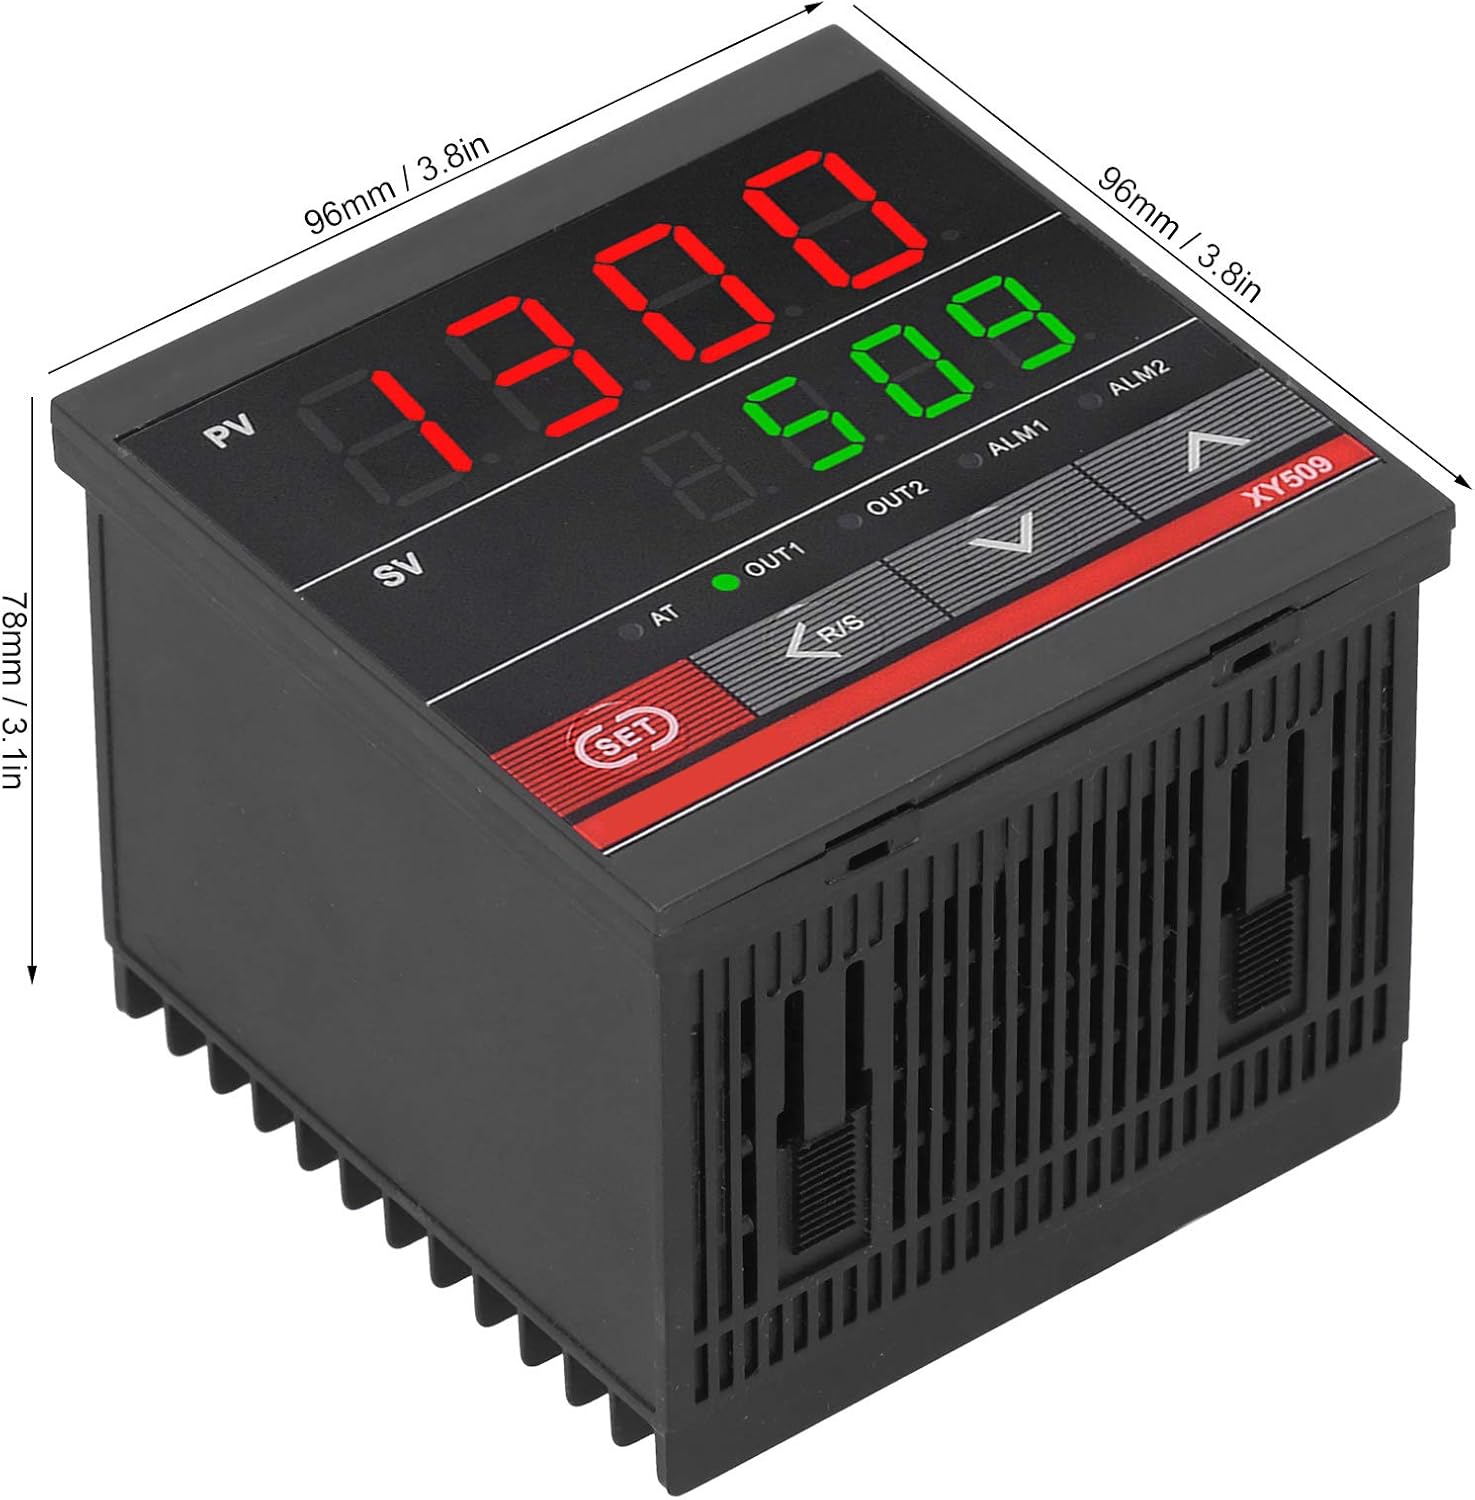
Figure 2: XY509 Controller Dimensions. This image illustrates the physical dimensions of the Dilwe XY509 PID Temperature Controller, showing its length, width, and depth as approximately 96mm (3.8 inches) by 96mm (3.8 inches) by 78mm (3.1 inches).
Setup
1. Mounting
The XY509 controller is designed for panel mounting. Use the provided mounting frames to secure the controller into a panel cutout of appropriate size (92x92mm recommended for 96x96mm controllers).
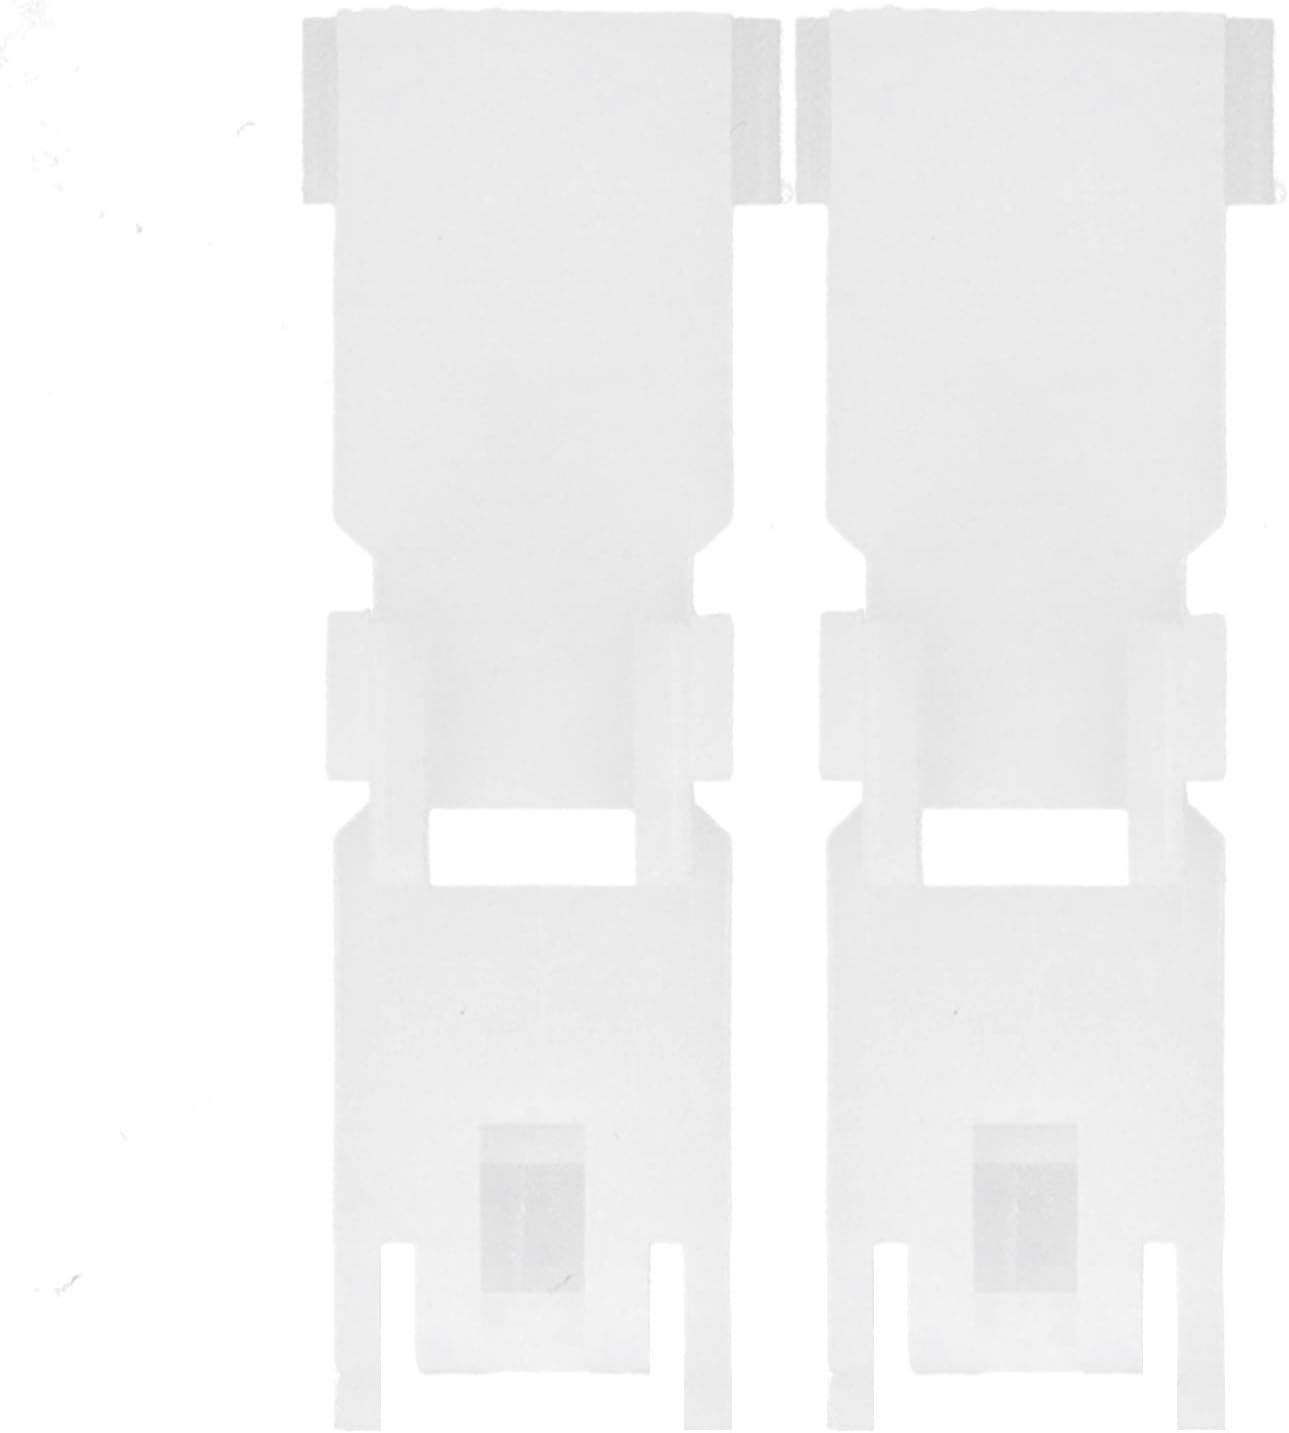
Figure 3: Mounting Frames. This image displays the two white plastic mounting frames included with the Dilwe XY509 PID Temperature Controller, used to secure the unit into a panel cutout.
2. Wiring
Refer to the wiring diagram on the side of the controller and the detailed instructions below for correct electrical connections. Ensure all power is off before wiring.

Figure 4: Wiring Diagram. This image shows the side of the Dilwe XY509 PID Temperature Controller with its detailed wiring diagram. The diagram indicates connections for power supply (AC 100-240V), output (Relay/SSR), alarm (ALM1), and input (Thermocouple/RTD).
- Power Supply (100-240VAC): Connect the main power supply to the designated terminals as shown in the diagram.
- Input (Thermocouple/RTD): Connect your temperature sensor (thermocouple or RTD) to the input terminals. Ensure the correct type of sensor is selected in the controller's settings.
- Output (Relay/SSR): Connect your heating or cooling device to the output terminals. The controller supports both relay and SSR outputs.
- Alarm (ALM1): If an alarm function is required, connect the alarm device to the ALM1 terminals.
Note: Always double-check wiring against the diagram on the unit to prevent damage.
Operating Instructions
1. Initial Power-On and Sensor Type Selection
- After wiring, apply power to the controller.
- The controller will display the PV and SV.
- Access the parameter settings menu (usually by pressing and holding the SET button) to select the correct input sensor type (e.g., K-type thermocouple, PT100 RTD) that matches your connected sensor. Refer to the full user manual for specific menu navigation.
2. Setting the Target Temperature (SV)
- Press the SET button once. The SV display will begin to flash.
- Use the Up and Down arrow keys to adjust the target temperature. Use the Left arrow key to shift the digit for faster adjustment.
- Press SET again to confirm the new target temperature.
3. PID Auto-Tuning Function
The auto-tuning function automatically calculates and sets the optimal PID parameters for your specific heating/cooling system, ensuring stable and accurate temperature control.
- Set your desired target temperature (SV) as described above.
- Initiate the auto-tuning process (typically by pressing and holding a combination of buttons or accessing a specific menu item). The AT indicator will light up.
- The controller will cycle the output to analyze the system's response. This process may take some time (e.g., 1-3 cycles).
- Once auto-tuning is complete, the AT indicator will turn off, and the controller will operate with the newly optimized PID parameters.
Note: Auto-tuning should be performed when the system is at ambient temperature or when significant changes are made to the heating/cooling load.

Figure 5: Application Example. This image shows the Dilwe XY509 PID Temperature Controller alongside an oven, illustrating its typical use for precise temperature control in applications such as kilns, furnaces, ovens, and incubators.
Maintenance
The Dilwe XY509 temperature controller requires minimal maintenance to ensure long-term reliable operation.
- Cleaning: Periodically wipe the front panel with a soft, dry cloth. Do not use abrasive cleaners or solvents.
- Inspection: Regularly inspect wiring connections for looseness or signs of damage. Ensure proper ventilation around the unit to prevent overheating.
- Calibration: If accuracy issues are suspected, consult a qualified technician for calibration or sensor replacement.
Troubleshooting
| Problem | Possible Cause | Solution |
|---|---|---|
| Controller does not power on. | No power supply; incorrect wiring; blown fuse. | Check power connections; verify wiring against diagram; check power source. |
| PV display shows "HHHH" or "LLLL". | Sensor open circuit (HHHH) or short circuit (LLLL); incorrect sensor type selected. | Check sensor wiring and integrity; ensure correct sensor type is configured in settings. |
| Temperature control is unstable or inaccurate. | Incorrect PID parameters; sensor not properly placed; external disturbances. | Perform PID auto-tuning; ensure sensor is correctly positioned to measure process temperature; minimize drafts or external temperature fluctuations. |
| Output (heating/cooling) not activating. | Output wiring incorrect; output mode incorrect; SV not reached. | Verify output wiring; check control mode (heating/cooling); ensure SV is set appropriately. |
For further assistance, please contact Dilwe customer support.
Warranty and Support
Dilwe products are manufactured to high-quality standards. For warranty information or technical support, please refer to the warranty card included with your product or visit the official Dilwe website. Keep your purchase receipt as proof of purchase.
Manufacturer: Dilwe
Model: XY509