1. Important Safety Instructions
Please read all instructions carefully before operating the CREWORKS 10L Digital Ultrasonic Cleaner. Failure to follow these instructions may result in electric shock, fire, or serious injury.
- Always connect the unit to a grounded power outlet.
- Do not immerse the main unit in water or other liquids.
- Ensure the unit is placed on a stable, level surface.
- Do not operate the cleaner without liquid in the tank.
- Avoid touching the tank or solution during operation, especially when the heater is active, as temperatures can be high.
- Keep out of reach of children.
- Unplug the unit from the power outlet before filling, draining, or cleaning.
- Do not use flammable, explosive, or corrosive cleaning solutions.
- Ensure adequate ventilation when operating the unit.
- If the power cord is damaged, it must be replaced by the manufacturer, its service agent, or similarly qualified persons to avoid a hazard.
2. Product Overview
The CREWORKS 10L Digital Ultrasonic Cleaner is designed for professional cleaning of various objects using ultrasonic cavitation. It features a 10-liter tank, 240W ultrasonic power, a heating function, and a digital control panel for precise operation.
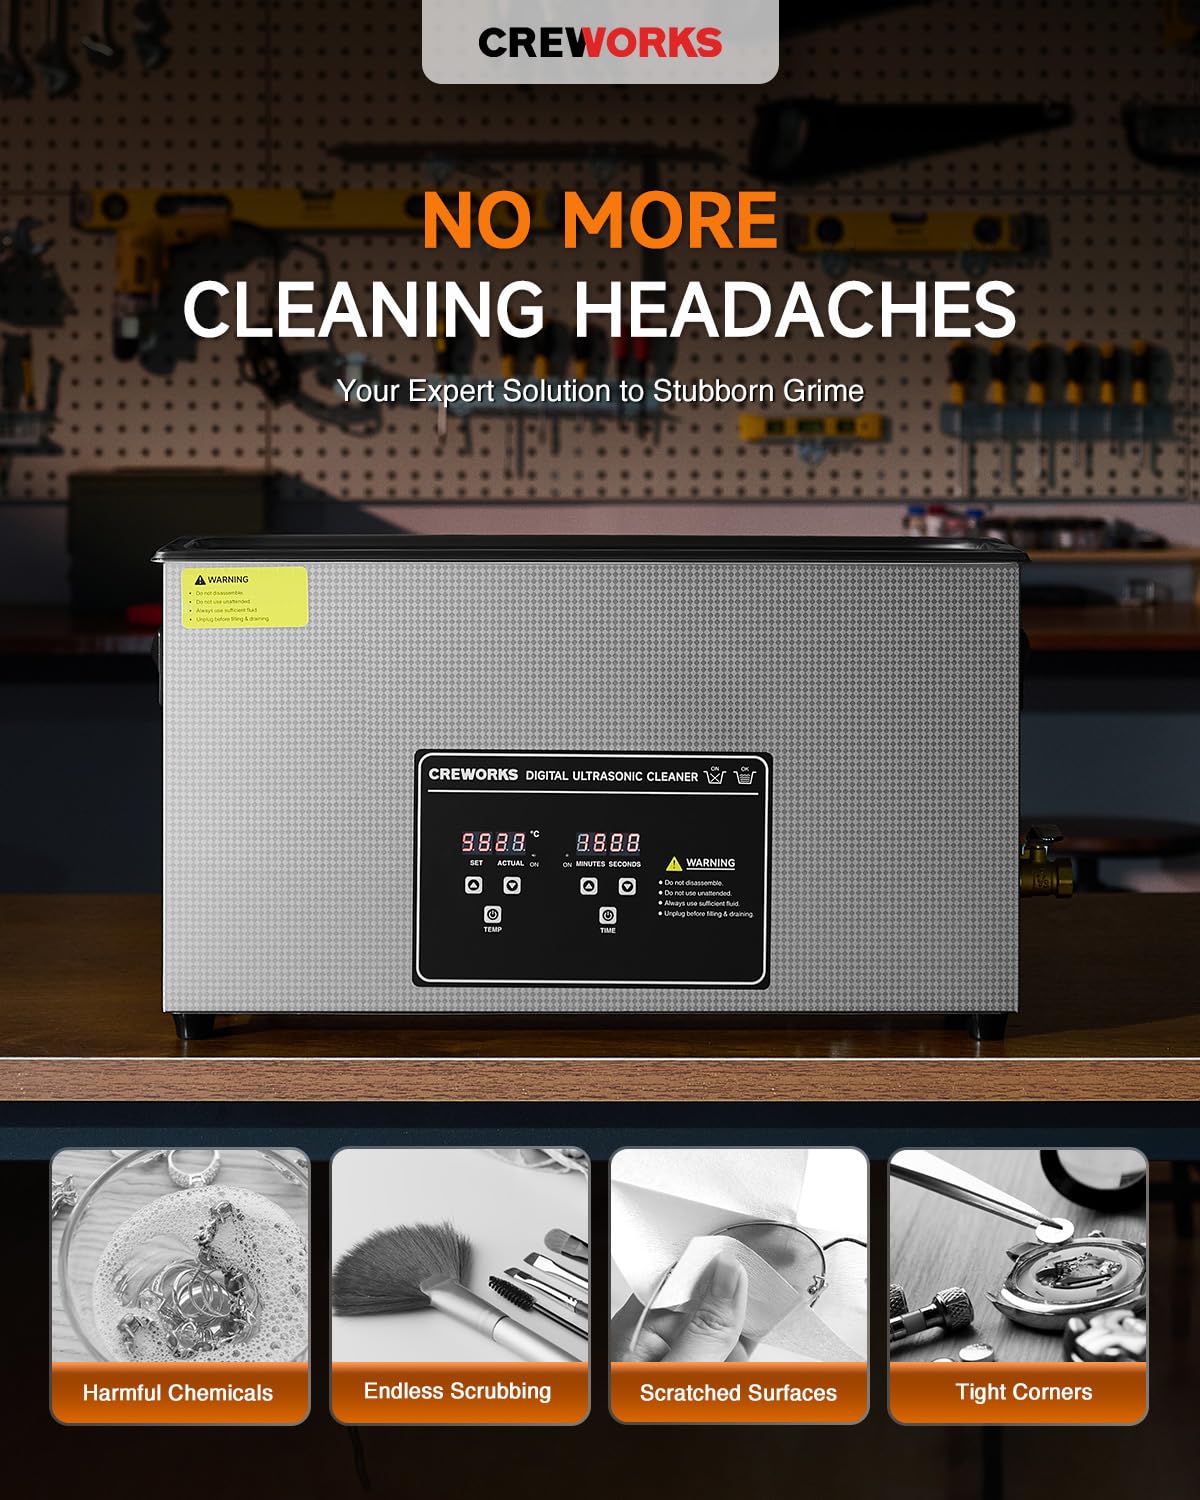
Image: The CREWORKS 10L Digital Ultrasonic Cleaner, showing its stainless steel construction and digital control panel.
Key Features:
- 10L Capacity: Large tank suitable for elongated objects and various parts.
- 240W Ultrasonic Power: Provides effective cavitation for thorough cleaning.
- Heating Function: Adjustable temperature (0-80°C / 32-176°F) to enhance cleaning efficiency.
- Digital Timer: Adjustable cleaning time up to 30 minutes.
- Intuitive Control Panel: Easy-to-use digital interface for setting parameters.
- Durable Construction: Seamless 304 stainless steel tank and basket for longevity and food safety.
3. Package Contents
Upon unpacking, please ensure all the following items are present:
- CREWORKS 10L Digital Ultrasonic Cleaner Unit
- Stainless Steel Cleaning Basket
- Stainless Steel Lid
- Power Cord
- Instruction Manual (this document)
4. Specifications
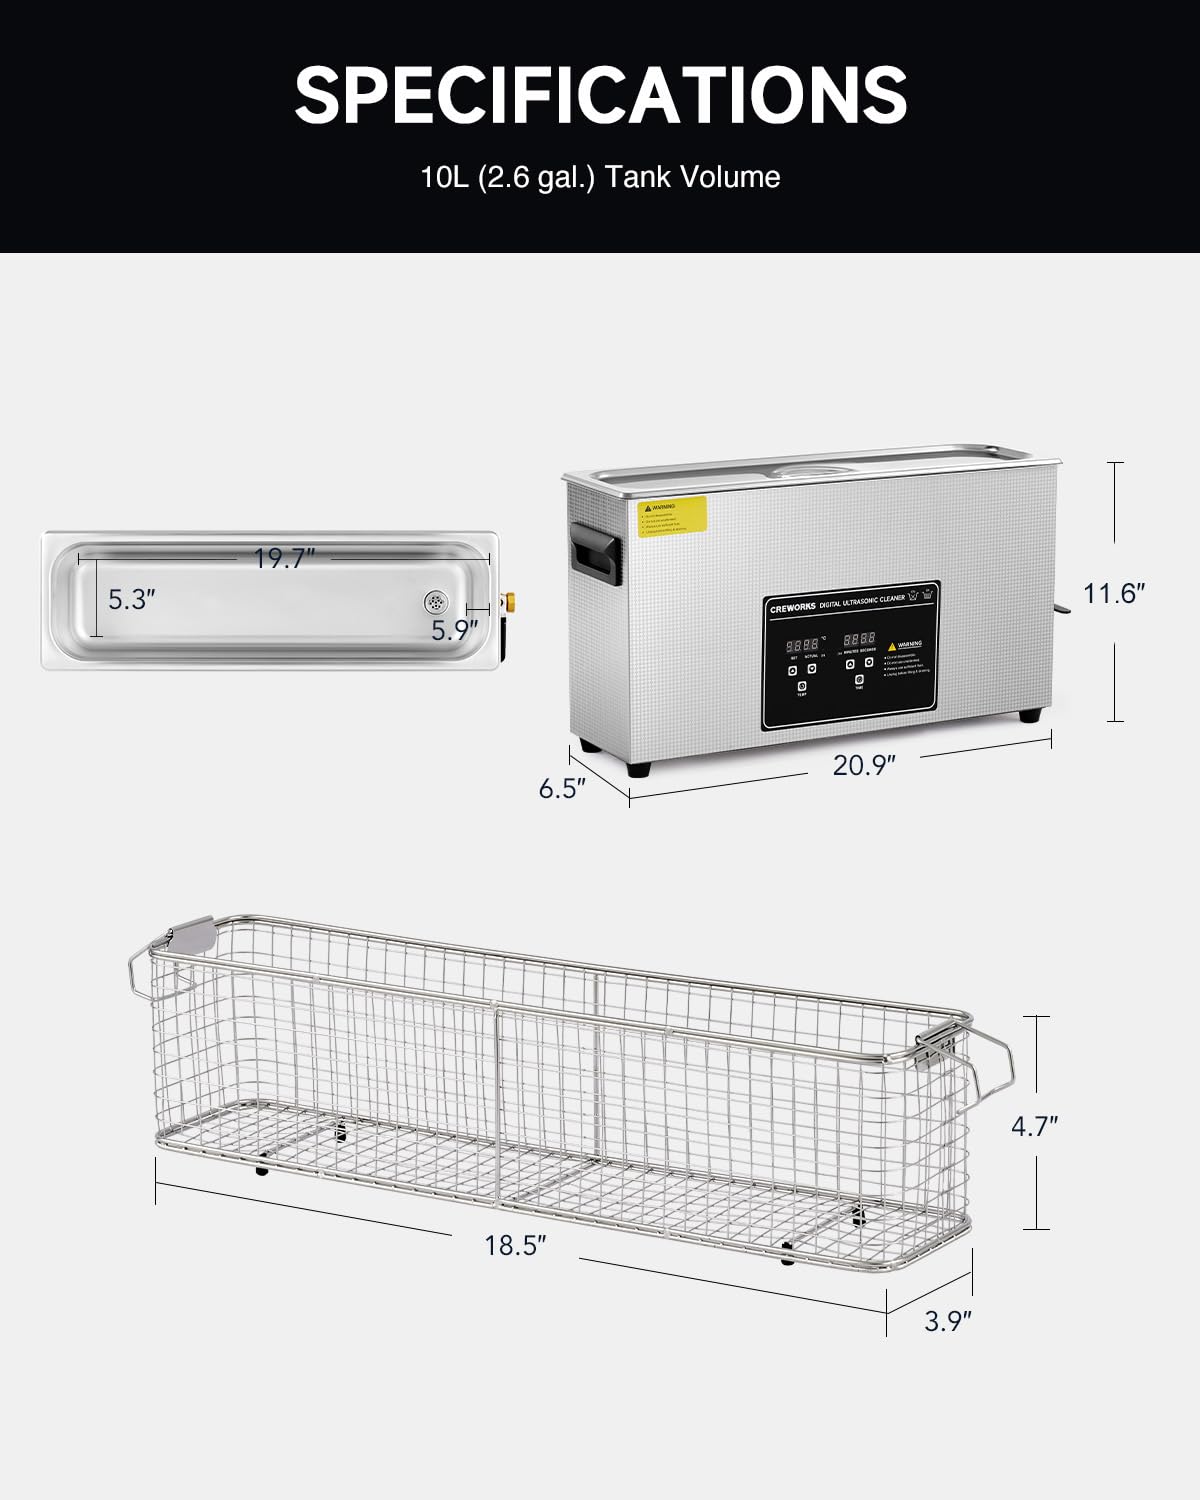
Image: Technical drawing illustrating the dimensions of the ultrasonic cleaner unit and its internal basket.
| Feature | Specification |
|---|---|
| Model Number | DUC-G010-US |
| Tank Volume | 10 Liters (2.6 Gallons) |
| Ultrasonic Power | 240W |
| Heating Power | 300W |
| Ultrasonic Frequency | 40 kHz |
| Temperature Range | 0-80°C (32-176°F) |
| Timer Setting | 1-30 minutes |
| Tank Material | 304 Stainless Steel |
| Product Dimensions (L x W x H) | 60.5 x 37.01 x 26.01 cm (23.82 x 14.57 x 10.24 inches) |
| Item Weight | 6.62 kg (14.6 lbs) |
5. Setup
- Unpack the Unit: Carefully remove the ultrasonic cleaner and all accessories from the packaging. Retain packaging for future storage or transport.
- Placement: Place the unit on a firm, level, and dry surface. Ensure there is sufficient space around the unit for ventilation and easy access to controls and the drain valve.
- Fill the Tank: Open the lid and fill the stainless steel tank with an appropriate cleaning solution. The liquid level should be between the MIN and MAX marks, ensuring the items to be cleaned will be fully submerged. Do not overfill.
- Connect Power: Plug the power cord into the unit's power inlet, then plug the other end into a grounded electrical outlet.
- Degassing (Initial Use): For optimal performance, especially with new cleaning solutions, it is recommended to degas the solution. Run the unit for 5-10 minutes without items to be cleaned, allowing air bubbles to escape from the solution.
6. Operating Instructions
The CREWORKS ultrasonic cleaner features a digital control panel for easy operation.
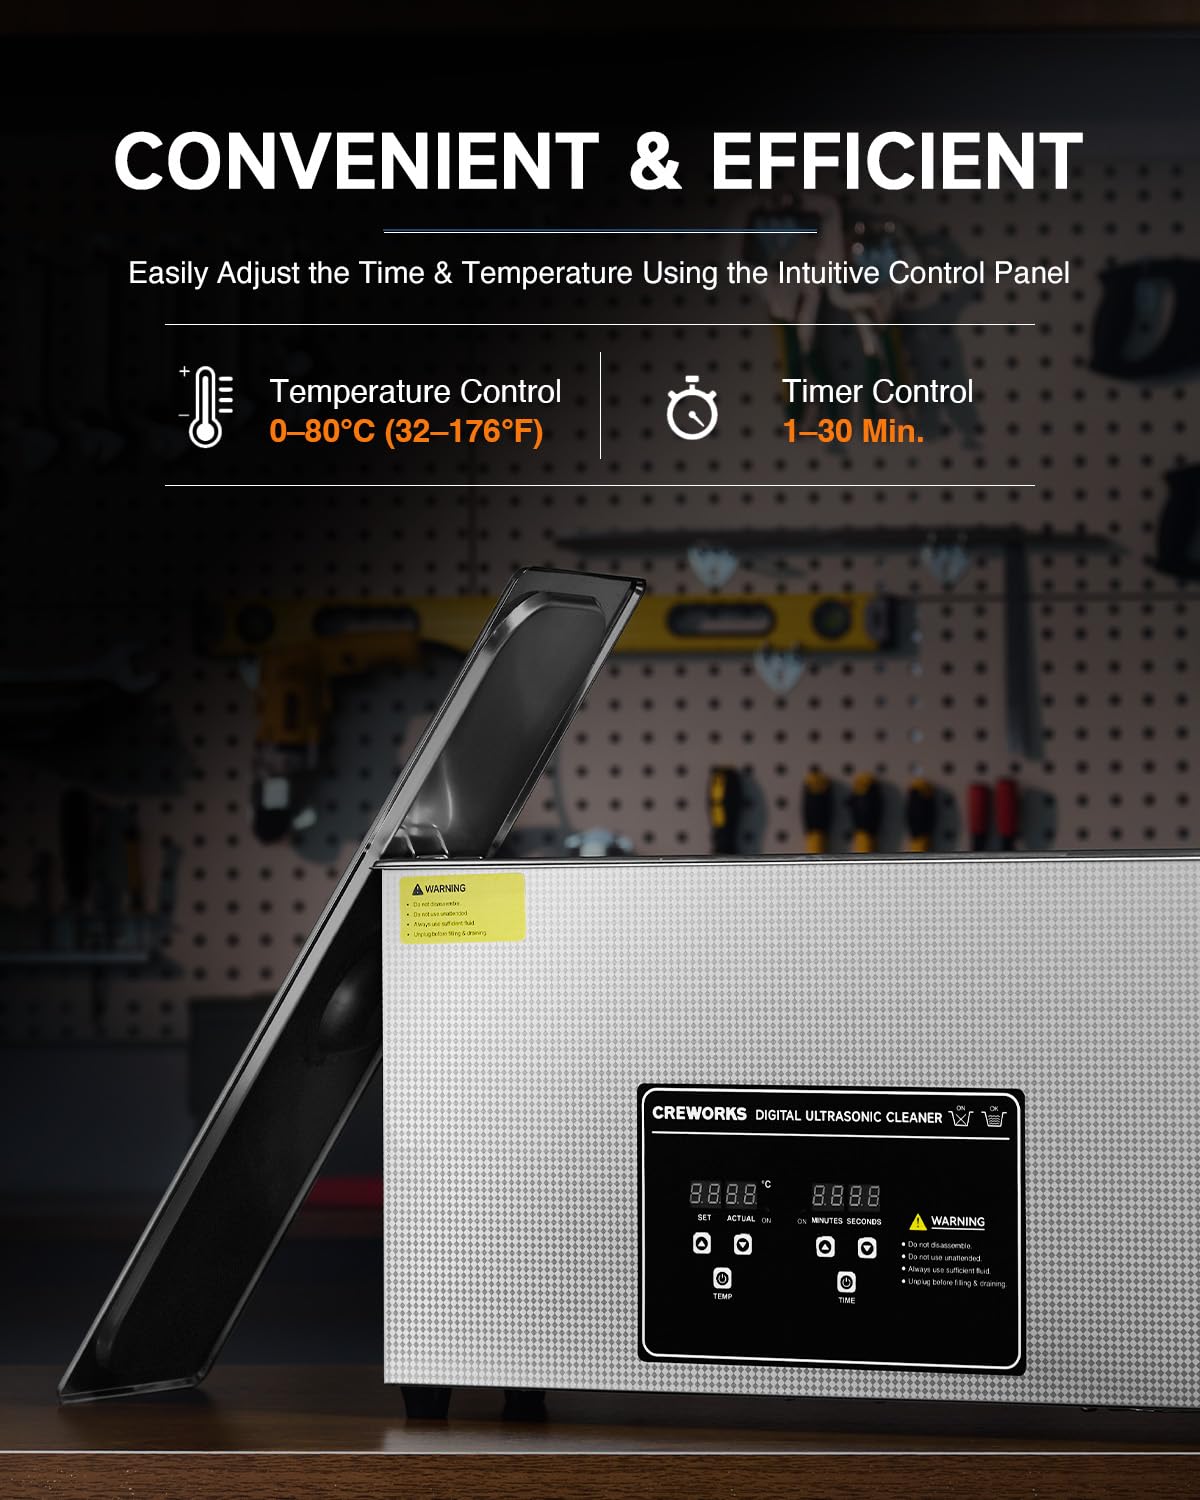
Image: The digital control panel with buttons for setting temperature and time, and displays for current settings.
- Power On: After connecting to power, the unit will display standby mode.
- Place Items: Carefully place the items to be cleaned into the cleaning basket. Ensure items do not touch the bottom of the tank directly. Lower the basket into the cleaning solution.
- Set Temperature (Optional): Press the 'TEMP' button to activate the heating function. Use the '+' and '-' buttons to adjust the desired temperature (0-80°C). The heater will begin to warm the solution.
- Set Cleaning Time: Press the 'TIME' button to activate the timer. Use the '+' and '-' buttons to set the desired cleaning duration (1-30 minutes).
- Start Cleaning: Press the 'ON/OFF' button to start the ultrasonic cleaning process. The display will show the remaining time and current temperature.
- Stop Cleaning: The unit will automatically stop when the timer reaches zero. You can also press the 'ON/OFF' button at any time to manually stop the process.
- Remove Items: Once cleaning is complete, carefully lift the basket out of the tank. Rinse the cleaned items with clean water and dry them thoroughly.
- Drain Solution: To drain the used cleaning solution, open the drain valve located on the side of the unit. Ensure a suitable container is placed underneath to collect the liquid. Close the valve after draining.
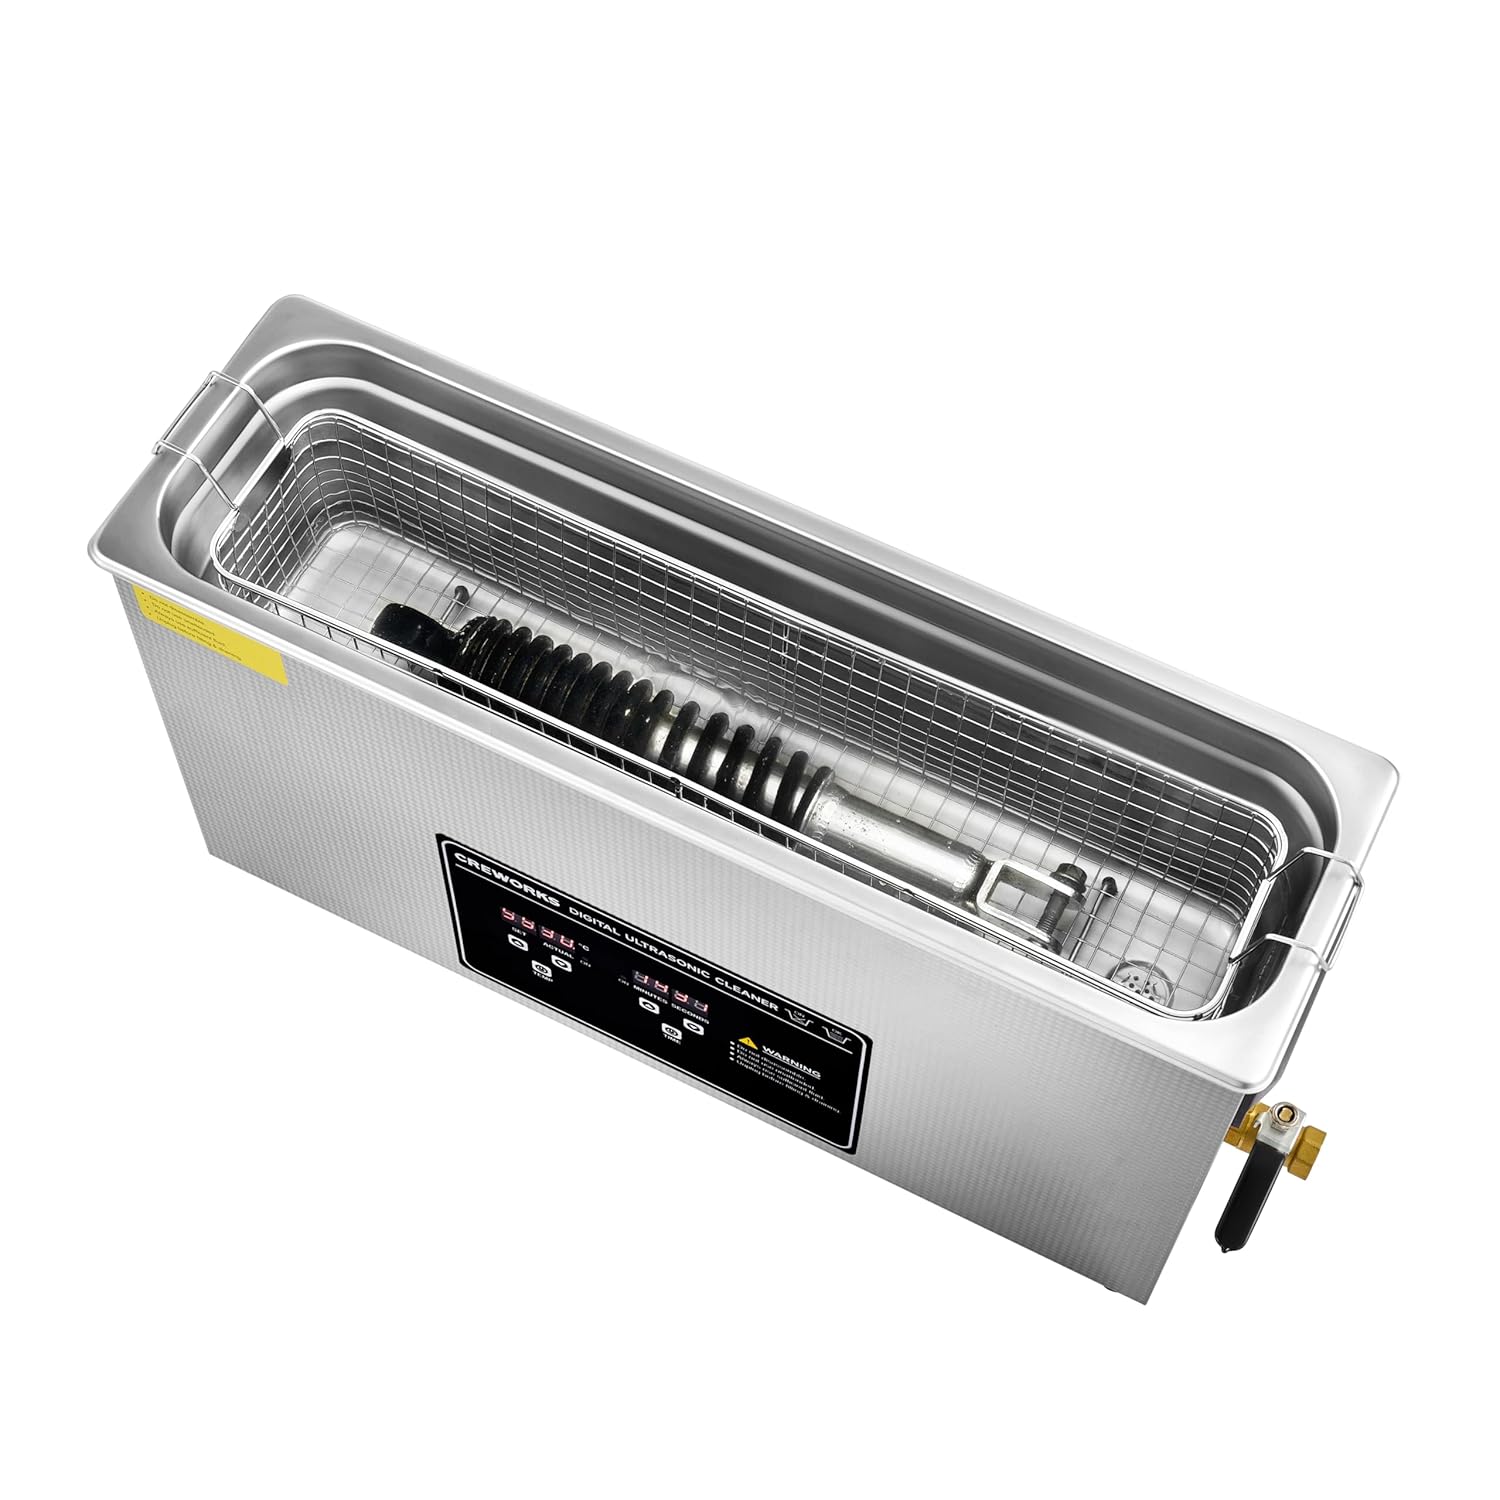
Image: The ultrasonic cleaner with its lid open, showing a long object placed inside the cleaning basket, ready for cleaning.
7. Cleaning Guidelines
The CREWORKS ultrasonic cleaner is versatile and can be used for a wide range of applications.

Image: Examples of items that can be cleaned using the ultrasonic cleaner, such as eyeglasses, dental appliances, automotive components, hand tools, and cutlery.
- Suitable Items: Jewelry, eyeglasses, watches (waterproof only), dental instruments, circuit boards, tools, auto parts, gun components, tableware, and other small metal or plastic items.
- Unsuitable Items: Items that are easily discolored, damaged by water, or have loose stones/parts. Consult a professional if unsure.
- Cleaning Solutions: Use water with a small amount of mild detergent for general cleaning. For specific applications (e.g., rust removal, degreasing), use specialized ultrasonic cleaning solutions. Always follow the solution manufacturer's instructions and safety warnings.
- Pre-Cleaning: For heavily soiled items, remove large debris or rinse off loose dirt before placing them in the ultrasonic cleaner to prolong the life of the cleaning solution.
- Temperature and Time: Higher temperatures and longer cleaning times generally improve cleaning effectiveness, but avoid excessive heat or duration for delicate items. Start with shorter cycles and lower temperatures, adjusting as needed.
8. Maintenance
Proper maintenance ensures the longevity and optimal performance of your ultrasonic cleaner.
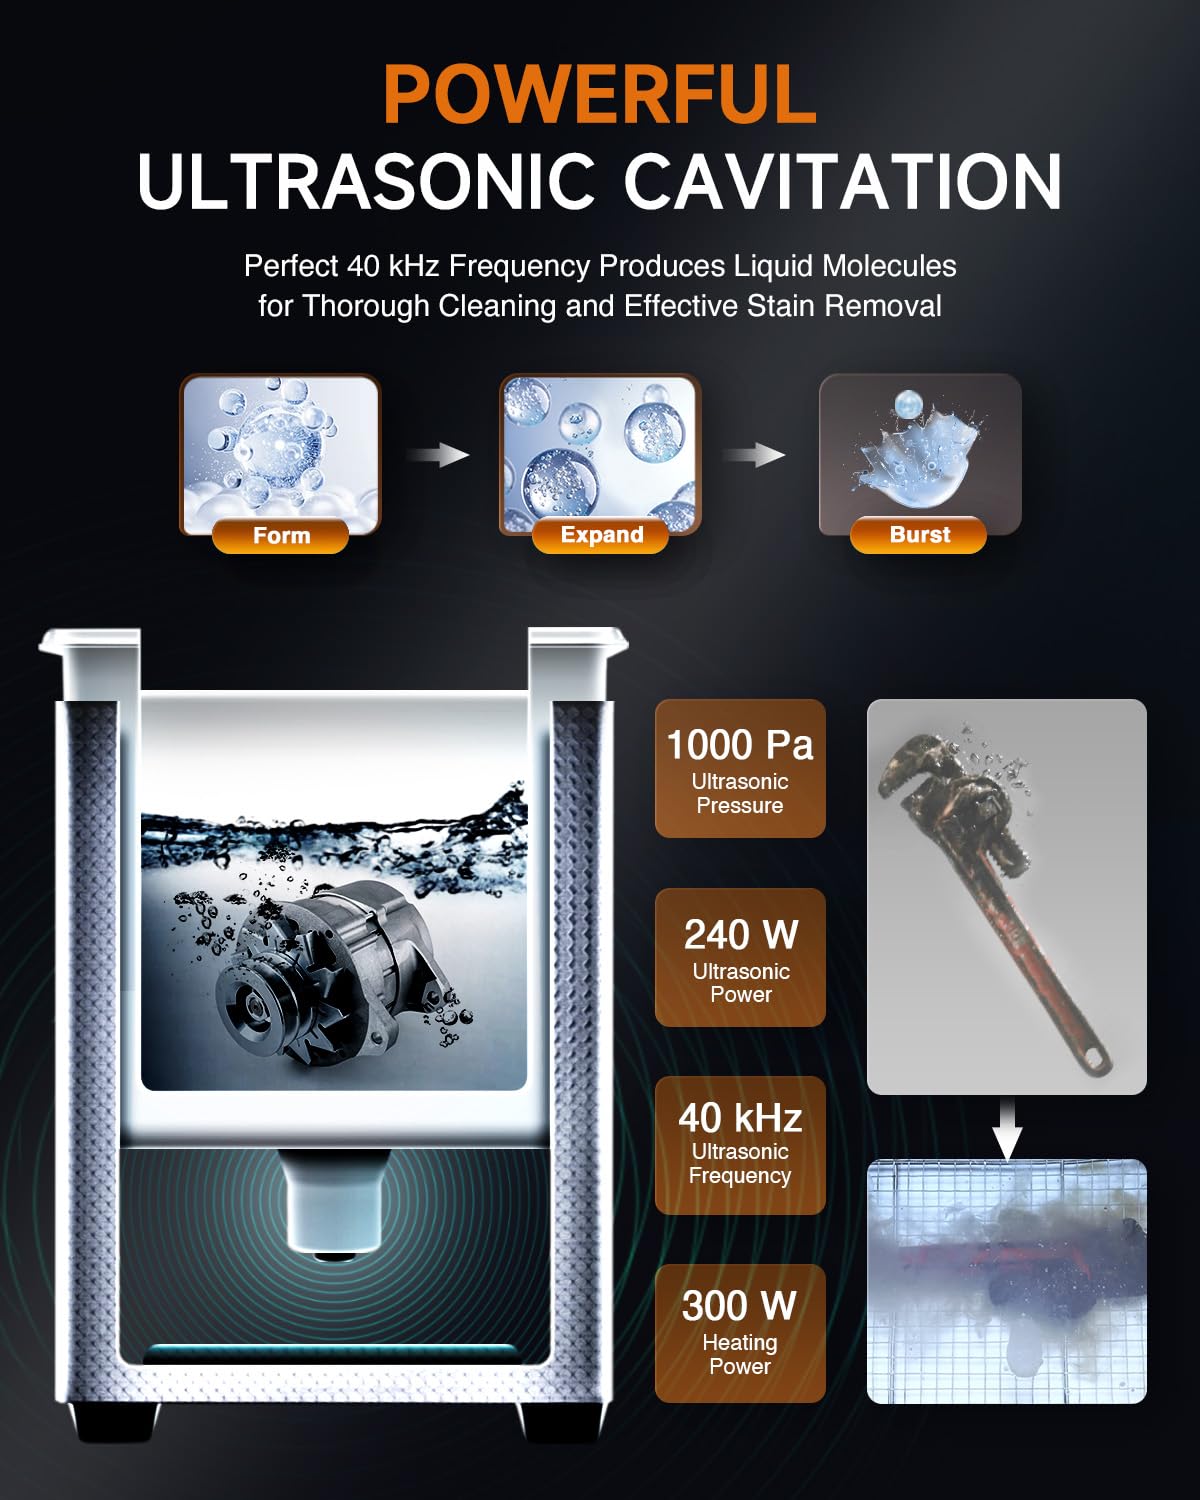
Image: A detailed view of the interior of the ultrasonic cleaner, highlighting the food-grade 304 stainless steel tank and the wire mesh cleaning basket.
- Draining: Always drain the used cleaning solution after each use or when it becomes visibly dirty. Do not leave dirty solution in the tank for extended periods.
- Cleaning the Tank: After draining, wipe the inside of the tank with a soft cloth to remove any residue. For stubborn stains, use a mild cleaner and rinse thoroughly. Do not use abrasive cleaners or scouring pads.
- Exterior Cleaning: Wipe the exterior of the unit with a damp cloth. Do not spray water directly onto the control panel or electrical components.
- Storage: When not in use, ensure the tank is empty and dry. Store the unit in a cool, dry place, away from direct sunlight and moisture.
- Basket Care: Clean the stainless steel basket regularly to prevent buildup.
9. Troubleshooting
If you encounter issues with your ultrasonic cleaner, refer to the following common problems and solutions:
| Problem | Possible Cause | Solution |
|---|---|---|
| Unit does not power on. | No power supply; loose connection. | Check if the power cord is securely plugged into both the unit and a working electrical outlet. Test the outlet with another appliance. |
| Ultrasonic function not working. | Insufficient liquid; unit not started. | Ensure the tank is filled to the appropriate level. Press the 'ON/OFF' button to start the ultrasonic cycle. |
| Heating function not working. | Heater not activated; temperature set too low. | Press the 'TEMP' button to activate the heater. Adjust the temperature setting to the desired level. Allow time for the solution to heat up. |
| Poor cleaning results. | Incorrect solution; insufficient time/temperature; overloaded tank. | Use an appropriate cleaning solution for the items. Increase cleaning time or temperature. Avoid overloading the tank; clean items in batches if necessary. Ensure items are fully submerged. |
| Unusual noise or vibration. | Unit not on a stable surface; tank empty. | Ensure the unit is on a stable, level surface. Do not operate the unit without liquid in the tank. |
If the problem persists after attempting these solutions, please contact customer support.
10. Warranty and Support
CREWORKS stands behind the quality of its products. This ultrasonic parts cleaner is backed by a strong warranty. For specific warranty details, please refer to the product documentation or contact CREWORKS customer service.
For technical assistance, troubleshooting not covered in this manual, or warranty claims, please contact CREWORKS customer support. Our team is available to provide assistance and ensure your satisfaction.
Please have your model number (DUC-G010-US) and purchase information ready when contacting support.


