
1. Introduction
This manual provides detailed instructions for the Xflyee 18-inch Digital Wall Clock, Model 099. This device features a large LED display, multiple color options, alarm, timer, date, temperature, and humidity display. Please read this manual thoroughly before use to ensure proper operation and to maximize the product's functionality.

Image: The Xflyee 18-inch Digital Wall Clock displaying time, date, temperature, and humidity, alongside its remote control and examples of its various color modes.
2. Package Contents
Verify that all items are present in the package:
- Xflyee 18-inch Digital Wall Clock (Model 099)
- Remote Control
- Power Adapter
- Mounting Template
- User Manual
- 2 AAA batteries (for remote control)
Video: An overview of the Xflyee 18-inch Digital Wall Clock, highlighting its RGB dynamic color-changing capabilities and various features.
3. Product Overview
3.1 Front Display
The 18-inch LED screen displays the time, date, day of the week, temperature, and humidity. The large 5.9-inch font ensures clear visibility.

Image: The oversized 18-inch display with large, clear digits for time, date, and other information.
3.2 Rear Panel Controls
The rear panel includes buttons for direct control and settings adjustments, as well as a kickstand for desk placement and mounting holes for wall installation.
3.3 Remote Control
The included remote control allows for convenient adjustment of all clock functions from a distance of up to 32 feet.
4. Setup
4.1 Power Connection
The clock is not battery-powered for operation and must be plugged into a power outlet using the included adapter. A memory battery is installed to retain settings during power disconnection.

Image: Illustration of the memory battery function, demonstrating how settings are retained during a power outage.
4.2 Remote Control Battery Installation
The remote control requires 2 AAA batteries, which are included. Insert them according to the polarity markings inside the battery compartment.
4.3 Placement and Mounting
The clock can be placed on a desk using its integrated kickstand or mounted on a wall using the provided mounting holes and template.

Image: The clock displayed as both a table clock and a wall clock, illustrating its versatile placement options.

Image: Visual guide for wall mounting and desk placement, highlighting the mounting holes.
5. Operating Instructions
5.1 Basic Time and Date Settings
Use the 'TIME SET' button on the remote or the corresponding buttons on the rear panel to adjust the time and date. The clock supports 12-hour and 24-hour formats. It also features automatic Daylight Saving Time (DST) adjustment.

Image: Explanation of the automatic Daylight Saving Time (DST) function.
5.2 Color Settings
The clock offers six monochrome modes and four RGB color modes. An 11th mode provides a daily color change. Use the 'MULTICOLOR' or 'COLOR SWITCH' button on the remote to cycle through these options.
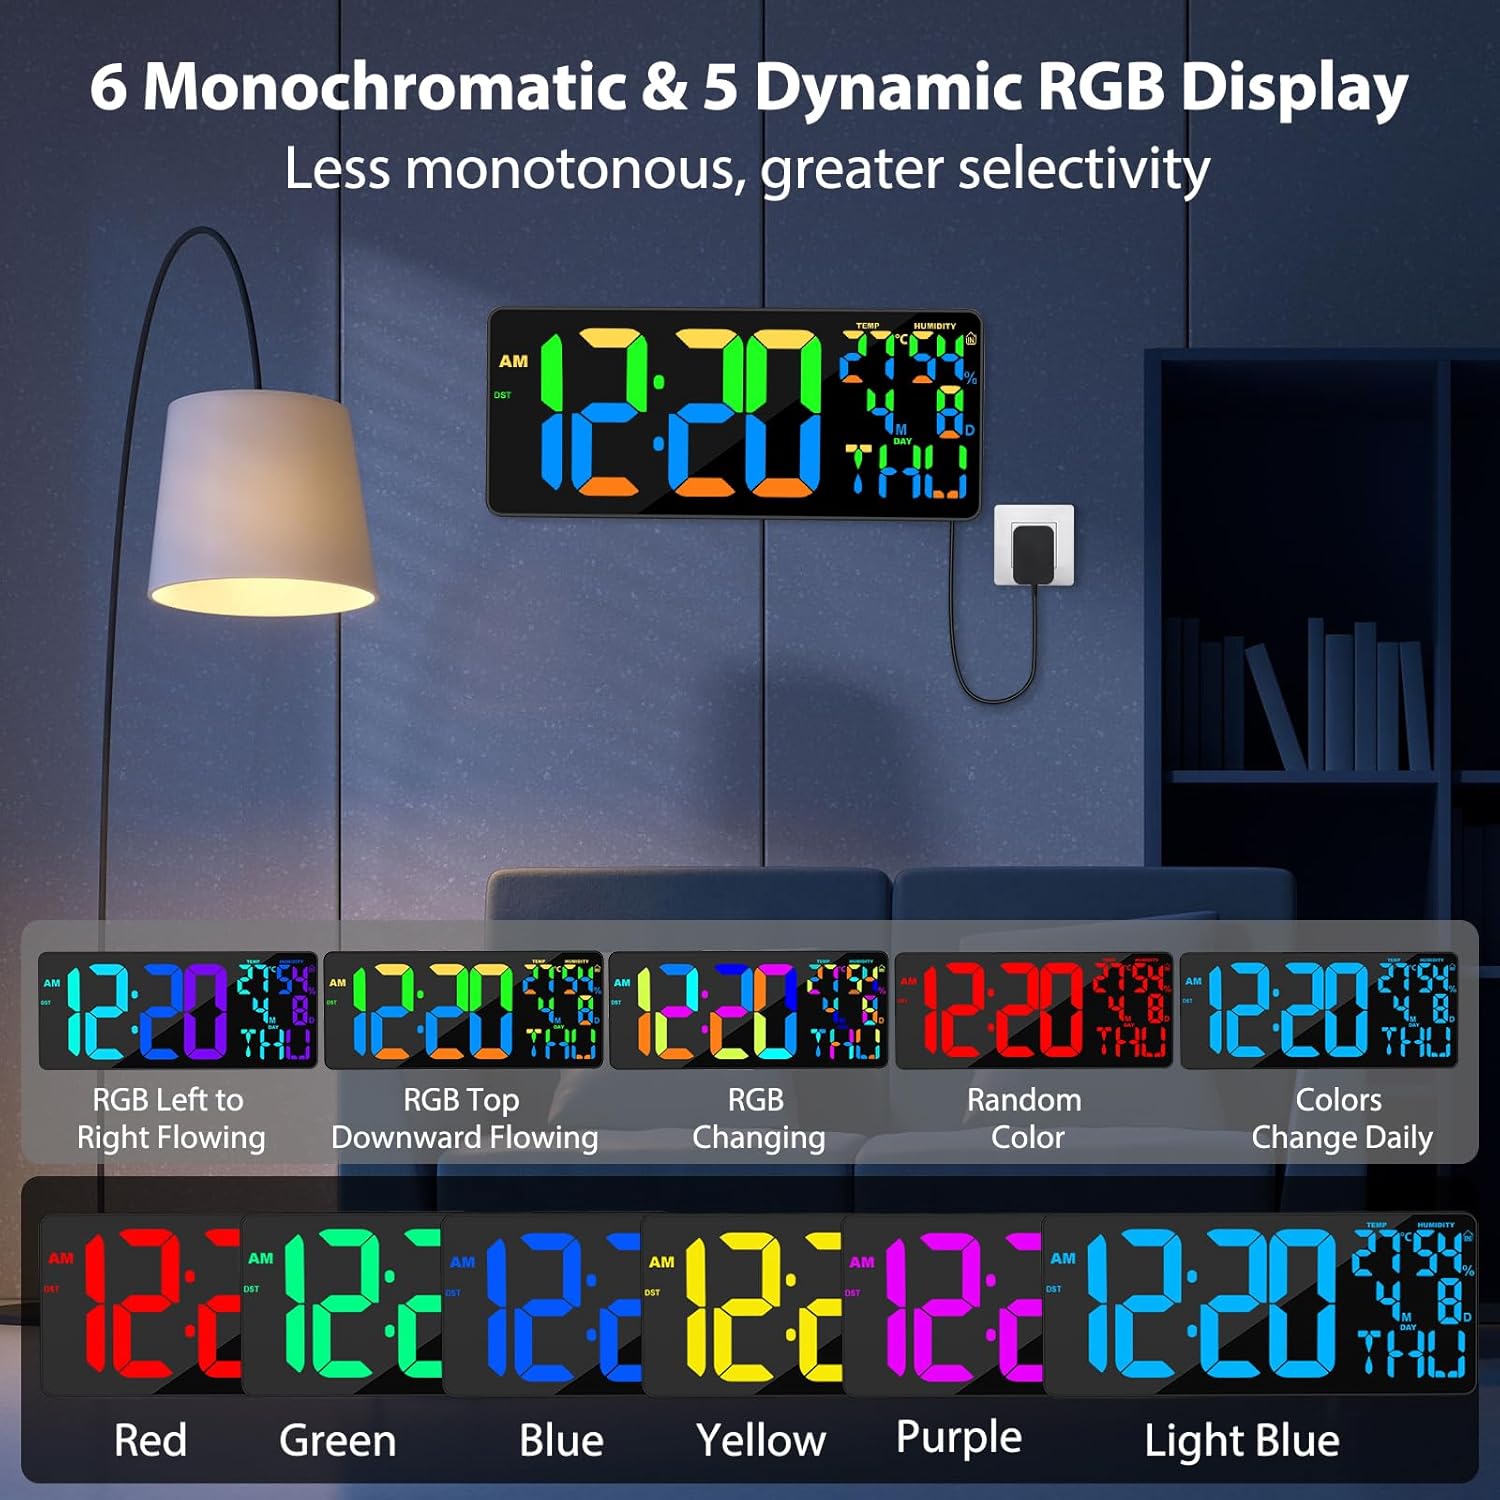
Image: Visual representation of the 6 monochromatic and 5 dynamic RGB display options.

Image: A closer look at the 5 dynamic and 6 regular color options for the display.
5.3 Brightness Adjustment
Adjust the display brightness manually using the 'DIMMER LED' buttons on the remote (LV.1 to LV.4). The clock also features an auto-brightness mode that adapts to ambient light. The screen can be turned off for a completely dark environment.

Image: Demonstration of auto-dimming and manual brightness adjustment modes.

Image: Visual guide to the four adjustable brightness levels and auto-dimming feature.
5.4 Alarm Function
Set alarms using the 'ON/OFF ALSET' and 'TIME SET' buttons on the remote. The clock offers three alarm modes: Everyday, Working Day, and Weekend. Adjust alarm volume as needed.

Image: The alarm clock displaying its three distinct alarm modes and snooze function.
5.5 Timer Functions
The clock includes countdown and stopwatch functions. Use the 'TIMER' button on the remote to activate and control these modes.

Image: The clock demonstrating its capabilities as a large timer for both count-up and count-down scenarios.
5.6 Temperature and Humidity Display
The clock displays indoor temperature in Celsius or Fahrenheit and humidity percentage. Use the '°C/°F' button on the remote to switch between temperature units.
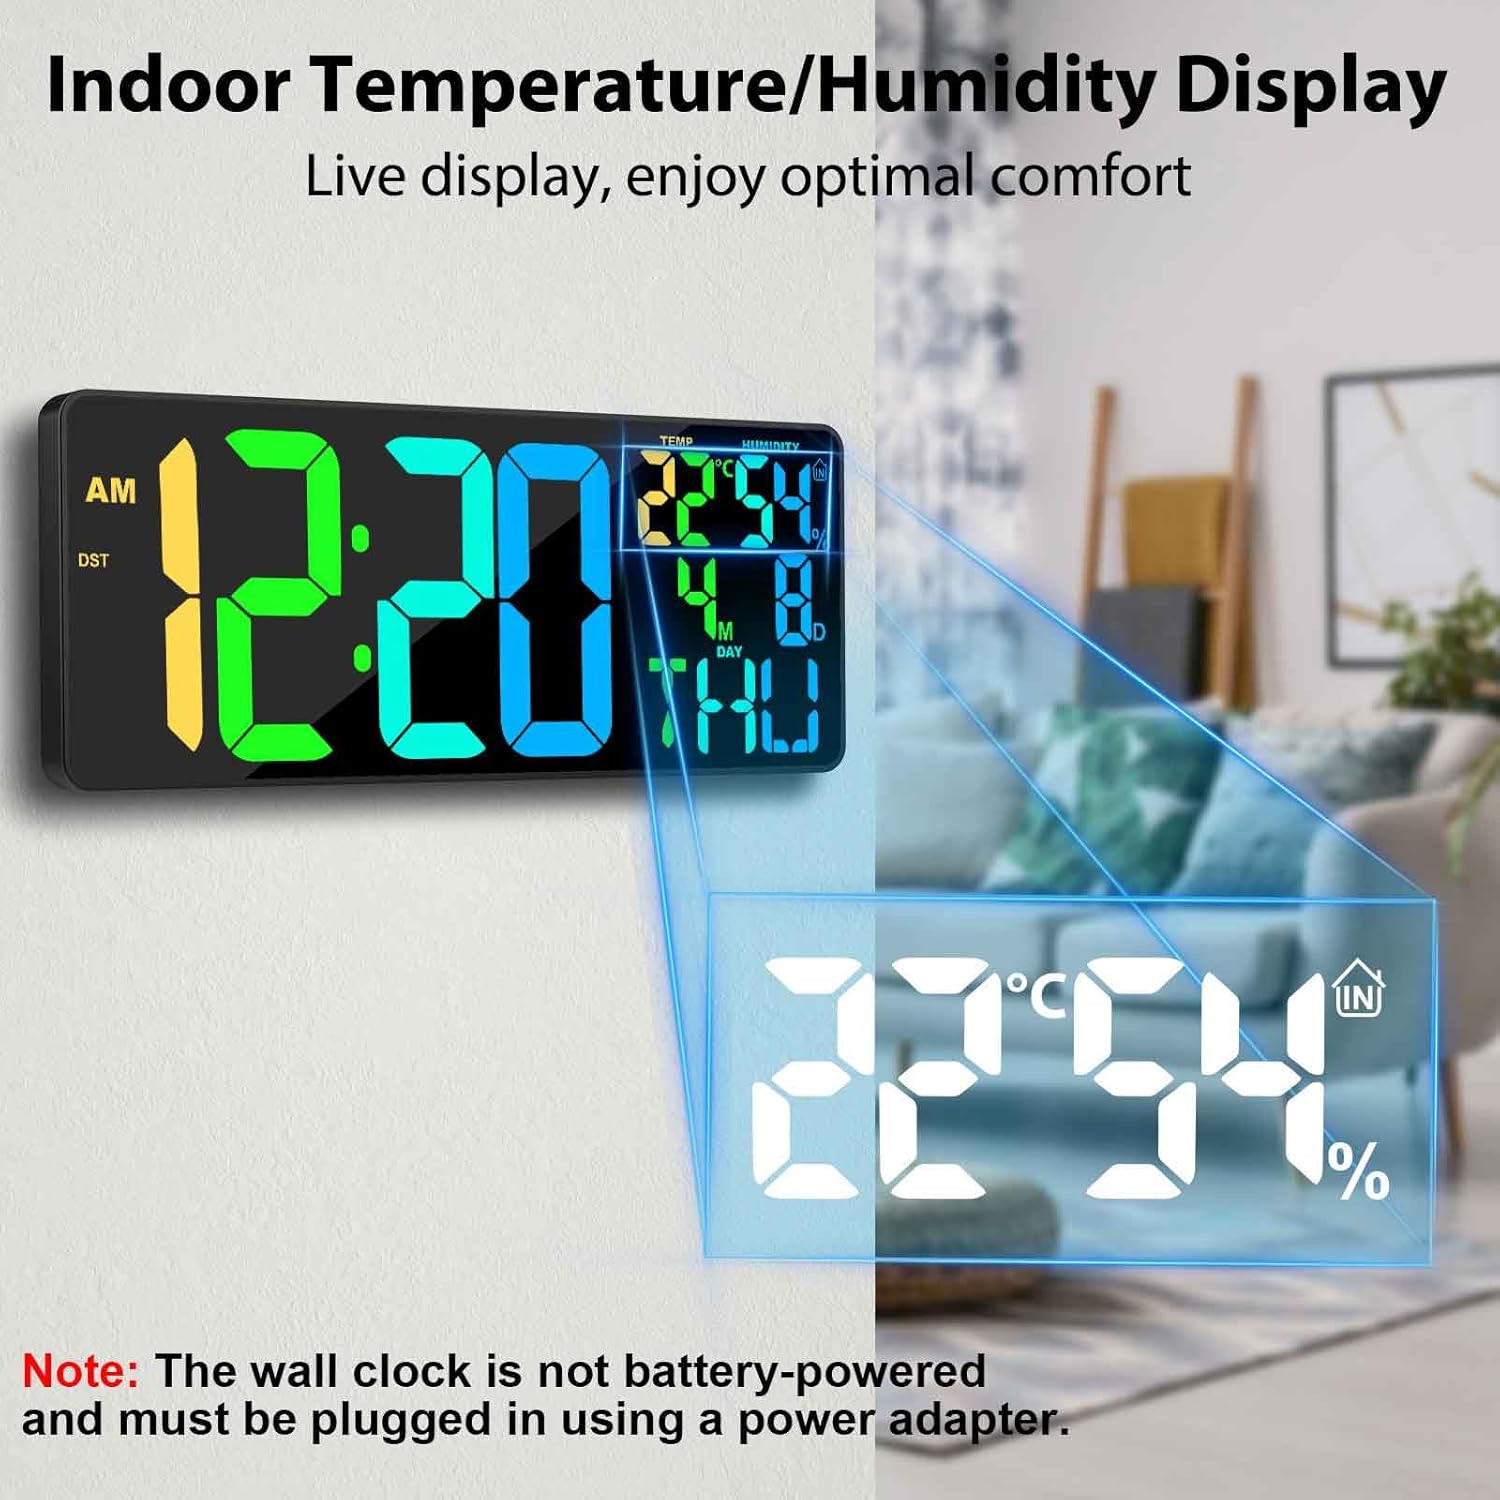
Image: The clock displaying indoor temperature and humidity, emphasizing its live display feature.
6. Maintenance
To maintain your Xflyee Digital Wall Clock, wipe the display and casing with a soft, dry cloth. Avoid using abrasive cleaners or solvents, as these may damage the finish. Ensure the clock is unplugged before cleaning.
7. Troubleshooting
7.1 Display Not Lighting Up
- Ensure the power adapter is securely plugged into both the clock and a working wall outlet.
- Check if the power outlet is functional by plugging in another device.
- Verify that the screen has not been turned off via the brightness settings.
7.2 Incorrect Time/Date
- Use the remote control or rear panel buttons to manually set the correct time and date.
- If using automatic time sync (Bluetooth version only, not this model), ensure proper pairing.
7.3 Remote Control Not Responding
- Check and replace the AAA batteries in the remote control.
- Ensure there are no obstructions between the remote and the clock's sensor.
- Operate the remote within the specified range (up to 32 feet).
Video: A short clip demonstrating a potential display glitch, useful for troubleshooting visual anomalies.
8. Specifications
| Brand | Xflyee |
| Model Number | 099 |
| Display Type | Digital LED |
| Size | 18 Inch (16.9"W x 7"H) |
| Color | Color Change (RGB) |
| Power Source | Corded Electric |
| Material | Acrylonitrile Butadiene Styrene, Glass |
| Special Features | Large Display, 11 RGB Color Changing Modes, Remote Control, Date, DST, Temperature, Humidity, Auto Brightness, Digital Alarm, Timer (Countdown/Stopwatch) |
| Item Weight | 2.51 pounds |
9. Warranty and Support
For warranty information or technical support, please refer to the product packaging or contact Xflyee customer service directly. Keep your purchase receipt for warranty claims.