
1. Introduction
This manual provides detailed instructions for the installation, operation, and maintenance of your ExBrite 72x36 LED Bathroom Mirror. Please read this manual thoroughly before installation and use to ensure proper function and safety.

Image 1.1: The ExBrite 72x36 LED Bathroom Mirror, showcasing its backlit and front-lit design above a modern bathroom vanity.
Key Features:
- Anti-Fog Function: Integrated defogger keeps the mirror clear.
- Dimmable Lighting: Adjustable brightness from 10% to 100%.
- 3 Color Temperatures: Select between Warm (3000K), Natural (4000K), and White (6000K) light.
- Backlit & Front Lit: Provides enhanced illumination from both the back and front of the mirror for superior brightness.

Image 1.2: Illustration of the combined backlit and front-lit illumination.
- Memory Function: Retains previous brightness settings.
- Tempered Glass: Constructed with 5mm thick, shatter-proof tempered glass for enhanced safety and durability.

Image 1.3: Tempered glass construction for safety.
- IP54 Waterproof Design: Suitable for bathroom environments.
- Flexible Installation: Supports both plug-in and hardwired connections, and can be mounted horizontally or vertically.
2. Safety Information
WARNING: This product should be installed by a professional electrician if hardwiring is required. Do not expose the mirror to excessive water or heat to prevent damage and ensure safe operation.
- Always disconnect power before installation or maintenance.
- Handle the mirror with care to avoid breakage.
- Ensure the mounting surface is structurally sound and can support the mirror's weight.
- Do not use abrasive cleaners or sharp objects on the mirror surface.
- This mirror is designed for indoor use in bathrooms and similar environments.
3. Package Contents
Verify that all components are present and undamaged before proceeding with installation. If any parts are missing or damaged, contact customer support.
- ExBrite 72x36 LED Bathroom Mirror (1 unit)
- Mounting Brackets (2 units)
- Screws and Wall Anchors
- Instruction Manual (this document)
4. Specifications

Image 4.1: Dimensions of the ExBrite 72x36 LED Bathroom Mirror.
| Feature | Detail |
|---|---|
| Brand | ExBrite |
| Model | 72"L x 36"W LED Bathroom Mirror |
| Product Dimensions | 72"L x 36"W |
| Material | Tempered Glass |
| Mounting Type | Wall Mount |
| Special Features | Adjustable Brightness, Fogless, 3 Color Temperatures, Backlit & Front Lit |
| Waterproof Rating | IP54 |
| Power Options | Plug-in or Hardwire |
| Assembly Required | No |
5. Setup and Installation
The ExBrite LED Bathroom Mirror can be installed using either a plug-in connection or hardwired directly into your electrical system. It supports both horizontal and vertical mounting orientations.
5.1 Mounting Options

Image 5.1: The mirror can be mounted horizontally or vertically to suit your space.
- Horizontal Mounting: Ideal for wider vanities or a panoramic view.
- Vertical Mounting: Suitable for narrower spaces or full-length reflection.
5.2 Installation Steps
- Prepare the Area: Ensure the power supply to the installation area is turned off at the circuit breaker. Clear the wall space where the mirror will be mounted.
- Mark Mounting Points: Hold the mirror against the wall in the desired orientation (horizontal or vertical). Use a pencil to mark the positions for the mounting brackets. Ensure the marks are level.
- Install Brackets: Drill pilot holes at the marked points. Insert wall anchors if necessary, then secure the mounting brackets horizontally to the wall using the provided screws.
- Connect Power:
- Plug-in: If using the plug-in option, ensure the outlet is within reach and properly grounded.
- Hardwire: For hardwiring, it is recommended to consult a professional electrician. Connect the mirror's electrical wires to the corresponding household wiring (Live, Neutral, Ground) according to local electrical codes.
- Hang the Mirror: Carefully lift the mirror and align the slots on the back of the mirror with the installed mounting brackets. Gently lower the mirror until it is securely seated on the brackets.
- Restore Power: Turn on the power supply at the circuit breaker and test the mirror's functions.
6. Operating Instructions
The ExBrite LED Bathroom Mirror features intuitive touch controls for its various functions.
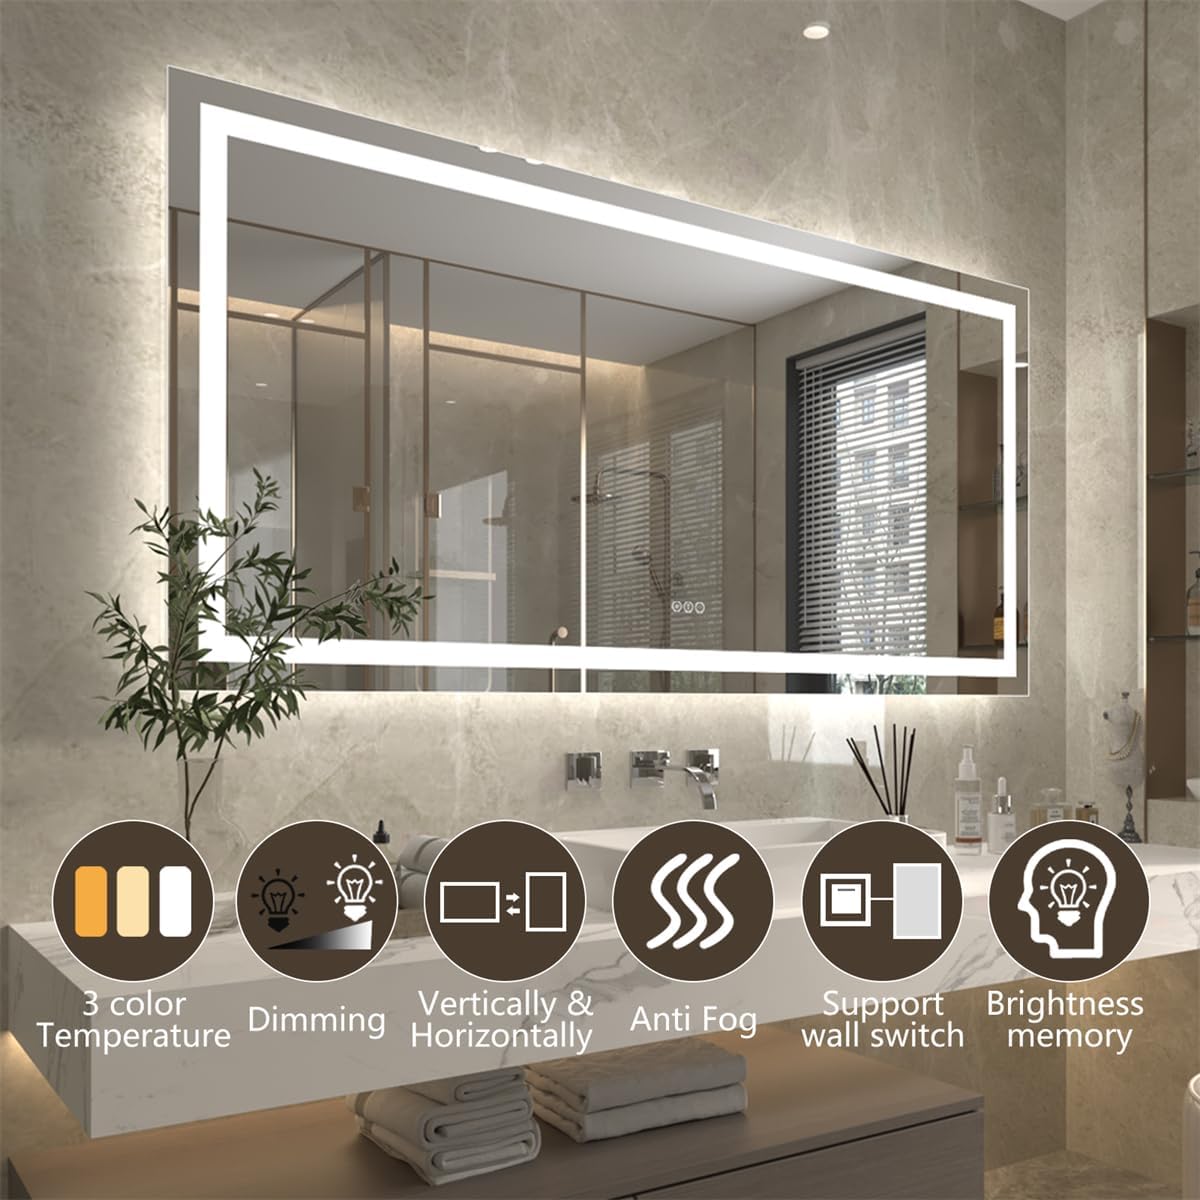
Image 6.1: Overview of the mirror's key functions.
6.1 Touch Control Panel
The touch control panel is located on the mirror surface. It typically includes buttons for power, color temperature adjustment, and anti-fog.
- Power ON/OFF and Brightness Adjustment:

Image 6.2: Adjusting brightness levels.
Tap the power button once to turn the lights ON or OFF. To adjust brightness, press and hold the power button for 2-3 seconds. The brightness will cycle from 10% to 100%. Release the button at your desired brightness level. The mirror will remember your last brightness setting.
- Color Temperature Adjustment:
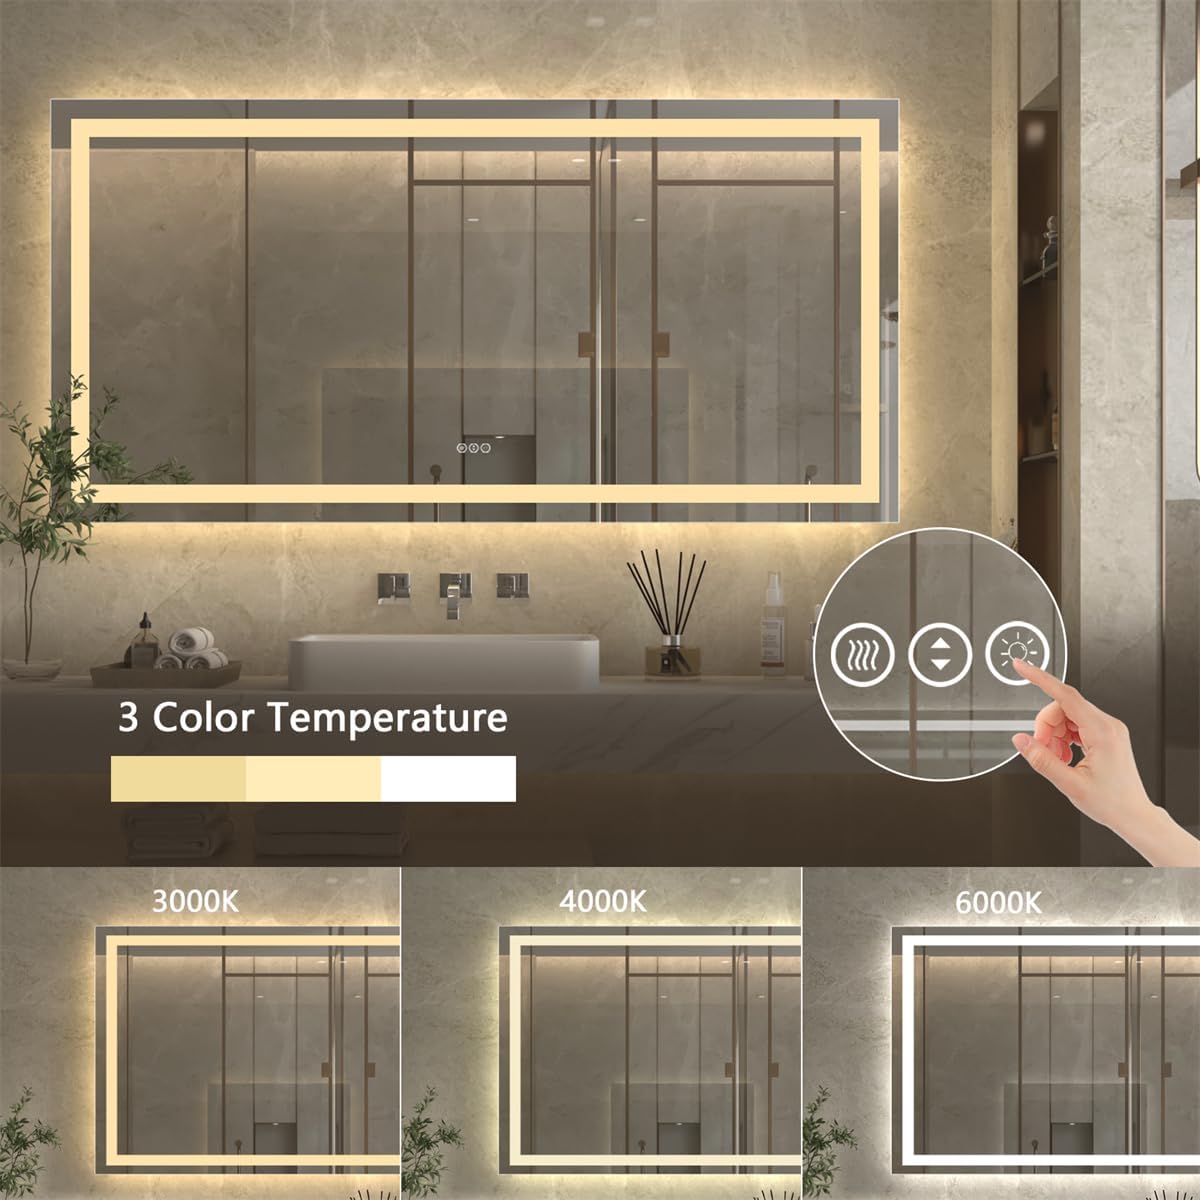
Image 6.3: Changing color temperature settings.
Tap the color temperature button to cycle through the three available light settings: Warm (3000K), Natural (4000K), and White (6000K).
- Anti-Fog Function:

Image 6.4: Anti-fog function in action.
Tap the anti-fog button to activate or deactivate the defogger. The anti-fog function operates independently and will automatically switch off after 1 hour to save energy.
6.2 Wall Switch Control
The mirror supports control via a standard wall switch. If hardwired, the mirror's lights can be turned ON/OFF using the wall switch. The mirror's memory function will retain the last brightness setting when controlled by the wall switch.
7. Maintenance
- Cleaning the Mirror: Use a soft, damp cloth with a mild glass cleaner. Do not spray cleaner directly onto the mirror, especially near the edges or electrical components. Spray onto the cloth first. Avoid abrasive cleaners or scouring pads.
- Electrical Components: Ensure the mirror is disconnected from power before cleaning any electrical parts. Do not attempt to service internal components.
- Tempered Glass Care: While tempered glass is durable, avoid sharp impacts or extreme temperature changes to prevent damage.
8. Troubleshooting
| Problem | Possible Cause | Solution |
|---|---|---|
| Mirror lights do not turn on. | No power supply; loose connection; faulty switch. | Check power outlet/circuit breaker. Ensure all electrical connections are secure. If hardwired, consult a professional electrician. |
| Anti-fog function is not working. | Anti-fog function not activated; power issue. | Tap the anti-fog button to activate. Ensure the mirror has power. |
| Brightness or color temperature cannot be adjusted. | Incorrect operation; temporary glitch. | Refer to Operating Instructions (Section 6). Try turning the mirror off and on again. |
| Mirror appears foggy despite anti-fog being on. | Extreme humidity; defogger not fully warmed up. | Allow a few minutes for the defogger to work. Ensure bathroom ventilation is adequate. |
9. Warranty and Support
ExBrite is committed to providing high-quality products and customer satisfaction.
- Warranty: This product comes with up to a 1-year warranty from the date of purchase. Please retain your proof of purchase for warranty claims.
- Returns: A 30-day free return policy is available for eligible purchases.
- Customer Service: For any questions, concerns, or technical assistance, please contact ExBrite customer service. We aim to reply to emails within 24 hours.
- Contact Information: Refer to your purchase documentation or the ExBrite official website for current contact details.

Image 9.1: ExBrite customer service commitments.


