
Introduction
This manual provides essential information for the safe and efficient operation, installation, and maintenance of your Euhomy 110V Portable Clothes Dryer. Designed for compact living spaces such as apartments, RVs, and dorms, this 1.5 cu.ft front-load electric dryer offers powerful drying capabilities with an 850W motor and a stainless steel tub. Please read all instructions carefully before use.
Safety Information
WARNING: To reduce the risk of fire, electric shock, or injury to persons, read all instructions before operating this appliance.
- Ensure the dryer is connected to a grounded 110V power source.
- Do not dry articles that have been previously cleaned in, washed in, soaked in, or spotted with gasoline, dry-cleaning solvents, or other flammable or explosive substances, as they emit vapors that could ignite or explode.
- Clean the lint filter before or after each load.
- Do not allow children to play on or in the appliance. Close supervision of children is necessary when the appliance is used near children.
- Do not install or store this appliance where it will be exposed to the weather.
- Do not tamper with controls.
- Do not repair or replace any part of the appliance or attempt any servicing unless specifically recommended in the user-maintenance instructions or in published user-repair instructions that you understand and have the skills to carry out.
Parts List
The following components are included with your Euhomy Portable Clothes Dryer:
- 1 x Portable Clothes Dryer Unit
- 2 x Hanging Brackets
- 2 x Plastic Washers
- 1 x Exhaust Fitting
- 4 x Screws (12mm long)
- 4 x Screws (25mm long)
- 1 x User Manual
Setup and Installation
Your Euhomy portable dryer offers flexible installation options to suit your living space. It can be used freestanding, stacked, or wall-mounted.
1. Placement Options

Figure 1.1: Freestanding Setup. The dryer can be placed on a sturdy horizontal surface, such as a countertop or a dedicated stand.

Figure 1.2: Stacked Setup. For space-saving, the dryer can be stacked on top of a compatible washing machine. Ensure the surface is stable.

Figure 1.3: Wall-Mounted Setup. Use the provided hanging brackets to securely mount the dryer to a wall. Consult the manual for detailed wall-mounting instructions.
2. Exhaust Pipe Installation
The dryer requires proper ventilation to expel hot, moist air. The exhaust pipe should be installed before initial use.
Video 2.1: Exhaust Pipe Installation. This video demonstrates how to attach the exhaust fitting and pipe to the rear of the dryer. Ensure a secure connection to prevent air leakage. The exhaust should lead to an outdoor vent or a suitable indoor lint trap system.
The exhaust pipe is flexible and can be extended or collapsed as needed for optimal placement and ventilation.
Operating Instructions
1. Loading Clothes
Open the dryer door (it opens 105° for easy loading). Place your wet clothes into the stainless steel tub. Avoid overloading the dryer to ensure efficient drying and prevent damage to the appliance. The dryer has a capacity of up to 10 pounds of wet clothes.
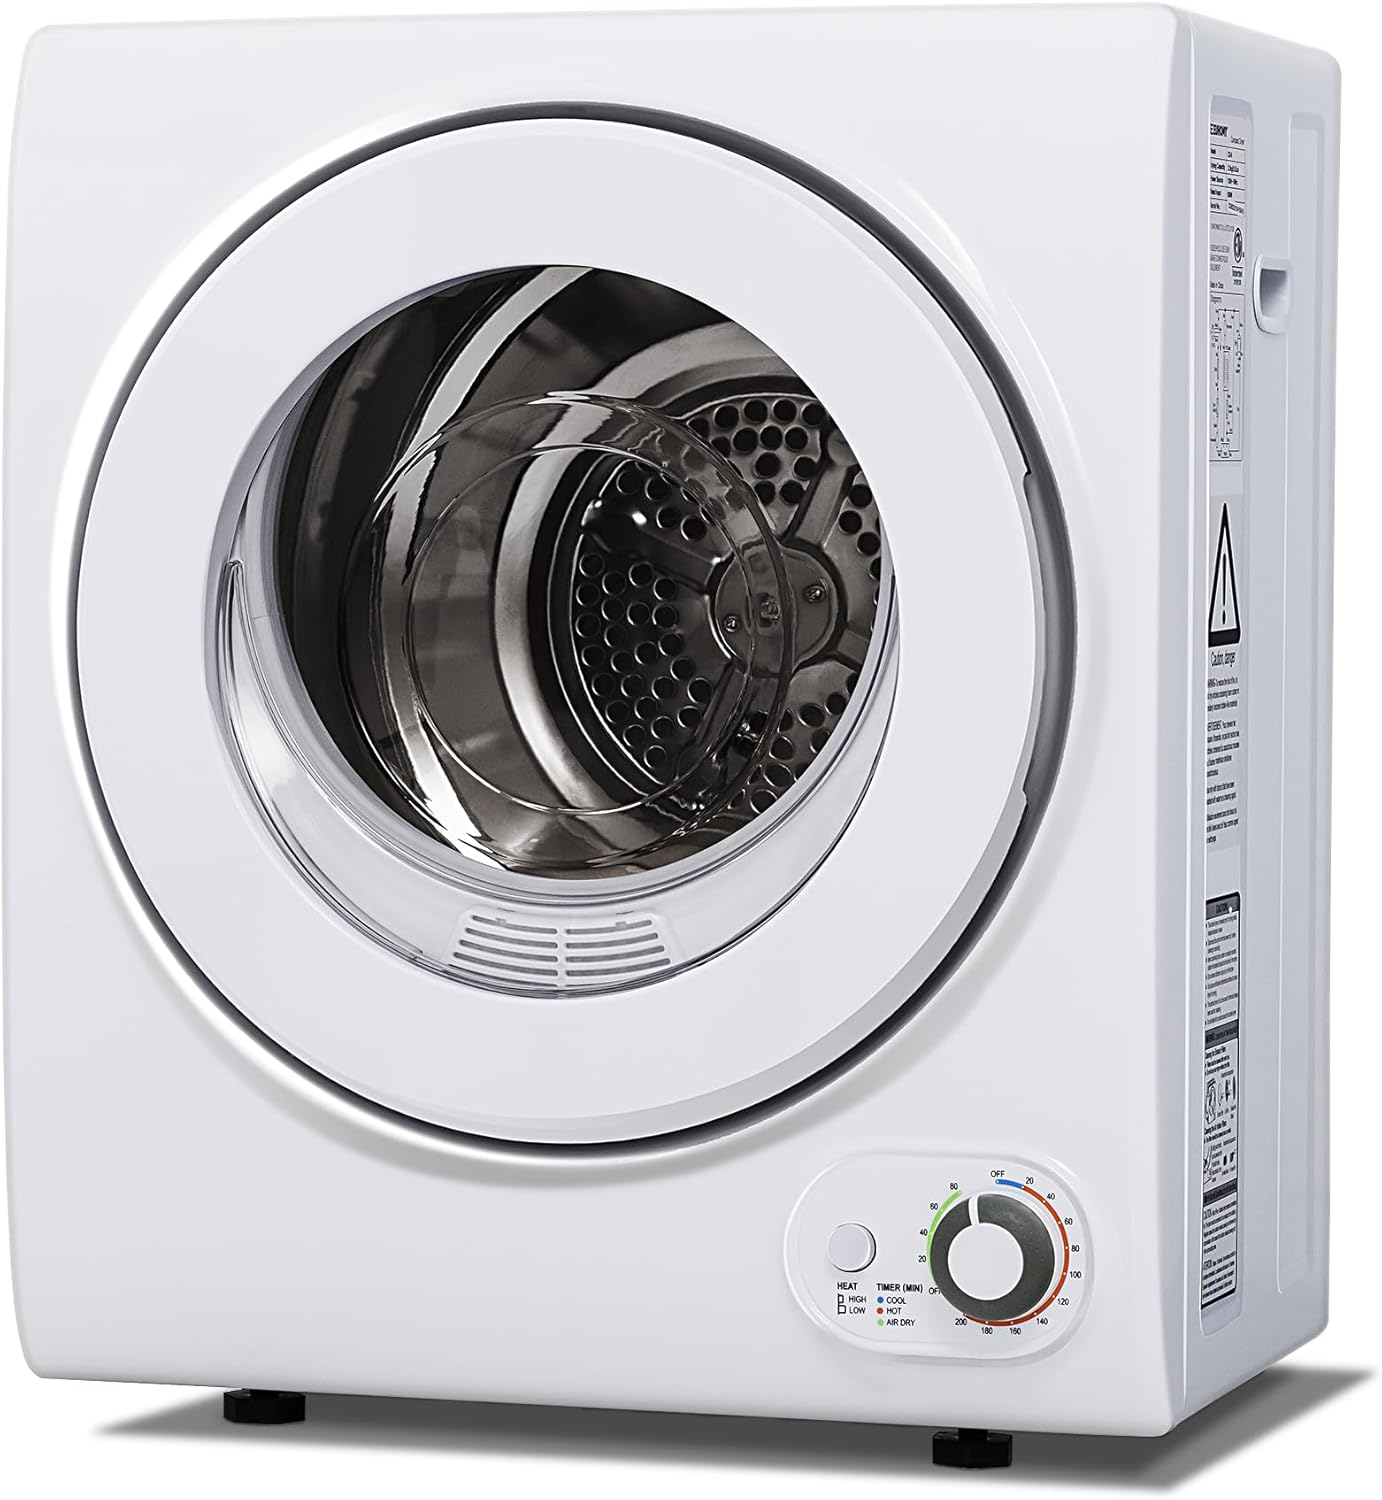
Figure 3.1: Loading the Dryer. The wide door opening allows for convenient loading and unloading of laundry. The transparent window lets you monitor the drying process.
Note: For best drying results, ensure clothes are adequately spun in a washing machine to remove excess water before transferring to the dryer.
2. Control Panel and Drying Modes
The dryer features a simple control panel with a heat setting button and a timer dial.

Figure 3.2: Control Panel. The control panel allows you to select heat levels and set the drying time. The heat button toggles between High and Low heat. The timer dial selects the duration and mode.
Heat Settings:
- HIGH: For bulky or large quantities of items.
- LOW: For delicate items such as silk, nylon, or lace.
Timer (MIN) and Drying Modes:
- OFF: Turns the dryer off.
- COOL (0-20 minutes): Cools down the temperature, ideal for fluffing or airing out clothes.
- WARM (30-120 minutes): Dries and cools clothes, helping to prevent wrinkles.
- HOT (120-200 minutes): For drying large quantities or bulky items. The maximum temperature is 140°F.
- AIR DRY (0-80 minutes): Runs with room temperature air for freshening clothes without heat.
Safety Feature: If the dryer door is accidentally opened during operation, the unit will automatically stop to ensure user safety.
Maintenance
1. Lint Filter Cleaning
The dryer features a three-layer cotton filter system designed to effectively filter lint and prevent it from escaping. Regular cleaning of the lint filter is crucial for maintaining drying efficiency and preventing fire hazards.

Figure 4.1: Three-Layer Filtration System. The filter is removable for easy cleaning. It consists of an air outlet cover, filter screen, and filter mesh.
To clean the filter:
- Open the dryer door.
- Locate the filter assembly at the back of the drum.
- Twist and pull out the filter assembly.
- Separate the filter components (air outlet cover, filter screen, filter mesh).
- Remove any accumulated lint from each component. The cotton filter is washable and can be reused multiple times.
- Reassemble the filter components and reinsert them into the dryer, ensuring they are securely in place.
Video 4.1: Filter Removal and Cleaning. This video demonstrates the process of removing and cleaning the dryer's lint filter, highlighting its washable nature for repeated use.
2. Addressing Potential Belt Wear (Design Consideration)
Some users have reported an issue where the silicone belt, which drives the drum, may wear against a sharp edge of the internal sheet metal beam. This can lead to squeaking noises and eventual belt breakage.
Video 4.2: Design Flaw Solution. This video explains a potential design consideration regarding belt wear and suggests a user-implemented solution involving dulling the sharp edge of the internal sheet metal beam to prevent premature belt wear. Replacement belts are available if needed.
If you experience squeaking or suspect belt wear, it is recommended to inspect the internal components. A suggested solution involves dulling the sharp edge of the sheet metal beam that the belt runs against. This can be done by fitting a piece of silicone straw over the edge and securing it with electrical tape. Replacement belts are available for purchase if the original belt is damaged.
Troubleshooting
| Problem | Possible Cause | Solution |
|---|---|---|
| Dryer does not start. | Not plugged in; power outage; door not closed properly; timer not set. | Ensure power cord is securely plugged in. Check circuit breaker. Close door firmly. Set timer to desired cycle. |
| Clothes are not drying completely. | Overloaded; lint filter clogged; improper heat setting; clothes too wet from washer. | Reduce load size. Clean lint filter. Select appropriate heat setting (e.g., HOT). Ensure clothes are adequately spun in washer. |
| Unusual noise during operation. | Foreign object in drum; dryer not level; worn belt. | Check drum for loose items. Ensure dryer is on a stable, level surface. Inspect and replace belt if worn (refer to Maintenance section). |
| Water leaks from the back vent. | Improper exhaust installation; condensation buildup. | Ensure exhaust pipe is securely attached and properly vented outdoors. Check for blockages in the exhaust system. |
Specifications
| Feature | Detail |
|---|---|
| Brand | EUHOMY |
| Model Number | CD-6-1X-NEW |
| Capacity | 1.5 Cubic Feet (approx. 10 lbs wet clothes) |
| Power Source | 110V |
| Wattage | 850 watts |
| Dimensions (L x W x H) | 21 x 17 x 26 inches |
| Item Weight | 37.5 pounds |
| Material | Stainless Steel (Tub) |
| Color | White |
| Certification | ETL, DOE |
| Country of Origin | China |
Warranty and Support
The Euhomy Portable Clothes Dryer comes with a 1-year manufacturer warranty. If you encounter any problems or have questions regarding your dryer, please do not hesitate to contact our professional after-sales team for assistance. We are committed to resolving any issues you may experience.
For further support, please refer to the contact information provided in the original packaging or on the official EUHOMY website.


