
1. Introduction
This manual provides detailed instructions for the operation and maintenance of your Dpofirs 1080P Mini Body Camera. Please read this manual thoroughly before using the device to ensure proper function and to maximize its lifespan. Keep this manual for future reference.
2. Safety Information
- Do not expose the camera to extreme temperatures, direct sunlight, or corrosive materials.
- Avoid dropping or subjecting the camera to strong impacts.
- Keep the camera away from water and moisture, despite its water-resistant rating, to prevent damage.
- Do not attempt to disassemble or modify the camera. This will void the warranty.
- Use only approved charging cables and adapters.
- Ensure the camera is used in compliance with local laws and regulations regarding recording and privacy.
3. Product Overview
3.1 Package Contents
- Dpofirs 1080P Mini Body Camera
- USB Charging Cable
- User Manual
3.2 Camera Components
Familiarize yourself with the various parts of your body camera:
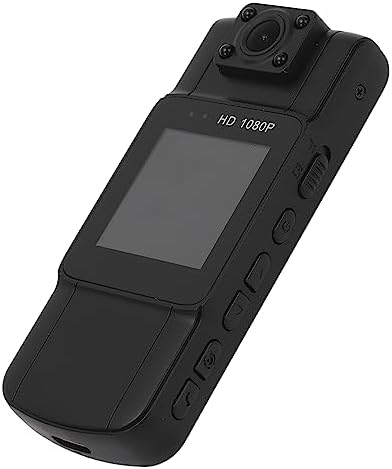
Figure 1: Front view of the Dpofirs 1080P Mini Body Camera, showing the lens, screen, and control buttons.
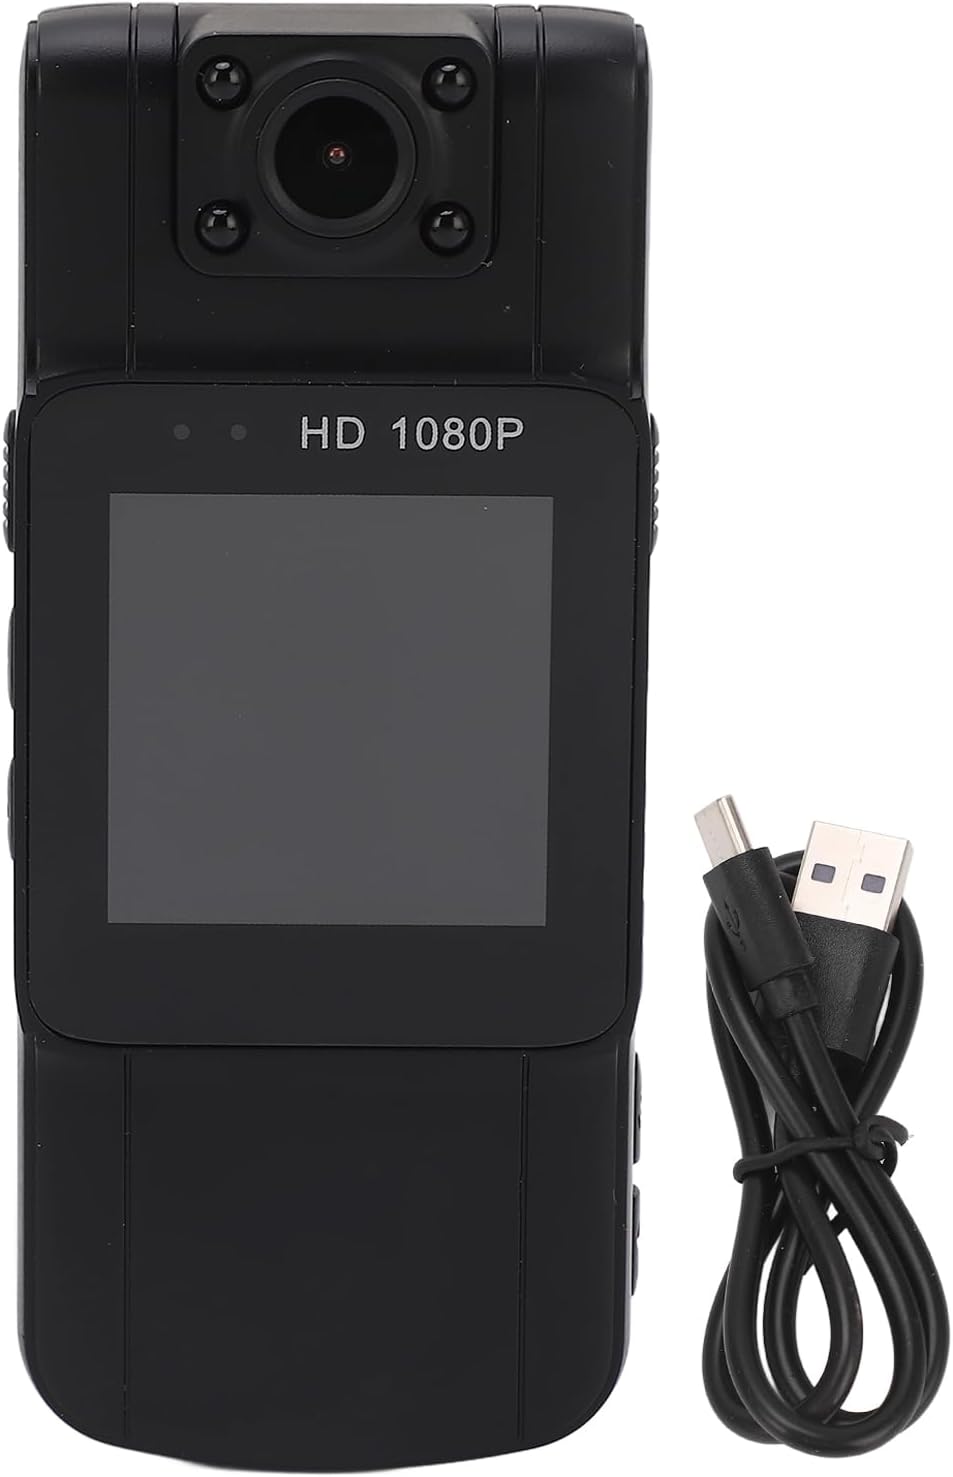
Figure 2: Side view of the camera, highlighting the various buttons and ports for operation.

Figure 3: Back view of the camera, showing the 6.35 CM standard screw port for mounting accessories.
3.3 Key Features
- 1080P Video Recording: Captures clear video footage. The 1.54-inch full-color display allows real-time viewing of recordings.
- Long Battery Life: Equipped with a 1000 mAh battery, providing up to 7 hours of continuous video recording.
- 180° Lens Rotation: The lens can be rotated 180 degrees to adjust the recording angle for various scenarios.
- Motion Detection: Automatically detects movement and initiates recording, conserving battery and storage.
- Infrared Night Vision: Enables recording in low-light conditions.
- Standard Screw Port: Features a 6.35 CM screw port on the back for compatibility with various video brackets and mounts.
4. Setup
4.1 Charging the Battery
Before first use, fully charge the camera. Connect the camera to a power source using the provided USB cable. The charging indicator light will typically show red while charging and turn off or change color when fully charged. A full charge provides approximately 7 hours of continuous recording.
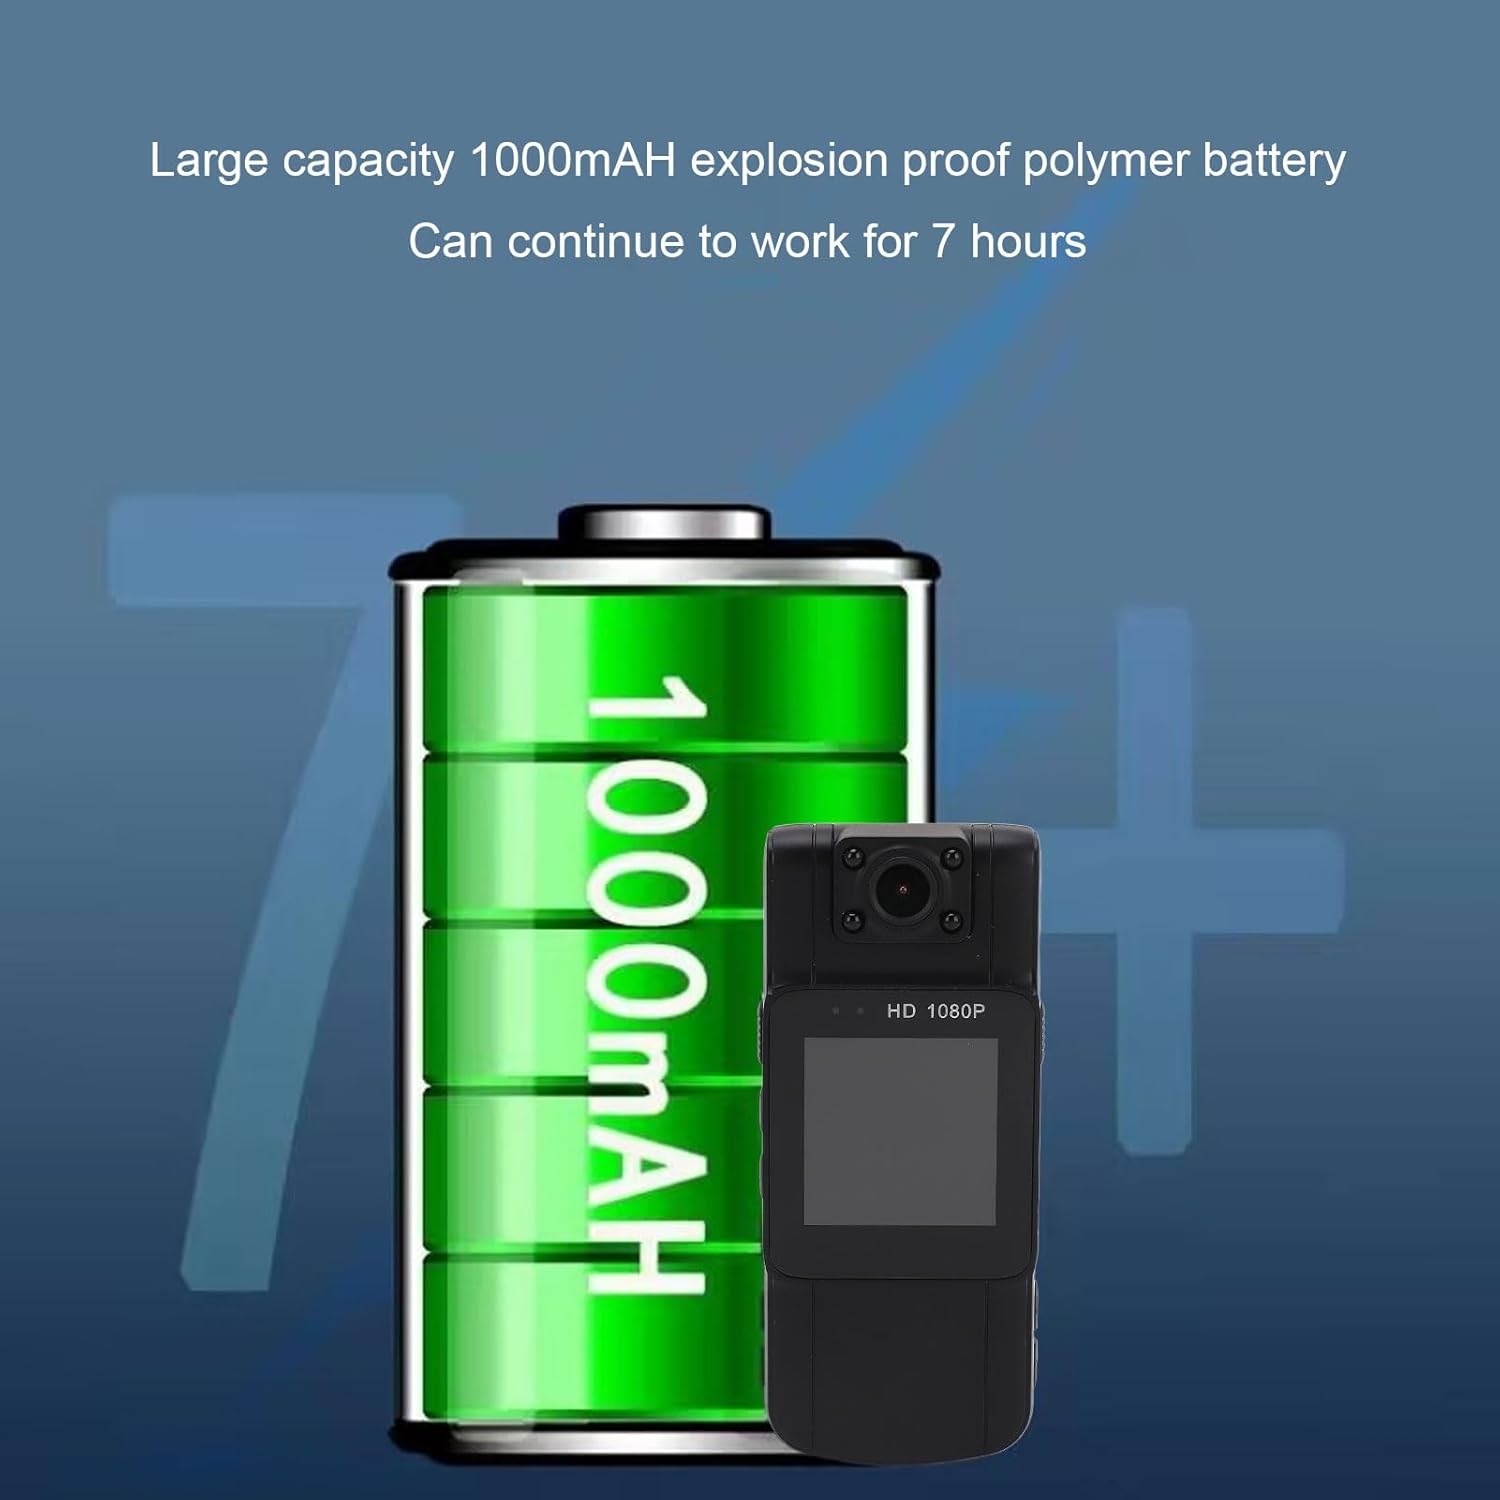
Figure 4: Visual representation of the camera's 1000mAh battery, capable of up to 7 hours of continuous operation.
4.2 Inserting a Memory Card
The camera requires a microSD card (not included) for storing recordings. Locate the microSD card slot, usually on the side of the device. Gently insert the card with the contacts facing the correct direction until it clicks into place. Ensure the camera is powered off before inserting or removing the memory card.
4.3 Powering On/Off
- To Power On: Press and hold the Power button for a few seconds until the screen illuminates.
- To Power Off: Press and hold the Power button until the screen turns off.
5. Operating Instructions
5.1 Basic Video Recording
Once powered on, the camera is typically in standby mode. Press the Record button once to start video recording. The recording indicator light will usually flash, and a recording icon will appear on the screen. Press the Record button again to stop recording. Videos are saved to the inserted microSD card.
5.2 Using the 1.54-inch Display
The integrated 1.54-inch full-color display provides a real-time view of what the camera is recording. It also allows for playback of recorded footage and navigation through menu settings. Use the navigation buttons (Up/Down/Menu/OK) to interact with the display.
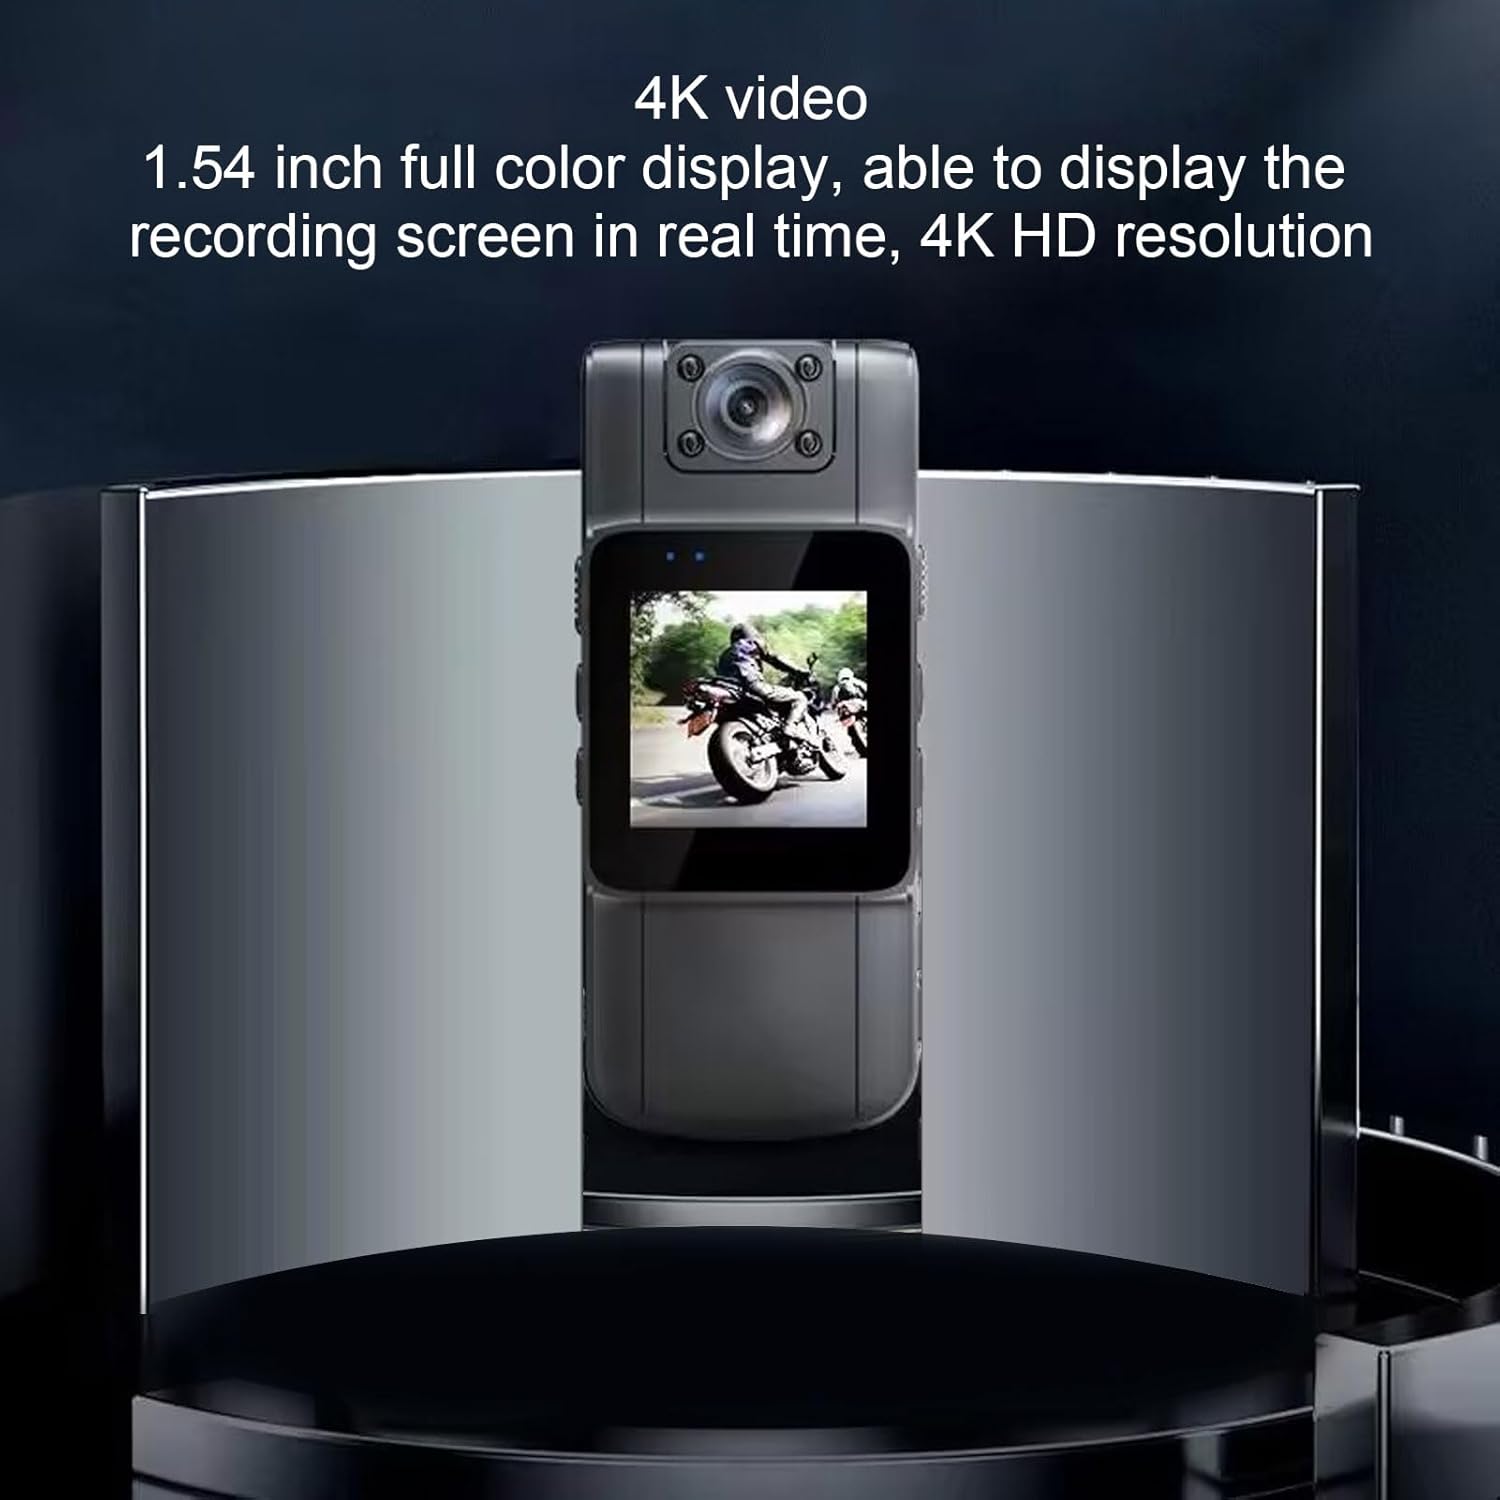
Figure 5: The camera's 1.54-inch full-color display, capable of showing real-time footage and supporting up to 4K resolution playback, with primary recording at 1080P.
5.3 Activating Infrared Night Vision
To record in low-light or dark environments, activate the infrared night vision feature. Consult the camera's on-screen menu or dedicated button (if available) for night vision activation. The camera will automatically switch to black and white recording when night vision is active.
5.4 Motion Detection
The motion detection feature allows the camera to start recording automatically when movement is detected within its field of view. To enable motion detection, navigate to the settings menu on the camera's display and select the motion detection option. Ensure the camera is positioned correctly to monitor the desired area.
5.5 Adjusting the 180° Lens
The camera's lens can be manually rotated 180 degrees. This allows for flexible recording angles, whether the camera is mounted upright, inverted, or on a body. Physically rotate the lens module to achieve the desired perspective.
5.6 Data Transfer to Computer
To access recorded files, connect the camera to a computer using the USB cable. The camera will typically appear as a removable storage device. You can then copy files from the microSD card to your computer.
5.7 Example Applications
The Dpofirs Mini Body Camera is suitable for various recording needs:

Figure 6: Illustrates diverse applications for the body camera, from personal use during cycling and motorcycling to professional use in delivery, security, and property recording.
6. Maintenance
- Cleaning: Use a soft, dry cloth to clean the camera body. For the lens, use a specialized lens cleaning cloth and solution. Do not use harsh chemicals.
- Battery Care: To prolong battery life, avoid fully discharging the battery frequently. Charge the camera regularly, even if not in use, to maintain battery health.
- Storage: Store the camera in a cool, dry place away from direct sunlight and extreme temperatures when not in use.
- Firmware Updates: Check the manufacturer's website periodically for any available firmware updates to improve performance and add features.
7. Troubleshooting
| Problem | Possible Cause | Solution |
|---|---|---|
| Camera does not power on. | Low battery; faulty battery; power button issue. | Charge the battery fully. If problem persists, contact support. |
| Cannot record video. | No microSD card; card full; card error; low battery. | Insert a microSD card. Format or replace the card. Charge the battery. |
| Poor video quality. | Dirty lens; low light; incorrect settings. | Clean the lens. Ensure adequate lighting or activate night vision. Check video resolution settings. |
| Camera freezes or becomes unresponsive. | Software glitch; memory card issue. | Perform a soft reset (if available, usually by holding power button for longer). Remove and reinsert microSD card. |
| Computer does not recognize camera. | Faulty USB cable; driver issue; camera not in data transfer mode. | Try a different USB cable or port. Ensure camera is powered on and in data transfer mode (if applicable). |
8. Specifications
| Feature | Detail |
|---|---|
| Model Name | Dpofirsprs3kocfia |
| Video Recording Resolution | 1080p (primary), 4k (playback/higher setting) |
| Display | 1.54 inch full color |
| Battery Capacity | 1000 mAh |
| Battery Life (Continuous Recording) | Up to 7 hours |
| Lens Rotation | 180 degrees |
| Connectivity | Wired (USB) |
| Special Features | Infrared Night Vision, Motion Detection, 6.35 CM Screw Port |
| Water Resistance Level | Waterproof (as per product specifications) |
| Dimensions (Package) | 12.7 x 8 x 5.6 cm |
| Weight (Package) | 160 g |
9. Warranty and Support
For warranty information and technical support, please refer to the documentation provided with your purchase or contact the seller directly. Keep your proof of purchase for warranty claims.