
Introduction
This manual provides detailed instructions for the installation, setup, operation, and maintenance of your Topcony 2K Wireless Outdoor WiFi Surveillance Camera, Model DK401. Please read this manual thoroughly before using the product to ensure proper functionality and safety. Keep this manual for future reference.
Package Contents
Verify that all items listed below are included in your package. If any items are missing or damaged, please contact Topcony customer support.
- Topcony 2K Wireless Outdoor WiFi Surveillance Camera
- Solar Panel
- Mounting Bracket and Screws
- USB Charging Cable
- User Manual

Product Overview
The Topcony DK401 camera is designed for outdoor surveillance, offering a range of features for enhanced security.
- 2K Ultra-clear Resolution & Color Night Vision: Capture clear and detailed footage day and night. The camera supports 2K resolution and offers color night vision for improved visibility in low-light conditions.

A split image demonstrating the difference between standard night vision and 2K color night vision, showing a clearer, more vibrant image with color night vision. - PIR Human Detection: Advanced Passive Infrared (PIR) sensor detects human motion, reducing false alarms from animals or inanimate objects.

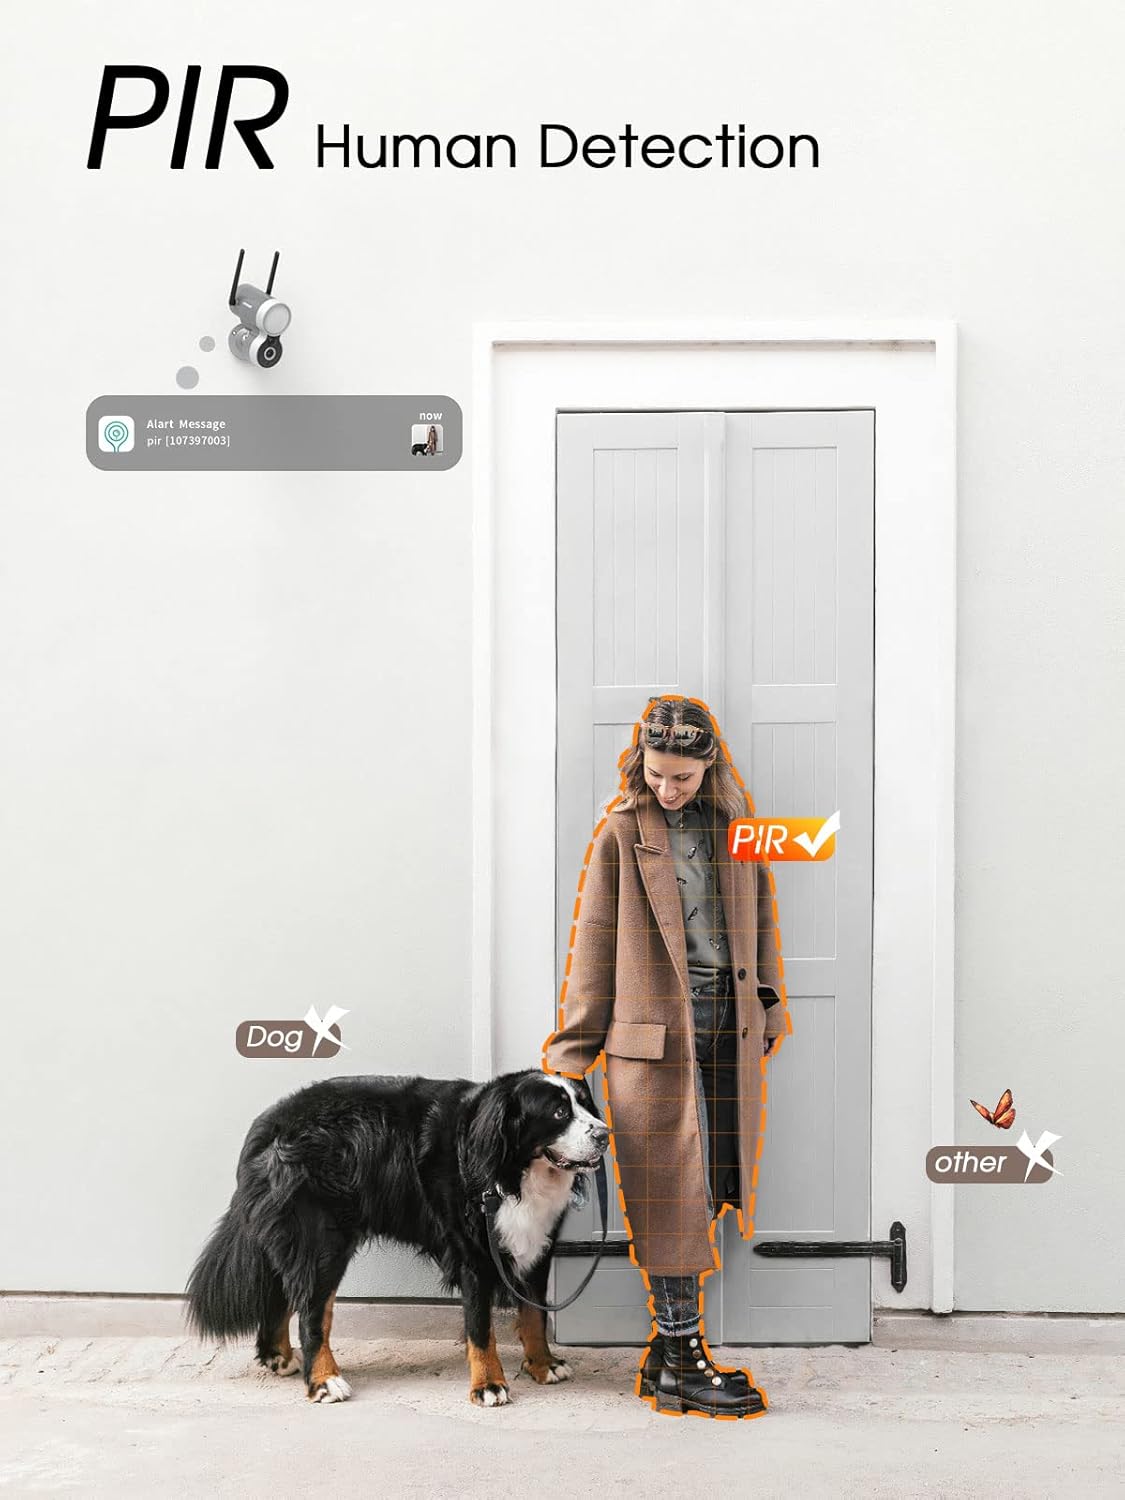
An image illustrating the PIR human detection feature, highlighting a person being detected while a dog and other objects are ignored. - Two-Way Audio: Communicate with visitors or deter intruders using the built-in microphone and speaker.
- Sound and Light Alarm: Activate a siren and bright light to scare away unwanted guests.

An image depicting a person being illuminated by the camera's floodlight, indicating the activation of the sound and light alarm feature. - IP65 Weatherproof: Designed to withstand various weather conditions, ensuring reliable operation outdoors.

The camera is shown with water droplets, illustrating its IP65 waterproof rating, suitable for outdoor use in various weather conditions. - Solar Power & Rechargeable Battery: Equipped with a solar panel for continuous charging, reducing the need for manual recharging.
The camera is shown mounted outdoors with its accompanying solar panel, demonstrating its self-sustaining power feature. - SD Card & Cloud Storage: Multiple storage options for recorded footage, including local SD card storage (up to 128GB) and cloud storage services.

A close-up view of the camera's underside, showing the accessible SD card slot for local video storage.
Setup
1. Charging the Device
Before initial use, fully charge the camera. The camera supports 5V power adapter charging.
This video demonstrates how to charge the Topcony DK401 camera. It shows two methods: removing the waterproof silicone plug to access the charging port, or unscrewing the waterproof cover to reveal the port for charging.
2. Connecting to Wi-Fi
Follow these steps to connect your camera to the CloudEdge app and your home Wi-Fi network.
- Ensure the camera is powered on.
- Download and open the "CloudEdge" app on your smartphone.
- Tap "Add Device" and select "Battery Camera".
- Follow the on-screen prompts, ensuring you connect to a 2.4GHz Wi-Fi network and enter the correct password.
- Scan the QR code displayed on your phone with the camera lens.
- Wait for the camera to connect. The app will confirm successful connection.
This video guides you through connecting the Topcony DK401 camera to the CloudEdge app. It shows pressing the power button, opening the app, selecting 'Battery Camera', reviewing tips, connecting to a 2.4GHz Wi-Fi network, and scanning a QR code to establish the connection.
Installation
Mounting the Camera and Solar Panel
Choose a suitable location for your camera and solar panel, ensuring the solar panel receives adequate sunlight for optimal charging.
- Securely attach the camera mounting bracket to a wall or desired surface using the provided screws.
- Attach the camera to the bracket and adjust its angle for optimal viewing.
- Mount the solar panel in a location with direct sunlight, ensuring it is positioned to maximize sun exposure throughout the day.
- Connect the solar panel cable to the camera's charging port.
This video illustrates the installation process for the Topcony DK401 camera and its solar panel. It shows mounting the camera bracket, attaching the camera, then mounting the solar panel bracket, and finally connecting the solar panel to the camera for continuous power.
Operating Instructions
1. App Features
Once connected, use the CloudEdge app to access your camera's features:
- Live View: Watch real-time footage from your camera.
- Recording: Access recorded events stored on the SD card or cloud.
- Two-Way Audio: Speak and listen through the camera.
- Alarm Settings: Customize motion detection sensitivity, alert zones, and alarm types (sound/light).
- Battery Management: Monitor battery levels and charging status.
2. Motion Detection Settings
Optimize motion detection to suit your environment:
- Adjust Sensitivity: In the app settings, find "Detection Sensitivity" and adjust the slider to prevent false alarms.

Screenshot of the app interface showing the detection sensitivity slider. - Custom Alert Zones: Define specific areas within the camera's view where motion detection should be active.

An aerial view of a property with grid overlays, demonstrating how to set custom alert zones for motion detection.
3. Recording and Storage
The camera supports both local and cloud storage for your recordings:
- SD Card Storage: Insert a microSD card (up to 128GB) into the camera's slot for local storage. Recordings will be saved automatically.
- Cloud Storage: Subscribe to the cloud storage service via the app for secure, remote storage of your video footage.
Maintenance
Regular maintenance ensures optimal performance and longevity of your camera.
- Cleaning: Periodically clean the camera lens and solar panel with a soft, damp cloth to remove dust and debris. Avoid abrasive cleaners.
- Battery Check: Monitor the battery status via the app. Ensure the solar panel is free from obstructions and receives sufficient sunlight for continuous charging.
- Firmware Updates: Check the app regularly for available firmware updates to ensure your camera has the latest features and security enhancements.
Troubleshooting
If you encounter issues with your Topcony DK401 camera, refer to the following common problems and solutions:
| Problem | Possible Cause | Solution |
|---|---|---|
| Camera not powering on or charging | Low battery; charging cable not connected; solar panel obstructed. | Ensure camera is fully charged via USB or solar panel. Check cable connections. Clear any obstructions from the solar panel. |
| Unable to connect to Wi-Fi | Incorrect Wi-Fi password; connecting to 5GHz network; weak Wi-Fi signal. | Verify Wi-Fi password. Ensure you are connecting to a 2.4GHz network. Move camera closer to the router or use a Wi-Fi extender. |
| Motion detection not working or too many false alarms | Incorrect sensitivity settings; detection zone not configured properly. | Adjust motion detection sensitivity in the app. Configure custom alert zones to focus on relevant areas. |
| Poor image or video quality | Dirty lens; weak Wi-Fi signal; low light conditions. | Clean the camera lens. Ensure a strong Wi-Fi connection. Verify night vision settings are enabled for low light. |
Specifications
Key technical specifications for the Topcony DK401 camera:
- Material: Metal
- Dimensions (L x W x H): 12.5 x 6 x 10.5 cm
- Connectivity: Wireless Wi-Fi (2.4GHz)
- Effective Fixed Resolution: 3 Megapixels (2K Video Recording Resolution)
- Special Features: Motion Detector, Night Vision (Color Night Vision supported)
- Power Source: Solar Powered, Battery Powered, Electric Cable
- Mounting Type: Wall Mount
Warranty and Support
Topcony products come with a standard manufacturer's warranty. For specific warranty details, please refer to the warranty card included in your package or visit the official Topcony website. If you require technical assistance, troubleshooting, or have any questions regarding your product, please contact Topcony customer support through the contact information provided on our website or in your product documentation.
