
Introduction
This manual provides detailed instructions for the safe and efficient operation of your TYT MD-UV390plus Digital DMR Radio. Please read this manual thoroughly before using the device to ensure proper function and to prevent damage.
The MD-UV390plus is a 5W digital dual-band VHF/UHF DMR radio designed for reliable communication. It features IP67 waterproofing and dustproofing, making it suitable for various environments. The radio supports both digital and analog modes, allowing for flexible use and easy migration from analog systems.
Package Contents
Verify that all items listed below are present in your package. If any items are missing or damaged, please contact your retailer.
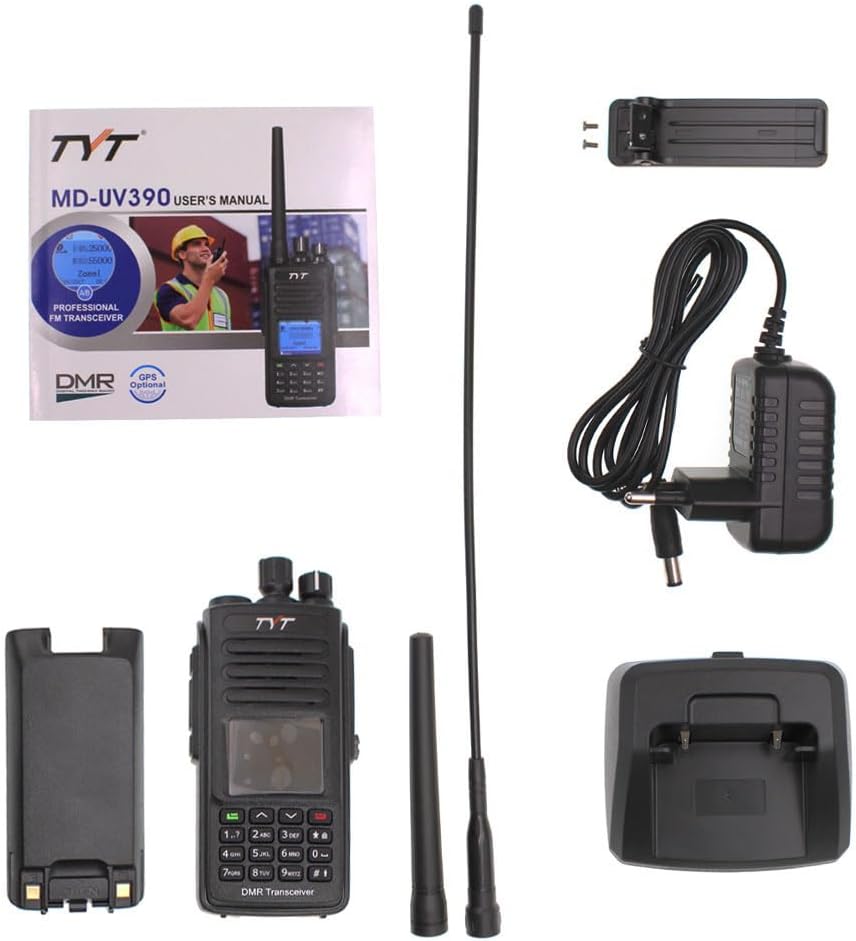
Image: The TYT MD-UV390plus radio, battery, common antenna, belt clip, desktop charger, adapter, and programming cable are shown together.
- 1 x MD-UV390plus DMR Radio
- 1 x Common Antenna
- 1 x Battery (2000mAh Li-ion)
- 1 x Belt Clip
- 1 x Desktop Charger
- 1 x Adapter
- 1 x Programming Cable
- 1 x User Manual (this document)
Product Features
The TYT MD-UV390plus radio incorporates several advanced features for enhanced communication:
- IP67 Waterproof and Dustproof: Provides protection against water immersion and dust ingress.
- Dual Band Operation: Supports both VHF and UHF frequency ranges.
- Digital Mobile Radio (DMR): Complies with ETSI TS 102 361-1,-2,-3 digital protocol, compatible with Mototrbo Tier I & II.
- Analog Mode: Operates in both digital and analog modes for seamless transition.
- Clear Voice Communications: Digital mode offers improved voice clarity.
- Advanced Calling Features: Supports private call, group call, and all call in digital mode.
- Security Functions: Includes remote kill/stun/activate and encryption function.
- Text Messaging: Capable of sending text messages in digital mode.
- DTMF Decoding and Encoding: For advanced signaling.
- Power Output: 5 Watts.
- Channel Capacity: 3000 channels.

Image: A hand holding the TYT MD-UV390plus radio, partially submerged in water, illustrating its IP67 waterproof rating. Key features like 5W power, LCD, Dual Band, and DMR Digital are highlighted.
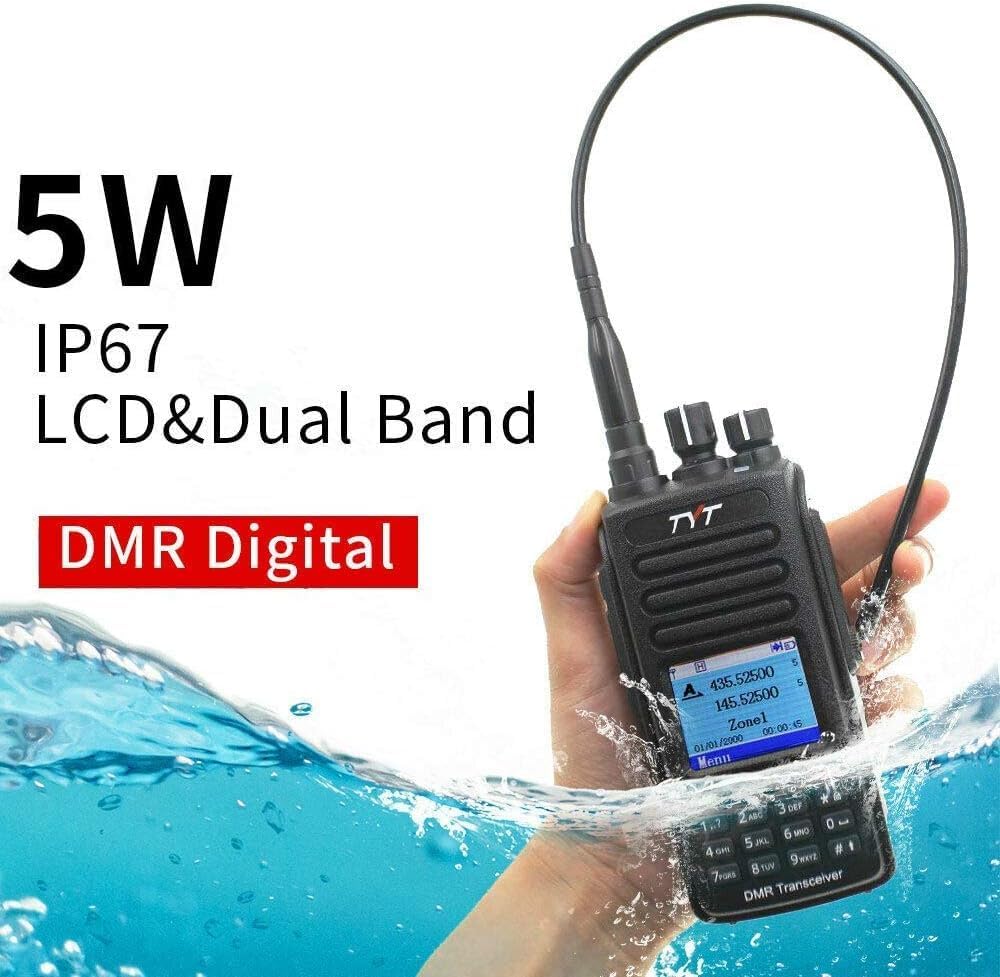
Image: The TYT MD-UV390plus radio with an emphasis on its 5W high power output and high gain antennas, designed to ensure voice quality over long distances.
Setup
1. Battery Installation
- Align the battery pack with the grooves on the back of the radio.
- Slide the battery pack upwards until it clicks into place.
- Ensure the battery release latch is securely engaged.
2. Antenna Attachment
- Screw the antenna clockwise into the connector on the top of the radio until it is finger-tight. Do not overtighten.
3. Charging the Battery
- Connect the adapter to the desktop charger.
- Plug the adapter into a standard AC power outlet.
- Place the radio with the battery installed into the charging slot of the desktop charger.
- The charging indicator light will typically show red during charging and turn green when fully charged.
- For optimal battery life, charge the battery fully before first use.
4. Programming the Radio
The MD-UV390plus requires programming for specific frequencies, channels, and digital features. This is typically done using a computer and the provided programming cable.
- Connect the programming cable to the radio's accessory port and to a USB port on your computer.
- Install the necessary programming software (CPS) and drivers, usually available from the manufacturer's official website.
- Follow the software instructions to configure channels, contacts, zones, and other settings.
- Important Note: This version of the MD-UV390plus cannot be flashed with GD77 firmware. Attempting to do so may damage the device.

Image: A visual warning on the radio's screen, stating "Latest Version NOT NEED FLASH CAN NOT FLASH GD77", emphasizing that this model does not support GD77 firmware flashing.
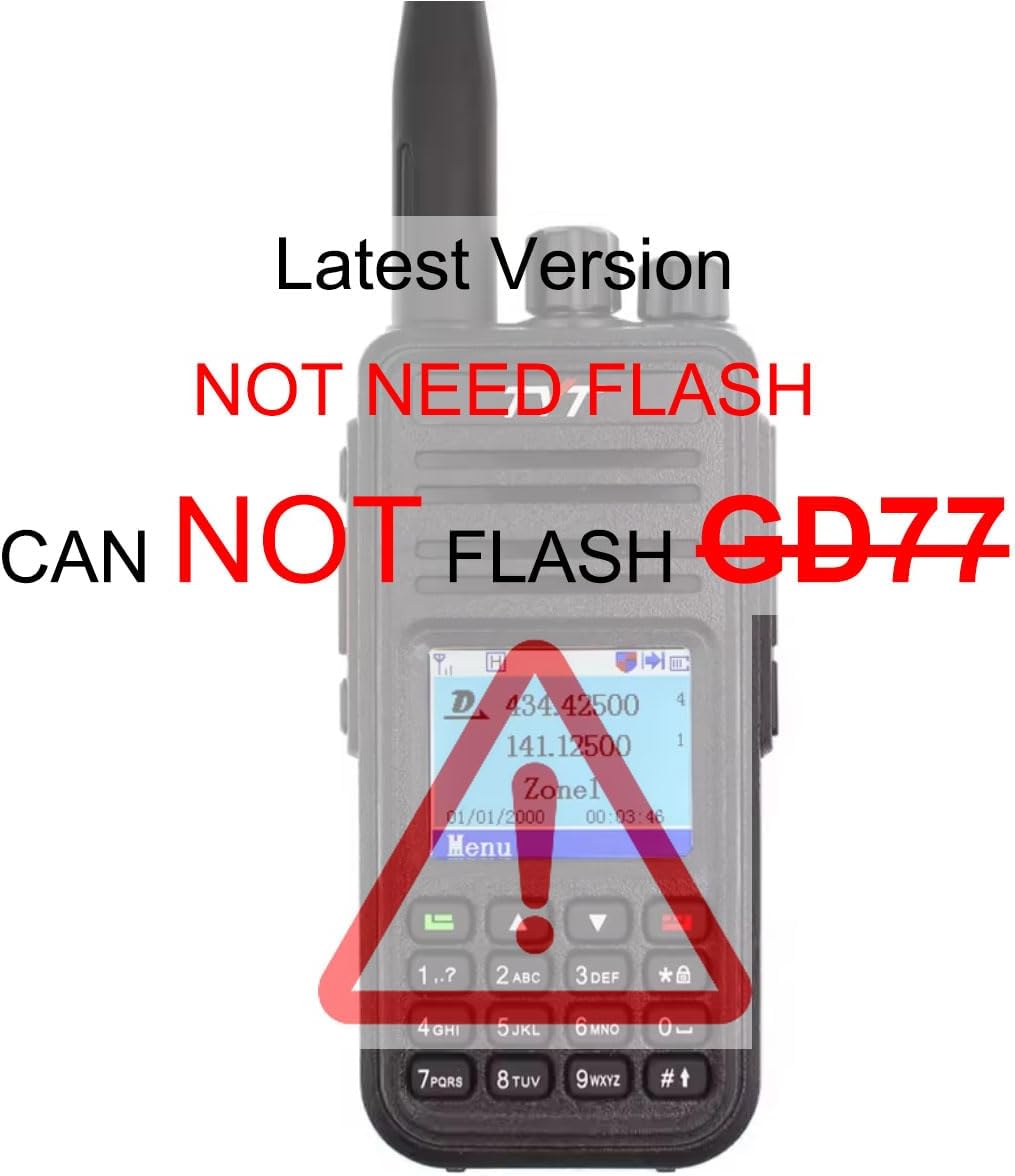
Image: The TYT MD-UV390plus radio displayed alongside a computer screen showing the programming software (CPS) interface, illustrating the process of radio configuration.
Operating Instructions
1. Power On/Off
- To power on, rotate the Power/Volume knob clockwise until a click is heard and the display illuminates.
- To power off, rotate the Power/Volume knob counter-clockwise until a click is heard and the display turns off.
2. Volume Adjustment
- Rotate the Power/Volume knob clockwise to increase volume and counter-clockwise to decrease volume.
3. Channel Selection
- Use the Channel Up/Down buttons (or rotary knob, if present) to navigate through programmed channels.
- The display will show the current channel number and name.
4. Transmitting and Receiving
- Receiving: When a signal is received on the selected channel, the radio will automatically unmute and you will hear the audio. The receive indicator LED will illuminate.
- Transmitting: Press and hold the Push-To-Talk (PTT) button on the side of the radio. Speak clearly into the microphone. Release the PTT button to stop transmitting and return to receive mode. The transmit indicator LED will illuminate during transmission.
5. Digital Mode Functions
In digital mode, the radio supports various call types:
- Private Call: Direct communication with a specific individual radio.
- Group Call: Communication with a predefined group of radios.
- All Call: Broadcast communication to all radios within range on the current channel.
- These call types are typically configured during programming. Refer to your programming software manual for details on setting up digital contacts and talkgroups.
6. Analog Mode Functions
When operating in analog mode, the radio functions similarly to traditional two-way radios. Features like CTCSS/DCS (Continuous Tone-Coded Squelch System / Digital Coded Squelch) can be programmed to filter out unwanted signals and ensure privacy within a group.
Maintenance
1. Cleaning the Radio
- Wipe the radio's surface with a soft, damp cloth.
- Do not use harsh chemicals, solvents, or abrasive cleaners.
- Ensure the accessory port cover is securely closed to maintain IP67 rating.
2. Battery Care
- Do not short-circuit the battery terminals.
- Do not expose the battery to fire or extreme heat.
- If the battery is not used for an extended period, remove it from the radio and store it in a cool, dry place.
- Dispose of old batteries according to local regulations.
3. Waterproof and Dustproof Care (IP67)
- Always ensure the battery cover, antenna, and accessory port cover are properly sealed before exposing the radio to water or dusty environments.
- After exposure to saltwater, rinse the radio with fresh water and dry thoroughly.
- The IP67 rating protects against immersion in up to 1 meter of water for 30 minutes. It is not designed for prolonged underwater use or high-pressure water jets.
Troubleshooting
| Problem | Possible Cause | Solution |
|---|---|---|
| Radio does not power on. | Battery is low or not installed correctly. | Charge the battery or re-install it securely. |
| Cannot transmit or receive. | Incorrect channel selected; antenna not attached; out of range; battery low. | Verify channel; attach antenna; move closer to other radios; charge battery. |
| Poor audio quality. | Weak signal; incorrect CTCSS/DCS settings; volume too low/high. | Check signal strength; verify CTCSS/DCS; adjust volume. |
| Programming error. | Incorrect software/drivers; cable connection issue; incompatible firmware. | Ensure correct CPS and drivers are installed; check cable connection; confirm firmware compatibility (e.g., no GD77 flash). |
If the problem persists after attempting these solutions, please contact customer support.
Specifications
| Feature | Detail |
|---|---|
| Model Number | MDUV390 |
| Frequency Range | VHF/UHF (Specific ranges depend on programming) |
| Channels | 3000 Channels |
| Frequency Stability | ±1ppm |
| Operating Temperature | -30℃ to +60℃ |
| Operating Voltage | 7.4V DC |
| Battery Type | Li-ion |
| Battery Capacity | 2000mAh |
| Antenna Impedance | 50Ω |
| Water Resistance Level | IP67 (Waterproof and Dustproof) |
| Item Weight | Approximately 1.1 pounds |
| Compatible Devices | Motorola Mototrbo Tier I & II, Windows Computers |
Warranty Information
The TYT MD-UV390plus radio typically comes with a 1-year limited warranty from the date of purchase. This warranty covers manufacturing defects under normal use. It does not cover damage caused by misuse, accidents, unauthorized modifications, or improper maintenance.
Please retain your proof of purchase for warranty claims. For specific warranty terms and conditions, refer to the documentation provided at the time of purchase or contact your retailer.
Support
For technical assistance, troubleshooting beyond this manual, or warranty inquiries, please contact the retailer where you purchased your TYT MD-UV390plus radio. You may also find additional resources, drivers, and programming software on the official TYT manufacturer website.
When contacting support, please have your radio's model number (MDUV390) and proof of purchase readily available.