
1. Introduction
The Tapo H200 Smart Hub with Built-In Chime is designed to create a comprehensive smart home environment. It acts as a central control unit for various Tapo smart devices, including switches, sensors, cameras, and doorbells. This hub features a built-in chime and supports local storage for recorded videos, enhancing your home's security and automation capabilities.
Key features include:
- Connectivity for up to 64 switches, sensors, or buttons, and 4 cameras or doorbells.
- Integrated smart alarm and chime functionality.
- Local microSD card storage support up to 512 GB (card sold separately).
- Ultra-low power wireless protocol for extended battery life of connected sensors and buttons.
- Voice control compatibility with Amazon Alexa and Google Home.
2. Package Contents
Verify that all items are present in your package:
- 1x Tapo H200 Smart Hub
- 1x RJ45 Ethernet Cable
- 1x Power Adapter
- 1x Quick Start Guide
If any items are missing or damaged, please contact customer support.
3. Setup Guide
Follow these steps to set up your Tapo H200 Smart Hub:
3.1 Download the Tapo App
The Tapo app is required for initial setup and control of your smart hub and connected devices. It is compatible with iOS 9.0 or higher and Android 4.3 or higher.
- Scan the QR code provided in the Quick Start Guide or search for "Tapo" in the Apple App Store or Google Play Store.
- Download and install the Tapo app on your mobile device.
- Create a Tapo ID or log in with an existing one.
Image: Tapo app download instructions showing a smartphone screen with the app, QR code, and app store links.
You can also download the app directly from the official Tapo website: tapo.com/app/download-app/
3.2 Power On and Connect the Hub
- Place the Tapo H200 Smart Hub in a central location within your home, ensuring it is within range of your 2.4GHz Wi-Fi network and the devices you intend to connect.
- Connect the power adapter to the hub's power port and plug it into an electrical outlet.
- (Optional) Connect the RJ45 Ethernet cable from the hub's LAN port to your router for a wired network connection.
- Wait for the LED indicator on the hub to show a stable status, typically solid green or blue, indicating it is ready for pairing. Refer to the LED status guide in the Quick Start Guide for specific indications.

Image: The Tapo H200 Smart Hub, a white rectangular device with a textured top surface and a 'tapo' logo.

Image: The back of the Tapo H200 Smart Hub, displaying the power input, LAN port, reset button, and microSD card slot.
3.3 Add the Hub to the Tapo App
- Open the Tapo app.
- Tap the "+" icon in the top right corner to add a new device.
- Select "Hubs" and then choose "Tapo H200".
- Follow the on-screen instructions in the app to complete the pairing process. This typically involves confirming the LED status and connecting to the hub's temporary Wi-Fi network if prompted.
3.4 Insert MicroSD Card (Optional)
The Tapo H200 supports local storage for recorded videos from connected cameras or video doorbells, up to 512 GB. A microSD card is not included and must be purchased separately.
- Locate the microSD card slot on the back of the Tapo H200 Smart Hub.
- Carefully insert a compatible microSD card into the slot until it clicks into place.
- In the Tapo app, navigate to the hub's settings to format the microSD card if prompted. This ensures proper functionality.
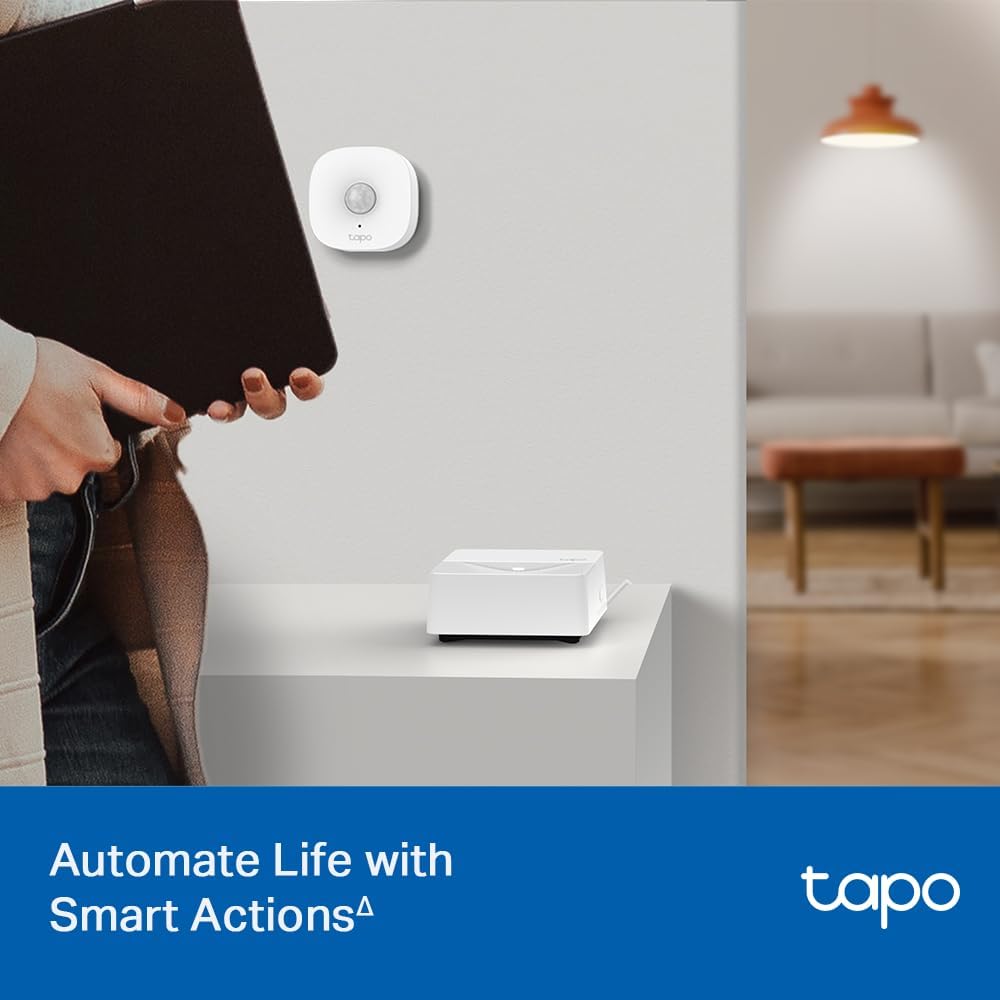
Image: A close-up of the Tapo H200 Smart Hub's rear, showing a microSD card being inserted into the designated slot, highlighting the local storage feature.
4. Operating Instructions
4.1 Connecting Smart Devices
The Tapo H200 Smart Hub can connect up to 64 switches, sensors, or buttons, and 4 cameras or doorbells. Ensure your devices are compatible with the Tapo ecosystem and the Sub-1G low-power wireless protocol.
- In the Tapo app, select your H200 Smart Hub.
- Tap "Add Device" or navigate to the device management section.
- Follow the app's instructions to put your new smart device into pairing mode and connect it to the hub.

Image: An illustration depicting the Tapo H200 Smart Hub as the central unit connecting to multiple smart devices, including cameras, sensors, and doorbells, across different rooms in a home.
4.2 Using the Smart Alarm and Chime
The built-in chime can be configured to act as an alarm or doorbell chime based on events from connected devices.
- Smart Alarm: Configure rules in the Tapo app to trigger the alarm when motion is detected by a connected camera (e.g., Tapo C420, C400) or sensor.
- Doorbell Chime: Pair with a compatible video doorbell (e.g., Tapo D230) to sound the chime when a visitor presses the doorbell.
You can customize ringtones and adjust the volume (up to 90dB) through the Tapo app settings for the H200 hub.

Image: A person's finger pressing a Tapo video doorbell button, with a wireless signal icon pointing towards the Tapo H200 Smart Hub, illustrating its function as a chime.
4.3 Local Video Storage
When a microSD card is installed, the Tapo H200 can store recorded videos from connected Tapo cameras and video doorbells locally.
- Access recorded videos through the Tapo app's playback feature for your cameras or doorbells.
- Ensure the microSD card is formatted correctly via the app for optimal performance.
4.4 Smart Actions and Automation
Create custom automation rules (Smart Actions) within the Tapo app to link your devices and automate tasks.
- Example: Turn on a smart light when a motion sensor detects movement.
- Example: Receive notifications when a door/window sensor is opened.

Image: A user interacting with a laptop displaying a security camera feed, with the Tapo H200 Smart Hub positioned on a table, demonstrating remote monitoring and control.
4.5 Voice Control Integration
The Tapo H200 Smart Hub supports voice control through Amazon Alexa and Google Home for hands-free operation of connected devices.
- Link your Tapo account to your Amazon Alexa or Google Home app.
- Discover devices connected to your Tapo H200 hub.
- Use voice commands to control lights, view camera feeds (on compatible displays), and activate scenes.
5. Maintenance
5.1 Firmware Updates
Regularly check for and install firmware updates through the Tapo app to ensure optimal performance, security, and access to new features.
- Open the Tapo app.
- Navigate to the settings for your Tapo H200 Smart Hub.
- Look for a "Firmware Update" option and follow the prompts.
5.2 Cleaning the Device
To clean the Tapo H200 Smart Hub:
- Ensure the device is unplugged from the power source.
- Use a soft, dry cloth to wipe the exterior.
- Do not use liquid cleaners or aerosol sprays.
5.3 Resetting the Hub
If you encounter issues or wish to reconfigure the hub, you can perform a factory reset.
- Locate the Reset button on the back of the Tapo H200 Smart Hub.
- With the hub powered on, use a paperclip or similar pointed object to press and hold the Reset button for approximately 5 seconds until the LED indicator changes.
- The hub will restart, and its settings will revert to factory defaults. You will need to set it up again through the Tapo app.
6. Troubleshooting
6.1 Hub Not Connecting to Wi-Fi
- Ensure your Wi-Fi network is 2.4GHz. The Tapo H200 does not support 5GHz Wi-Fi.
- Verify the Wi-Fi password is correct.
- Place the hub closer to your Wi-Fi router.
- Restart your router and the Tapo H200 hub.
- If using a wired connection, ensure the Ethernet cable is securely connected to both the hub and your router.
6.2 Devices Not Connecting to Hub
- Ensure the devices are compatible with the Tapo H200 Smart Hub and use the Sub-1G low-power wireless protocol.
- Bring the device closer to the hub during the pairing process.
- Check the device's battery level if it is battery-powered.
- Reset the individual smart device and attempt pairing again.
6.3 MicroSD Card Not Detected or Recording
- Ensure the microSD card is inserted correctly and fully into the slot.
- Verify the microSD card is compatible and not larger than 512 GB.
- Format the microSD card through the Tapo app.
- Try a different microSD card to rule out card issues.
6.4 Chime Not Sounding
- Check the volume settings for the chime in the Tapo app.
- Verify that the Smart Action or doorbell pairing is correctly configured.
- Ensure the connected device (camera, doorbell, sensor) is functioning correctly and triggering events.
7. Specifications
| Feature | Detail |
|---|---|
| Brand | Tapo |
| Model Number | Tapo H200 |
| Color | White |
| Dimensions (L x W x H) | 2.81 x 2.81 x 1.23 inches |
| Item Weight | 73 Grams (2.57 ounces) |
| Control Method | App, Voice (Amazon Alexa, Google Home) |
| Connectivity | 2.4GHz Wi-Fi, Sub-1G Low-Power Wireless Protocol |
| Device Capacity | Up to 64 Smart Switches/Sensors/Buttons + 4 Cameras/Doorbells |
| Local Storage | MicroSD card slot, up to 512 GB (card not included) |
| Included Components | 1x Tapo H200, 1x RJ45 Ethernet Cable, 1x Power Adapter, Quick Start Guide |
| UPC | 840030709548 |
8. Warranty and Support
For warranty information and technical support, please refer to the official Tapo website or contact customer service.
- Support Website: tapo.com/support/
- Contact Information: Refer to the Quick Start Guide or Tapo app for regional support details.

Image: Tapo support details, including a phone number (866) 225-8139, website (myproducts.tp-link.com/us), and email (support.USA@tp-link.com).
TP-Link offers various protection plans for their products. For details on available protection plans, please visit the product page on Amazon or the official Tapo website.


