
1. Introduction
This manual provides essential information for the proper installation, operation, and maintenance of your Faria 60 PSI Water Pressure Gauge, model GE0168A. Please read these instructions carefully before proceeding with installation or use to ensure optimal performance and longevity of the product.
2. Product Overview
The Faria 60 PSI Water Pressure Gauge (Part Number GE0168A / F21003) is designed for marine applications to accurately display water pressure. This electronically illuminated gauge features a distinctive Black Fade series design, including a domed lens, a black and white face, a silver-colored bezel, black lettering and numerals with white accents, and a prominent red needle for clear readings.
3. Specifications
| Specification | Detail |
|---|---|
| Part Number | GE0168A / F21003 |
| Series | Black Fade |
| Manufacturer Size | 2 inches |
| Overall Dimensions | 2 1/4" OD (Outer Diameter, including bezel) x 3 1/2" D (Depth) |
| Cutout Diameter | Approximately 2 1/8" |
| Connections | (2) Threaded Bolt, (2) 4-Pin Metri Pack |
| Material | Plastic |
| Item Weight | 0.31 Pounds |
4. Setup and Installation
Proper installation is crucial for the accurate function of your water pressure gauge. A mounting bracket is included with the gauge.
4.1 Mounting
- Select a suitable location on your boat's dashboard or panel for the gauge.
- Ensure there is sufficient clearance behind the panel for the gauge's depth (3 1/2 inches).
- Using appropriate tools, create a circular cutout with an approximate diameter of 2 1/8 inches.
- Insert the gauge into the cutout and secure it using the provided mounting bracket.
4.2 Electrical Connections
The gauge features two threaded bolt connections and two 4-pin Metri Pack connections on its rear. These are for power, ground, signal, and illumination.
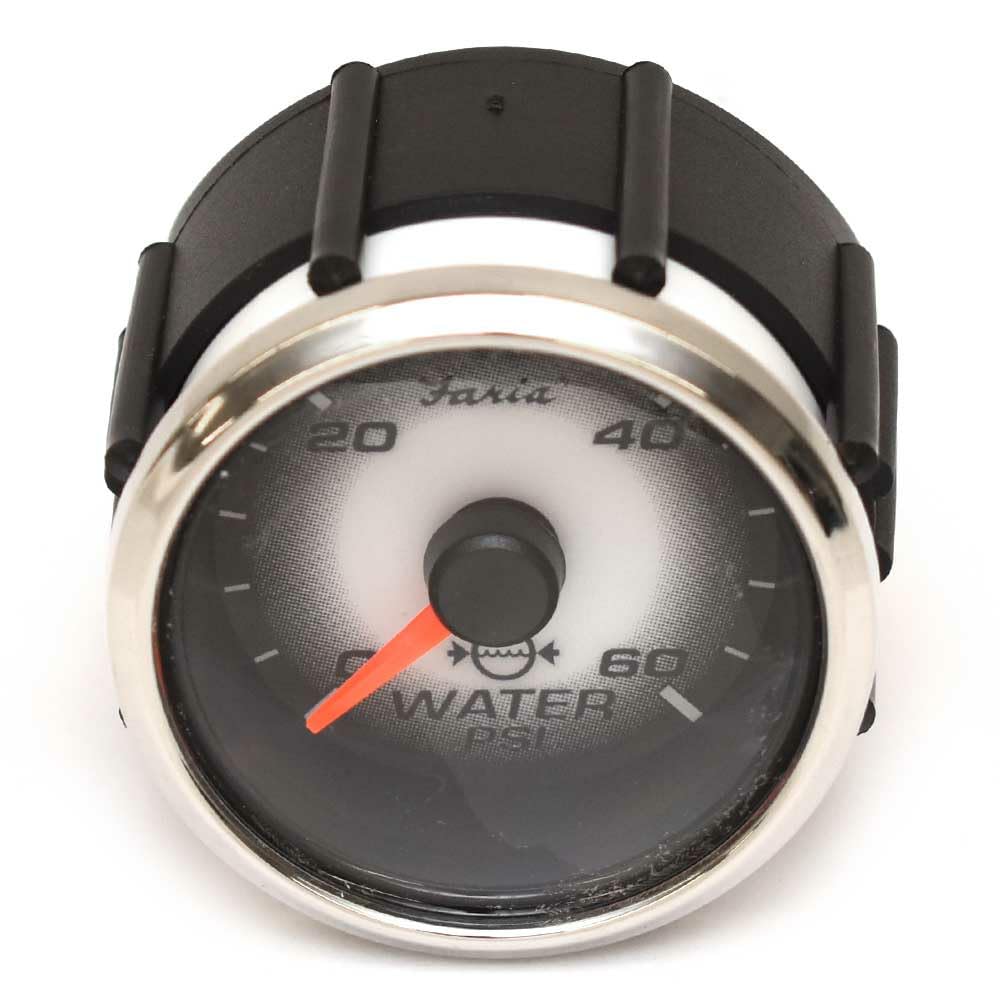
Image: Rear view of the Faria 60 PSI Water Pressure Gauge. This image displays the back of the gauge, clearly showing the two brass-colored threaded bolt terminals for power and ground connections, and two white 4-pin Metri Pack connectors for signal and illumination wiring. The black mounting plate is also visible.
Important Note: A wiring diagram is NOT included with this product. You will need to consult a qualified marine electrician or a Faria dealer for the proper pin and wiring sequencing specific to your vessel's electrical system and the gauge's requirements. Incorrect wiring can damage the gauge or your boat's electrical system.
5. Operating Instructions
Once properly installed and wired, the Faria 60 PSI Water Pressure Gauge will automatically display the water pressure when the boat's engine is running and the associated systems are active. The gauge is electronically illuminated for visibility in various lighting conditions.
6. Maintenance
To ensure the longevity and clear readability of your gauge, follow these simple maintenance guidelines:
- Cleaning: Gently wipe the gauge face and bezel with a soft, damp cloth. Avoid using abrasive cleaners or solvents, as these can damage the lens or finish.
- Inspection: Periodically check all electrical connections to ensure they are secure and free from corrosion. Address any loose or corroded connections promptly.
- Environmental Protection: While designed for marine environments, protecting the gauge from prolonged direct exposure to harsh elements when not in use (e.g., with a boat cover) can extend its lifespan.
7. Troubleshooting
If your Faria water pressure gauge is not functioning as expected, consider the following basic troubleshooting steps:
- No Reading / No Illumination:
- Check all power and ground connections for tightness and corrosion.
- Verify that the boat's electrical system is supplying power to the gauge.
- Ensure the illumination circuit is receiving power (if applicable).
- Inaccurate Reading:
- Confirm that the water pressure sender unit (not included with gauge) is correctly installed and functioning.
- Check the signal wire connection between the sender and the gauge.
- Gauge Fogging:
- Minor fogging can occur due to temperature changes. If persistent, ensure the gauge is properly sealed in its mounting location to prevent moisture ingress.
If these steps do not resolve the issue, it is recommended to consult a qualified marine technician or Faria dealer for further diagnosis and repair.
8. Warranty and Support
Specific warranty terms and customer support contact information are not provided within this instruction manual. For details regarding warranty coverage or technical assistance, please refer to the product packaging, your point of purchase, or contact Faria Beede Instruments directly through their official channels.


