
1. Introduction
This manual provides essential information for the safe installation, operation, and maintenance of your DEALGADGETS 12-inch Flat LED Flush Mount Ceiling Light Fixture. Please read these instructions thoroughly before installation and retain them for future reference.
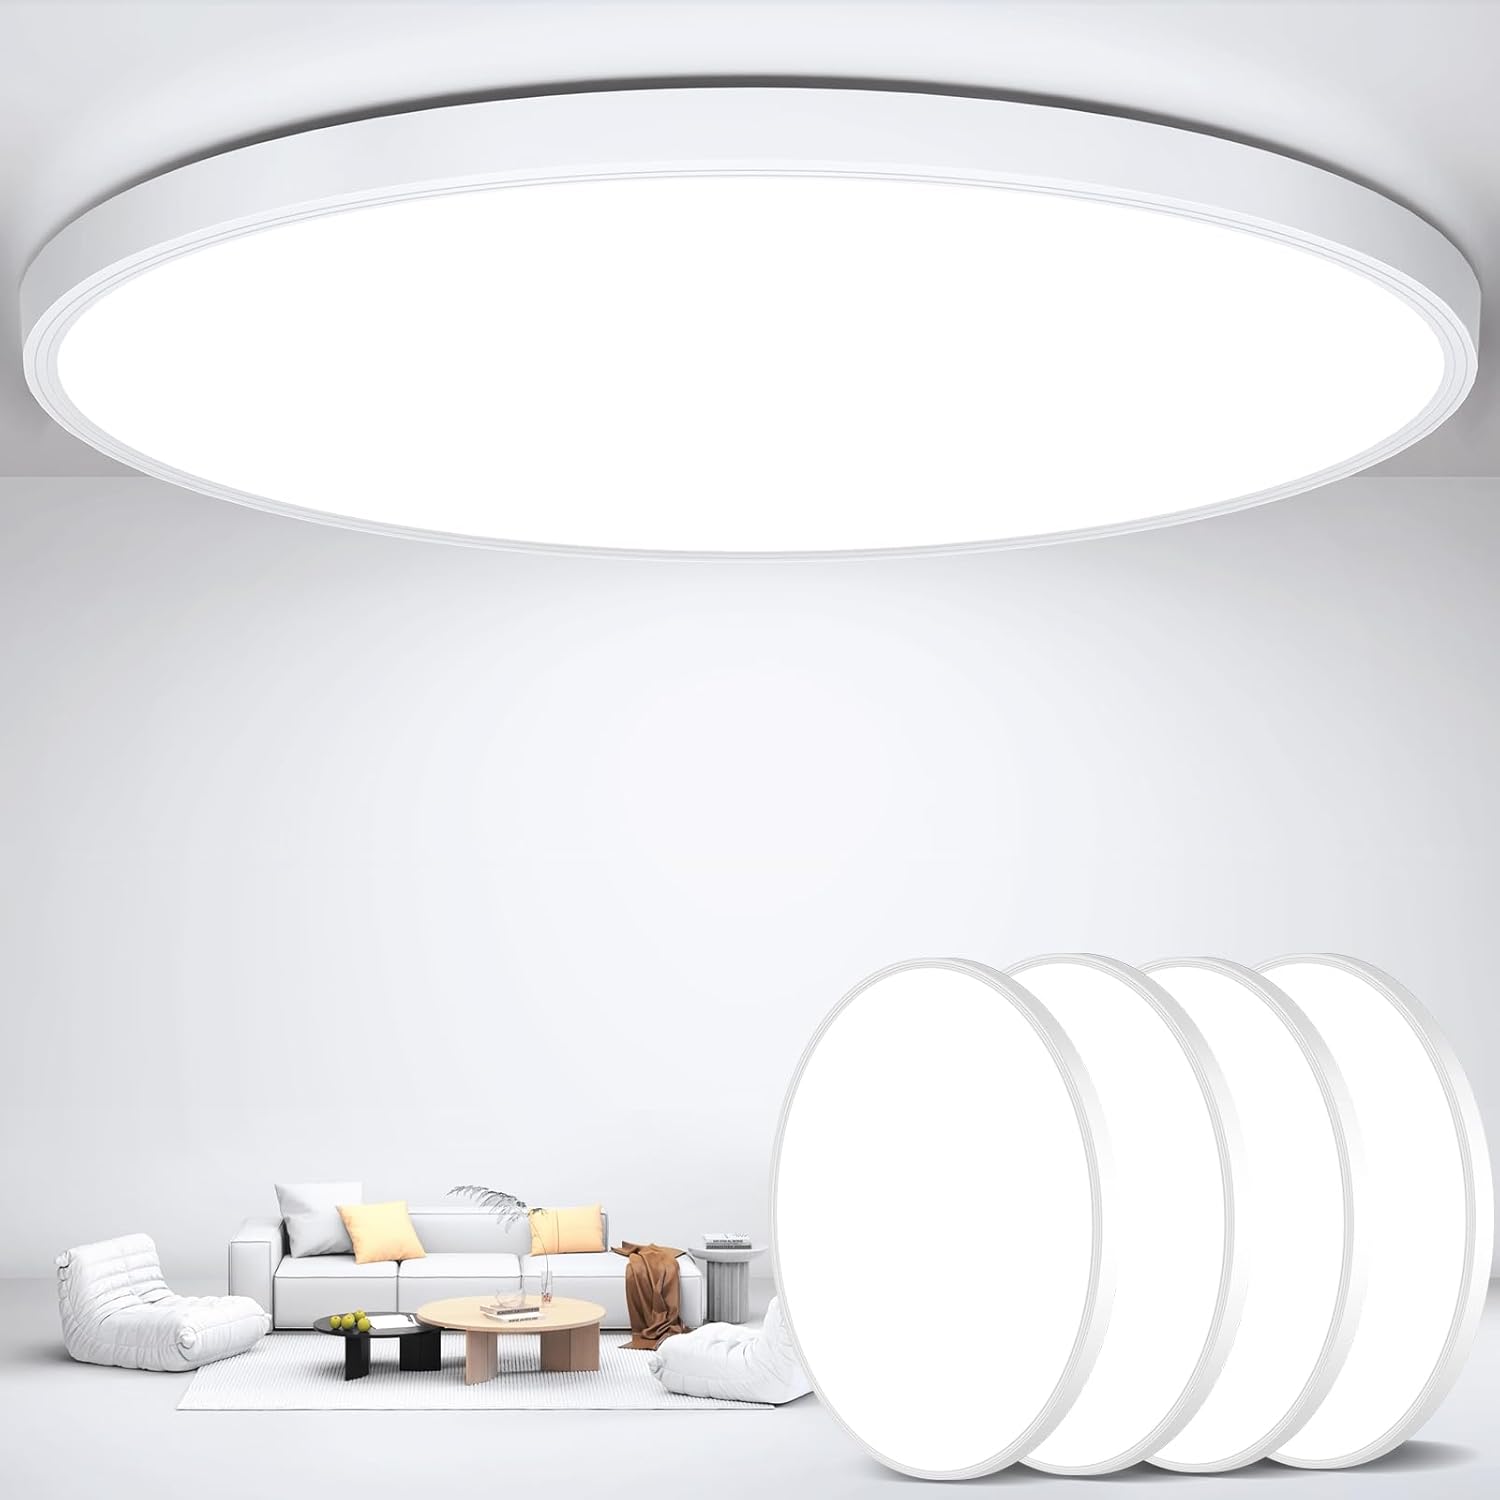
Image 1.1: The DEALGADGETS 12-inch Flat LED Flush Mount Ceiling Light Fixture in a living room setting.
2. Safety Information
WARNING: To reduce the risk of fire, electric shock, or personal injury, always follow these basic safety precautions:
- Always disconnect power at the circuit breaker or fuse box before installation or servicing.
- Consult a qualified electrician if you are unsure about the installation process.
- Ensure all electrical connections are made in accordance with local codes, ordinances, and the National Electric Code (NEC).
- Do not install this fixture in areas where it may be exposed to direct water spray or submersion, despite its IP44 rating for damp locations.
- Handle the fixture with care to avoid damage. Do not modify the fixture in any way.
- This fixture is designed for indoor use.
3. Package Contents
Verify that all components are present and undamaged before beginning installation. If any parts are missing or damaged, contact DEALGADGETS customer support.
- LED Ceiling Light Fixture (1 unit per package, or 4 units for the 4PCS-12Inch variant)
- Mounting Screws (x4)
- Expansion Tubes (x4)
- Fixed Bracket (x1)

Image 3.1: Product dimensions and included accessories.
4. Specifications
| Feature | Specification |
|---|---|
| Brand | DEALGADGETS |
| Model Number | XDD015-V1 |
| Part Number | YLXDD420-30W |
| Dimensions (L x W x H) | 12" x 12" x 0.94" (30cm x 30cm x 2.4cm) |
| Weight | 0.98 Pounds (approx. 15.7 ounces) |
| Color | White |
| Material | Plastic |
| Light Source Type | LED |
| Wattage | 28 Watts |
| Brightness | 3200 Lumens |
| Color Temperature | 6500 Kelvin (Cool White) |
| Color Rendering Index (CRI) | CRI 80+ |
| Voltage | 120 Volts |
| Installation Type | Flush Mount / Surface Mount |
| Water Resistance Level | IP44 (Waterproof for damp locations) |
| Lifespan | Up to 25,000 hours |
| Control Method | Push Button (Wall Switch) |
| Special Feature | Energy Efficient, Eye Protection, No Flicker |
Image 4.1: Key performance indicators of the light fixture (28W, CRI 80+, 6500K, 3200LM).

5. Installation Guide
This fixture is designed for easy installation. No complex electrician skills are required, but basic electrical knowledge is recommended. Always ensure power is disconnected before starting.
Tools Required (Not Included):
- Screwdriver (Phillips head)
- Drill (if mounting to drywall/concrete)
- Wire strippers
- Electrical tape
- Safety glasses
Installation Steps:
- Turn Off Power: Locate the circuit breaker controlling the light fixture location and turn it OFF. Verify power is off using a voltage tester.
- Prepare Mounting Surface: If replacing an existing fixture, carefully remove it. Ensure the junction box is securely mounted and can support the weight of the new fixture.
- Install Fixed Bracket: Position the fixed bracket over the junction box. Use the provided mounting screws and expansion tubes (if needed for drywall/concrete) to securely attach the bracket to the ceiling. Ensure the bracket is firm and stable.
- Connect Wiring: Carefully connect the electrical wires. Typically, connect the live (black) wire from the ceiling to the live wire of the fixture, and the neutral (white) wire from the ceiling to the neutral wire of the fixture. Secure connections with wire nuts and electrical tape. This fixture does not require a ground wire.
- Mount the Fixture: Align the LED ceiling light fixture with the installed fixed bracket. Gently twist the fixture onto the base until it is securely locked in place. Ensure there are no gaps between the fixture and the ceiling.
- Restore Power: Once the fixture is securely mounted, turn the power back ON at the circuit breaker. Test the light fixture to ensure it functions correctly.
6. Operating Instructions
The DEALGADGETS 12-inch Flat LED Flush Mount Ceiling Light Fixture operates via a standard wall switch. It is designed for simple on/off functionality.
- Power On/Off: Use your existing wall switch to turn the light fixture on or off.
- Non-Dimmable: This fixture is not dimmable. Do not connect it to a dimmer switch, as this may cause damage to the fixture or improper operation.
- Light Output: The fixture provides a consistent 6500K cool white light at 3200 lumens.
7. Maintenance
Regular maintenance helps ensure the longevity and optimal performance of your light fixture.
- Cleaning: Ensure the power is off before cleaning. Wipe the fixture with a soft, dry, or slightly damp cloth. Do not use abrasive cleaners, solvents, or harsh chemicals, as these can damage the finish or electrical components.
- No Bulb Replacement: The LED bulbs are permanently installed and do not require replacement.
- Inspection: Periodically inspect the fixture for any signs of damage or loose connections. If any issues are found, disconnect power and consult a qualified electrician or contact customer support.
8. Troubleshooting
If you encounter issues with your light fixture, refer to the following common problems and solutions:
| Problem | Possible Cause | Solution |
|---|---|---|
| Light does not turn on | No power to the fixture Loose wiring connection Faulty wall switch | Check circuit breaker/fuse. Ensure wall switch is ON. Verify all wire connections are secure (with power off). Test wall switch or replace if faulty. |
| Light flickers | Loose wiring connection Incompatible dimmer switch (if mistakenly installed) Power fluctuations | Check all wire connections (with power off). Ensure no dimmer switch is used, as this fixture is non-dimmable. Consult an electrician for power supply issues. |
| Light is dim | Not applicable (fixture provides consistent 3200LM) Power supply issue | This fixture is designed for a fixed brightness. If it appears unusually dim, check power supply or consult an electrician. |
| Fixture makes buzzing noise | Loose wiring Incompatible dimmer switch | Ensure all wiring is secure. Confirm no dimmer switch is connected. |
If the problem persists after attempting these solutions, please contact DEALGADGETS customer support.
9. Warranty and Support
For warranty information or technical support, please refer to the documentation included with your purchase or contact DEALGADGETS customer service directly through the retailer where the product was purchased. Please have your model number (XDD015-V1) and purchase date available when contacting support.