
Fanttik S1 Pro Screwdriver Kit & X8 Portable Tire Inflator
Fanttik NEX S1 Pro Cordless Electric Screwdriver Kit & X8 Portable Tire Inflator User Manual
Brand: Fanttik
Introduction
This user manual provides detailed instructions for the safe and effective operation, setup, and maintenance of your Fanttik NEX S1 Pro Cordless Electric Screwdriver Kit and Fanttik X8 Portable Tire Inflator. Please read this manual thoroughly before using the products and keep it for future reference.
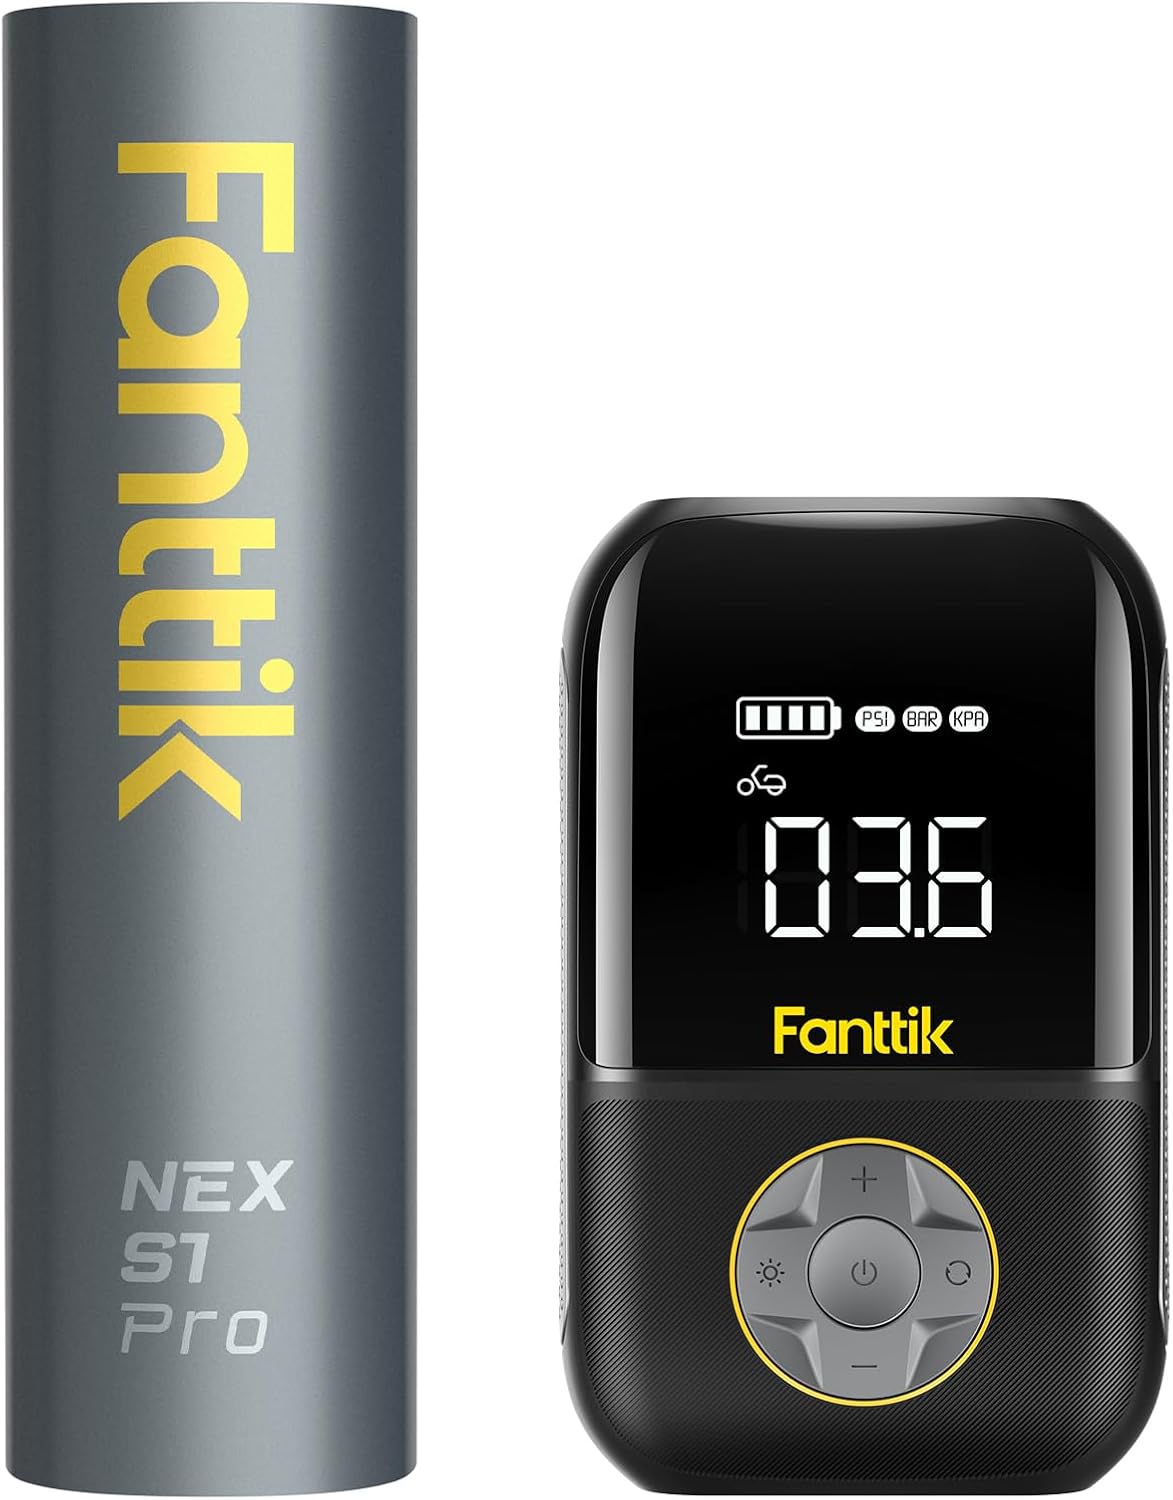
Image: The Fanttik NEX S1 Pro Cordless Electric Screwdriver (left, in its cylindrical case) and the Fanttik X8 Portable Tire Inflator (right, with a digital display) are shown together, highlighting their compact design.
Fanttik NEX S1 Pro Cordless Electric Screwdriver
Product Features
- Top-Notch Performance: Equipped with 3 torque levels (1.5/3/4.2 N.m) and a maximum hard torque of 6 N.m, plus a manual torque of 8 N.m. Features an immediate stop function when the finger lifts, providing precise control for various tasks.
- 16-in-1 Metal Bits: Includes 16 bits across 5 categories, made from coated S2 hardened steel for durability and long service life.
- Powerful Chargeable Battery: Built-in 2000mAh long-lasting battery, capable of driving approximately 1300 screws on a full charge. Features a convenient outward-facing Type-C charging port and an intuitive power indicator.
Setup and Operation
The Fanttik NEX S1 Pro is designed for ease of use in assembly and repair tasks.
- Charging: Connect the included Type-C cable to the screwdriver's charging port and a suitable USB power adapter. The power indicator at the bottom will show charging status.
- Bit Installation: Select the appropriate bit from the 16-in-1 set. The screwdriver features a reliable magnetic design for secure bit attachment.
- Torque Selection: Adjust the torque level (1.5/3/4.2 N.m) as needed for your task. For tougher applications, the screwdriver offers a max hard torque of 6 N.m and a manual torque of 8 N.m.
- Usage: Press the activation button to operate. The screwdriver stops immediately upon release for precise control.
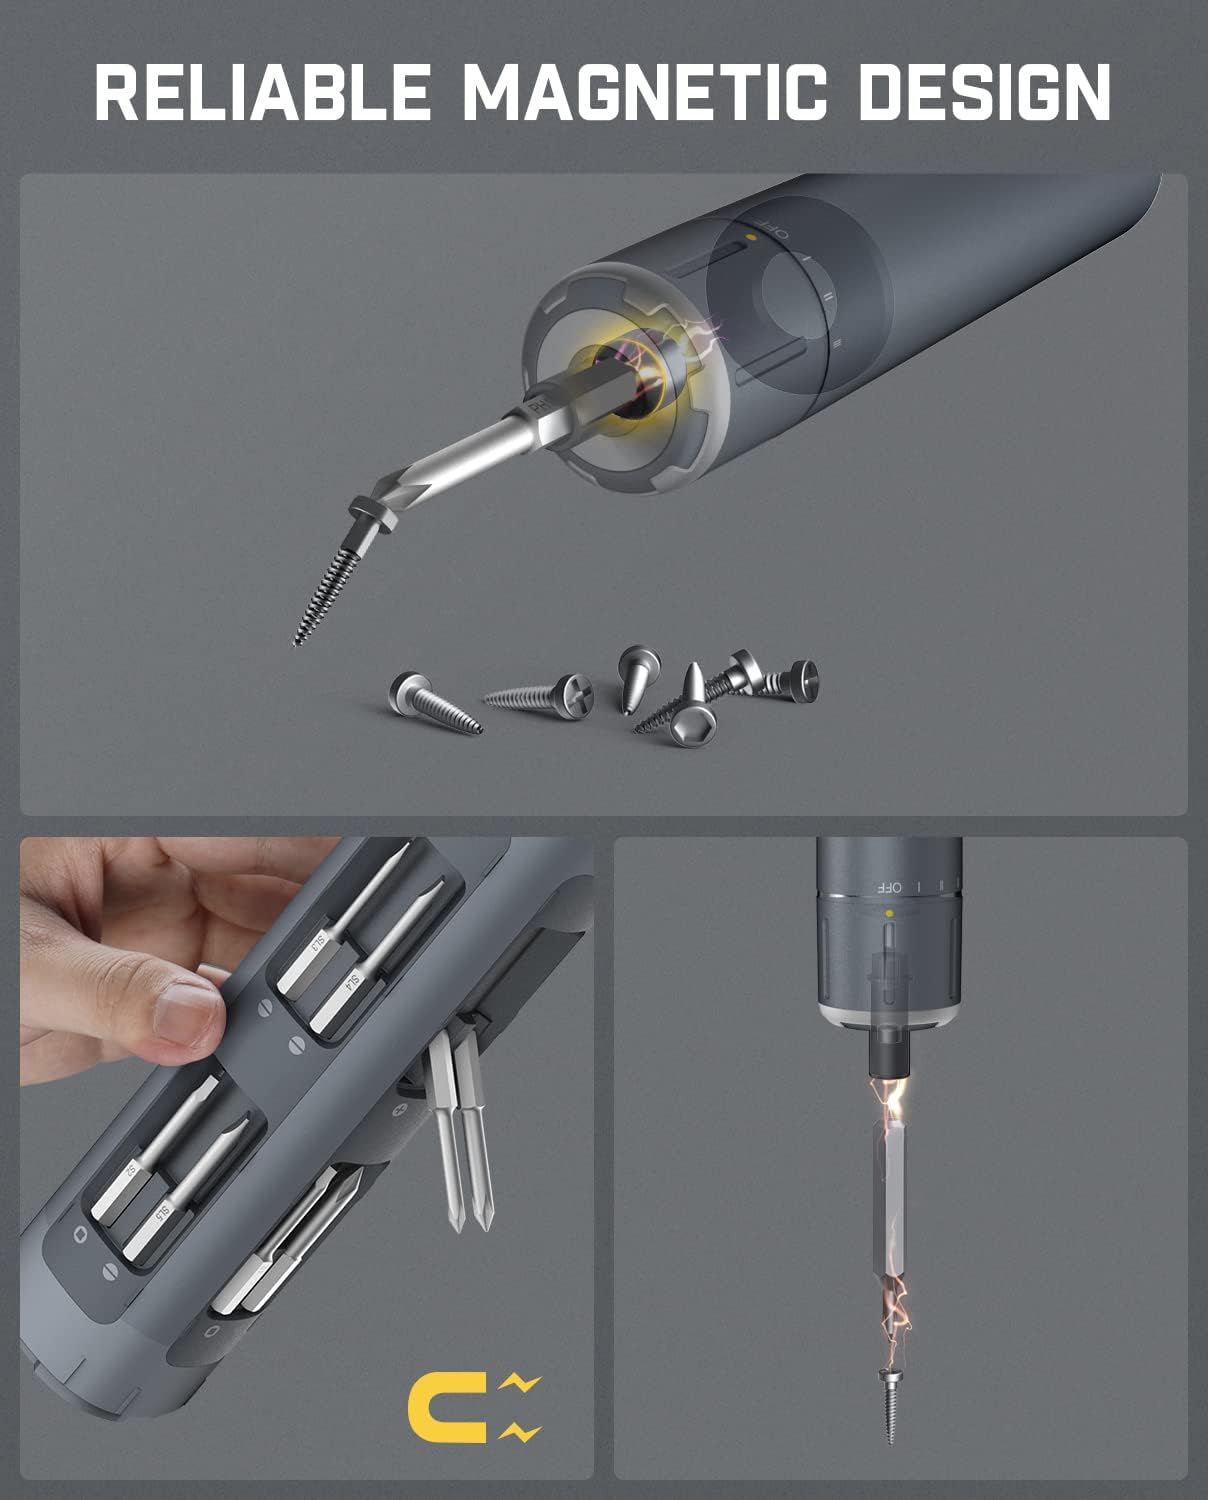
Image: A detailed view of the Fanttik NEX S1 Pro screwdriver, illustrating its reliable magnetic design for holding bits securely and the internal mechanism for driving screws.
Maintenance
- Keep the screwdriver and bits clean and dry.
- Store in a cool, dry place away from direct sunlight and extreme temperatures.
- Ensure bits are free from debris before storage to maintain their integrity.
Troubleshooting
- Screwdriver not turning on: Check battery level. Recharge if necessary.
- Reduced power: Battery may be low. Charge the device fully.
- Bit slipping: Ensure the correct bit is used for the screw type and that it is fully inserted into the magnetic holder.
S1 Pro Specifications
| Feature | Detail |
|---|---|
| Torque Levels | 1.5 / 3 / 4.2 N.m (Electric) |
| Max Hard Torque | 6 N.m |
| Manual Torque | 8 N.m |
| Battery Capacity | 2000mAh |
| Charging Port | Type-C |
| Bits Included | 16 (S2 hardened steel) |
| Head Style | Hex, Flat, Phillips, Tri-Wing, and others |
| Material | Alloy Steel |

Image: An illustration of the Fanttik NEX S1 Pro's internal battery, highlighting its 2000mAh capacity, Type-C charging, and ability to drive 1300 screws on a full charge.

Image: A comparison showing the superior "Planetary Gear Train" design of the Fanttik NEX S1 Pro, indicating higher loading capacity and durability compared to a standard spur gear train.
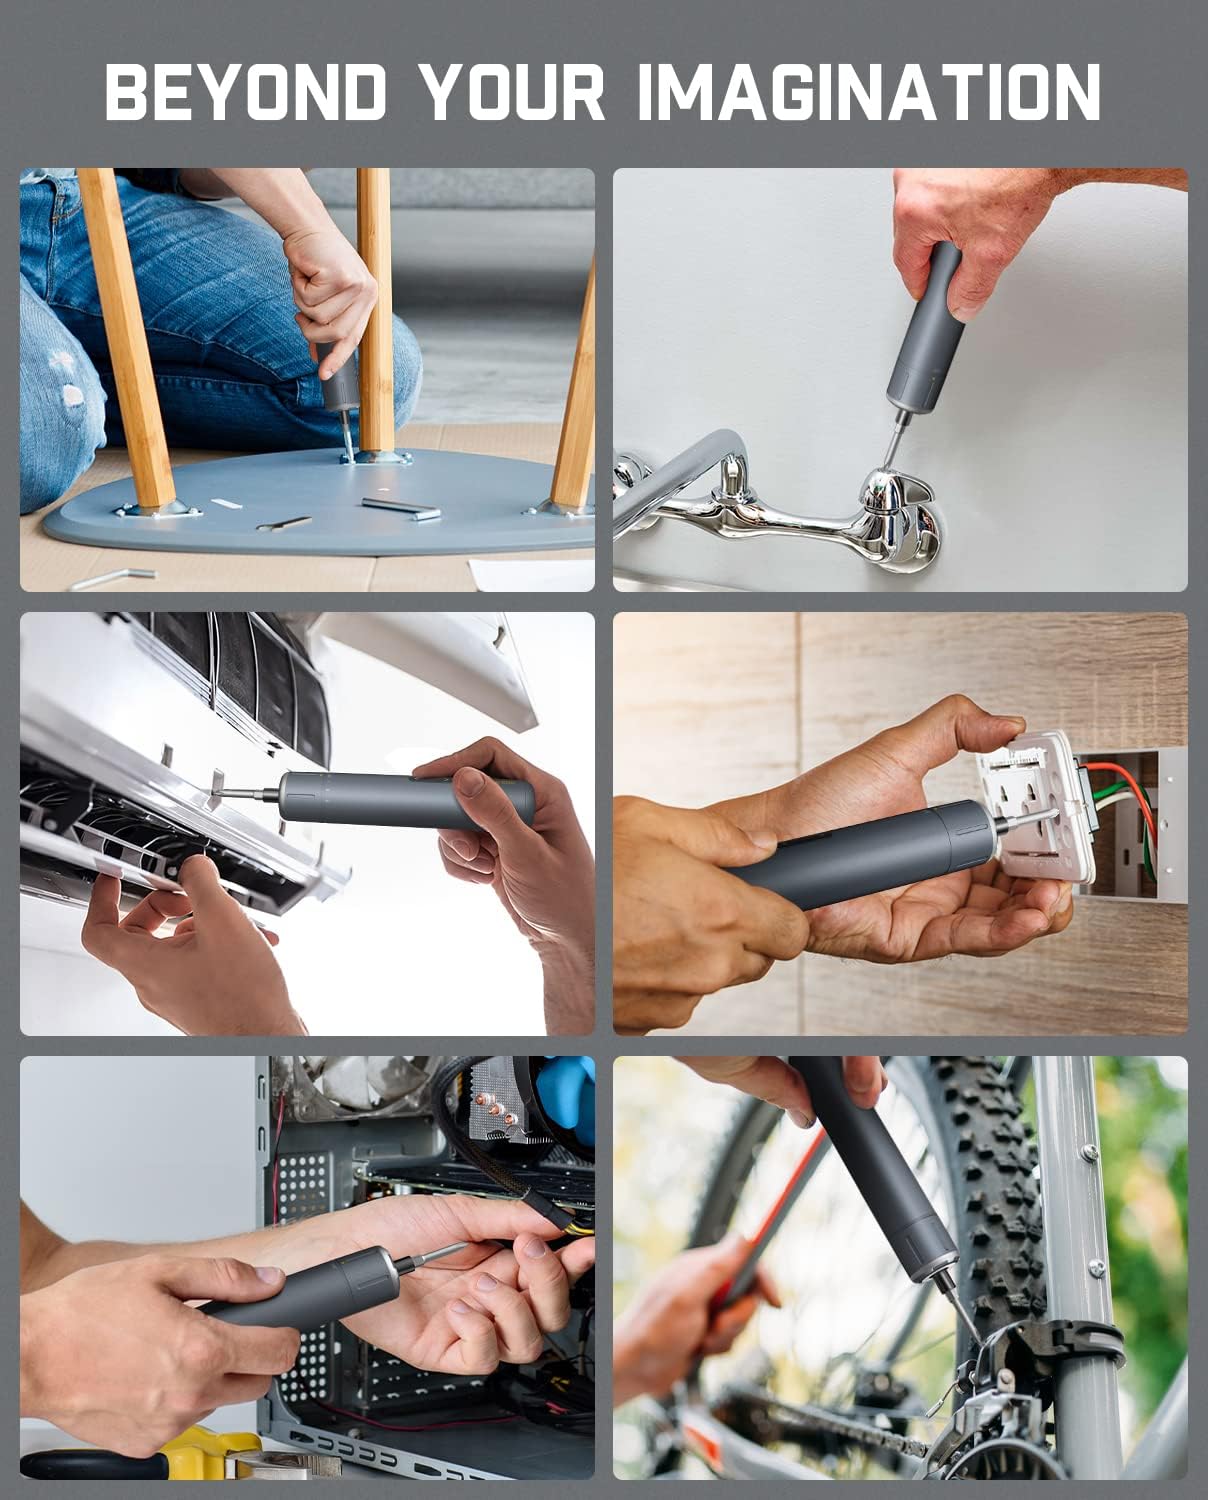
Image: Demonstrations of the Fanttik NEX S1 Pro screwdriver being used for various tasks, including furniture assembly, faucet repair, air conditioner maintenance, socket board installation, computer repair, and bicycle adjustments.
Fanttik X8 Portable Tire Inflator
Product Features
- Pocket-Sized Design: Weighs only 1.2 pounds (544g), making it ultra-lightweight and easy to hold in one hand. Its compact design allows for easy storage in a pocket, bicycle rack, car, or backpack.
- Easy to Use: Features a large LED screen displaying 4 types of preset inflation modes. A manual mode allows setting a custom pressure value, with automatic stop at the desired pressure.
Setup and Operation
The Fanttik X8 is designed for quick and convenient inflation of various items.
- Charging: Ensure the X8 is sufficiently charged before use.
- Connecting the Hose: Attach the inflation hose securely to the inflator and the valve of the item you wish to inflate.
- Selecting Mode: Use the controls to select one of the 4 preset inflation modes (e.g., motorcycle, car, bicycle, ball) or choose manual mode to set a custom pressure. The large LED screen clearly displays the selected mode and current pressure.
- Starting Inflation: Press the start button. The inflator will automatically stop once the preset or manually set pressure is reached.
- Adapters: The X8 comes with various adapters for versatile use, including Presta valve adapter, American valve, ball needle adapter, and nozzle adapter.

Image: The Fanttik X8 Portable Tire Inflator shown next to a tire, highlighting its large digital screen that displays pressure readings and mode selections for easy readability.

Image: An illustration demonstrating the cordless fast inflation capability of the Fanttik X8, showing it inflating a motorcycle tire from 28 PSI to 35 PSI in approximately 37 seconds.

Image: A visual guide showing the different adapters included with the Fanttik X8 Portable Tire Inflator: Presta valve adapter, American valve, ball needle adapter, and nozzle adapter, illustrating its versatility for various inflation needs.
Maintenance
- Keep the inflator clean and free from dust and debris.
- Store the hose and adapters properly to prevent damage.
- Charge the device periodically if not in regular use to maintain battery health.
Troubleshooting
- Inflator not turning on: Check battery level. Recharge if necessary.
- Not inflating: Ensure the hose is securely connected to both the inflator and the item's valve. Check for leaks.
- Inaccurate pressure reading: Ensure the connection is tight and the correct mode is selected.
X8 Specifications
| Feature | Detail |
|---|---|
| Weight | 1.2 pounds (544g) |
| Display | Large LED Screen |
| Inflation Modes | 4 Preset, 1 Manual |
| Power Source | Battery Powered |
| Applications | Motorcycle (26-43PSI), Car (26-50PSI), Bicycles (30-145PSI), Ball (4-16PSI) |

Image: The Fanttik X8 Portable Tire Inflator displayed with various vehicles and a ball, indicating its wide range of applications for inflating motorcycles, cars, bicycles, and sports balls, along with their typical pressure ranges.
General Safety Information
- Always read and understand all instructions before operating the products.
- Keep products away from children and pets.
- Do not expose products to water or extreme temperatures.
- Use only manufacturer-approved accessories and replacement parts.
- Do not attempt to disassemble or repair the products yourself. Contact customer support if service is required.
- Ensure proper ventilation when charging to prevent overheating.
Warranty and Support
For warranty information, technical support, or service inquiries, please refer to the official Fanttik website or contact their customer service directly. Keep your purchase receipt as proof of purchase.
You can visit the Fanttik Store for more information: Fanttik Official Store
Ask a question about this manual
Ask about setup, troubleshooting, compatibility, parts, safety, or missing instructions. Manuals+ will review the question and use this page’s manual context to help answer it.