
JUMMICO 1354165
JUMMICO L Shaped Gaming Desk Instruction Manual
Model: 1354165 | Brand: JUMMICO
Introduction
This manual provides detailed instructions for the assembly, operation, and maintenance of your JUMMICO L Shaped Gaming Desk. Please read this manual thoroughly before assembly and use to ensure proper function and safety. Keep this manual for future reference.
Safety Information
- Ensure all parts are present and undamaged before assembly. Do not use if any parts are missing or broken.
- Assemble the desk on a soft, clean surface to prevent scratches.
- Follow assembly steps precisely. Do not overtighten screws.
- Keep small parts away from children.
- Do not exceed the maximum load capacity of 250 pounds (113 kg).
- Regularly check all connections for tightness.
- Use the desk on a level surface to prevent tipping.
- Avoid placing hot items directly on the desk surface without protection.
For any concerns, contact JUMMICO customer service.
Package Contents
Before beginning assembly, verify that all components listed below are present.
| Component | Quantity | Description |
|---|---|---|
| Desktop Panels | 2 | L-shaped carbon fiber surface |
| Desk Legs (Z-frame) | 4 | Metal Z-shaped support legs |
| Monitor Stand | 1 | Removable stand for monitor placement |
| Assembly Hardware | 1 set | Screws, bolts, Allen wrench, etc. |
| Adjustable Foot Pads | 4 | For leveling the desk |
| Instruction Manual | 1 | This document |
Note: Small parts may be included in a separate bag.
Setup and Assembly
Assembly is recommended for two people. All necessary assembly tools are included.
Step 1: Unpack and Identify Parts
Carefully unpack all components and lay them out on a soft, clean surface to prevent damage. Compare with the "Package Contents" list to ensure all parts are present.
Step 2: Assemble Desk Legs
Attach the Z-shaped metal legs to the main desktop panels using the provided screws. Ensure the legs are oriented correctly as per the diagrams.
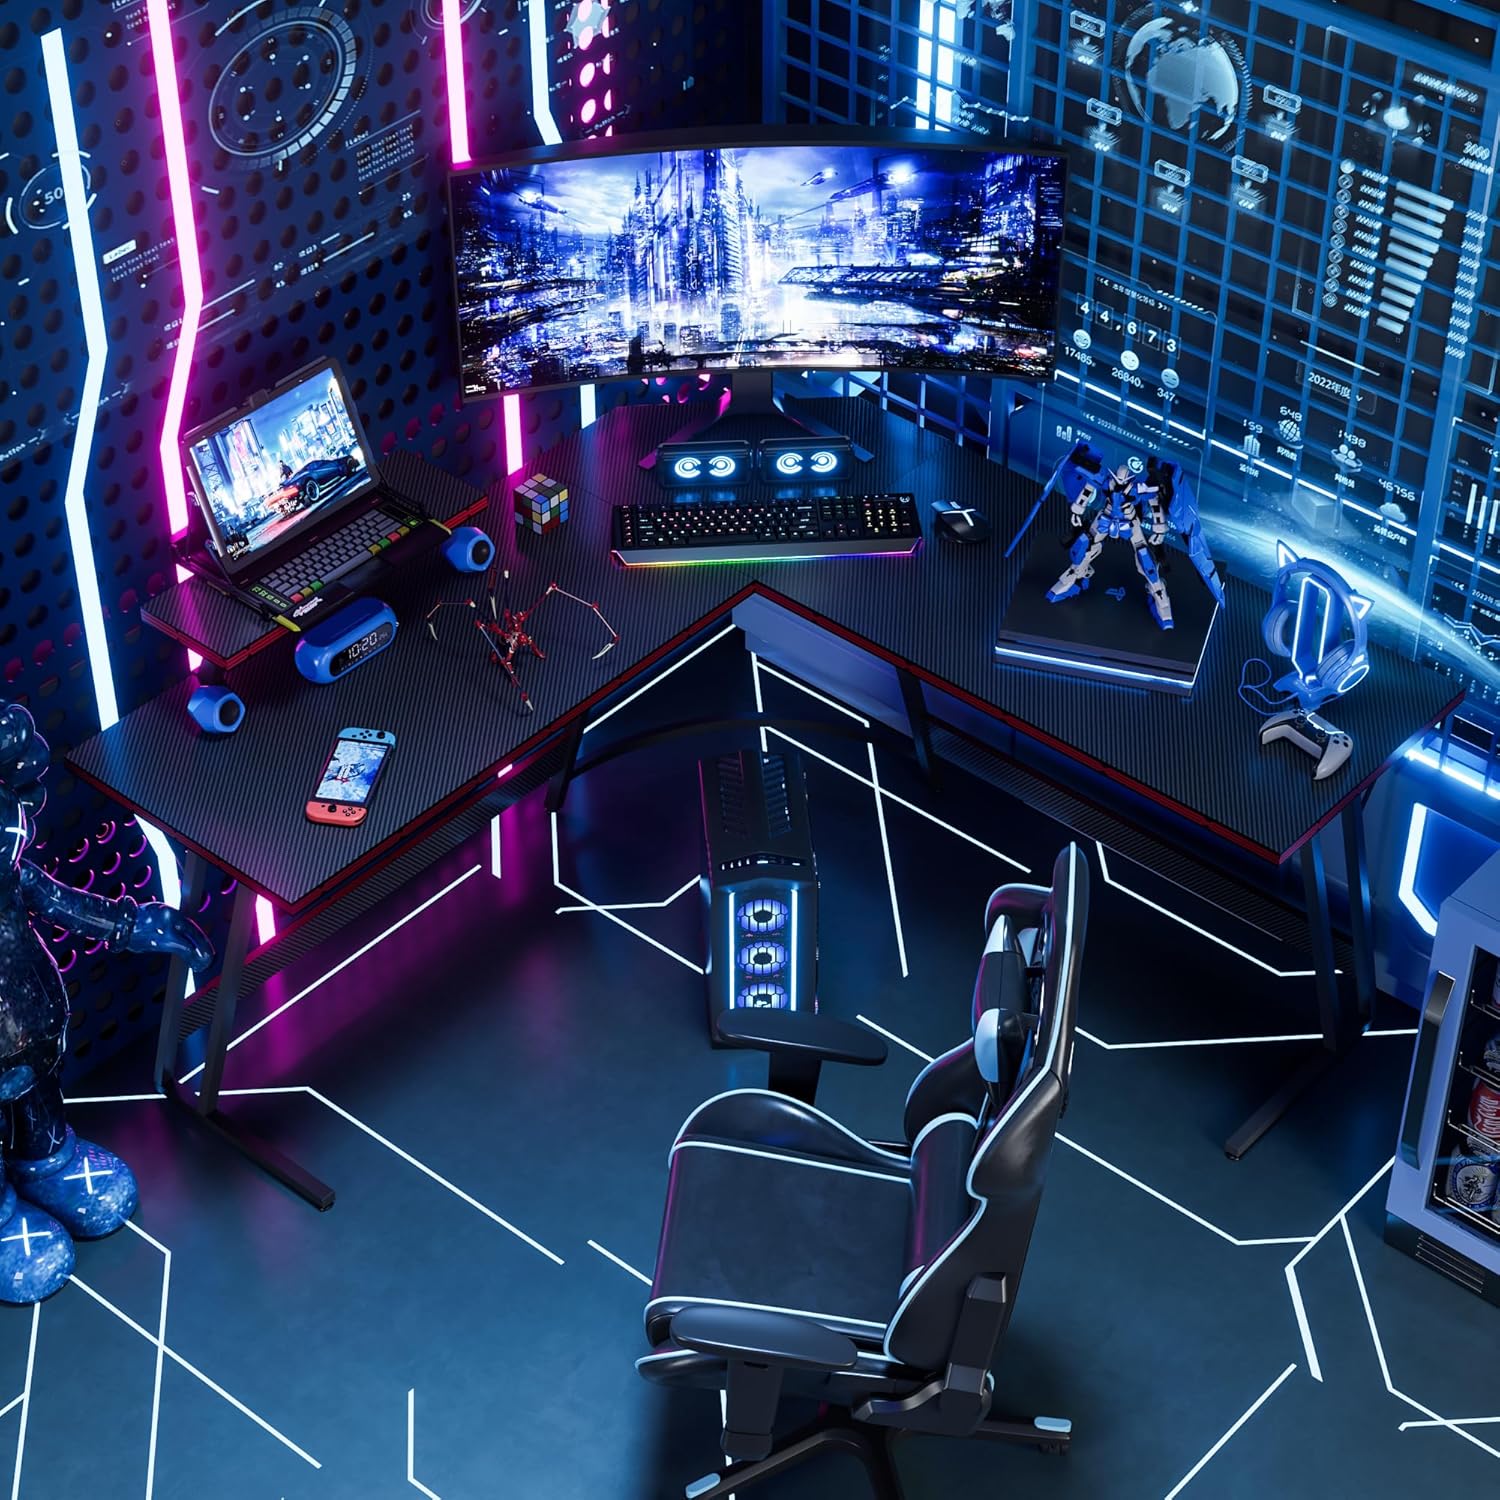
Image: Close-up view of the Z-shaped leg design, highlighting its stability.
Step 3: Connect Desktop Panels
Join the two desktop panels to form the L-shape. Secure them using the connecting hardware.

Image: A fully assembled JUMMICO L-shaped gaming desk, showcasing its corner fit and ample surface area for multiple monitors and gaming peripherals.
Step 4: Install Monitor Stand
The monitor stand is removable and can be fixed on any edge of the table, including the corner. Attach it to your desired position using the designated fasteners.

Image: Illustration demonstrating the flexibility of the removable monitor stand, which can be positioned on any edge of the desk.
Step 5: Adjust Foot Pads
Once the desk is assembled, adjust the foot pads at the bottom of each leg to level the desk and ensure stability on uneven floors.

Image: Detailed view of the adjustable foot pads, designed to provide stability and prevent wobbling on various floor surfaces.
Operating Instructions
Usage Recommendations
- Utilize the L-shaped design to maximize corner space in your room.
- Place monitors on the main desktop or use the removable monitor stand for elevated viewing.
- The carbon fiber surface is designed for durability and a smooth feel.
- Ensure proper posture when using the desk for extended periods.

Image: A visual guide demonstrating the importance of maintaining a correct sitting posture while using the desk, highlighting ergonomic benefits.
Maintenance
- Clean the desk surface regularly with a soft, damp cloth. Avoid abrasive cleaners.
- For the carbon fiber surface, use a mild, non-abrasive cleaning solution if necessary.
- Periodically check all screws and connections to ensure they remain tight. Retighten if loose.
- Avoid exposing the desk to excessive moisture or direct sunlight for prolonged periods.
- Do not drag the desk when moving it; lift it to prevent damage to legs and floor.
Troubleshooting
| Problem | Possible Cause | Solution |
|---|---|---|
| Desk wobbles | Uneven floor; loose connections | Adjust foot pads; tighten all screws |
| Parts missing | Packaging error | Contact JUMMICO customer service with your purchase details |
| Difficulty assembling | Incorrect step; misaligned parts | Review instructions carefully; ensure parts are correctly oriented |
| Surface scratches | Sharp objects; abrasive cleaning | Use soft cloths for cleaning; avoid sharp objects on surface |
If issues persist, please contact JUMMICO customer support.
Specifications
| Feature | Detail |
|---|---|
| Brand | JUMMICO |
| Model Number | 1354165 |
| Product Dimensions | 17"D x 50.4"W x 27.5"H |
| Color | Black |
| Material | Metal (legs), Wood (top) |
| Item Weight | 41 Pounds |
| Maximum Weight Recommendation | 250 Pounds |
| Assembly Required | Yes |
| Recommended Assembly Persons | 2 |
| Surface Type | Carbon Fiber |
| Leg Style | Z-frame |
| Special Features | Removable Monitor Stand, Adjustable Foot Pads |

Image: A detailed diagram showing the dimensions of the JUMMICO L-shaped gaming desk, including length, width, and height measurements for both the main desk and the monitor stand.
Warranty and Support
Warranty Information
The JUMMICO L Shaped Gaming Desk comes with a Limited Warranty. Please refer to the warranty card included in your package for specific terms and conditions. This warranty typically covers manufacturing defects.
Customer Support
For assembly assistance, missing parts, or any other inquiries, please contact JUMMICO customer service.
You can often find support contact information on the JUMMICO official website or through your purchase platform.
When contacting support, please provide your product model number (1354165) and purchase date.
Related documents1354165

Ask a question about this manual
Ask about setup, troubleshooting, compatibility, parts, safety, or missing instructions. Manuals+ will review the question and use this page’s manual context to help answer it.