1. Introduction
This manual provides detailed instructions for the installation, operation, and maintenance of your GAMDIAS TALOS E2 Elite V2 ATX Mid Tower Gaming Case. Please read this manual thoroughly before beginning assembly or use to ensure proper functionality and safety.
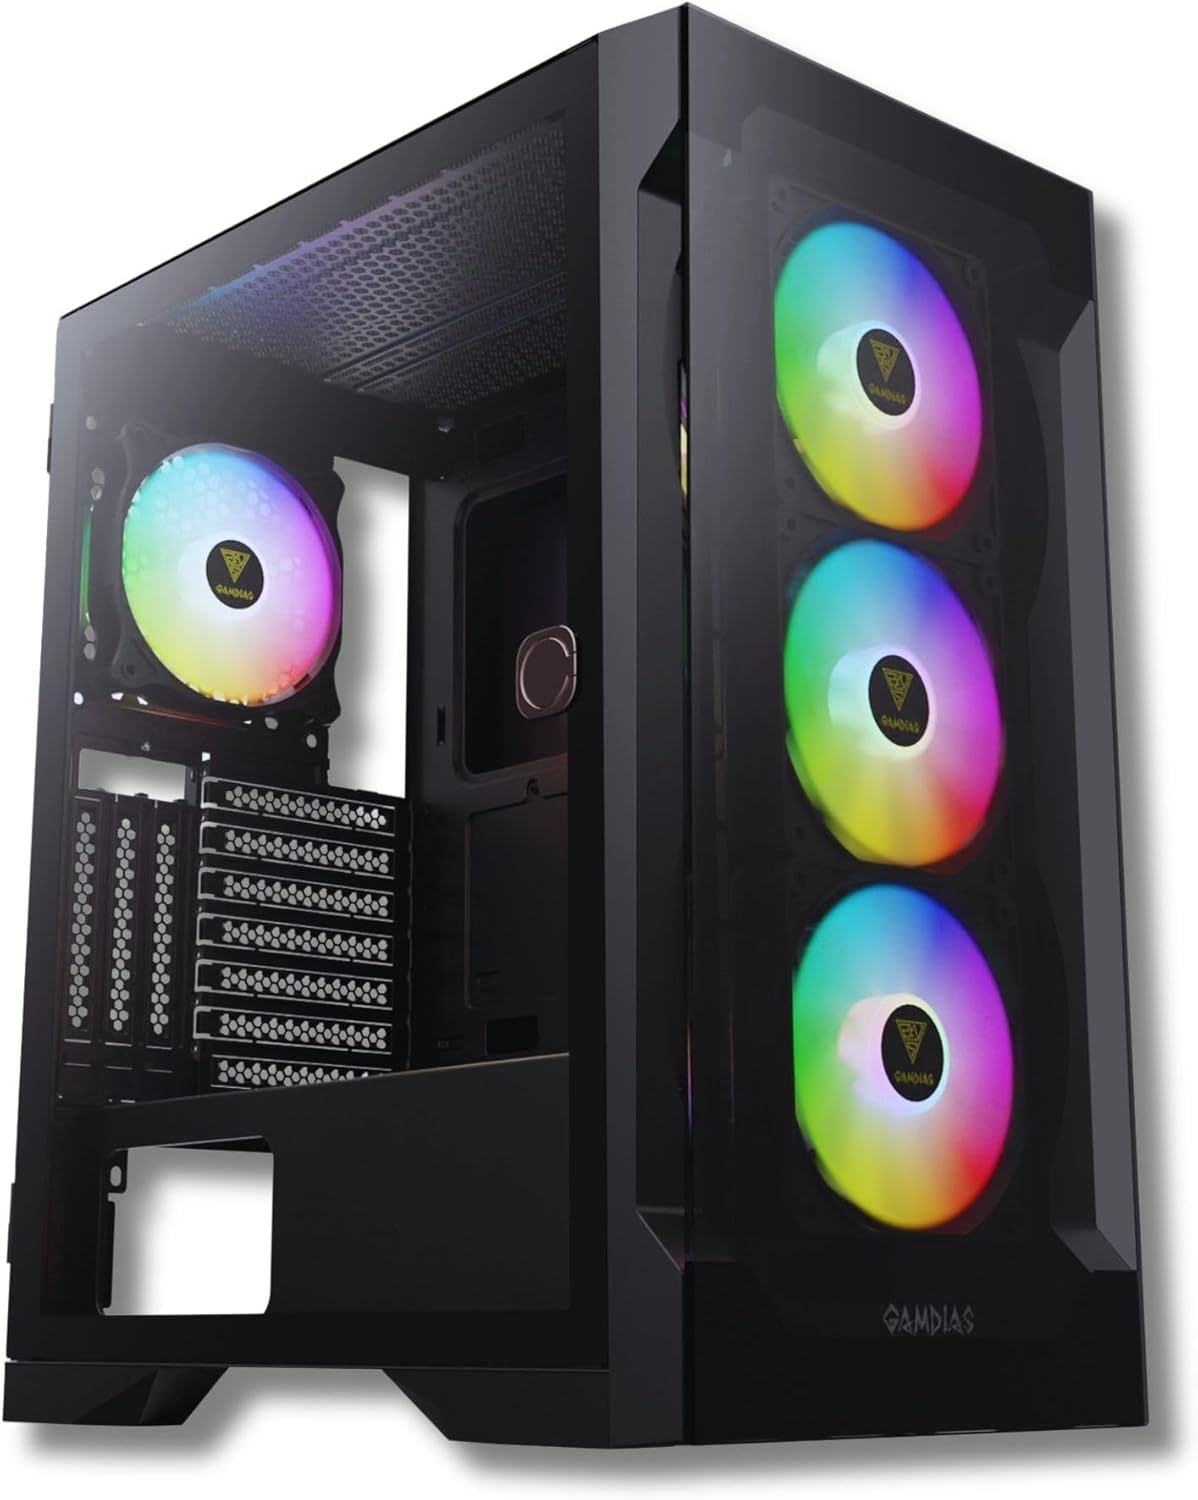
Front-left view of the GAMDIAS TALOS E2 Elite V2 gaming case, showcasing its tempered glass side panel, three front ARGB fans, and one rear ARGB fan.
2. Key Features
- RGB Gaming PC Case Sync with 5V ARGB Motherboards: The TALOS E2 ELITE supports ARGB connection to compatible motherboards for system-wide lighting synchronization.
- Sleek Design with Tempered Glass: Features a magnetic tempered glass swing door, designed for durability, scratch resistance, and a clear view of internal components.
- Excellent Airflow: Includes three built-in 120mm ARGB fans in the front and one rear black fan, complemented by a seamless tempered glass front panel for optimal airflow.
- One-Touch RGB Control: Easily switch between various RGB streaming lighting styles with a single button.
- PSU Shroud and Magnetic Dust Filters: Incorporates a PSU basement and magnetic filters to maintain internal cleanliness and support radiator installations up to 280mm (top) and 360mm (front).
3. Setup and Installation
Before installing components, ensure you have all necessary tools, including screwdrivers and cable ties. Refer to your motherboard and component manuals for specific installation instructions.
3.1 Accessing the Interior
The case features a magnetic tempered glass swing door for easy access to the interior. Gently pull the handle to open the side panel.

The GAMDIAS TALOS E2 Elite V2 case with its magnetic tempered glass swing door opened, revealing the interior and the pre-installed ARGB fans.
3.2 Motherboard Installation
The TALOS E2 Elite V2 supports ATX, Micro-ATX, and Mini-ITX motherboards. Install the appropriate standoffs for your motherboard size before securing it with screws.
3.3 Drive Installation
The case provides drive bays for storage devices:
- 2 x 3.5" or 1 x 2.5" + 1 x 3.5" (HDD Cage)
- 3 x 2.5"
Secure your SSDs and HDDs in the designated locations using the provided screws.
3.4 Power Supply Installation
Install your power supply unit (PSU) in the dedicated shroud at the bottom of the case. Ensure proper cable management for optimal airflow.
3.5 Connecting Front I/O Ports
Connect the cables from the case's front I/O panel to the corresponding headers on your motherboard. These include USB 3.0, USB 2.0, HD Audio, and the LED control button.

Detail of the top panel I/O ports, including LED control button, HD Audio jacks, two USB 2.0 ports, and one USB 3.0 port.
4. Operation
4.1 Powering On
Press the power button located on the top I/O panel to turn on your system.
4.2 ARGB Lighting Control
The pre-installed ARGB fans can be controlled in two ways:
- Motherboard Synchronization: Connect the ARGB cables to a compatible 5V ARGB header on your motherboard. Use your motherboard's software to customize lighting effects.
- Case LED Control Button: If not connected to a motherboard, use the dedicated LED control button on the top I/O panel to cycle through various pre-set lighting modes.
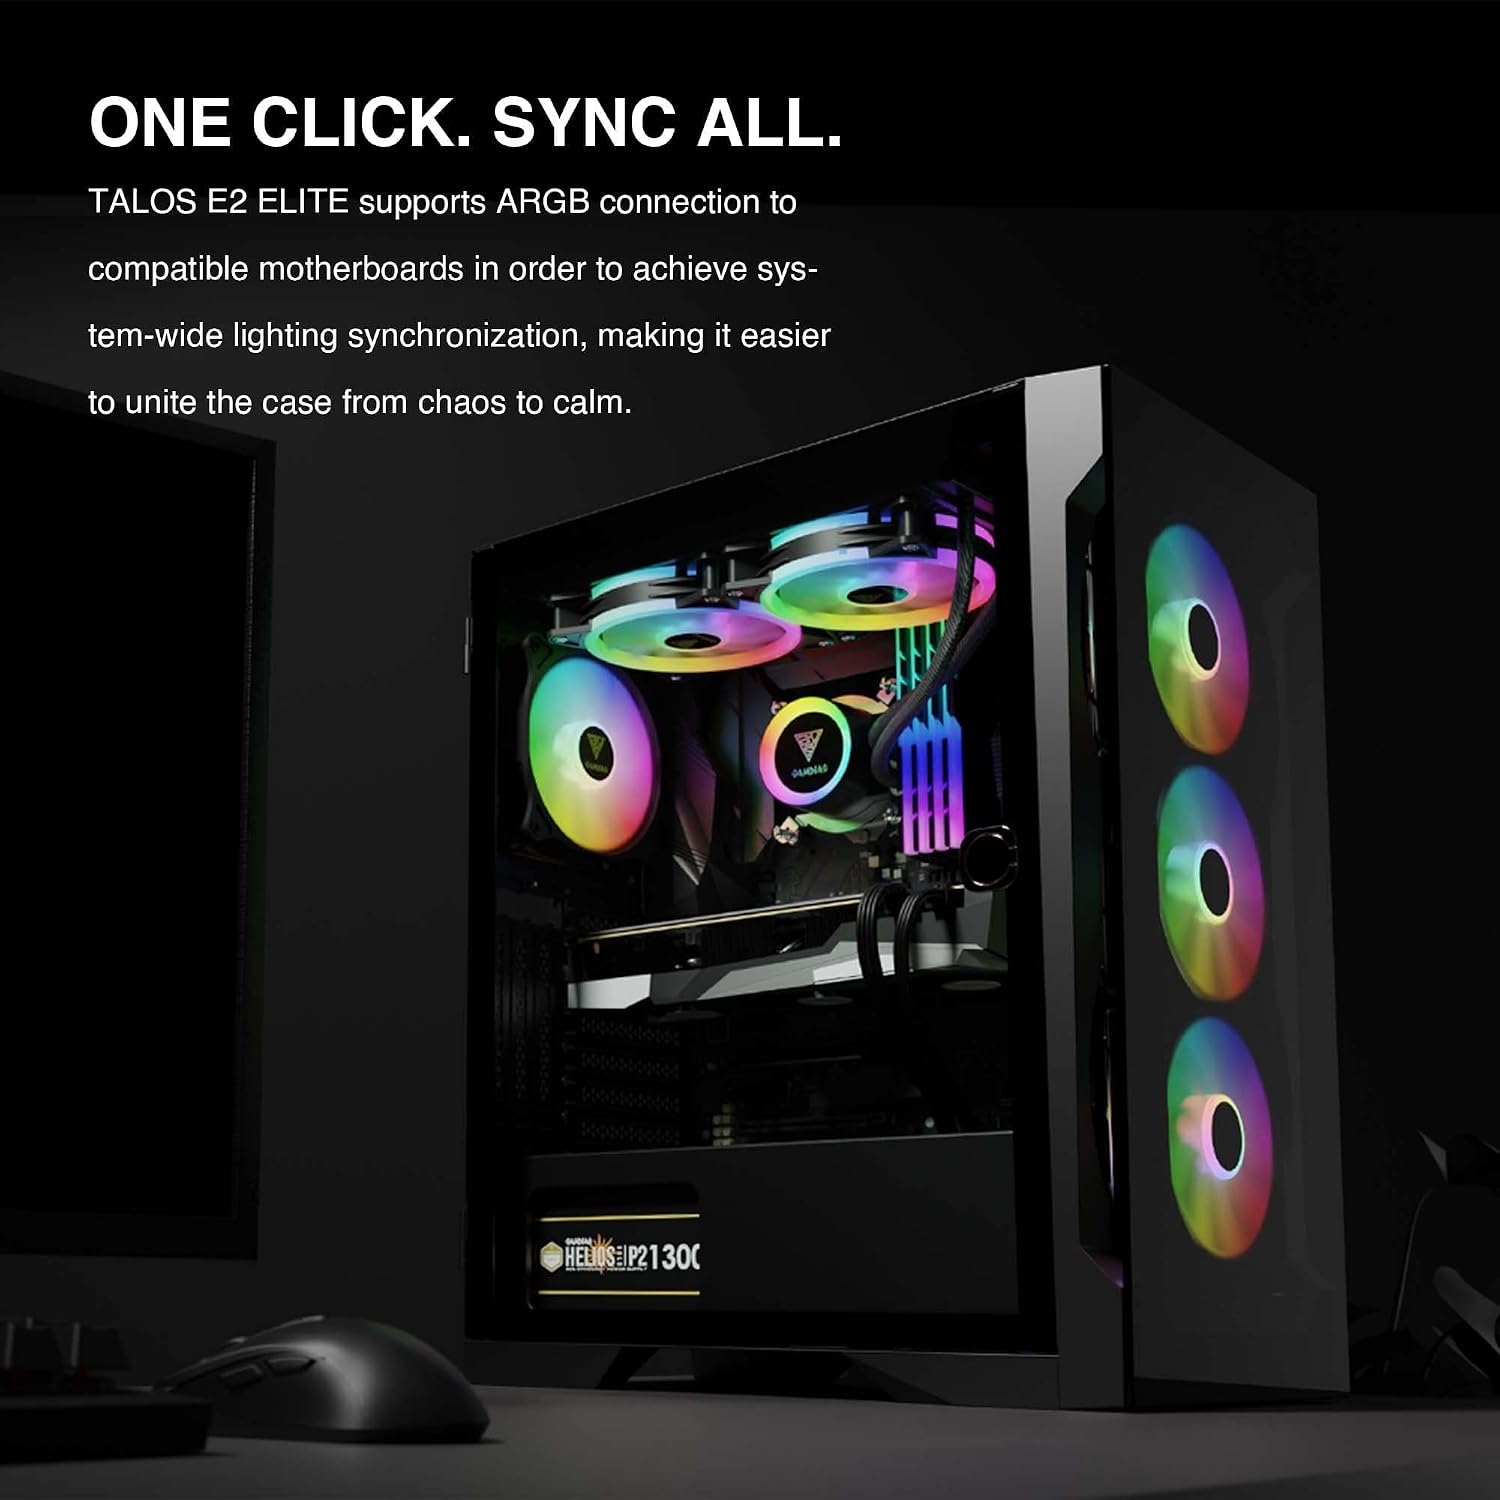
The interior of the TALOS E2 Elite V2 case, demonstrating system-wide ARGB lighting synchronization with compatible motherboards.
5. Maintenance
Regular maintenance helps ensure optimal performance and longevity of your PC case.
- Dust Filters: The TALOS E2 Elite V2 includes magnetic dust filters on the top and bottom. Regularly remove and clean these filters to prevent dust buildup and maintain airflow.
- Interior Cleaning: Periodically use compressed air to remove dust from internal components and fans. Ensure the system is powered off and unplugged before cleaning.
- Exterior Cleaning: Wipe the exterior surfaces, including the tempered glass panels, with a soft, damp cloth. Avoid abrasive cleaners.
6. Troubleshooting
If you encounter issues with your PC case, consider the following common troubleshooting steps:
- No Power: Ensure all power cables are securely connected to the power supply, motherboard, and wall outlet. Verify the power supply switch is in the 'ON' position.
- Fans Not Spinning/RGB Not Working: Check that all fan and ARGB cables are correctly connected to the motherboard or the case's ARGB controller. If using motherboard software, ensure it is properly configured.
- Poor Airflow/Overheating: Clean dust filters and internal components. Ensure fans are oriented correctly for optimal airflow (intake/exhaust). Verify no cables are obstructing airflow.
- Loose Connections: Re-seat all internal cables, including power, data, and front panel connectors, to ensure they are firmly attached.
7. Specifications
Below are the technical specifications for the GAMDIAS TALOS E2 Elite V2 ATX Mid Tower Gaming Case:

A detailed table outlining the technical specifications of the TALOS E2 Elite V2 case, including case type, motherboard support, RGB synchronization, expansion slots, radiator support, fan support, preinstalled fans, drive bays, I/O ports, and clearance dimensions.
| Feature | Detail |
|---|---|
| Case Type | Mid Tower |
| Motherboard Compatibility | ATX, Micro-ATX, Mini-ITX |
| RGB Synchronization | 5V 3-Pin Addressable Header |
| Expansion Slots | 7 + 3 |
| Radiator Support (Top) | 240mm |
| Radiator Support (Front) | 360mm, 280mm |
| Radiator Support (Rear) | 140mm, 120mm |
| Fan Support (Top) | 2x120mm, 2x140mm |
| Fan Support (Front) | 3x120mm, 2x140mm, 2x200mm |
| Fan Support (Rear) | 1x120mm, 1x140mm |
| Preinstalled Fans | Front: 3 x 120mm ARGB Fan, Rear: 1 x 120mm ARGB Fan |
| Drive Bays | 2 x 3.5" or 1 x 2.5" + 1 x 3.5" (HDD Cage) / 3 x 2.5" |
| I/O Ports | USB 3.0 x1, USB 2.0 x2, HD Audio x1, LED Control x1 |
| CPU Cooler Height Clearance | 190mm |
| VGA Length Clearance | 340mm |
| PSU Length Clearance | 180mm |
| Item Weight | 15.73 pounds (7.15 kg) |
| Product Dimensions (LxWxH) | 13.7 x 9 x 17.5 inches |
| Material | Tempered Glass |
| Color | Black |
8. Warranty and Support
For warranty information and technical support, please refer to the official GAMDIAS website or contact their customer service. Keep your proof of purchase for warranty claims.
GAMDIAS Official Website: www.gamdias.com


