Introduction
This user manual provides comprehensive instructions for the installation, operation, and maintenance of your CANEOE Modern LED Chandelier, Model BN1001. Please read this manual thoroughly before installation and use to ensure proper function and safety.

Image: The CANEOE Modern LED Chandelier, showcasing its unique wavy design and the included remote control for operation.
The CANEOE Modern LED Chandelier is a stylish and functional lighting fixture designed for various indoor spaces such as living rooms, dining rooms, kitchens, hallways, and bedrooms. It features integrated LED lighting, dimmable brightness, and adjustable color temperature, all controllable via a convenient remote.
Product Features
- Dimmable LED Lighting: The integrated 29W LED chip offers continuous dimming from 10% to 100% brightness, allowing you to set the perfect ambiance.
- Adjustable Color Temperature: Easily switch between warm white (3000K), neutral white (4500K), and cool white (6000K) to suit your preference and activity.

Image: Visual representation of the chandelier emitting warm light (3000K), natural light (4500K), and white light (6000K), demonstrating the adjustable color temperature feature.
- Adjustable Hanging Height: The 100 cm (39.37 inches) long suspension wire can be adjusted to customize the hanging height according to your ceiling and room requirements.

Image: Close-up details showing the height adjustment mechanism, the aluminum lamp body, the ceiling adapter suitable for flat/sloped ceilings, and the high-quality LED strips.
- High-Quality Construction: Crafted from durable metal, aluminum, and high-quality acrylic, ensuring better heat dissipation and a longer lifespan. The chrome-plated metal surface is smooth, scratch-resistant, fade-resistant, and anti-corrosion.
- Remote Control Operation: Conveniently control the light's brightness and color temperature from a distance using the included remote control.
- Versatile Application: Ideal for various indoor settings including living rooms, dining rooms, kitchens, hallways, bedrooms, and study rooms.

Image: Four panels showing the chandelier installed in a dining room, bedroom, study room, and hallway/aisle, illustrating its wide range of applications.
Specifications

Image: Diagram illustrating the dimensions of the chandelier, including the ceiling plate height, lamp body height, and lamp body width, along with a list of key specifications.
| Attribute | Value |
|---|---|
| Brand | CANEOE |
| Manufacturer | CANEOE |
| Product Dimensions (L x W x H) | 44 x 47 x 44 cm (17.32 x 18.5 x 17.32 inches) |
| Item Model Number | BN1001 |
| Number of Items | 1 |
| Style | Modern |
| Color | Silver (Style B) |
| Material | Acrylic, Aluminum, Metal |
| Finish Type | Smooth |
| Number of Light Sources | 1 (Integrated LED) |
| Included Components | Mounting hardware, Remote control |
| Voltage | 220 Volts |
| Specific Uses | Indoor use only |
| Special Features | Dimmable, Adjustable height, Adjustable color temperature |
| Shade Color | White |
| Shade Material | Acrylic, Aluminum, Metal |
| Plug Type | Electric cable |
| Installation Type | Ceiling mount |
| Batteries Required | No |
| Bulb Type | LED |
| Energy Label | E (View EPREL Database) |
| Wattage | 29 Watts |
| Color Rendering Index (CRI) | 85.00 |
| Item Weight | 2.31 Kilograms |
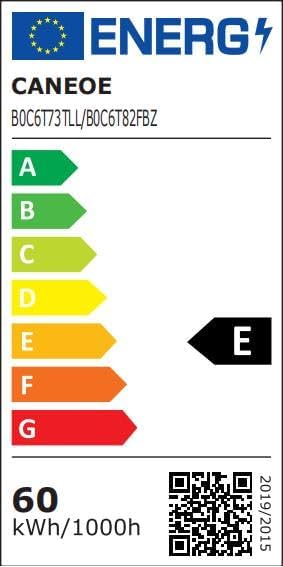
Image: The energy efficiency label for the CANEOE LED Chandelier, indicating an energy rating of E and a QR code linking to the EPREL database.
Installation Instructions
Important Safety Information: Installation should be performed by a qualified electrician or a person with sufficient knowledge of electrical wiring. Always turn off the main power supply before beginning installation.

Image: A comprehensive diagram illustrating the step-by-step installation process of the CANEOE LED Chandelier, including tools required and component assembly.
Tools Required:
- Gloves
- Electrical tape
- Basic tools (e.g., screwdriver, wrench)
Installation Steps:
- Prepare the Mounting Bracket: Unscrew the iron bracket from the light fixture. Fix this bracket securely to the ceiling using appropriate screws. (Refer to step 1 in the installation diagram)
- Connect the Wires: Carefully connect the electrical wires from your ceiling to the light fixture's wires. Ensure all connections are secure and properly insulated with electrical tape.
- Conceal Wires: Gently push any remaining excess wires into the canopy (ceiling plate) to hide them. (Refer to step 2 in the installation diagram)
- Attach the Canopy: Fix the canopy to the ceiling using screws. Ensure the holes on the canopy align perfectly with the holes on the previously installed bracket for a secure connection. (Refer to step 3 in the installation diagram)
- Adjust Hanging Height: Press the button on the fixture and pull the suspension wire to adjust the light fixture's height to your desired length. (Refer to step 4 in the installation diagram)
- Assemble Light Strips: Attach the individual light strips to the main body of the light fixture. Ensure the head of each strip is correctly matched with the connecting head on the main body. If a light strip does not work, try turning it upside down and re-connecting it. (Refer to step 5 in the installation diagram)
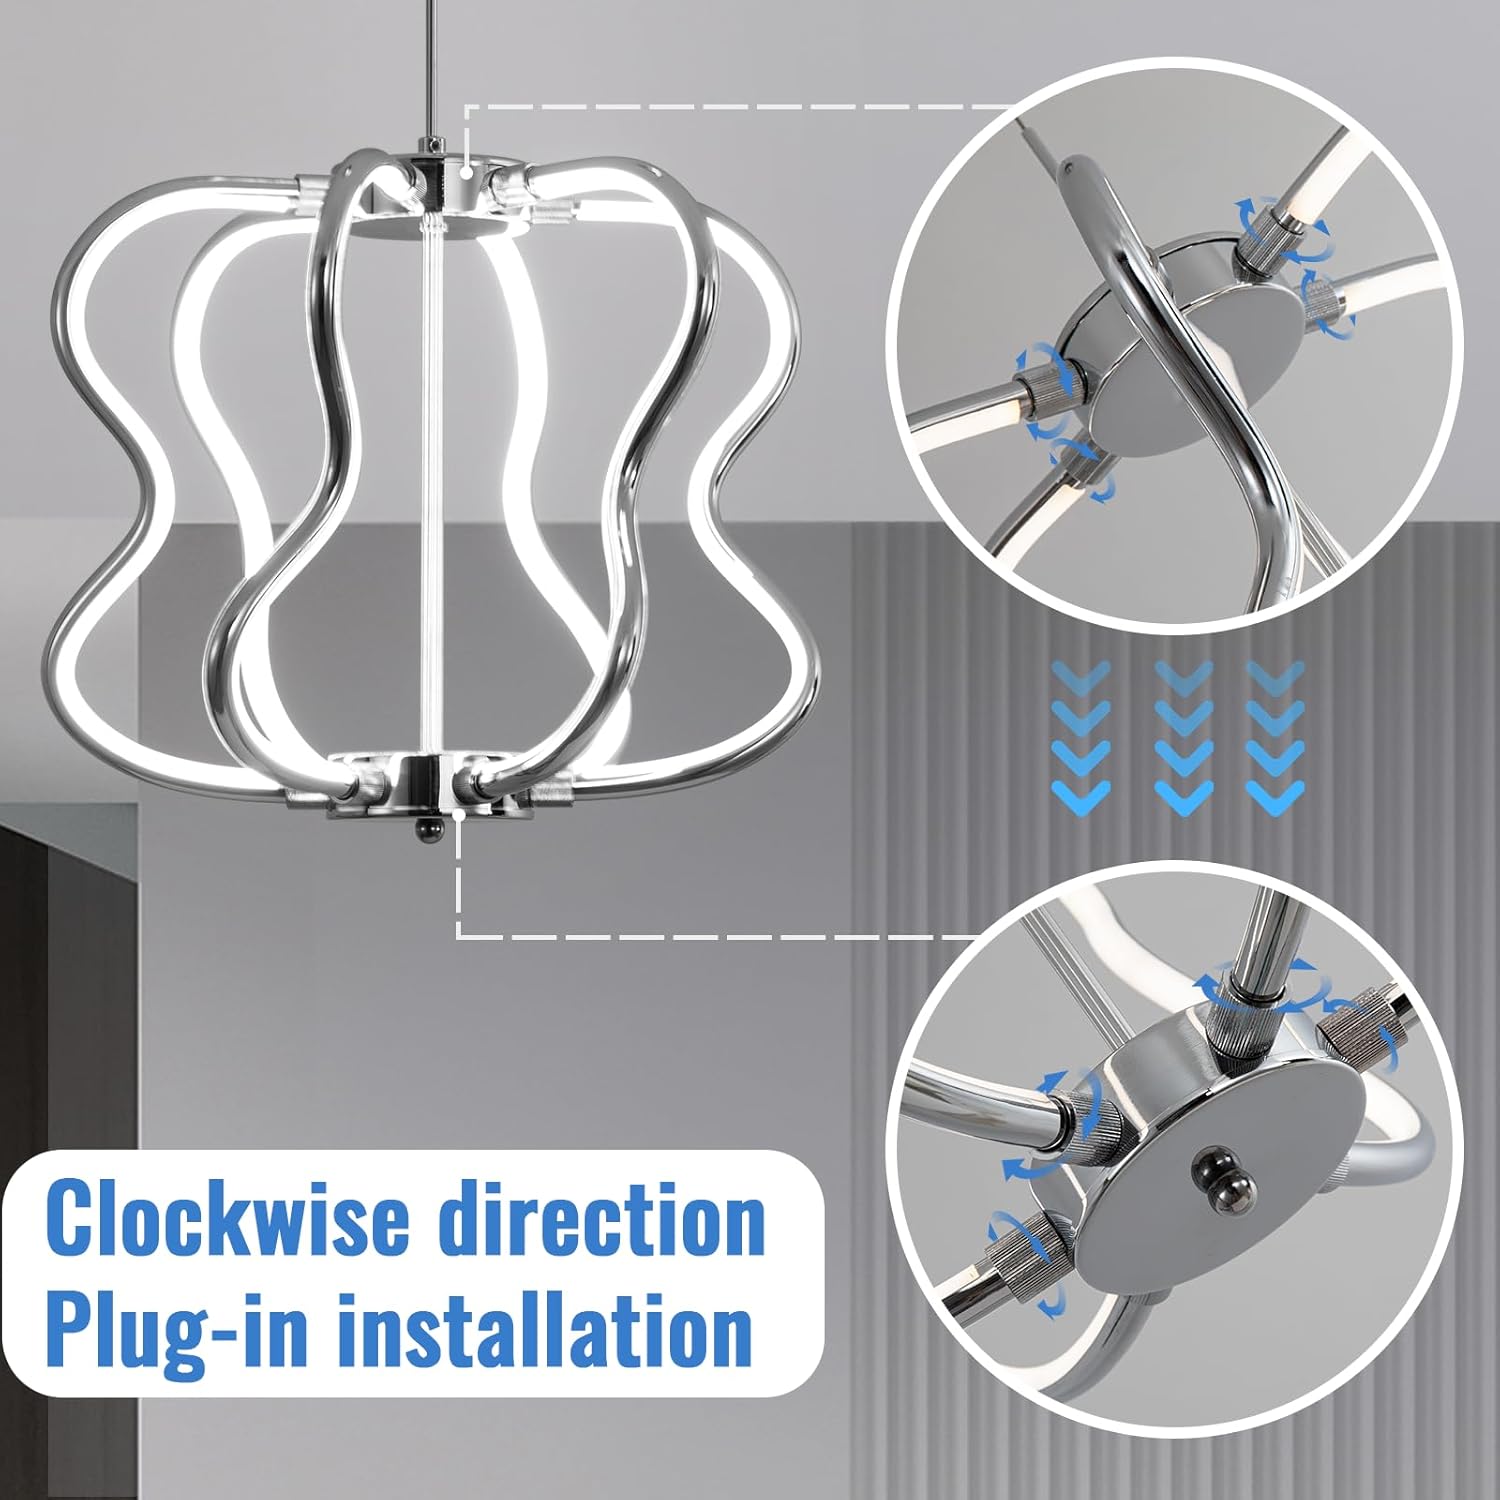
Image: Close-up view demonstrating the clockwise plug-in installation method for attaching the light strips to the main body of the chandelier.
Note: The light fixture must be installed firmly and securely to prevent accidents.
Operating Instructions
Your CANEOE LED Chandelier is operated using the included remote control. Ensure the remote control has working batteries (not included, typically AAA batteries) before use.
Remote Control Functions:
- Power On/Off: Use the dedicated power button to turn the light fixture on or off.
- Brightness Adjustment (Dimming): Use the brightness control buttons (often marked with '+' and '-' or up/down arrows) to increase or decrease the light intensity from 10% to 100%.
- Color Temperature Adjustment: Use the color temperature buttons (often marked with 'W' for Warm, 'N' for Neutral, 'C' for Cool, or sun/moon icons) to cycle through or select the desired color temperature:
- Warm White (3000K): For a cozy and inviting atmosphere.
- Neutral White (4500K): For general illumination and a balanced feel.
- Cool White (6000K): For bright, clear illumination, suitable for tasks.
- Memory Function: The light fixture typically remembers the last brightness and color temperature setting when turned off and on again.
Maintenance
Regular maintenance will help preserve the appearance and functionality of your CANEOE LED Chandelier.
- Cleaning: Before cleaning, ensure the power supply to the fixture is turned off. Use a soft, dry, or slightly damp cloth to wipe the metal and acrylic surfaces. Avoid using abrasive cleaners, solvents, or harsh chemicals, as these can damage the finish.
- Bulb Replacement: The LED light source is integrated and not user-replaceable. If the LEDs fail, please contact customer support for assistance.
- Inspection: Periodically check all connections and mounting hardware to ensure they remain secure.
Troubleshooting
If you encounter any issues with your CANEOE LED Chandelier, please refer to the following common troubleshooting steps:
| Problem | Possible Cause | Solution |
|---|---|---|
| Light does not turn on. | No power supply; Loose wiring connection; Faulty fixture. | Check the circuit breaker. Ensure all wires are securely connected as per installation instructions. If problem persists, contact customer support. |
| Remote control is not working. | Dead batteries in remote; Remote not paired (if applicable); Obstruction between remote and receiver. | Replace remote control batteries. Ensure there are no obstructions. If the remote requires pairing, refer to specific pairing instructions (not provided in current manual, but common for remotes). |
| Light strips are not illuminating or only partially illuminating. | Improper connection of light strips to the main body. | Ensure each light strip is correctly matched and firmly connected to the main body. Try turning the problematic light strip upside down and re-connecting it. |
| Light flickers or dims unexpectedly. | Unstable power supply; Loose connection; Overheating. | Check electrical connections. Ensure proper ventilation around the fixture. If flickering persists, consult a qualified electrician. |
Warranty and Support
CANEOE provides a 12-month warranty for this LED Chandelier from the date of purchase. This warranty covers manufacturing defects and material faults under normal use.
If you encounter any problems with your product during the warranty period, please do not hesitate to contact our customer support team. We are committed to providing a satisfactory solution within 24 hours of your inquiry.
For support, please refer to the contact information provided with your purchase or on the official CANEOE website.