1. Introduction
This manual provides comprehensive instructions for the J-Tech Digital JTECH-88B 8x8 HDMI Matrix Switch. This device allows for the distribution and switching of 8 HDMI input sources to 8 HDMI displays, supporting advanced video and audio features.
Key Features:
- 8 HDMI Inputs and 8 HDMI Outputs: Seamlessly switch and distribute content from multiple sources to various displays.
- 4K 60Hz Video Support: Delivers crystal-clear and fluid visuals with support for 4K resolution at 60Hz (YUV 4:4:4).
- HDR and Dolby Vision Compatibility: Experience enhanced contrast and vibrant colors with support for HDR, HDR10, and Dolby Vision.
- Analog Audio Embedding: Features 8 analog audio inputs for embedding external audio into the HDMI stream.
- HDMI Audio Extraction: Provides 8 analog audio outputs and 8 SPDIF coaxial outputs for extracting audio from HDMI sources. Supports ARC function via SPDIF coaxial.
- Multiple Control Methods: Control the matrix via front panel buttons, IR remote, RS232, or a web-based graphical user interface (WebGUI).
- EDID Management: Advanced EDID settings for optimal display compatibility.
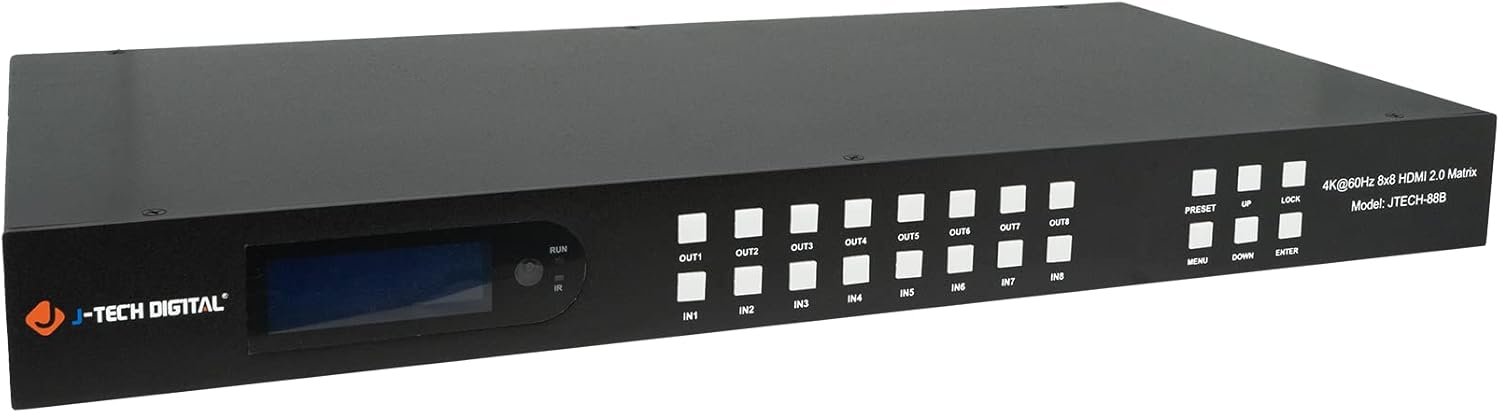
Figure 1.1: Front view of the J-Tech Digital JTECH-88B 8x8 HDMI Matrix Switch.
2. Package Contents
Verify that all items are present in the package:
- 1x J-Tech Digital 8x8 HDMI Matrix Switch (JTECH-88B)
- 1x IR Remote Control
- 1x CD-ROM User Manual (digital version)
- 1x IR Receiver Cable
- 1x Phoenix Connector
- 6x Mounting Screws
- 2x Mounting Brackets
- 1x DC 12V 3A Power Supply

Figure 2.1: Included components in the product package.
3. Setup and Connections
Follow these steps to set up your JTECH-88B HDMI Matrix Switch.
3.1 Front and Rear Panel Layout

Figure 3.1: Detailed diagram of the JTECH-88B front and rear panels.
3.2 Connection Diagram
Refer to the diagram below for typical connection scenarios.

Figure 3.2: Example connection setup for the JTECH-88B.
3.3 Step-by-Step Connection:
- Power Off: Ensure all devices (sources, displays, and the matrix switch) are powered off before making connections.
- Connect HDMI Sources: Connect your HDMI source devices (e.g., Blu-Ray player, gaming console, PC) to the HDMI Input ports (IN1-IN8) on the rear panel of the matrix switch using high-quality HDMI cables.
- Connect HDMI Displays: Connect your HDMI displays (e.g., TV, monitor, projector) to the HDMI Output ports (OUT1-OUT8) on the rear panel of the matrix switch using high-quality HDMI cables.
- Connect Analog Audio Sources (Optional): If using analog audio embedding, connect your analog audio sources (e.g., soundboard, microphone) to the corresponding Analog Audio Input ports.
- Connect Audio Outputs (Optional): If using audio extraction, connect your audio receivers or speakers to the Analog Audio Output or SPDIF Coaxial Output ports.
- Connect Control Cables (Optional): For RS232 control, connect an RS232 cable to the RS232 port. For WebGUI control, connect an Ethernet cable to the LAN port.
- Connect IR Receiver (Optional): If using the IR remote control and the unit is not in direct line of sight, connect the IR receiver cable to the IR IN port.
- Power On: Connect the DC 12V power adapter to the matrix switch and then plug it into a power outlet. Power on your HDMI sources and displays.
4. Operating Instructions
The JTECH-88B offers multiple methods for controlling input-to-output routing and other functions.

Figure 4.1: Overview of available control methods.
4.1 Front Panel Control
The front panel features an LED display, output buttons (OUT1-OUT8), input buttons (IN1-IN8), and function buttons (PRESET, UP, DOWN, MENU, ENTER, LOCK).
- Switching: Press an OUT button, then press an IN button to route the selected input to that output.
- Menu Navigation: Use MENU to access settings, UP/DOWN to navigate, and ENTER to confirm.
- Lock Function: The LOCK button prevents accidental changes to the current configuration.
- Preset: Recall or save preset configurations.
4.2 IR Remote Control
Point the included IR remote control directly at the IR sensor on the front panel of the matrix switch to operate. The remote allows for direct selection of inputs for each output.
4.3 RS232 Control
The RS232 port allows for control and firmware updates via a connected computer or control system. Refer to the CD-ROM user manual for detailed RS232 command protocols.
4.4 Web GUI Control
The web-based interface provides a user-friendly method for controlling and configuring the matrix switch.
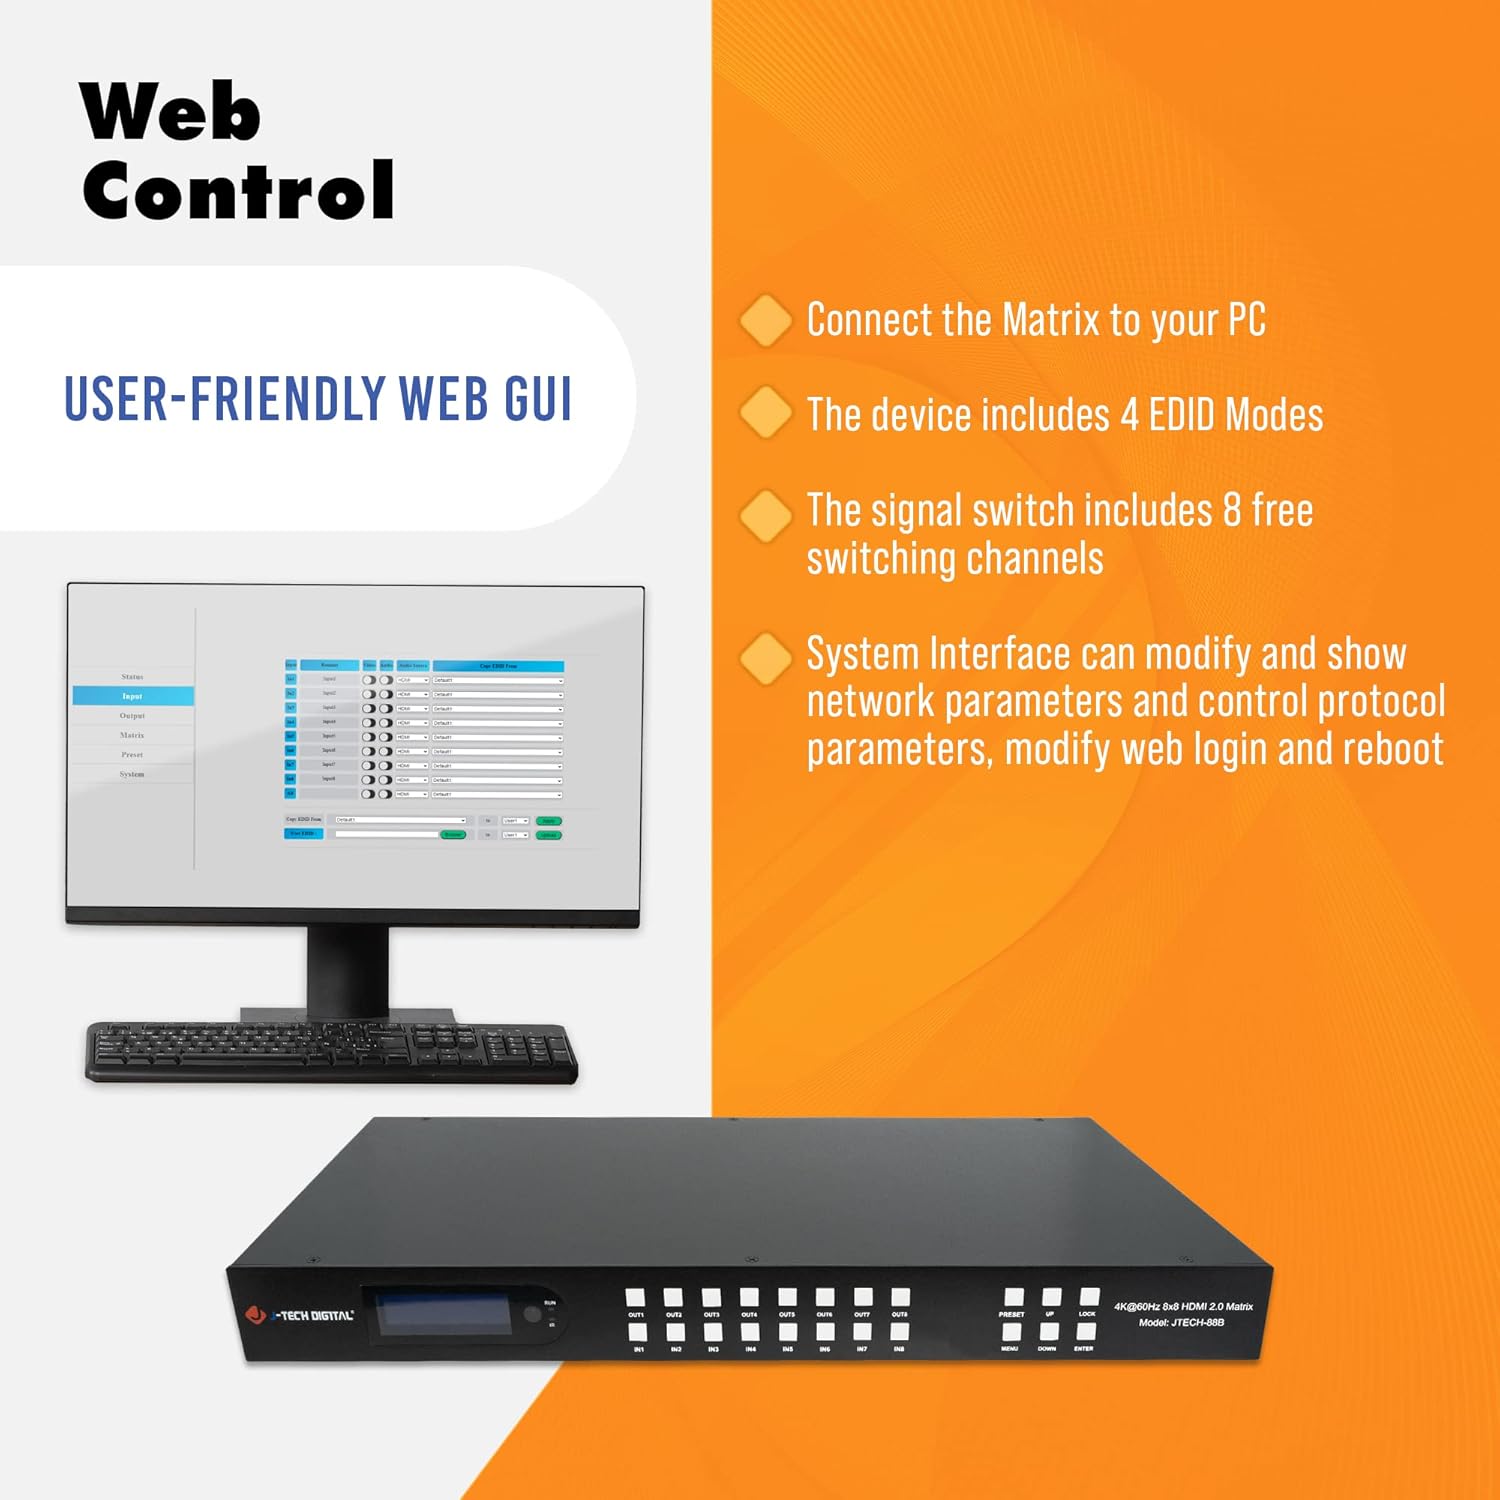
Figure 4.2: Web GUI interface for control.
- Network Connection: Connect the matrix switch to your local network via an Ethernet cable.
- IP Address: The device can obtain an IP address via DHCP or be configured with a static IP. You may need to check your router's connected devices list to find the assigned IP address.
- Access Web GUI: Open a web browser on a computer connected to the same network and enter the matrix switch's IP address.
- Login: Enter the default username and password (refer to the CD-ROM manual for default credentials).
- Features: The Web GUI allows for switching inputs/outputs, configuring EDID modes, modifying network parameters, changing login credentials, and rebooting the device.
4.5 Audio Embedding and Extraction
The matrix switch supports both analog audio embedding and HDMI audio extraction.
- Embedding: Connect an analog audio source to one of the 8 analog audio input ports. This audio will be embedded into the corresponding HDMI input stream.
- Extraction: Audio from any HDMI input can be extracted via the 8 analog audio output ports or the 8 SPDIF coaxial output ports.
- ARC Support: The Audio Return Channel (ARC) function is supported via the SPDIF coaxial outputs.
4.6 Screen Configurations
The matrix switch supports various screen configurations, with up to eight user settings saved.
- Mirroring (N to N) Mode: Each display selects a standalone input source. For example, Input 1 to Output A, Input 2 to Output B, etc.
- User Settings Mode: Part of the displays share different input sources. For example, Input 1 to Output C, Input 2 to Output B, Input 8 to Output A.
- N to All Mode: All displays share the same input source. For example, Input 2 to all outputs.

Figure 4.3: Mirroring (N to N) Mode example.

Figure 4.4: User Settings Mode example.

Figure 4.5: N to All Mode example.
5. Maintenance
Proper maintenance ensures the longevity and optimal performance of your JTECH-88B matrix switch.
- Cleaning: Use a soft, dry cloth to clean the unit. Avoid abrasive cleaners or solvents.
- Ventilation: Ensure adequate airflow around the unit to prevent overheating. Do not block ventilation openings.
- Firmware Updates: Periodically check the J-Tech Digital website for available firmware updates to ensure the best performance and compatibility. Firmware updates can typically be applied via the RS232 port or WebGUI.
- Environmental Conditions: Operate the device within recommended temperature and humidity ranges.
6. Troubleshooting
If you encounter issues with your JTECH-88B, refer to the following common troubleshooting steps.
- No Video/Audio Output:
- Verify all HDMI cables are securely connected to both sources and displays.
- Ensure the correct input is selected for the desired output on the matrix switch.
- Check that all source devices and displays are powered on.
- Test with different HDMI cables or sources to rule out cable or source issues.
- Adjust EDID settings via the WebGUI or front panel to ensure compatibility between source and display.
- Intermittent Signal Loss or Flickering:
- Ensure HDMI cables are of high quality and suitable for 4K 60Hz transmission, especially for longer runs.
- Check for potential overheating. Ensure the unit has adequate ventilation. If the unit feels excessively hot, power it off, let it cool, and then restart.
- Verify power supply stability.
- Remote Control Not Responding:
- Ensure there is a clear line of sight between the remote and the IR sensor on the matrix switch.
- Replace the remote control batteries.
- If using an external IR receiver, ensure it is properly connected and positioned.
- Web GUI Access Issues:
- Verify the Ethernet cable is connected and the network LED on the unit is active.
- Confirm the IP address of the matrix switch is correct and accessible from your computer.
- Check network settings on your computer (e.g., firewall, proxy settings).
If problems persist after attempting these steps, please contact J-Tech Digital technical support.
7. Specifications
| Feature | Specification |
|---|---|
| Model Number | JTECH-88B |
| HDMI Inputs | 8 |
| HDMI Outputs | 8 |
| Video Resolution | Up to 4K@60Hz YUV 4:4:4 |
| HDR Support | HDR, HDR10, Dolby Vision |
| HDCP Compliance | HDCP 1.4 / 2.2 |
| Audio Embedding | 8x Analog Audio Inputs (3.5mm) |
| Audio Extraction | 8x Analog Audio Outputs (3.5mm), 8x SPDIF Coaxial Outputs |
| ARC Support | Via SPDIF Coaxial Output |
| Control Methods | Front Panel, IR Remote, RS232, WebGUI |
| Product Dimensions | 18.99 x 8.66 x 1.73 inches |
| Item Weight | 7.98 pounds |
| Power Supply | DC 12V 3A |
| Compatible Devices | Blu-Ray Player, Camera, DVD Player, Gaming Console, Laptop, Monitor, Personal Computer, Projector, Satellite Receiver, Television |
| Cable Type | HDMI, Coaxial, 3.5mm |

Figure 7.1: Physical dimensions of the JTECH-88B.
8. Warranty and Support
J-Tech Digital is committed to providing high-quality products and customer satisfaction.
8.1 Manufacturer Warranty
All J-Tech Digital products, including the JTECH-88B, come with a one-year manufacturer replacement warranty from the date of purchase. This warranty covers defects in materials and workmanship under normal use.
8.2 Technical Support
J-Tech Digital offers free lifetime technical support for all its products. Our customer support team is based in Stafford, TX, and is available to assist you with any questions or issues.
- Support Hours: Monday through Friday, 9 AM – 6 PM CST.
- Contact Information: For support, please refer to the contact details available on the J-Tech Digital seller page on Amazon.

Figure 8.1: J-Tech Digital Technical Support information.


