
1. Introduction
Thank you for choosing the hiencetec Smart Keypad Door Knob. This manual provides essential information for the proper installation, operation, and maintenance of your new keyless entry door lock. Please read these instructions carefully before installation and retain them for future reference.
2. Safety Information
- Do not attempt to disassemble or repair the lock yourself. This may void the warranty and cause damage.
- Ensure all components are accounted for before installation.
- Use only specified battery types (4 AAA alkaline batteries, not included).
- Avoid exposing the lock to excessive moisture or direct water spray. While designed for durability, prolonged exposure can affect electronic components.
- Keep backup keys in a secure location outside the property.
3. What's in the Box

Image: Components included in the product packaging.
- Square Tube
- Fixed Bolt
- Door Knobs (Front and Rear Panels)
- Door Latch Kit
- Screws
- Backup Keys (2)
- User Manual
4. Specifications
| Feature | Description |
|---|---|
| Brand | hiencetec |
| Model Name | 76 |
| Material | Zinc Alloy |
| Lock Type | Electronic Lock, Key Lock |
| Special Features | Easy to Install, Keyless, Sturdy, HD Digital Backlight, Passage Mode |
| Password Capacity | Up to 99 groups |
| Power Source | 4 x AAA Batteries (not included) |
| Battery Life | Approximately 12 months with good alkaline batteries |
| Dimensions (L x W x H) | 12.45 x 7.37 x 7.37 cm |
| Item Weight | 1.78 kg |
| Connectivity Protocol | Wi-Fi (Note: This refers to the general category of smart locks, actual Wi-Fi functionality may require additional gateway, refer to product details) |
5. Setup and Installation
The hiencetec Smart Keypad Door Knob is designed for easy installation on standard American doors. No additional adjustment is required for left or right-hand doors.

Image: Visual guide for installation, including measurements for door preparation.
5.1 Pre-Installation Checks
- Verify door thickness compatibility.
- Ensure all parts listed in Section 3 are present.
- Prepare the door by drilling necessary holes according to the provided template (if applicable) and ensuring the latch bolt and strike plate areas are clear. Note that the strike plate may be taller than standard plates, requiring adjustment to the door frame mortise.
5.2 Installation Steps
- Install the latch bolt into the door edge. Ensure the correct backset (2.36" or 2.76") is selected.
- Install the exterior keypad assembly, feeding the cable through the door.
- Install the interior assembly, connecting the cable and securing it with screws.
- Insert 4 AAA alkaline batteries into the battery compartment. (Batteries are not included).
- Test the lock functionality with the mechanical key.
5.3 Initial Programming
Refer to the detailed programming instructions in the included user guide for setting up master codes and user passwords. Be prepared to complete each step within 5 seconds to avoid timeout.
6. Operating Instructions
The hiencetec Smart Keypad Door Knob offers multiple ways to unlock and various security features.
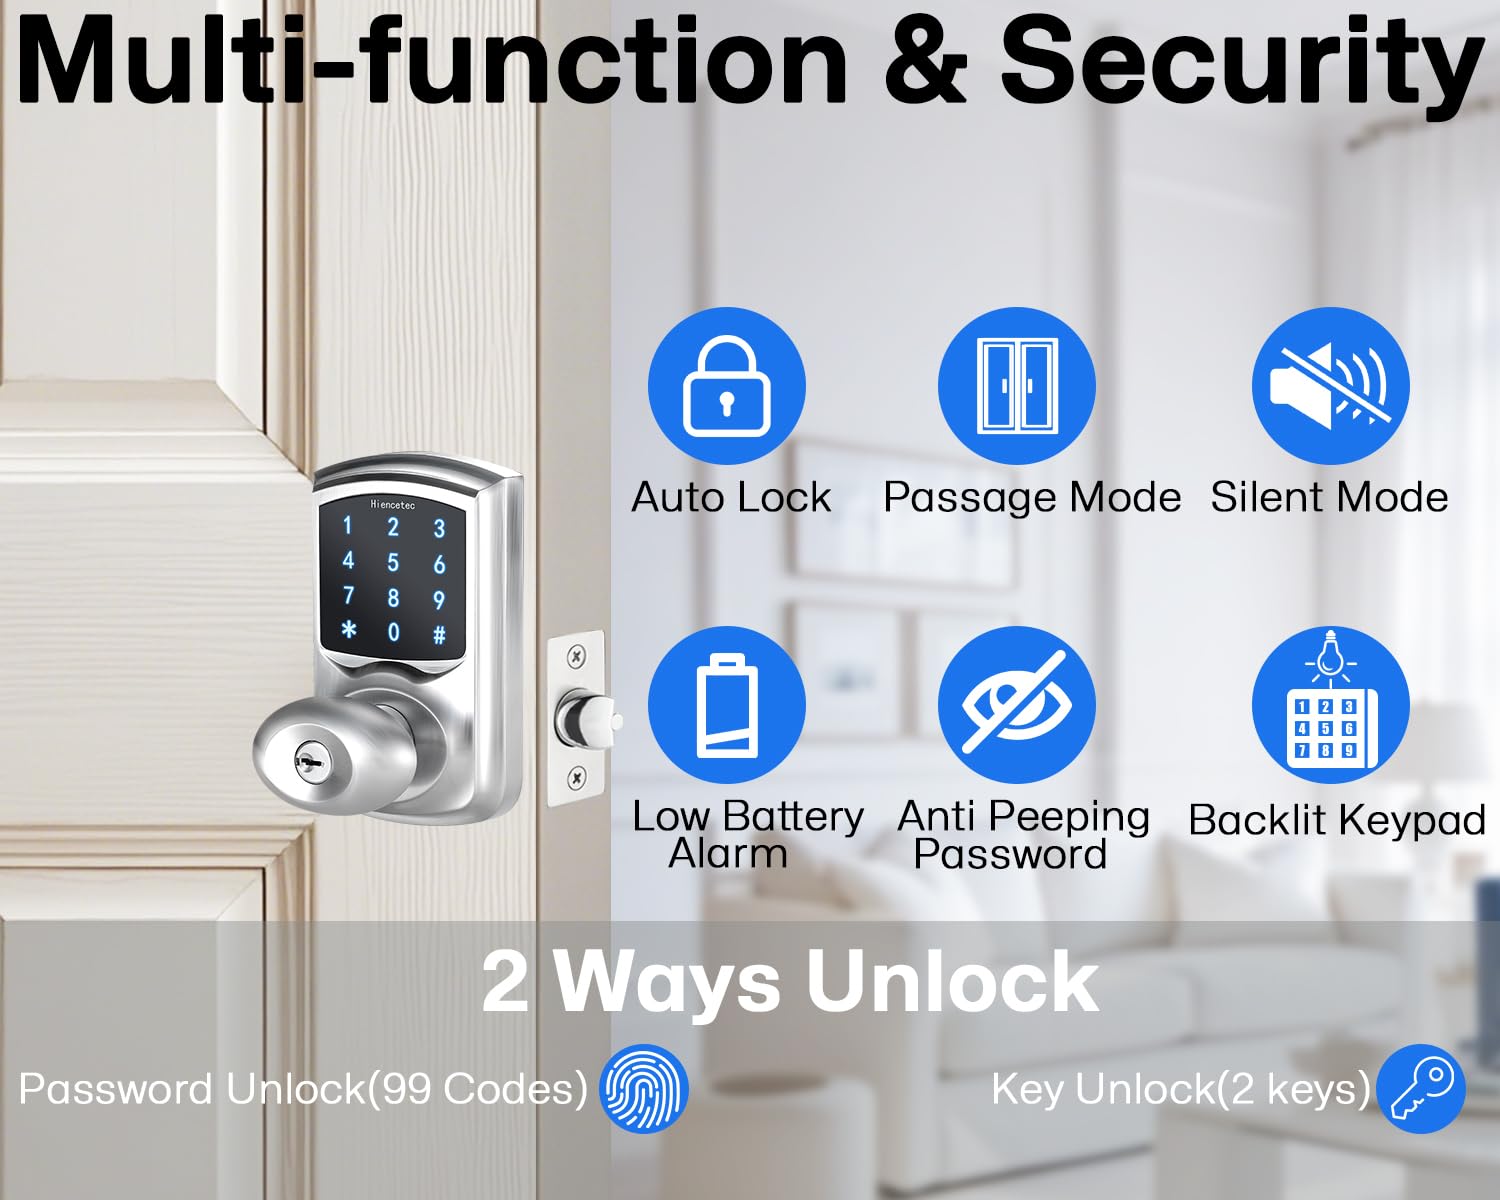
Image: Overview of the lock's multi-functional and security features.
6.1 Unlocking Methods

Image: The lock supports up to 99 user passwords and includes 2 physical keys for unlocking.
- Password Unlock: Enter your programmed 4-10 digit password followed by the '#' key. The lock supports up to 99 unique passwords.
- Key Unlock: Use one of the two provided physical keys to manually unlock the door.
6.2 Security Features
- Anti-Peeping Password: To prevent others from guessing your code, you can enter any random digits before or after your actual password. For example, if your password is 1234, you can enter 5678123490# to unlock.
- Auto Lock: The lock automatically re-locks after a set period (typically 3 seconds) once unlocked. This feature ensures your door is always secured.
- Passage Mode: If you need the door to remain unlocked for an extended period, activate Passage Mode. After unlocking, press *# to toggle Passage Mode. The door can then be opened by simply turning the handle. Repeat *# to deactivate Passage Mode and resume normal locking.
- HD Digital Backlight: The keypad features a clear blue backlight, making it easy to operate even in low-light conditions.
- Silent Mode: This mode can be activated or deactivated to silence keypad tones for discreet entry. Refer to the full user manual for programming steps.

Image: Illustration of how to use the Anti-Peeping Password feature for enhanced security.

Image: The lock automatically engages after 3 seconds.
7. Maintenance
7.1 Battery Replacement
The lock is powered by 4 AAA alkaline batteries (not included). Good quality alkaline batteries can provide approximately 12 months of operation.

Image: Expected battery life of approximately 12 months.
- Low Battery Alarm: If you hear a series of 10 beeps after unlocking, it indicates that the battery power is low and requires replacement.
- To replace batteries, open the battery cover on the interior side of the lock, remove old batteries, and insert new ones, ensuring correct polarity.

Image: Visual representation of the low battery alarm.
7.2 Cleaning
Clean the lock's exterior with a soft, dry cloth. Avoid using abrasive cleaners or solvents that could damage the finish or electronic components. The lock is constructed from durable Zinc Alloy.
8. Troubleshooting
- Lock not responding: Check battery levels and replace if necessary. Ensure batteries are inserted with correct polarity.
- Keypad not lighting up: Replace batteries. If the issue persists, contact support.
- Lock opens with any 4-digit code: This indicates a potential programming error or a fault. Try resetting the lock to factory settings (refer to your detailed user manual for reset instructions) and re-program your codes. If the problem continues, contact customer support.
- Difficulty programming: Ensure you are following the programming steps precisely and completing each step within the 5-second time limit. The '#' key typically serves as the 'Enter' or 'Confirm' button for programming.
- Lock is stiff or difficult to turn: Check for any obstructions around the latch bolt or strike plate. Ensure the installation is aligned correctly.
- Water exposure concerns: The lock contains electronic parts. While designed to be durable, avoid direct and prolonged exposure to heavy rain or water. If water ingress is suspected, remove batteries and allow the unit to dry completely before re-inserting.
9. Warranty and Support
For warranty information, please refer to the documentation included with your purchase or visit the official hiencetec website. If you encounter any issues not covered in this manual or require further assistance, please contact hiencetec customer support through their official channels.