
Princess 01.182068.01.001
Princess Dual Chamber Air Fryer Instruction Manual
Model: 01.182068.01.001
Brand: Princess
1. Introduction
Thank you for purchasing the Princess Dual Chamber Air Fryer. This appliance is designed to provide a healthier way to cook your favorite meals, using hot air circulation to fry, bake, roast, and grill with little to no oil. Its dual chamber design allows for cooking two different dishes simultaneously, optimizing your cooking efficiency.
Please read this manual thoroughly before first use to ensure safe and optimal operation of your new appliance. Keep this manual for future reference.
2. Important Safety Instructions
WARNING: To prevent electric shock, fire, or injury, always follow basic safety precautions when using electrical appliances.
- Read all instructions before use.
- Do not immerse the main unit, cord, or plug in water or other liquids.
- Supervise children closely when the appliance is in use.
- Unplug from outlet when not in use and before cleaning. Allow to cool before putting on or taking off parts.
- Do not operate any appliance with a damaged cord or plug, or after the appliance malfunctions or has been damaged in any manner.
- Do not use attachments not recommended by the appliance manufacturer.
- Do not place on or near a hot gas or electric burner, or in a heated oven.
- Extreme caution must be used when moving an appliance containing hot oil or other hot liquids.
- Do not use the appliance for anything other than its intended use.
- Ensure the appliance is placed on a stable, heat-resistant surface.
- Do not block any ventilation openings.
- Hot steam is released through the air outlet openings during hot air frying. Keep your hands and face at a safe distance from the steam and from the air outlet openings.
3. Product Overview
The Princess Dual Chamber Air Fryer features a sleek design with a digital touch display and two independent cooking baskets.

Figure 3.1: Front view of the Princess Dual Chamber Air Fryer, highlighting the digital control panel and dual basket design.
Components:
- Main Unit: Houses the heating element, fan, and control panel.
- Digital Touch Display: For setting temperature, time, and selecting programs.
- Cooking Baskets (x2): Removable baskets for holding food. Each has a capacity of 4 liters.
- Crisper Plates (x2): Removable plates placed inside the baskets to allow air circulation around food and drain excess fat.
- Handles: Integrated handles on each basket for safe removal.

Figure 3.2: The air fryer in a kitchen environment, demonstrating its practical size and the energy efficiency feature (47% less energy consumption).

Figure 3.3: Technical specifications and dimensions of the air fryer, including its 2x4L capacity and 2400W power.
4. Setup and First Use
4.1 Unpacking
Carefully remove all packaging materials and labels from the appliance. Ensure all parts are present and undamaged. Dispose of packaging materials responsibly.
4.2 Cleaning Before First Use
- Wipe the main unit with a damp cloth. Do not immerse the main unit in water.
- Wash the cooking baskets and crisper plates with hot water, dish soap, and a non-abrasive sponge. These parts are dishwasher safe.
- Rinse thoroughly and dry all parts completely before use.
4.3 Placement
- Place the air fryer on a stable, level, and heat-resistant surface.
- Ensure there is at least 10 cm (4 inches) of free space around the back and sides of the appliance to allow for proper air circulation.
- Do not place the appliance against a wall or other appliances.
5. Operating Instructions
5.1 Basic Operation
- Plug the power cord into a grounded wall outlet. The display will illuminate.
- Pull out the cooking baskets. Place the crisper plate inside each basket.
- Place your ingredients into the baskets. Do not overfill.
- Slide the baskets back into the appliance until they click into place.
- Press the Power button (ⓘ) to turn on the appliance.

Figure 5.1: User-friendly digital display for easy temperature and time adjustments.
5.2 Manual Cooking Settings
- After powering on, select the basket you wish to set (L or R).
- Use the temperature control buttons (+ / - next to the thermometer icon) to adjust the cooking temperature.
- Use the time control buttons (+ / - next to the clock icon) to adjust the cooking time.
- Press the Start/Pause button (⏸) to begin cooking.
5.3 Pre-programmed Settings
The air fryer comes with 8 pre-programmed settings for common dishes:
- Fries
- Cake
- Pizza
- Shrimp
- Chicken
- Steak
- Fish
- Vegetables
To use a pre-programmed setting:
- Select the basket (L or R).
- Press the Menu button (icon with multiple food items) repeatedly to cycle through the pre-programmed settings. The corresponding icon will light up.
- The default temperature and time for that program will be displayed. You can adjust these manually if desired.
- Press the Start/Pause button to begin cooking.

Figure 5.2: The air fryer offers endless cooking possibilities with its pre-programmed settings for various dishes.
5.4 Dual Cooking Functions
The Princess Dual Chamber Air Fryer offers advanced functions for cooking two different items simultaneously.
5.4.1 DUAL COOK Function
This function allows you to set the same cooking time and temperature for both baskets with a single setting.
- Set the desired temperature and time for one basket (e.g., Left basket).
- Press the DUAL COOK button. The settings from the first basket will be copied to the second basket.
- Press the Start/Pause button to begin cooking both baskets simultaneously.

Figure 5.3: Prepare two dishes simultaneously using the dual cooking feature.
5.4.2 SYNC FINISH Function
This function ensures that both baskets finish cooking at the same time, even if they have different cooking times and temperatures.
- Set the desired temperature and time for the Left basket.
- Set the desired temperature and time for the Right basket.
- Press the SYNC FINISH button. The air fryer will automatically adjust the start times for each basket so they finish together.
- Press the Start/Pause button to begin cooking.
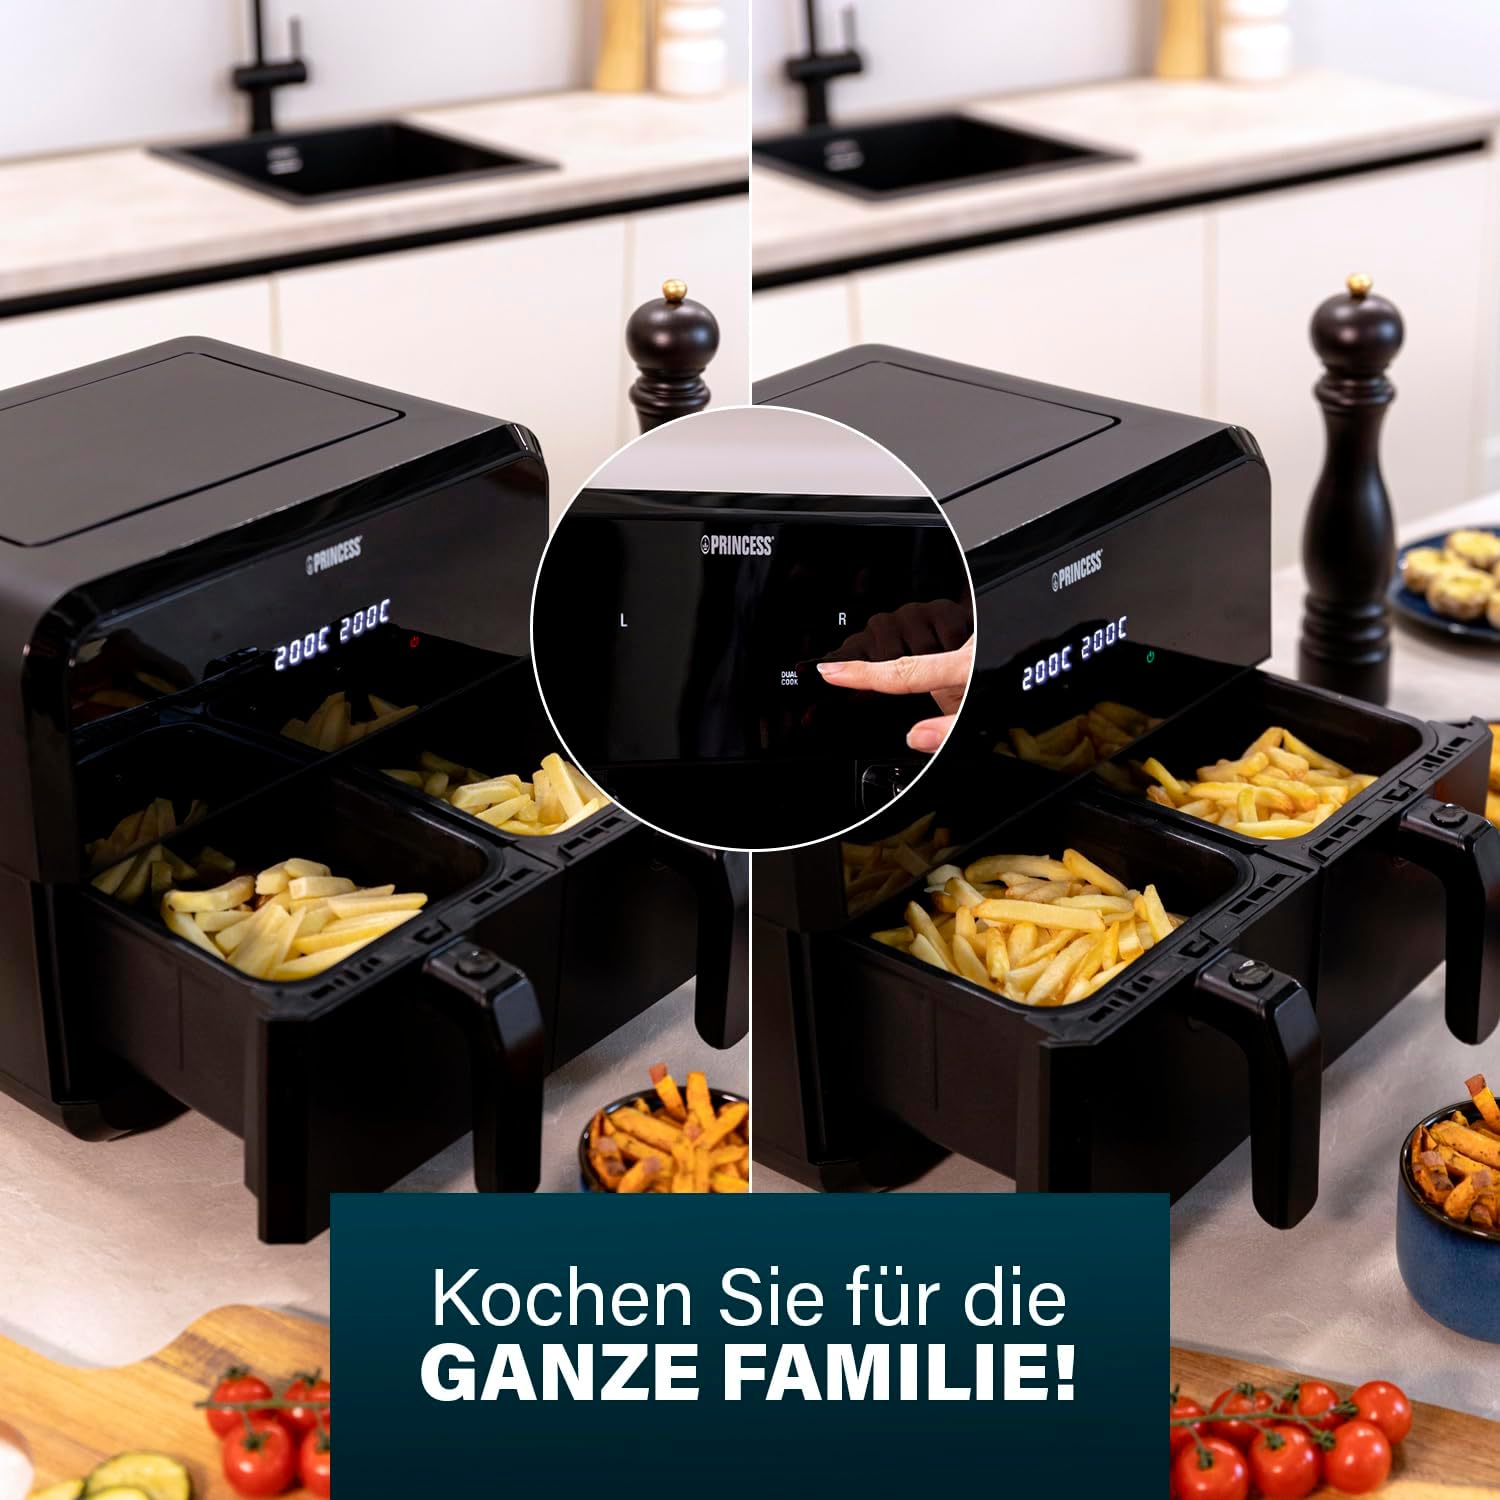
Figure 5.4: The SYNC FINISH function ensures both dishes are ready at the same time.
5.5 SHAKE Reminder
For certain recipes, especially those involving fries or smaller items, the air fryer may prompt you to shake the basket halfway through the cooking process. This ensures even cooking and crispiness.
- When the SHAKE icon appears on the display and the appliance beeps, carefully pull out the indicated basket.
- Gently shake the basket to redistribute the food.
- Slide the basket back into the air fryer. Cooking will resume automatically.
5.6 Cooking Completion
Once the cooking time has elapsed, the air fryer will beep and the display will show "END". Carefully pull out the baskets and transfer the cooked food to a serving plate. Use heat-resistant tongs or utensils.
Video 5.1: Official product video demonstrating the features and ease of use of the Princess Dual Chamber Air Fryer, Model 182068. This video highlights the digital controls, dual cooking capabilities, and easy cleaning.
6. Maintenance and Cleaning
Regular cleaning of your air fryer will ensure its longevity and optimal performance.
6.1 General Cleaning
- Always unplug the appliance and allow it to cool completely before cleaning.
- Wipe the exterior of the main unit with a damp cloth. Do not use abrasive cleaners or scourers.
- Clean the interior of the appliance with a non-abrasive sponge and warm soapy water if necessary.
6.2 Cleaning Baskets and Crisper Plates
- The cooking baskets and crisper plates have a non-stick coating and are dishwasher safe.
- For manual cleaning, wash them with hot water, dish soap, and a non-abrasive sponge.
- Ensure all food residue is removed.
- Dry all parts thoroughly before storing or reassembling.

Figure 6.1: The cooking baskets and crisper plates are dishwasher safe for convenient cleaning.
7. Troubleshooting
| Problem | Possible Cause | Solution |
|---|---|---|
| Air fryer does not turn on. | Appliance not plugged in; power outlet not working; basket not inserted correctly. | Ensure the power cord is securely plugged into a working outlet. Push the basket in until it clicks into place. |
| Food is not cooked evenly. | Basket is overloaded; food not shaken. | Do not overload the basket. Shake the basket halfway through cooking for even results. |
| White smoke coming from the appliance. | Grease residue from previous use; fatty ingredients. | Clean the basket and crisper plate thoroughly after each use. For fatty ingredients, place a piece of aluminum foil at the bottom of the basket to catch excess oil. |
| Food is not crispy. | Not enough oil (if required); temperature too low; cooking time too short. | Lightly coat food with oil (e.g., 1 tablespoon for fries). Increase temperature or cooking time. |
8. Specifications
- Model Number: 01.182068.01.001
- Color: Black
- Product Dimensions: 38.4 x 37.4 x 30.8 cm
- Capacity: 8 Liters (2 x 4L chambers)
- Power: 2400 Watts
- Voltage: 230 Volts
- Material: Plastic
- Item Weight: 5.58 Kilograms
- Special Feature: Temperature Control, Dual Chambers, Digital Display
Related documents01.182068.01.001


Ask a question about this manual
Ask about setup, troubleshooting, compatibility, parts, safety, or missing instructions. Manuals+ will review the question and use this page’s manual context to help answer it.