
1. Introduction
This manual provides detailed instructions for the installation, operation, and maintenance of your FOSA 3-Channel Dash Cam (Model: fosaghq46pg18k). Please read this manual thoroughly before using the device to ensure proper functionality and safety.
2. Package Contents
Verify that all items listed below are included in your package:
- 1 x Car Driving Recorder (Main Unit)
- 1 x Rear Camera
- 1 x Suction Cup Mount
- 1 x Power Cord (Car Charger)
- 2 x Screws
- 1 x Sticker
- (Memory Card not included, maximum support 32GB)

Image: All included components of the FOSA 3-Channel Dash Cam.
3. Product Overview
The FOSA 3-Channel Dash Cam features a 2.4-inch LCD display, a 170-degree wide-angle lens, and supports 3-channel recording (front, interior, rear). It includes a G-Sensor for emergency recording and infrared night vision for clear recording in low-light conditions.

Image: Side view of the dash cam unit, highlighting ports and controls.
Main Unit Features:
- Display: 2.4-inch LCD screen
- Lens: 170° A+ class high-resolution ultra-wide-angle lens
- Camera Resolution: Front, middle, rear recording capabilities
- Buttons: OK, M (Menu), Power, Up, Down
- Ports: DC IN (Power), Memory Card Slot
Rear Camera:

Image: The compact rear camera unit.
The rear camera provides additional coverage for the back of your vehicle, enhancing overall monitoring.
4. Setup Instructions
Follow these steps to set up your FOSA Dash Cam:
4.1. Install the Suction Cup Mount
- Attach the suction cup mount to the top of the main dash cam unit. Ensure it is securely fastened.
- Clean the desired area on your windshield.
- Press the suction cup firmly against the windshield and flip the lever to secure it.
- Adjust the angle of the dash cam for optimal front view recording.
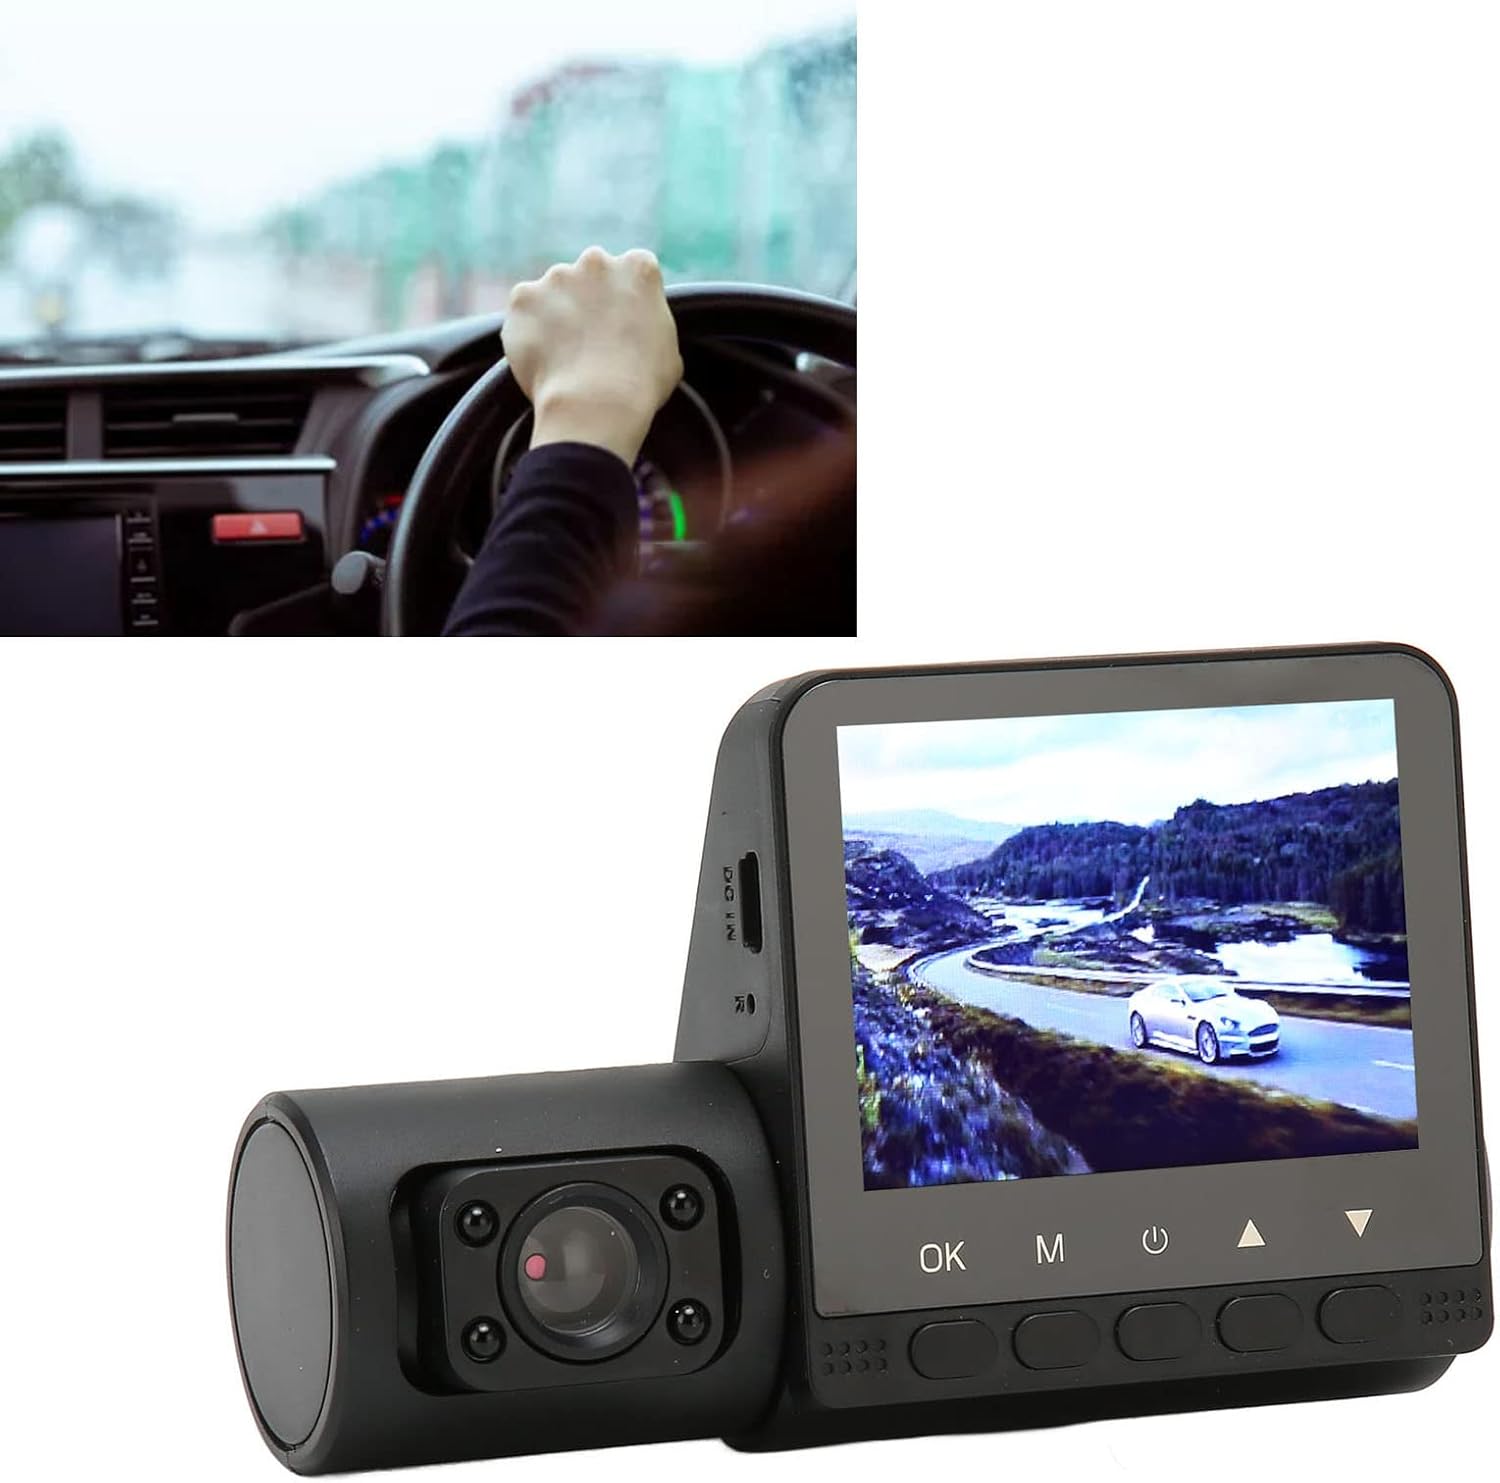
Image: Dash cam mounted on a car dashboard.
4.2. Insert Memory Card
Insert a compatible memory card (up to 32GB, not included) into the memory card slot on the dash cam. Ensure the card is inserted correctly until it clicks into place.
4.3. Connect Power
- Connect the power cord (car charger) to the DC IN port on the dash cam.
- Plug the other end of the power cord into your vehicle's 12-24V power outlet (cigarette lighter socket).
- The dash cam will automatically power on when the vehicle ignition is turned on.
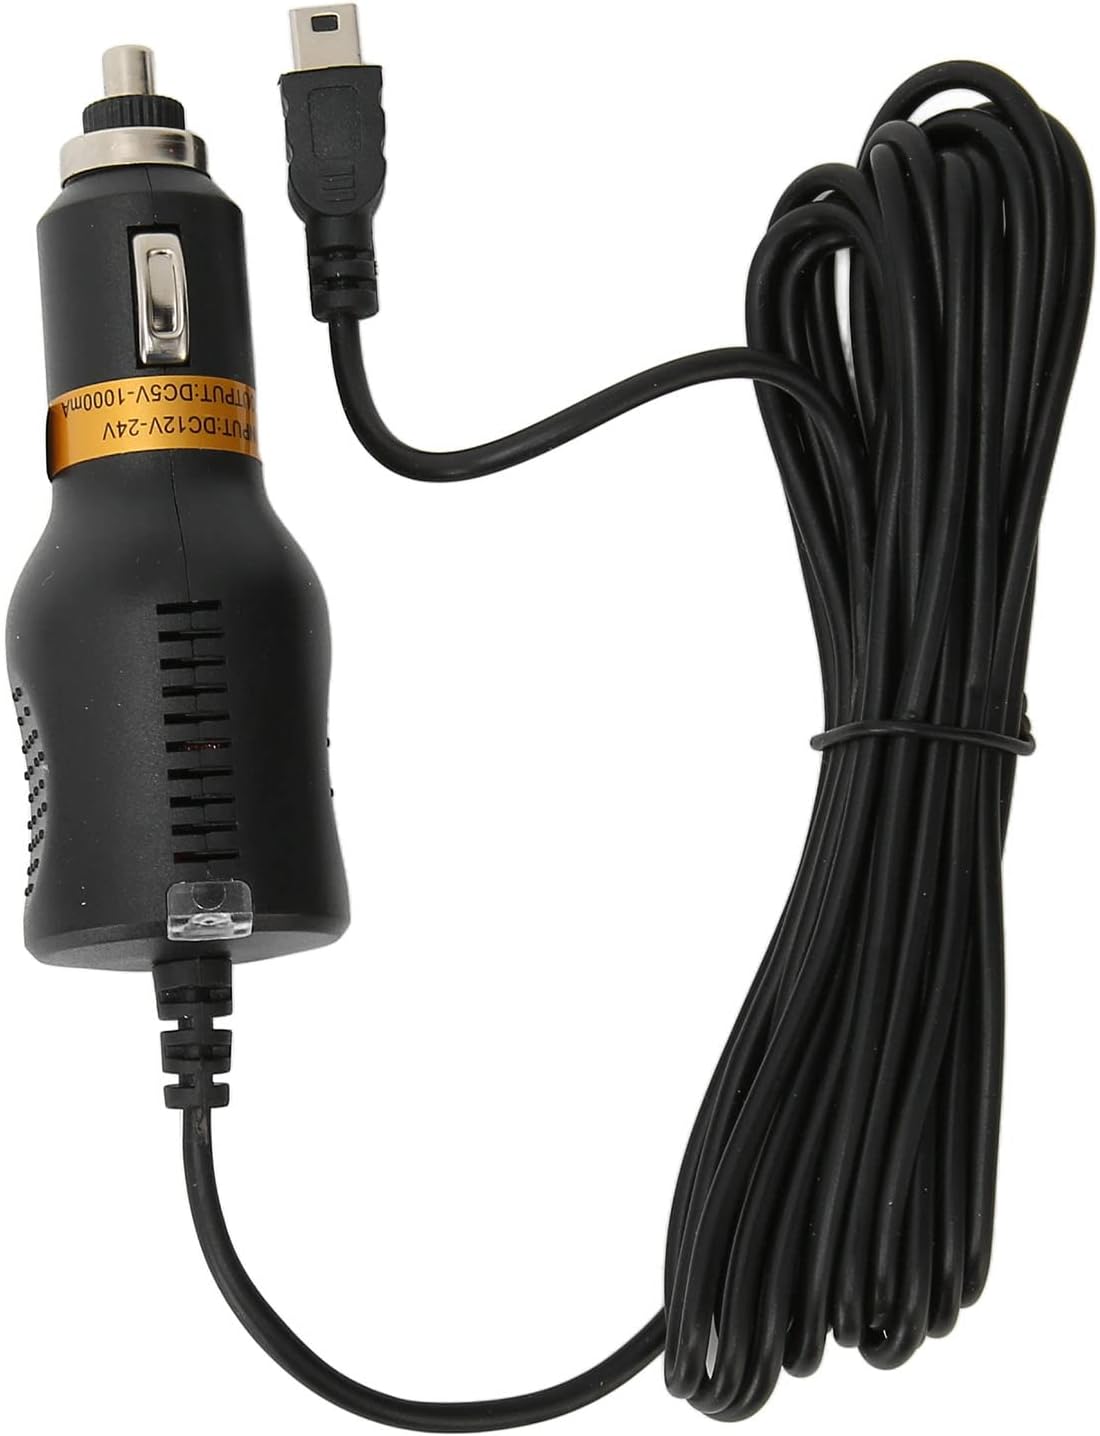
Image: Car charger and power cable.
4.4. Connect Rear Camera (Optional)
If using the rear camera, connect its cable to the designated port on the main dash cam unit. Route the cable neatly to the rear of your vehicle and mount the rear camera in a suitable position, typically on the rear windshield or license plate area.
4.5. Initial Setup and Language
Upon first power-on, you may need to set the language and time. Use the navigation buttons (Up/Down) and the OK button to select "English" and confirm your settings.
Video: This video demonstrates the unboxing, assembly of the dash cam with its mount, connecting the power, and navigating the menu to change language settings. It provides a visual guide for initial setup.
5. Operating Instructions
5.1. Power On/Off
- Automatic: The dash cam will automatically power on when your vehicle starts and power off when the ignition is turned off.
- Manual: Press and hold the Power button to manually turn the device on or off.
5.2. Recording Modes
The dash cam supports continuous loop recording. Once powered on, it will automatically begin recording.
- Normal Recording: Continuous recording in segments.
- Emergency Recording (G-Sensor): In the event of a sudden impact or collision, the built-in G-Sensor will automatically lock the current video segment, preventing it from being overwritten by cyclic recording.
- Motion Detection: When enabled in the settings, the dash cam will automatically start recording if motion is detected in front of the vehicle while parked.
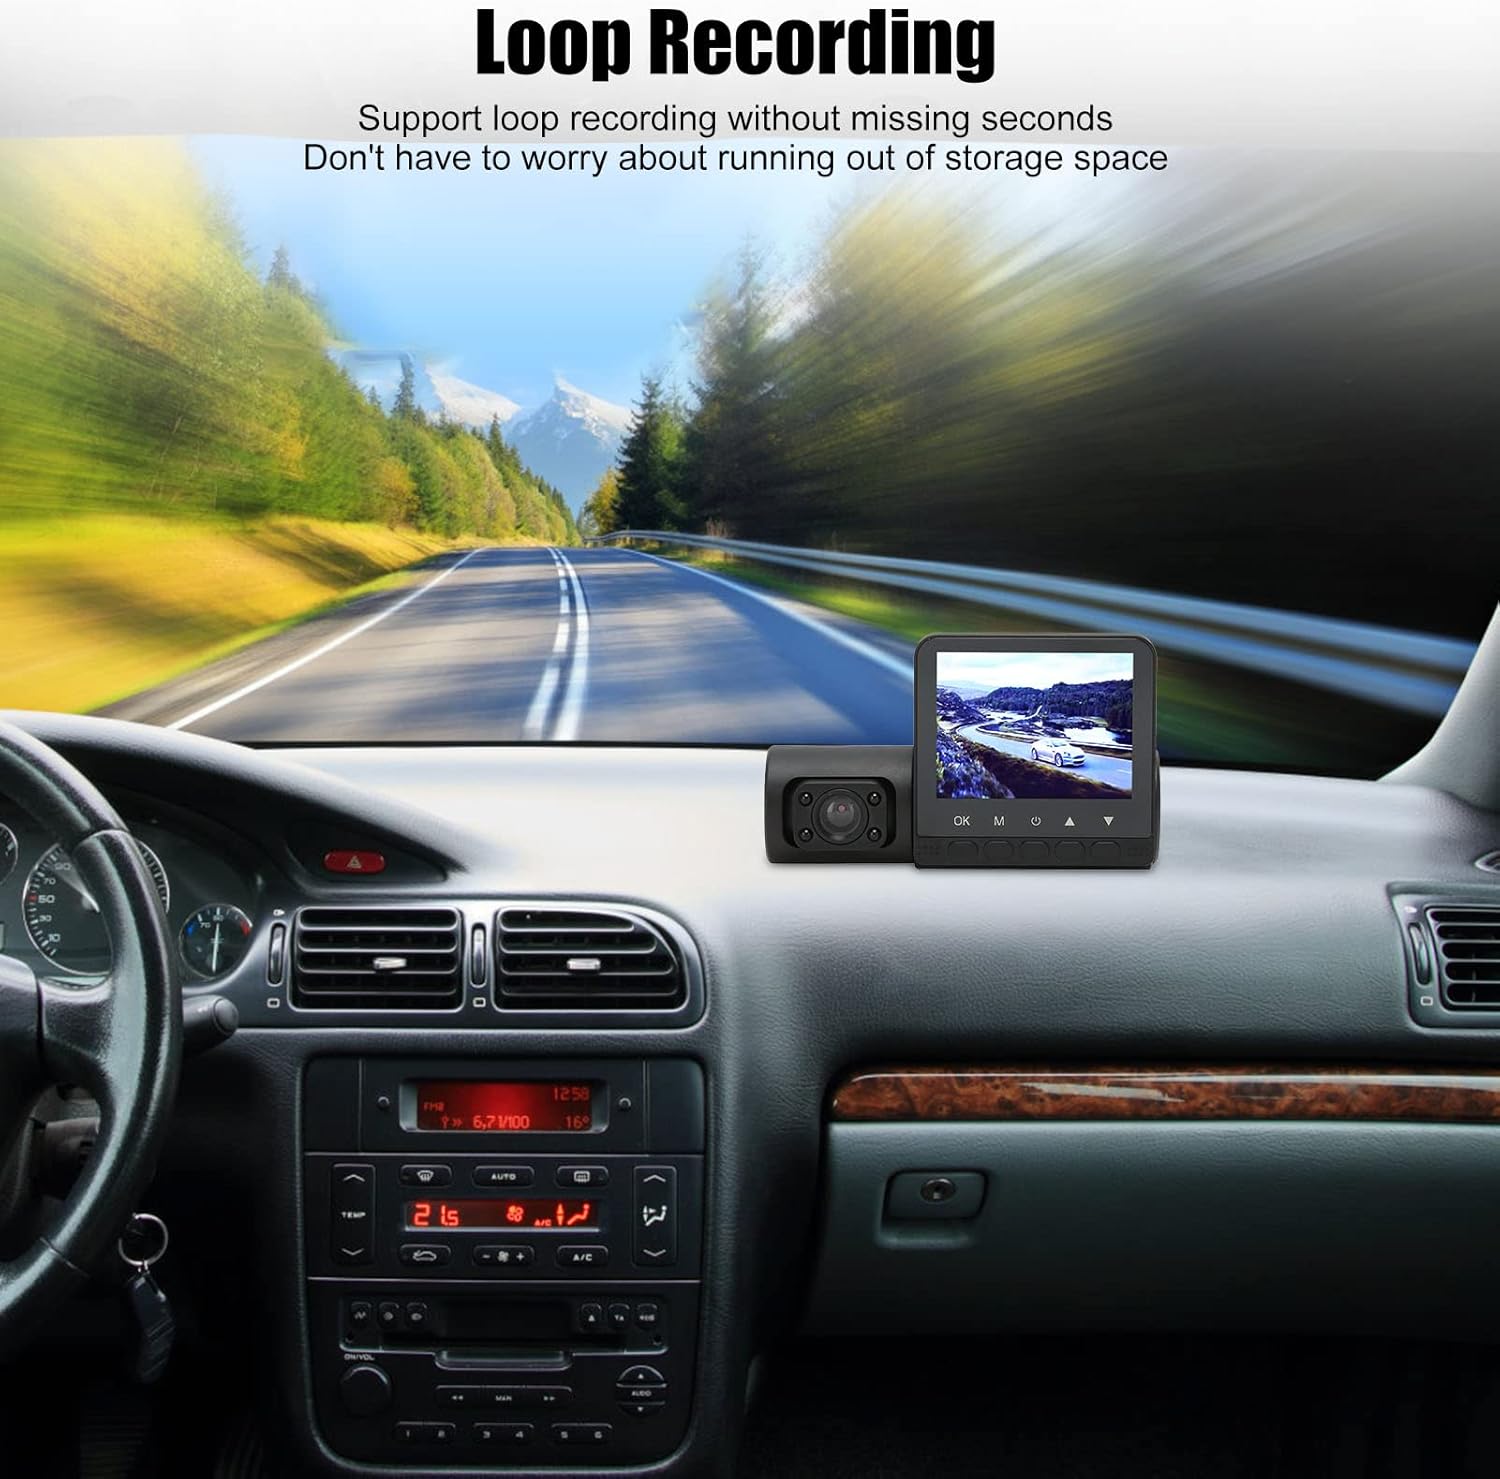
Image: Dash cam screen showing loop recording feature.
5.3. Menu Navigation
Use the following buttons to navigate the dash cam's menu and settings:
- OK Button: Confirms selection or starts/stops recording.
- M (Menu) Button: Enters the menu or switches between recording/playback modes.
- Up/Down Buttons: Navigate through menu options or adjust settings.
5.4. Playback Mode
To view recorded videos:
- Press the M button to switch to playback mode.
- Use the Up/Down buttons to browse through recorded files.
- Press the OK button to play the selected video.
6. Key Features
- G-Sensor: Automatically detects sudden shakes or collisions and locks the current footage to prevent overwriting, ensuring critical evidence is preserved.
- Night Vision: Equipped with infrared night vision technology, allowing for clear video recording even in low-light or nighttime conditions.

Image: Dash cam demonstrating night vision capability.
- Cyclic Recording: Records continuously, overwriting the oldest unlocked files when the memory card is full. This ensures uninterrupted recording without manual management.
- Motion Detection: When activated, the camera will automatically start recording if it detects movement in its field of view, providing surveillance when your vehicle is parked.
- Automatic Control: Supports automatic power-on with vehicle ignition and power-off upon engine shutdown, simplifying operation.
7. Specifications
| Feature | Detail |
|---|---|
| Item Type | 3 Channel Dash Cam |
| Material | ABS |
| Display Size | 2.4 inches |
| Camera Resolution | Front, Middle, Rear |
| Lens Angle | 170° A+ class high resolution ultra wide angle |
| Camera Pixels | 5MP |
| Photo Format | JPEG |
| Recording Video Format | H.264 |
| Audio | AAC |
| G Sensor | Built-in (emergency save) |
| Cyclic Recording | Seamless cyclic recording |
| Automatic Power On/Off | Supported (ignition-linked) |
| Motion Detection | Supported |
| Time Synchronization | Supported (Y/M/D/H/M) |
| Memory Card Support | Up to 32GB (not included) |
| Microphone | Supported |
| Built-in Speaker | Supported |
| Infrared Night Vision | Supported |
| Battery | Built-in 180mAh lithium battery |
| Power Interface | DC12-24V |
8. Troubleshooting
If you encounter issues with your dash cam, please refer to the following common solutions:
- Dash Cam not powering on:
- Ensure the power cord is securely connected to both the dash cam and the vehicle's power outlet.
- Check if the vehicle's power outlet is functioning correctly.
- Verify the vehicle's ignition is on.
- Recording issues:
- Ensure a compatible memory card is inserted and formatted.
- Check if the memory card is full; cyclic recording should prevent this, but locked files can accumulate.
- Try formatting the memory card through the dash cam's settings menu.
- Poor video quality:
- Clean the camera lenses (front, interior, rear) to remove dust or smudges.
- Ensure the dash cam is securely mounted and not vibrating excessively.
- Check video resolution settings in the menu.
- G-Sensor too sensitive/not sensitive enough:
- Adjust the G-Sensor sensitivity setting in the dash cam's menu.
9. Maintenance
- Cleaning: Regularly clean the camera lenses and the display screen with a soft, dry cloth. Avoid abrasive cleaners.
- Memory Card: Periodically format your memory card (e.g., once a month) to maintain optimal performance and prevent data corruption. Back up any important files before formatting.
- Storage: When not in use for extended periods, store the dash cam in a cool, dry place away from direct sunlight.
10. Warranty and Support
For warranty information or technical support, please refer to the documentation provided with your purchase or contact the seller directly. Keep your proof of purchase for warranty claims.