
1. Introduction
Welcome to the user manual for your new Topcony Solar Security Camera. This guide provides detailed instructions on setting up, operating, maintaining, and troubleshooting your device to ensure optimal performance and security. Please read this manual thoroughly before using the camera.
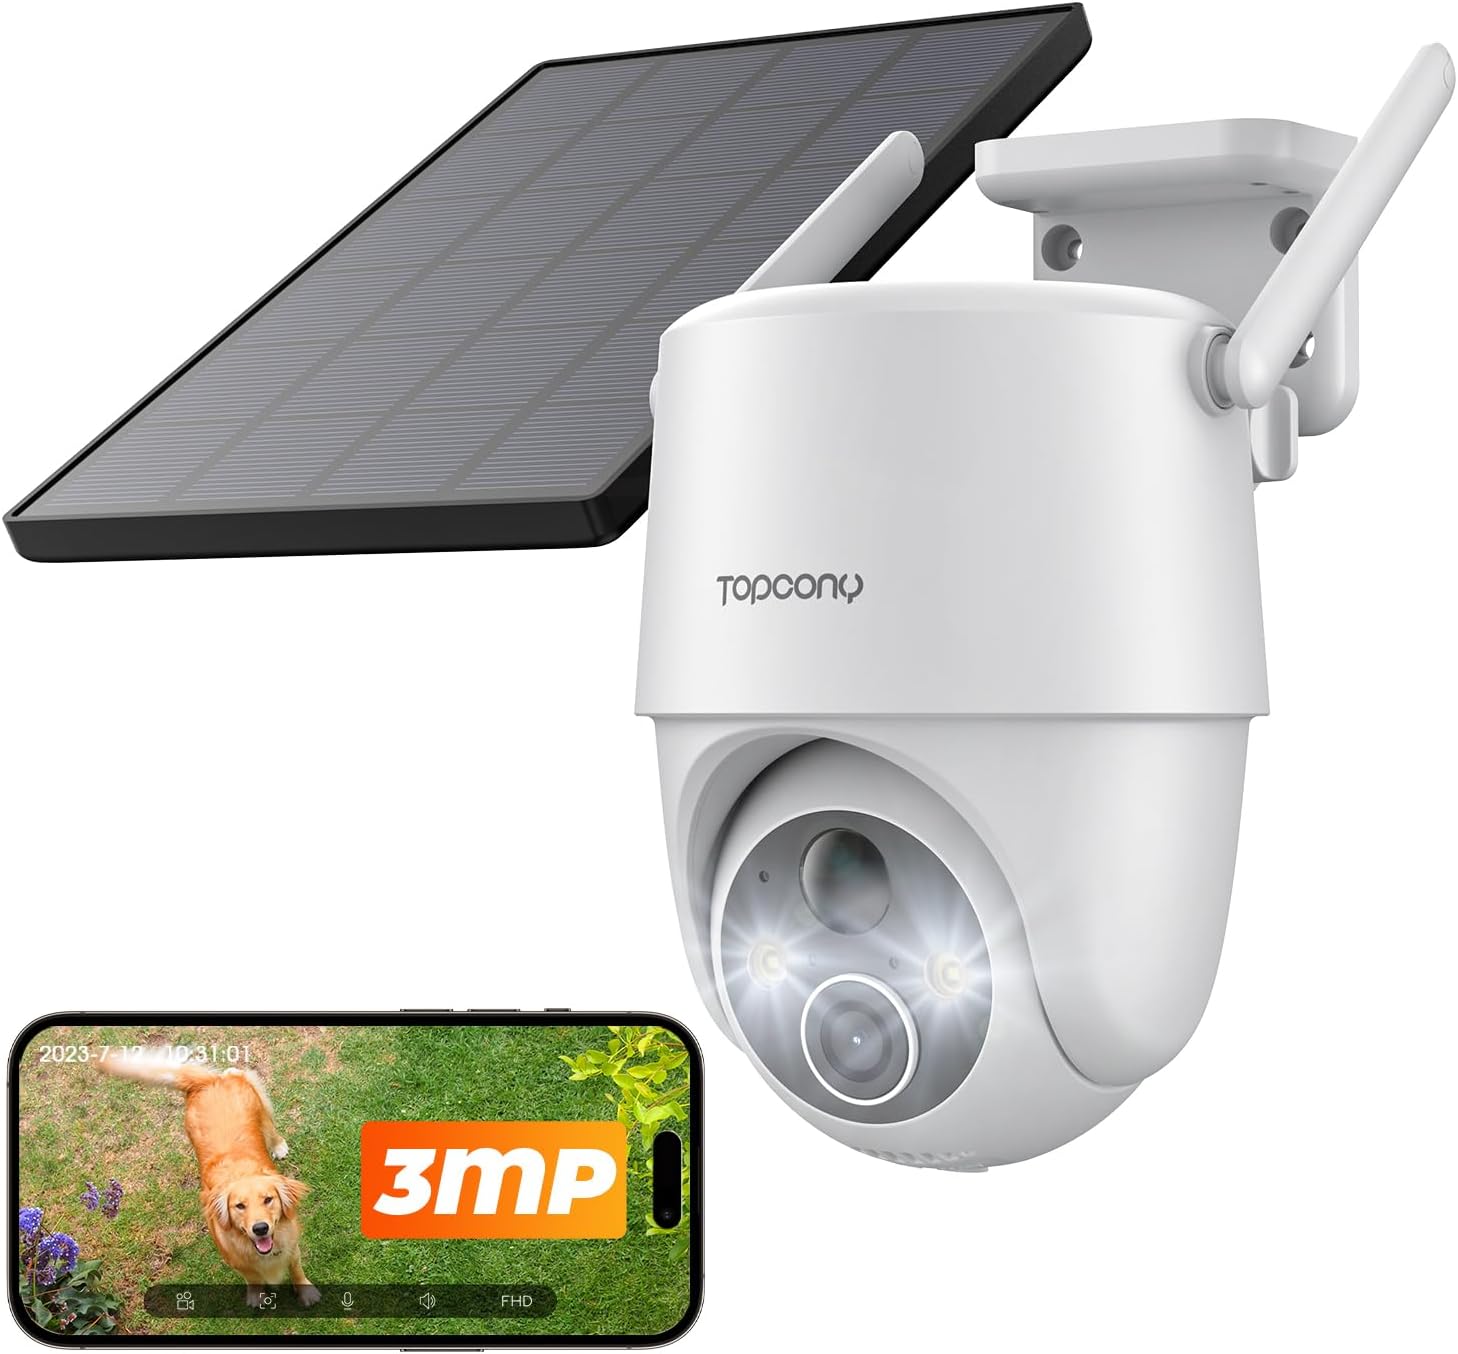
Figure 1.1: Topcony Solar Security Camera (Model ZS-GX6S) with included solar panel and a smartphone displaying the camera's live feed.
2. Product Overview
2.1 Key Features
- Solar-Powered & Rechargeable & Wire-Free: Equipped with a high-conversion solar panel and efficient 9000mAh batteries for 100% wire-free operation, lasting up to 365 days or 150-180 days per charge.
- Fast Forward & AI Motion Detection & Sound-Light Alarms: Features fast-forward video playback, advanced AI for precise motion and human detection, instant alerts, and optional light/siren activation to deter intruders.
- 2K 3MP & Color Night Vision: Provides hyper-realistic 2K 3MP resolution with 355° pan, 120° tilt, and 4x digital zoom. Supports color night vision, infrared night vision, and intelligent night vision modes.
- 2-Way Audio & Alexa Compatible & Multi-device Sharing: Built-in microphones and speakers enable two-way audio. Compatible with Alexa Echo for voice commands and supports multi-device sharing via QR codes or account sharing on the Topcony Cam APP.
- Card /No Fee Basic Cloud/ Assurance and Reliable Service: Supports up to 128GB SD card storage (not included) and free basic cloud storage. Customizable historic event recording lengths (10-30 seconds).
2.2 Package Contents
Please check the package contents carefully. If any items are missing or damaged, contact customer support.
- Topcony Solar Security Camera (ZS-GX6S)
- Solar Panel with 3-meter cable
- Mounting Bracket and Screws
- USB Charging Cable
- User Manual

Figure 2.1: The camera operates independently of the electrical grid, making it suitable for areas with power outages. It is 100% wireless and includes a 3-meter cable for the solar panel.

Figure 2.2: The camera offers a 355° pan and 120° tilt, along with 4x digital zoom, providing comprehensive monitoring and eliminating blind spots.

Figure 2.3: The camera features accurate AI detection, capable of distinguishing humans from other motion, minimizing false alarms and sending instant notifications.

Figure 2.4: The camera supports three night vision modes: black and white infrared, full color, and intelligent night vision for powerful capabilities in low light.

Figure 2.5: Customize alarm areas and activate sound and light alarms to deter intruders and better protect your privacy.

Figure 2.6: Select recording durations (10s, 20s, or 30s) to optimize storage. Audio recording can be enabled or disabled for privacy protection.

Figure 2.7: The camera supports up to 128GB SD card storage (not included) and offers basic cloud storage with no subscription fees, ensuring secure encrypted transmission.

Figure 2.8: Work seamlessly with Alexa and receive notifications on your smartphone or smartwatch for live stream viewing.
3. Setup
3.1 Initial Charging
Before first use, fully charge the camera using the provided USB cable and a standard 5V/1A USB power adapter (not included). A full charge ensures the battery is conditioned for optimal performance with the solar panel.
3.2 App Installation
Download the Topcony Cam APP from your device's app store (iOS App Store or Google Play Store). Register an account and log in.
3.3 Camera Connection Steps
Follow these steps to connect your camera to the app:
- Open the Topcony Cam APP.
- Select "Battery Camera" from the device list.
- Follow the on-screen prompts to power on the device and reset it if necessary.
- Connect to a 2.4GHz Wi-Fi network and enter the correct Wi-Fi password.
- Scan the QR code displayed on your phone with the camera lens. Ensure the phone is 5-8 inches away from the camera. A tone will be heard upon successful scan.
- Wait for the camera to connect. The APP will display "Add Successfully" once the connection is complete.
Video 3.1: This video demonstrates the step-by-step process for connecting your Topcony camera to the mobile application, including Wi-Fi setup and QR code scanning.
3.4 Mounting the Camera
Choose a suitable location for mounting, ensuring good Wi-Fi signal and direct sunlight exposure for the solar panel. The camera can be wall-mounted or ceiling-mounted.
- Secure the mounting bracket to the desired surface using the provided screws.
- Attach the solar panel to the bracket, ensuring it faces the sun for maximum charging efficiency.
- Connect the solar panel cable to the camera's charging port.
- Mount the camera onto the bracket and adjust its angle for optimal viewing.
Video 3.2: This video illustrates the installation process for the Topcony camera, including securing the mounting bracket and connecting the solar panel.
4. Operating Instructions
4.1 Live View & Control
Once connected, open the Topcony Cam APP to access the live view. You can pan (355°) and tilt (120°) the camera remotely using the controls in the app. The 4x digital zoom allows for closer inspection of details.
4.2 Motion Detection & Alerts
The camera features advanced AI detection for precise motion and human detection. When motion is detected, you will receive instant push notifications on your smartphone. You can also configure the camera to activate sound and light alarms to deter unwanted visitors.
Video 4.1: This video demonstrates the camera's detection capabilities and how notifications are sent to your device upon detecting motion or human presence.
4.3 Night Vision Modes
The camera offers three night vision modes:
- Color Night Vision: Provides full-color images in low-light conditions.
- Infrared Night Vision: Standard black and white night vision for clear images in complete darkness.
- Intelligent Night Vision: Automatically switches between modes based on ambient light and detected motion.
4.4 Two-Way Audio
Utilize the built-in microphone and speaker to communicate with visitors or deter intruders directly through the app.
4.5 Storage Options
Recordings can be stored in two ways:
- SD Card Storage: Insert a microSD card (up to 128GB, not included) into the camera's slot.
- Basic Cloud Storage: Enjoy free basic cloud storage for event recordings without additional fees. You can customize recording lengths from 10 to 30 seconds.
4.6 Multi-device Sharing & Alexa Integration
Share camera access with family members via QR codes or account sharing. For added convenience, control your camera with voice commands through Alexa Echo devices.
Video 4.2: This video highlights the key features of the camera, including its pan-tilt functionality, night vision, and smart home integration.
5. Maintenance
5.1 Cleaning
Regularly clean the camera lens and solar panel with a soft, damp cloth to ensure clear images and efficient charging. Avoid using harsh chemicals or abrasive materials.
5.2 Battery Management
The solar panel continuously charges the camera's battery. For optimal battery life, ensure the solar panel receives adequate direct sunlight. If the camera is installed in a shaded area or during prolonged cloudy periods, occasional manual charging via USB may be required.
Video 5.1: This short video demonstrates the IP65 weatherproof rating of the camera, showing its ability to withstand various environmental conditions like rain and snow.
5.3 Firmware Updates
Periodically check for firmware updates through the Topcony Cam APP to ensure your camera has the latest features and security enhancements.
6. Troubleshooting
If you encounter issues with your Topcony Solar Security Camera, please refer to the following common problems and solutions:
| Problem | Possible Cause | Solution |
|---|---|---|
| Camera not connecting to Wi-Fi | Incorrect Wi-Fi password; 5GHz network selected; camera too far from router. | Ensure correct 2.4GHz Wi-Fi password. Move camera closer to router. Reset camera and try again. |
| Poor image quality | Dirty lens; low light conditions; network issues. | Clean the lens. Ensure adequate lighting or proper night vision mode is selected. Check Wi-Fi signal strength. |
| False alarms | Sensitivity too high; environmental factors (e.g., swaying trees). | Adjust motion detection sensitivity in the app. Define specific detection zones to exclude irrelevant areas. |
| Battery not charging | Solar panel not receiving enough sunlight; faulty connection. | Ensure solar panel is in direct sunlight. Check cable connection between solar panel and camera. Manually charge via USB if needed. |
For more detailed troubleshooting or persistent issues, please consult the in-app help section or contact Topcony customer support.
7. Specifications
| Feature | Specification |
|---|---|
| Model Number | ZS-GX6S |
| Indoor/Outdoor Usage | Outdoor |
| Power Source | Battery Powered, Solar |
| Connectivity Protocol | Wi-Fi (2.4GHz) |
| Video Capture Resolution | 3 MP (2K QHD) |
| Pan/Tilt Range | 355° Pan, 120° Tilt |
| Digital Zoom | 4x |
| Night Vision | Infrared and Color Night Vision (up to 12 meters) |
| Battery Capacity | 9000mAh (2 Lithium Polymer batteries included) |
| Storage Options | MicroSD Card (up to 128GB), Basic Cloud Storage |
| Waterproof Rating | IP65 |
| Operating Temperature | -10°C to +50°C (14°F to 122°F) |
| Dimensions (L x W x H) | 7.09 x 6.69 x 5.08 inches |
| Item Weight | 2.31 pounds |
8. Warranty and Support
Topcony offers a 365-day warranty and lifetime support for your product. If you encounter any issues or have questions, please do not hesitate to reach out to our customer support team. You can typically find contact information on the product packaging, the Topcony official website, or within the Topcony Cam APP.
We are committed to ensuring you can use our products with confidence.
