1. Introduction
Thank you for purchasing the SURAIELEC UGFL01B Outdoor LED Spotlights. This manual provides essential information for the safe and efficient use of your new spotlights. Please read these instructions carefully before installation and operation, and retain them for future reference.
2. Safety Instructions
- Ensure the power supply is disconnected before installation, maintenance, or cleaning.
- This product is designed for outdoor use only.
- Do not immerse the spotlight or power adapter in water.
- Use only the provided power adapter.
- Keep the product away from flammable materials.
- Do not attempt to disassemble or modify the product. This will void the warranty.
- Ensure the ground stake is securely inserted into stable ground to prevent tipping.
3. Package Contents
Verify that all components are present in your package:
- 2 x SURAIELEC UGFL01B Outdoor LED Spotlights
- 1 x IR Remote Control (with 1 Lithium Metal battery included)
- 2 x Ground Stakes (pre-attached or separate for assembly)
- 2 x Power Adapters with 10FT Cords

Image: Contents of the SURAIELEC UGFL01B spotlight package, including two spotlights, power adapters, and remote control.
4. Product Overview
Familiarize yourself with the main components of your SURAIELEC UGFL01B Outdoor LED Spotlight:
- LED Spotlight Head: Contains the LED light source and glass lens.
- Adjustable Bracket: Allows for 180-degree light direction adjustment.
- Ground Stake: For secure installation in soil.
- Power Adapter: ETL certified, converts AC power to 6V DC.
- 10FT Power Cord: Connects the spotlight to the power adapter.
- Back-Button Switch: Located on the back of the spotlight head for manual control.
- IR Remote Control: For wireless control of functions.

Image: Detailed view of the spotlight components, including the ETL certified power adapter, 10-foot cord, and the internal structure of the LED head.
5. Installation
- Assemble the Spotlight: If the ground stake is not pre-attached, securely connect it to the spotlight head.
- Position the Spotlight: Choose a location in your yard or garden where the spotlight can illuminate the desired area. Ensure the ground is soft enough to insert the stake.
- Insert Ground Stake: Firmly push the ground stake into the soil until the spotlight is stable.
- Adjust Light Direction: Loosen the knob on the adjustable bracket, tilt the spotlight head to the desired angle (up to 180 degrees), and then tighten the knob to secure it.
- Connect to Power: Plug the 10-foot power cord into the power adapter, and then plug the adapter into a standard 120V AC outdoor-rated power outlet. Ensure the outlet is protected from direct water exposure.

Image: Spotlight dimensions and demonstration of the 180-degree adjustable light head for precise aiming.

Image: Visual guide for adjusting the spotlight's head to direct light as needed.
6. Operation
The SURAIELEC UGFL01B spotlights offer dual control methods: a back-button switch on the spotlight itself and an IR remote control.
6.1. Using the Back-Button Switch
Press the button on the back of the spotlight head to cycle through the available lighting modes:
- Warm White
- Red
- Green
- Yellow
- Red-Green-Yellow Flash Mode
- Off

Image: Illustration of the back-button control and the remote control for the spotlights.

Image: Demonstrates cycling through solid colors and the multi-color blinking mode using the back button.
6.2. Using the IR Remote Control
The remote control allows for more precise adjustments. Ensure the remote is pointed towards the spotlight for optimal signal reception (maximum control distance is 40 feet). Remove the insulation sheet from the remote's battery compartment before first use.
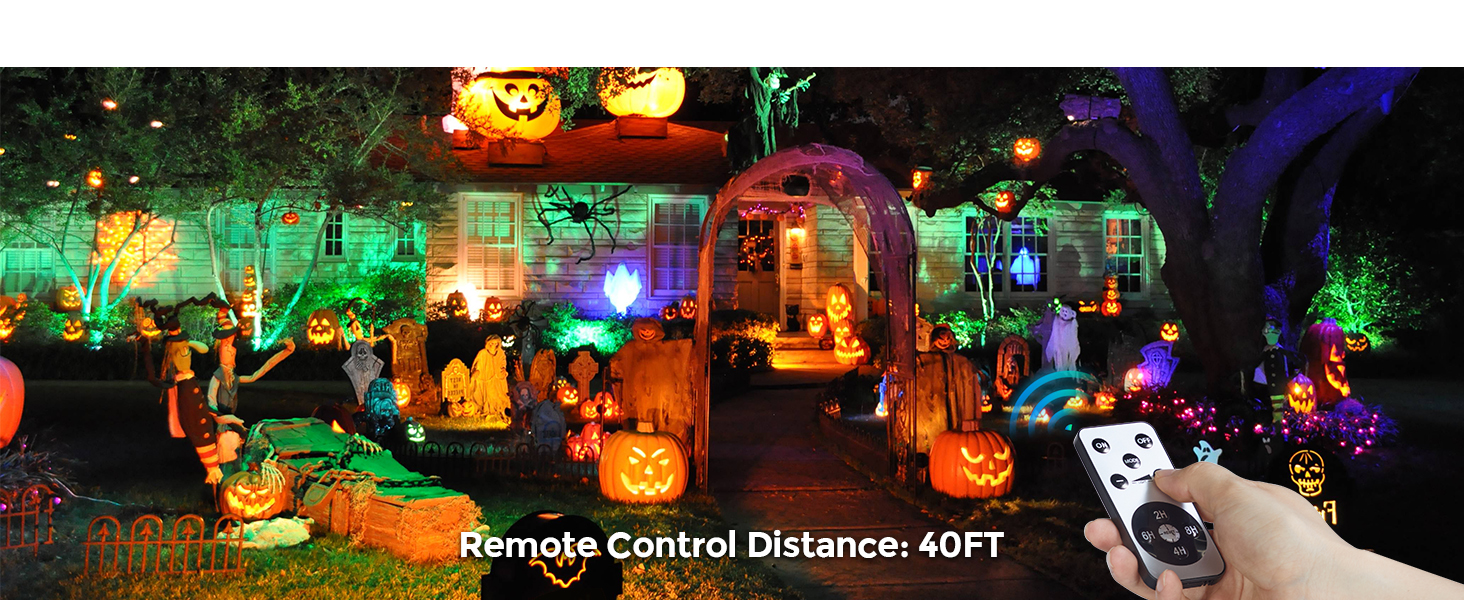
Image: Layout of the IR remote control with functions for power, mode selection, brightness, and timer settings.
- ON/OFF: Turns the spotlights on or off.
- MODE: Cycles through the 4 solid colors (Red, Green, Yellow, Warm White) and the Red-Green-Yellow flash mode.
- Brightness (+/-): Adjusts the light intensity.
- Timer (2H/4H/6H/8H): Sets the spotlight to automatically turn off after 2, 4, 6, or 8 hours. The timer activates from the moment it is set. To cancel a previous timer setting, press the 'reset' button (usually the center button within the timer circle).
6.3. Memory Function
The spotlights feature a memory function. They will remember the last color setting even after a power outage, ensuring consistent display when power is restored.
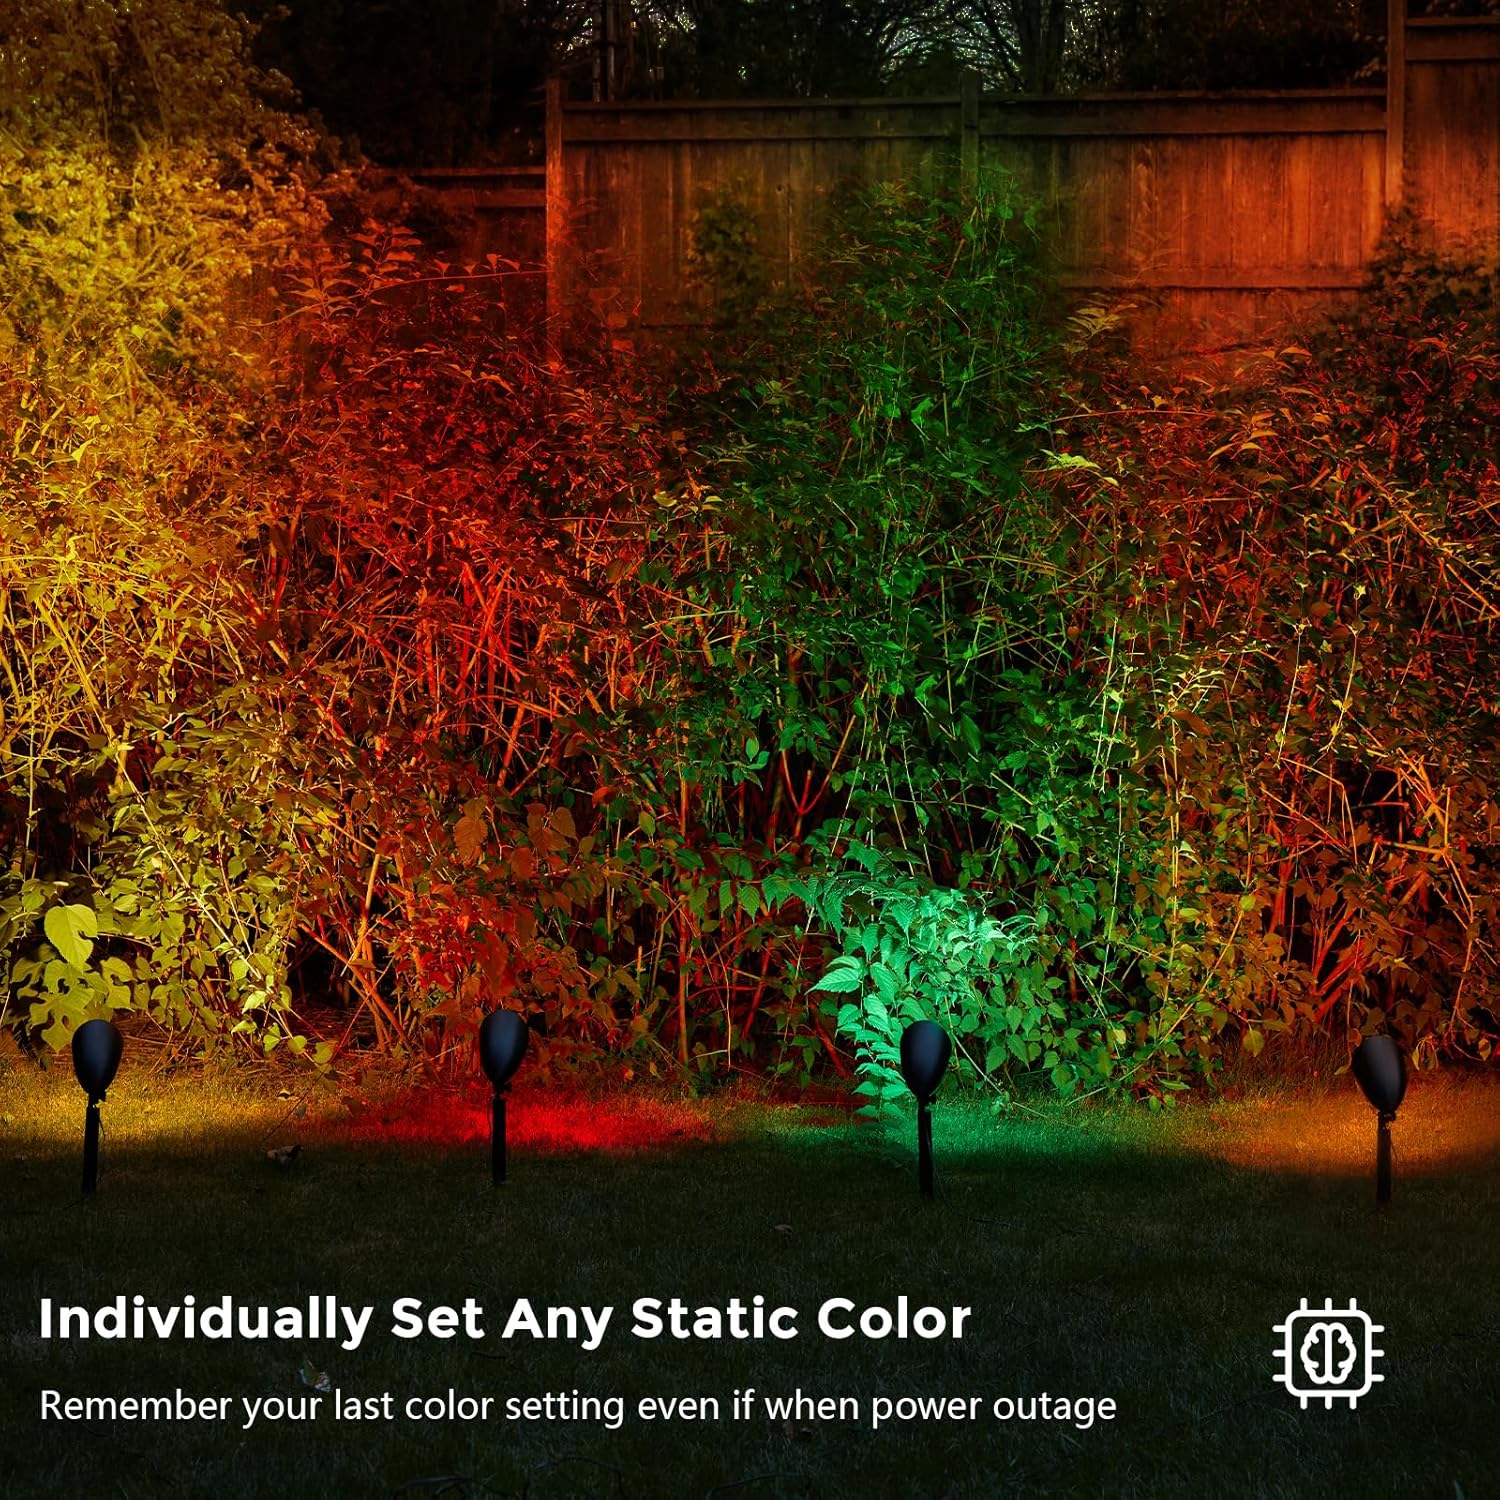
Image: Demonstrates the ability to set individual static colors and the memory function that retains the last setting.
6.4. Timer Function Details
The built-in timer allows for automatic operation, ensuring the lights turn on and off regularly each day. Once a timer (2H, 4H, 6H, or 8H) is set, the lights will remain on for the selected duration and then turn off. They will automatically turn on again at the same time the next day for the set duration.
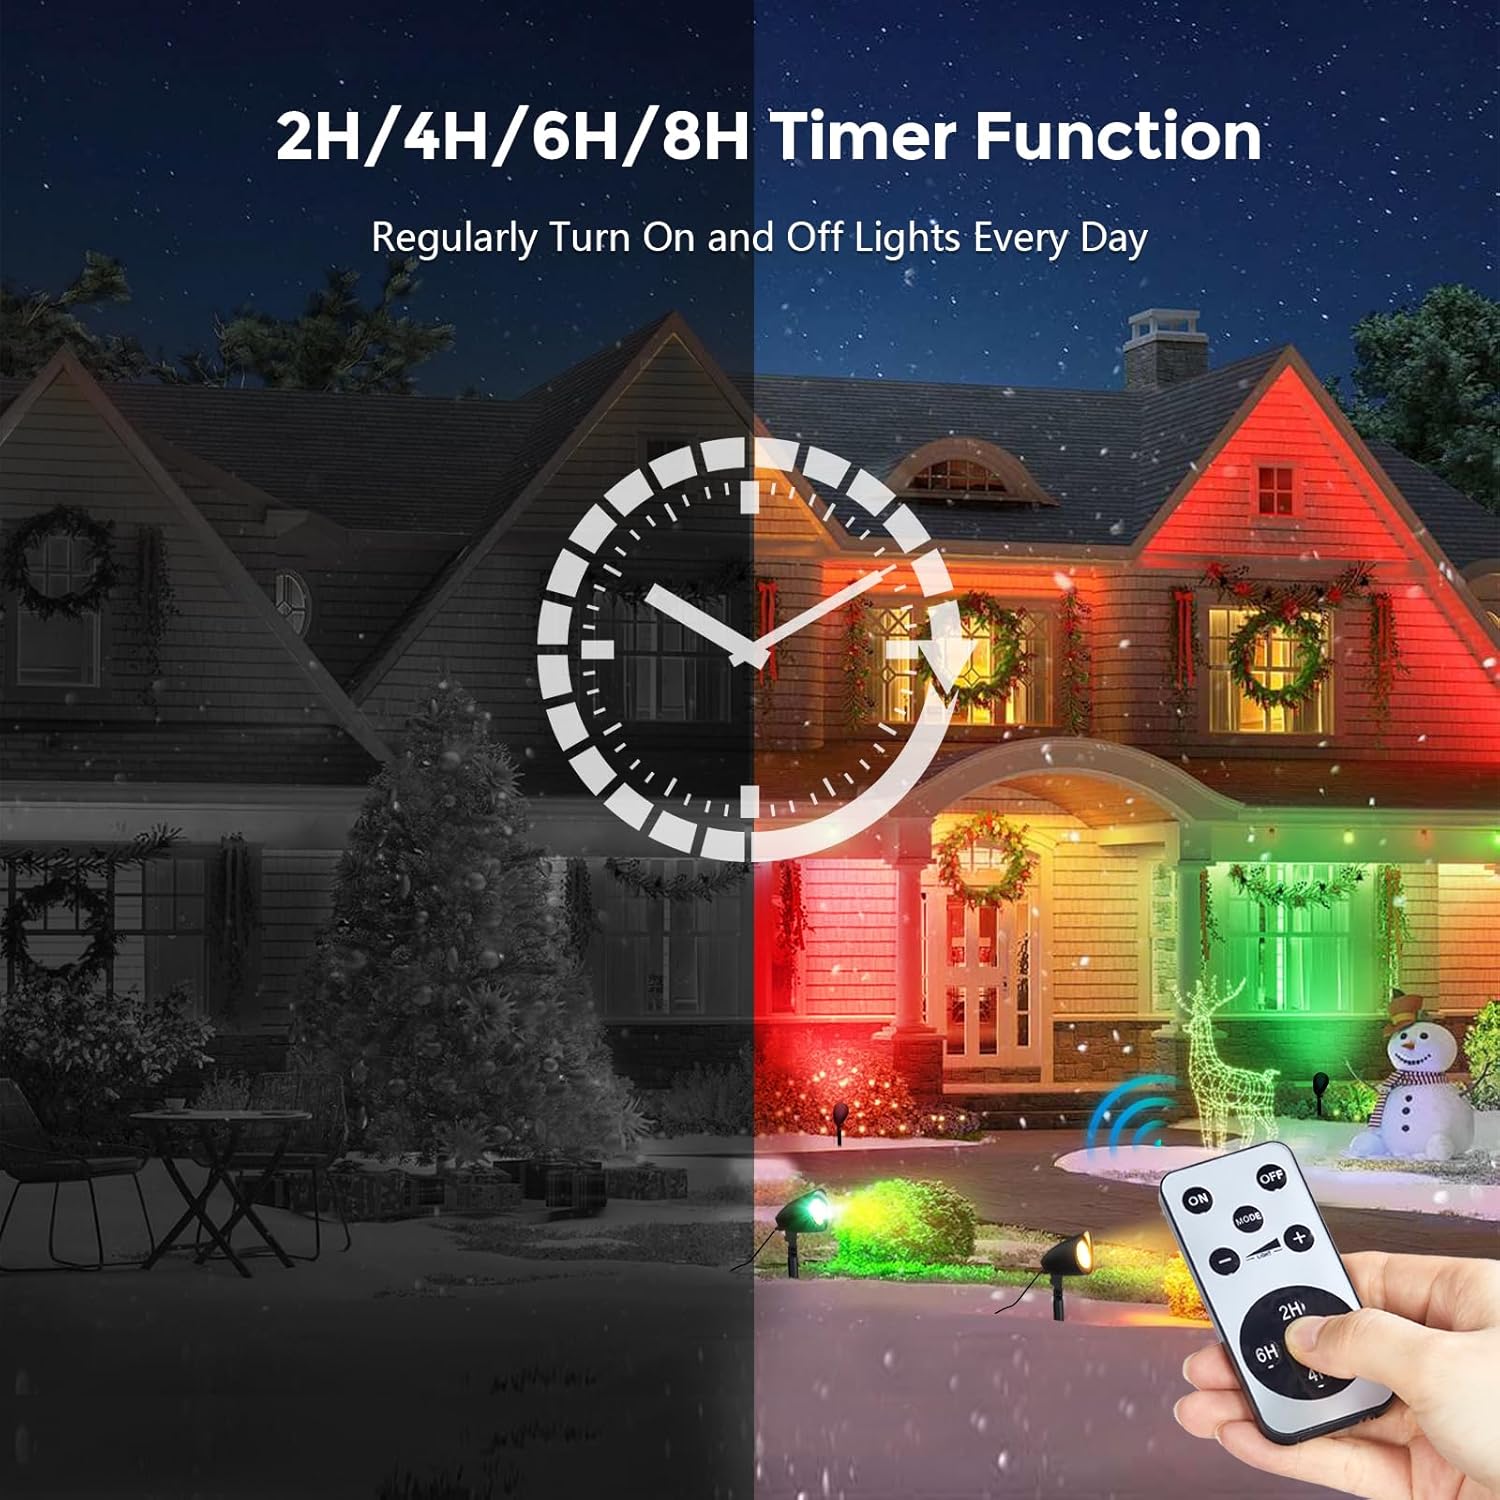
Image: Visual representation of the 2H/4H/6H/8H countdown timer function, illustrating automatic daily operation.
7. Maintenance
Regular maintenance ensures optimal performance and longevity of your spotlights.
- Cleaning: Periodically wipe the spotlight heads and lenses with a soft, damp cloth to remove dirt and debris. Do not use abrasive cleaners or solvents.
- Inspection: Regularly check the power cords and adapters for any signs of damage. If any damage is found, discontinue use and contact customer support.
- Battery Replacement (Remote): If the remote control's range or responsiveness decreases, replace the Lithium Metal battery. Refer to the remote's battery compartment for specific battery type.
8. Troubleshooting
| Problem | Possible Cause | Solution |
|---|---|---|
| Spotlight does not turn on. | No power supply; loose connection; faulty outlet. | Check if the power adapter is securely plugged into a working outlet. Ensure all connections are tight. |
| Remote control not working. | Remote battery depleted; insulation sheet not removed; remote out of range; obstruction. | Replace the remote battery. Ensure the insulation sheet is removed. Point the remote directly at the spotlight within 40 feet. Remove any obstructions. |
| Lights are not changing colors or modes. | Remote signal issue; back-button not pressed correctly. | Try using the back-button switch on the spotlight. Ensure remote is pointed correctly. |
| Timer function not working as expected. | Timer not set correctly; power interruption. | Ensure the desired timer duration (2H/4H/6H/8H) is selected on the remote. If power was interrupted, the timer may need to be reset. |
9. Specifications
| Feature | Detail |
|---|---|
| Model | UGFL01B |
| Light Source Type | LED |
| Wattage | 6 Watts per spotlight |
| Brightness | 350 Lumens |
| Voltage | 120 Volts (AC) |
| Light Colors | Red, Green, Yellow, Warm White, Red-Green-Yellow Flash Mode |
| Control Methods | IR Remote Control, Back-Button Switch |
| Remote Control Distance | Up to 40 feet |
| Timer Functions | 2H, 4H, 6H, 8H Countdown |
| Waterproof Rating | IP44 |
| Material | Plastic (Painted Finish) |
| Power Cord Length | 10 feet |
| Product Dimensions | 5.5"L x 3.9"W x 15.7"H (each spotlight) |
| Item Weight | 1.46 pounds (total for 2-pack) |
| Average Life | 50,000 Hours |
| Operating Temperature | -4°F to 104°F (-20°C to 40°C) |

Image: Demonstrates the IP44 waterproof rating and wide operating temperature range of the spotlight.
10. Warranty and Support
SURAIELEC products are designed for quality and durability. While specific warranty details are not provided in this manual, please refer to your purchase documentation or contact SURAIELEC customer support for warranty information and assistance.
For technical support or inquiries, please visit the official SURAIELEC website or contact their customer service department.


