
1. Introduction
The EF ELECFREAKS micro:bit Retro MakeCode Arcade is an educational programming console designed to introduce users to game development and computational thinking. This device integrates a color screen and control buttons, providing a platform for creating and playing games using the Microsoft MakeCode Arcade graphical programming environment. It also supports remote control applications, enhancing its versatility for various STEM projects.
2. Product Overview
The micro:bit Retro MakeCode Arcade features a compact, handheld design with a translucent acrylic casing, offering both durability and a clear view of its internal components. It is equipped with a TFT 160x128 color screen, four directional buttons, two A/B action buttons, and a reset button for intuitive interaction.

Figure 2.1: The ELECFREAKS micro:bit Retro MakeCode Arcade console.

Figure 2.2: Close-up view of the translucent acrylic casing, highlighting the circular arc design for improved grip.

Figure 2.3: Detailed view of the console's TFT 160x128 color screen, directional buttons, and A/B buttons.
3. Components
The package includes the following items:
- Retro Arcade Shield (x1)
- Acrylic Top Cover (x1)
- Acrylic Bottom Cover (x1)
- Screws (x5)
- Button Caps (x6)
- Nuts (x4)
- Nylon Columns (x4)
- Screwdriver (x1)
- Instructions (x1)
Note: The micro:bit motherboard and batteries are NOT included and must be purchased separately.

Figure 3.1: All components included in the package for the micro:bit Retro MakeCode Arcade.
4. Setup
- Micro:bit Installation: Carefully insert your micro:bit motherboard into the designated card slot on the Retro Arcade Shield. Ensure it is securely seated to enable proper functionality.
- Assembly: Follow the included instructions to assemble the acrylic top and bottom covers using the provided screws, nuts, and nylon columns.
- Power: The device requires battery power. Insert the necessary batteries (not included) into the battery compartment.
- Connection to PC: To program the device, connect it to your computer using a USB cable (not included).

Figure 4.1: Proper installation of the micro:bit motherboard into the Retro MakeCode Arcade.
Video 4.1: This video demonstrates the installation of the micro:bit and basic joystick programming, showing the device in action.
5. Operating Instructions
5.1 Programming with MakeCode Arcade
The micro:bit Retro MakeCode Arcade is primarily designed for programming using Microsoft MakeCode Arcade. This graphical programming platform simplifies coding, making it accessible for STEM education. Users can customize game characters, scenes, and plot designs to develop computational thinking skills.
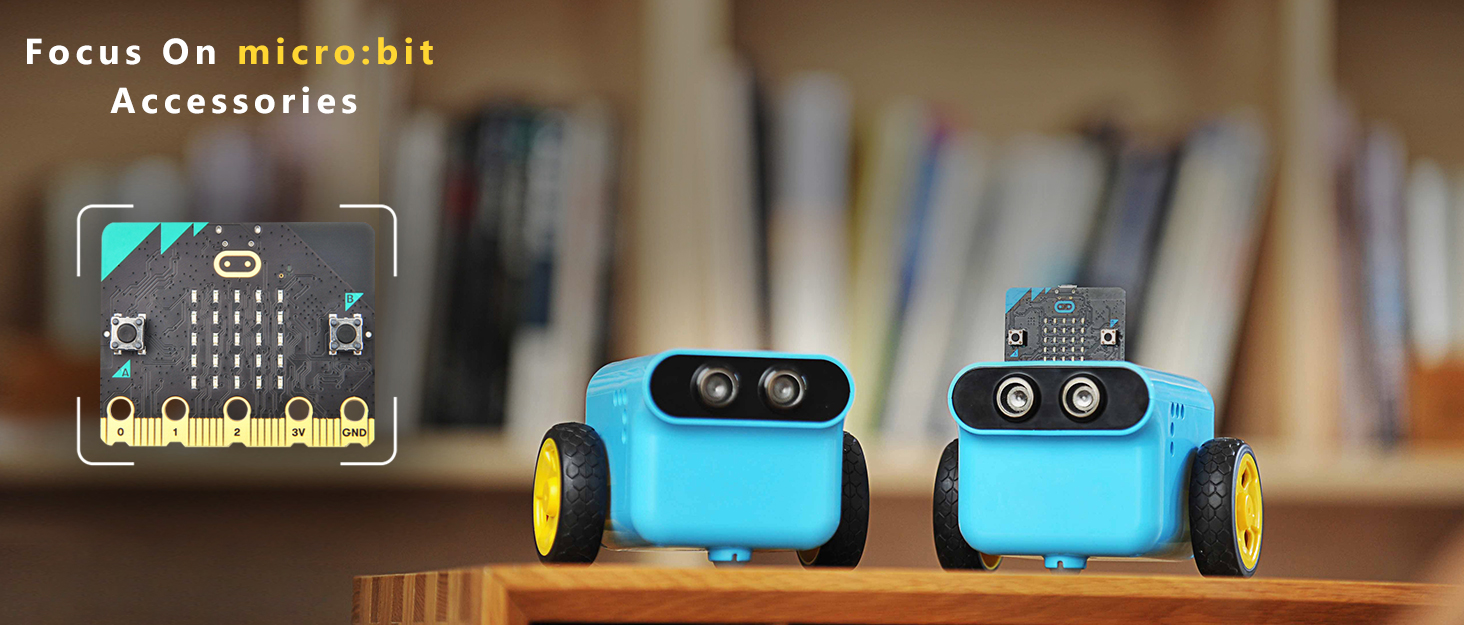
Figure 5.1: An illustration detailing the Microsoft MakeCode Arcade platform and its educational benefits.

Figure 5.2: A screenshot of the MakeCode Arcade interface, demonstrating graphical programming blocks.

Figure 5.3: Examples of custom game elements that can be created using MakeCode Arcade.
Video 5.1: A review and demonstration of the ELECFREAKS MakeCode Arcade, showcasing its features and programming capabilities.
5.2 Remote Control Functionality
Beyond game creation, the micro:bit Retro MakeCode Arcade can be programmed to remotely control other micro:bit compatible devices, such as micro:bit cars. This expands its utility into robotics and interactive projects.

Figure 5.4: The console demonstrating its remote control capabilities with a micro:bit car.
5.3 Custom Game Creation
The platform encourages creativity by allowing users to design their own games from scratch. This includes defining game rules, characters, and interactive elements, fostering a deeper understanding of game design principles.
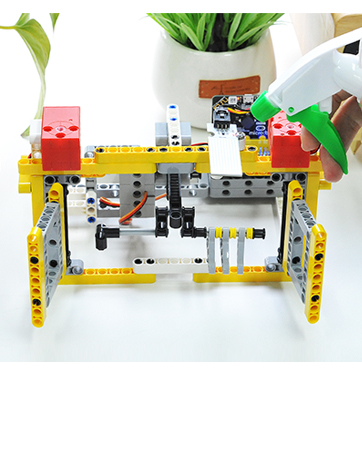
Figure 5.5: A user actively creating a game on the console, highlighting the creative aspect of the device.
6. Maintenance
- Cleaning: Use a soft, dry cloth to clean the console's screen and casing. Avoid abrasive cleaners or solvents that could damage the acrylic or electronic components.
- Storage: Store the device in a cool, dry place away from direct sunlight and extreme temperatures. When not in use for extended periods, remove the batteries to prevent leakage.
- Handling: While the device features a rugged design, avoid dropping it or subjecting it to excessive force to prevent damage to internal components or the screen.
7. Troubleshooting
- Screen Appears Loose: It is normal for the screen to have a slight amount of movement. This is part of the design and does not indicate a defect.
- Device Not Powering On: Ensure the micro:bit motherboard is correctly inserted and that fresh batteries are installed. Check the power button for proper engagement.
- Programming Issues: For detailed programming tutorials and troubleshooting, refer to the official Wiki Tutorial at wiki.elecfreaks.com/en/microbit/expansion-board/microbit-retro-arcade.
- Contact Support: If issues persist, click 'elecfreaks' on the Amazon store page and then 'Ask a question' to email our technical support team.
8. Specifications
| Feature | Detail |
|---|---|
| Item Weight | 0.18 Kilograms (6.4 ounces) |
| Screen Size | 20.32 Centimeters (1.8 inches) |
| Power Source | Battery Powered (requires external batteries) |
| Age Range (Description) | Adult (Manufacturer recommended age: 15 years and up) |
| Display Type | TFT |
| Form Factor | Handheld |
| UPC | 779288989122 |
| Item Model Number | micro:bit Retro Programming Arcade |
| Package Dimensions | 5.63 x 3.62 x 1.65 inches |
9. Warranty and Support
EF ELECFREAKS is committed to providing strong technical support for its products. For any questions or assistance, please utilize the 'Ask a question' feature on our Amazon store page to contact our support team directly.
Additional resources, including comprehensive tutorials and case studies, are available on our official Wiki:
- Wiki Tutorial: wiki.elecfreaks.com/en/microbit/expansion-board/microbit-retro-arcade
- Wiki Cases: wiki.elecfreaks.com/en/retroarcade/
Please retain your proof of purchase for warranty claims. The product is subject to a 30-day refund/replacement return policy.