
1. Introduction
This manual provides detailed instructions for the safe and efficient use of your STARSEEKER EDGE Plasma Electric Coffee Grinder. Please read this manual thoroughly before operating the appliance and retain it for future reference.
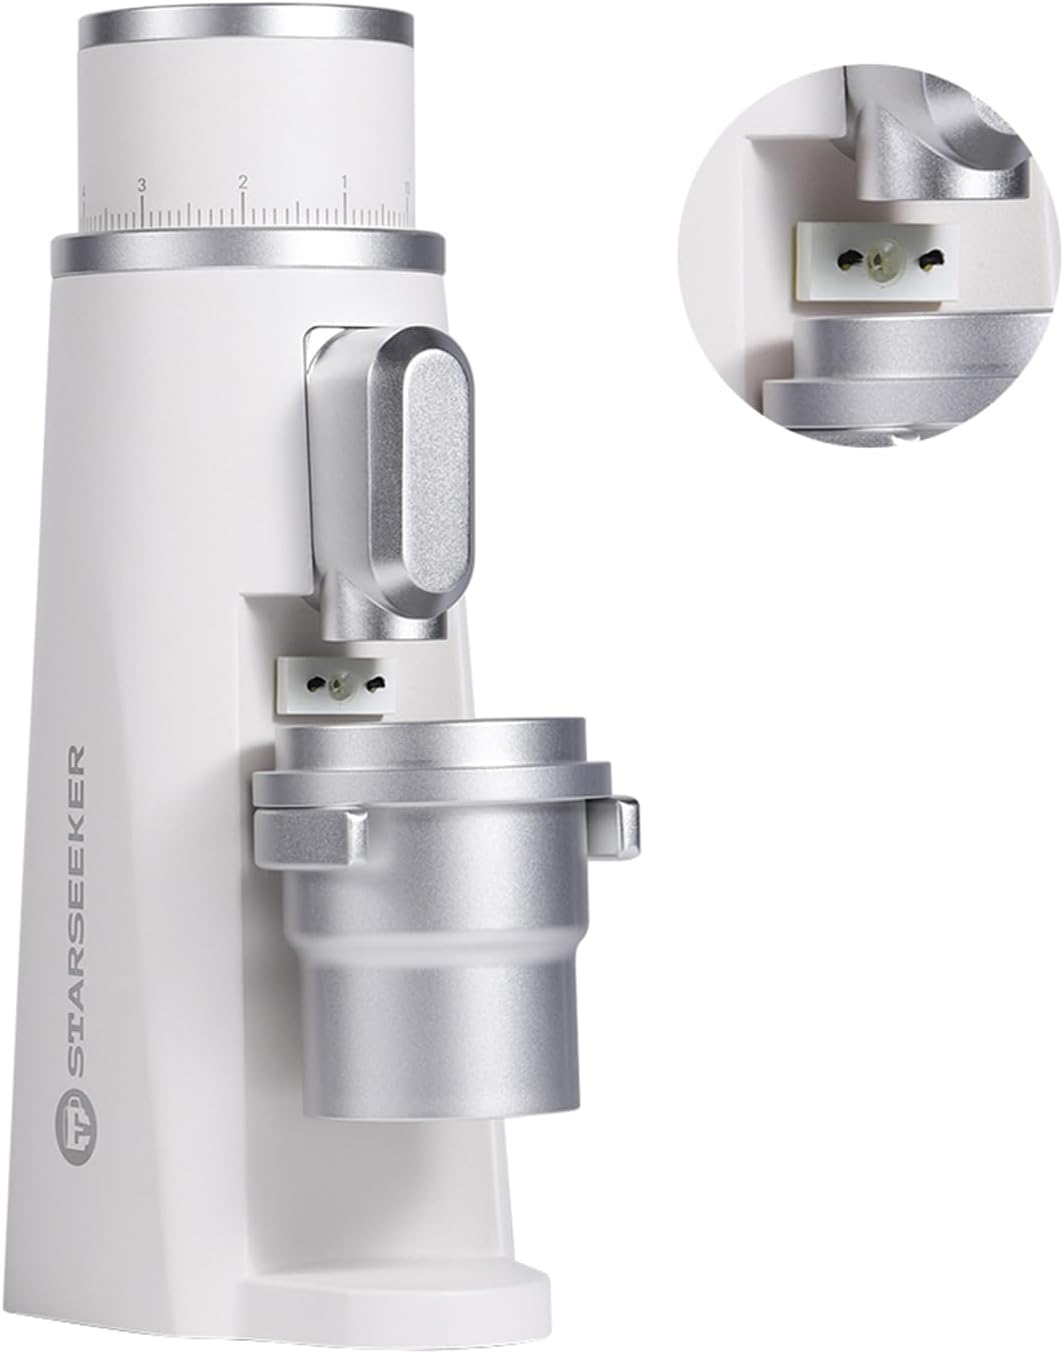
Image 1.1: The STARSEEKER EDGE Plasma Electric Coffee Grinder (White).
2. Important Safety Precautions
To ensure safe operation, always follow these basic safety precautions:
- Read all instructions before use.
- Do not immerse the grinder body, cord, or plug in water or other liquids.
- Close supervision is necessary when any appliance is used by or near children.
- Unplug from outlet when not in use, before assembling or disassembling parts, and before cleaning.
- Avoid contact with moving parts.
- Do not operate any appliance with a damaged cord or plug, or after the appliance malfunctions or has been damaged in any manner.
- The use of attachments not recommended or sold by the manufacturer may cause fire, electric shock, or injury.
- Do not use outdoors.
- Do not let cord hang over edge of table or counter, or touch hot surfaces.
- Do not place on or near a hot gas or electric burner, or in a heated oven.
- Do not use appliance for other than intended use.

Image 2.1: Important attention notice regarding product use and care.
Note: The grinding core is a consumable product. Trial grinding is performed at the factory, so it is normal to find residual coffee powder. Parts may have minor scratches from manufacturing; this does not affect functionality. The cutter head is made of stainless steel and hardened for durability.
3. Product Components
Familiarize yourself with the parts of your coffee grinder:
- Bean Hopper (top)
- Grind Adjustment Dial
- Plasma Device (internal)
- Grinding Burrs (internal)
- Motor
- Magnetic Detachable Powder Outlet
- Grounds Collection Cup (58MM compatible)
- Power Button
- Power Adapter

Image 3.1: Overview of the grinder highlighting new plasma technique and specifications (Rated voltage: 24V DC, No-load speed: 220 RPM, Rated power: 48W).
4. Setup
- Unpack: Carefully remove all components from the packaging.
- Inspect: Check for any damage during transit.
- Initial Cleaning: Before first use, wipe the exterior with a damp cloth. Clean the grounds collection cup and the magnetic detachable powder outlet with warm, soapy water, then rinse and dry thoroughly. Ensure all parts are completely dry before reassembly.
- Placement: Place the grinder on a stable, flat, and dry surface.
- Assemble: Ensure the grounds collection cup is securely attached to the magnetic detachable powder outlet.
- Power Connection: Connect the power adapter to the grinder and then plug it into a suitable electrical outlet (100-240 Volts).
5. Operating Instructions
5.1 Adding Coffee Beans
Open the bean hopper lid and pour up to 30 grams of whole coffee beans into the hopper. Close the lid securely.
5.2 Adjusting Grind Fineness
The grinder features 10 main grind settings with stepless fine-tuning, allowing for precise adjustments down to 0.1 increments. Rotate the grind adjustment dial located at the top of the grinder to select your desired fineness. Refer to the table below for general recommendations:

Image 5.1: Grind adjustment dial for precise fineness control.
| Brew Method | Grind Setting (Approx.) | Description |
|---|---|---|
| Espresso | 0.1 - 3 | Very fine, like powdered sugar. |
| Drip Coffee | 4 - 7 | Medium, like table salt. |
| French Press | 8 - 10 | Coarse, like sea salt. |
Note: The optimal grind setting may vary depending on the specific coffee beans and brewing equipment. Experiment to find your preferred setting.
5.3 Grinding Process
Press the power button to start the grinding process. The grinder operates at a low speed with a high-torque motor, ensuring quick and quiet grinding while preserving coffee aroma.

Image 5.2: Location of the power button.
The integrated plasma device effectively eliminates static electricity during grinding, preventing coffee grounds from flying and ensuring a cleaner grinding experience. There is no need to spray water on the beans.

Image 5.3: Illustration of coffee beans entering the grinding burrs.
5.4 Collecting Ground Coffee
Once grinding is complete, the ground coffee will collect in the magnetic detachable powder outlet and the attached cup. The magnetic design ensures easy removal and cleaning without clogging.

Image 5.4: The grinder in a typical coffee setup.

Image 5.5: Attaching the grounds collection cup.

Image 5.6: Removing the magnetic powder outlet for cleaning or emptying.
6. Cleaning and Maintenance
Regular cleaning ensures optimal performance and extends the life of your grinder.
- Unplug: Always unplug the grinder from the power outlet before cleaning.
- Exterior Cleaning: Wipe the exterior of the grinder with a soft, damp cloth. Do not use abrasive cleaners or immerse the main unit in water.
- Grounds Collection Cup & Powder Outlet: The magnetic detachable powder outlet and grounds collection cup can be washed with warm, soapy water. Rinse thoroughly and dry completely before reattaching.
- Burr Cleaning: For deeper cleaning, the grinding burrs can be accessed by disassembling the top portion of the grinder. Use a brush (often included) to remove any accumulated coffee grounds. Ensure all parts are dry before reassembly.
- Cutter Head: The cutter head is made from hardened stainless steel, designed for long-term durability and sharpness.
7. Troubleshooting
If you encounter issues with your STARSEEKER EDGE grinder, refer to the following common problems and solutions:
| Problem | Possible Cause | Solution |
|---|---|---|
| Grinder does not start. | Not plugged in; power outage; safety switch not engaged. | Ensure the grinder is properly plugged into a working outlet. Check circuit breaker. Ensure all parts are correctly assembled. |
| Grinding is inconsistent or too slow. | Burrs are clogged with old coffee grounds; grind setting is too fine for the beans. | Clean the burrs thoroughly. Try a slightly coarser grind setting. |
| Excessive static electricity / coffee grounds flying. | Dry beans; environmental humidity. | The integrated plasma device is designed to minimize static. Ensure it is functioning. No need to spray water on beans. |
| Difficulty adjusting grind size. | Grind adjustment dial stuck; burrs are jammed. | Ensure the grinder is empty of beans before adjusting. Clean the burrs. If the dial is stiff, apply gentle, firm pressure. |
| Grounds retention. | Normal for some grinders; fine grind settings. | Use a bellows (if available) or gently tap the grinder to dislodge residual grounds. Regular cleaning helps. |
8. Product Specifications
| Feature | Detail |
|---|---|
| Brand | STARSEEKER |
| Model | STARSEEKER EDGE |
| Color | White |
| Material | Aluminum |
| Product Dimensions | 4.96"L x 3.23"W x 9.88"H |
| Capacity | 30 Grams (coffee beans) |
| Voltage | 100 Volts, 240 Volts |
| Item Weight | 9 pounds |
| Grind Settings | 10 main gears, stepless fine-tuning to 0.1 |
| Burr Type | 48mm seven-core cone cutter |
| Special Features | Plasma device for static elimination, Magnetic detachable powder outlet |

Image 8.1: Product dimensions (9.88 inches height, 4.96 inches width).
9. Warranty and Customer Support
STARSEEKER is dedicated to providing quality products and services. If you have any questions, concerns, or require assistance with your STARSEEKER EDGE Plasma Electric Coffee Grinder, please contact our customer support team.
For support, please refer to the contact information provided with your purchase or visit the official STARSEEKER website.
"Notice: STARSEEKER is dedicated to product services. If you have any questions after purchase, please contact us first and we will do our best to solve them for you!"


