
Introduction
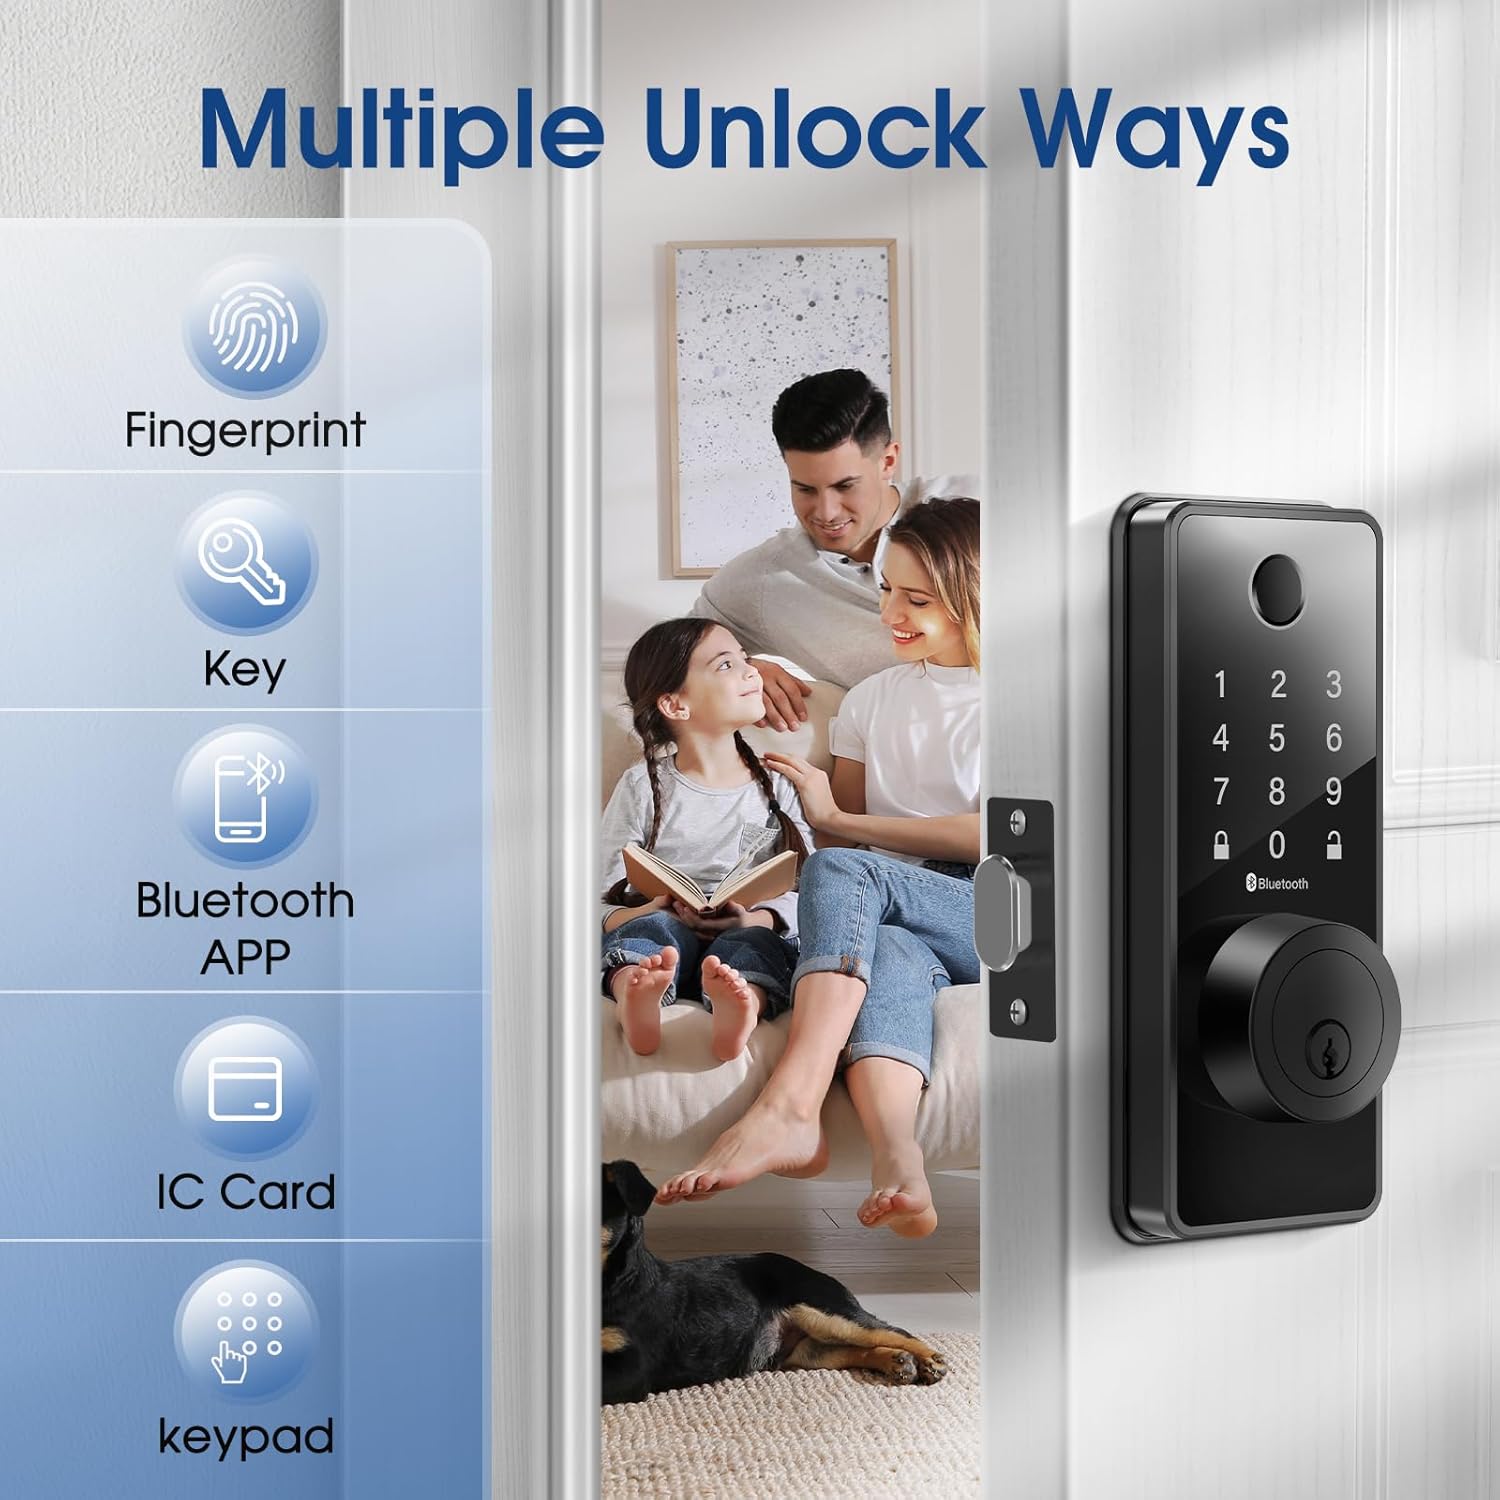
Welcome to the ELAMOR Smart Lock M12 user manual. This guide provides detailed instructions for the installation, operation, and maintenance of your new smart lock. The ELAMOR M12 offers multiple unlocking methods including fingerprint, touchscreen password, physical keys, fobs, dynamic E-keys, and Bluetooth App control, enhancing your home security and convenience.

The ELAMOR Smart Lock M12, shown with its sleek matte black finish, features a numeric keypad, fingerprint scanner, and traditional key entry. Included are two physical keys and two key fobs, along with a view of the mobile application for smart control.
What's in the Box
Verify that all components are present before beginning installation.
- Entry Keys
- 3/4"(19mm) Screws (4 pcs)
- 3/4"(19mm) Screws (2 pcs, Preinstalled)
- 1-5/32"(33mm) Screws (2 pcs)
- Deadbolt Latch
- Deadbolt Strike Plate
- Buckle Box
- Keypad Assembly
- Interior Assembly
- Mounting Plate (Preinstalled)
A visual representation of all parts included in the ELAMOR Smart Lock M12 package, including the exterior keypad assembly, interior assembly, deadbolt latch, strike plate, mounting plate, physical keys, and key fobs.
Product Specifications
| Feature | Detail |
|---|---|
| Brand | ELAMOR |
| Model Name | M12 |
| Color | Matte Black |
| Material | Zinc |
| Item Weight | 2.9 pounds |
| Product Dimensions | 7.55 x 5.59 x 4.4 inches |
| Lock Type | Biometric |
| Special Features | Touchscreen, Fingerprint, Passcode Unlock, Weather Resistant, Auto-Lock |
| Connectivity Protocol | Bluetooth |
| Batteries Required | Yes (4x AA, not included) |
| Waterproof Level | IP54 |
| ANSI Grade | 3 |

A technical diagram illustrating the precise dimensions of the ELAMOR Smart Lock M12 components and the required door specifications for proper installation, including backset, door edge hole, and door thickness.
Setup & Installation
The ELAMOR Smart Lock M12 is designed for easy installation, typically taking about 15 minutes. Follow these steps carefully.
Installation Video Guide
An official installation guide video demonstrating the step-by-step process of setting up the ELAMOR M12 Smart Lock, from preparing the door to securing the components.
Door Preparation
- Ensure your door meets the following specifications:
- Backset: 2-3/8" or 2-3/4" (60 or 70 mm)
- Door Edge Hole: 1" (25 mm)
- Door Thickness: 1-3/8" to 2" (35 mm to 50 mm)
Step-by-Step Installation
Step 1: Install the Latch Bolt
Twist the latch to adjust the bolt length if necessary, ensuring the latch bolt is retracted. Insert the latch bolt into the door, making sure the T-shaped hole is in the bottom position.

A close-up image showing a hand inserting the deadbolt latch into the pre-drilled hole on the door edge, a crucial first step in the smart lock installation process.
Step 2: Install the Exterior Assembly
Route the cable through the door. Feed the tail of the exterior assembly through the T-shaped hole and the stud through the latch. Ensure the key is pulled out when installing and gently push the keypad onto the door.
Step 3: Install the Mounting Plate
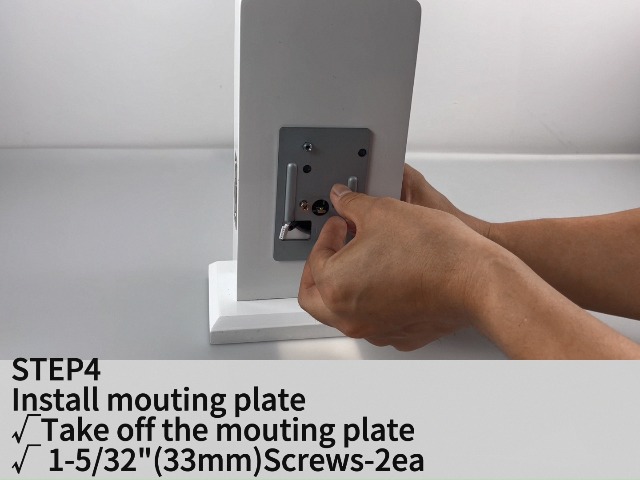
Take off the mounting plate from the interior assembly. Secure the mounting plate to the door using the provided 1-5/32" (33mm) screws.
Step 4: Install the Interior Assembly
Ensure a tight cable connection between the exterior and interior assemblies. Feed the tail of the exterior assembly into the T-shaped hole of the interior assembly. Carefully align and attach the interior assembly to the mounting plate.
Step 5: Install Batteries
Open the battery cover on the interior assembly. Insert 4 AA batteries, ensuring correct polarity. Close the battery cover.
Step 6: Test Operation
After installation, test the lock/unlock process. Press the lock key on the keypad; the latch bolt should extend. To unlock, use the default user code (e.g., 123456) or a physical key.
An image depicting the ease of installation for the ELAMOR Smart Lock M12, with a person using a screwdriver to secure the lock components to a door.
Operating Instructions
Unlocking Methods
Fingerprint Unlock
Place your registered finger on the fingerprint sensor. The lock will unlock if the fingerprint is recognized.

An illustration showing a finger being placed on the fingerprint sensor of the ELAMOR Smart Lock M12, highlighting the quick identification and unlock times.
Touchscreen Keypad Unlock
Enter your valid passcode on the touchscreen keypad, then press the unlock key.
Physical Key Unlock
Insert the physical key into the keyhole and turn to unlock.
Bluetooth App Control
Download and install the "Smart Life" app. Pair your lock with the app via Bluetooth. Use the app to remotely lock/unlock, manage users, and view access logs.

A visual representation of the Smart Life app interface, demonstrating various control features for the ELAMOR Smart Lock M12, including keyless entry, member management, temporary passwords, automatic lock settings, unlocking records, and door lock alarms.
A video showcasing the various functionalities of the ELAMOR M12 Bluetooth Smart Lock, including different unlocking methods and app control features.
Automatic Locking
The lock features an automatic locking function. You can set the auto-lock delay time through the Smart Life App. If the door is left open or unlocked, it will automatically lock after the set time.

An image illustrating the automatic locking feature of the ELAMOR Smart Lock M12, showing the deadbolt extending automatically to secure the door.
Maintenance
Battery Replacement
When the battery is low, the lock will provide a low battery alarm. Replace all four AA batteries promptly to ensure continuous operation. In case of complete battery exhaustion, use the emergency charging port (USB-A) to temporarily power the lock.

An image highlighting the long-lasting battery life (10 months standby) and the emergency USB-A charging port of the ELAMOR Smart Lock M12, along with its IP54 waterproof rating and low battery alarm feature.
Cleaning
Clean the touchscreen and fingerprint sensor regularly with a soft, dry cloth to ensure optimal performance. Avoid using abrasive cleaners or solvents.
Weather Resistance
The ELAMOR Smart Lock M12 has an IP54 waterproof rating, providing reliable protection against water damage. However, avoid direct exposure to heavy rain or prolonged submersion.
Troubleshooting
| Issue | Possible Cause | Solution |
|---|---|---|
| Lock not responding | Low batteries | Replace batteries or use emergency charging. |
| Fingerprint not recognized | Dirty sensor/finger, unregistered fingerprint | Clean sensor/finger, re-register fingerprint. |
| Keypad not responding | Incorrect code, temporary lockout | Enter correct code, wait for lockout period to end. |
| Auto-lock not working | Feature disabled, incorrect settings | Enable auto-lock in Smart Life App, adjust delay time. |
| App connectivity issues | Bluetooth off, lock out of range, app glitch | Ensure Bluetooth is on, move closer to lock, restart app. |
| Latch bolt not extending/retracting fully | Misalignment, obstruction | Check alignment of lock components, remove any obstructions. |
For further assistance, please refer to the official user guide PDF or contact customer support.
Warranty & Support
The ELAMOR Smart Lock M12 comes with a 1-year warranty.
For technical support or warranty claims, please visit the ELAMOR Store or refer to the contact information provided in your product packaging.
You can also download the full user manual in PDF format here: ELAMOR Smart Lock User Manual (PDF)

Contact ELAMOR support for assistance.


